Page 4659 of 4731

TF-26
TROUBLE DIAGNOSIS FOR SYSTEM
Revision: 2005 July 2005 FX
TROUBLE DIAGNOSIS FOR SYSTEMPFP:00000
Power Supply Circuit for AWD Control UnitADS000SX
CONSULT-II REFERENCE VALUE IN DATA MONITOR MODE
Data are reference value.
DIAGNOSTIC PROCEDURE
1. CHECK POWER SUPPLY
1. Turn ignition switch “OFF”.
2. Disconnect AWD control unit harness connector.
3. Turn ignition switch “ON”. (Do not start engine.)
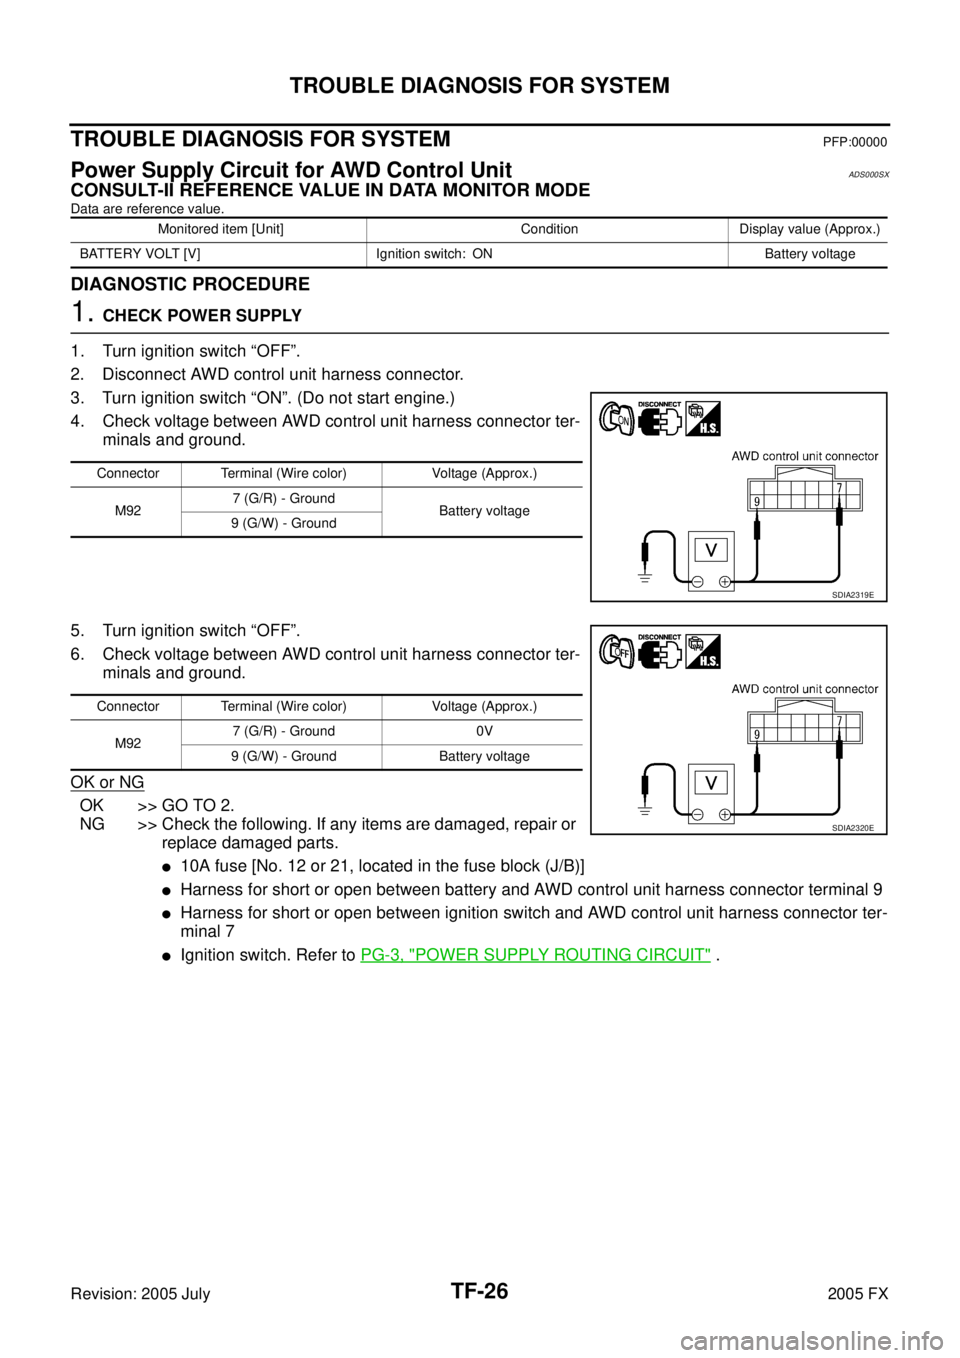
4. Check voltage between AWD control unit harness connector ter- minals and ground.
5. Turn ignition switch “OFF”.
6. Check voltage between AWD control unit harness connector ter- minals and ground.
OK or NG
OK >> GO TO 2.
NG >> Check the following. If any items are damaged, repair or replace damaged parts.
�10A fuse [No. 12 or 21, located in the fuse block (J/B)]
�Harness for short or open between battery and AWD control unit harness connector terminal 9
�Harness for short or open between ignition switch and AWD control unit harness connector ter-
minal 7
�Ignition switch. Refer to PG-3, "POWER SUPPLY ROUTING CIRCUIT" .
Monitored item [Unit] Condition Display value (Approx.)
BATTERY VOLT [V] Ignition switch: ON Battery voltage
Connector Terminal (Wire color) Voltage (Approx.)
M92 7 (G/R) - Ground
Battery voltage
9 (G/W) - Ground
SDIA2319E
Connector Terminal (Wire color) Voltage (Approx.)
M92 7 (G/R) - Ground 0V
9 (G/W) - Ground Battery voltage
SDIA2320E
Page 4662 of 4731

TROUBLE DIAGNOSIS FOR SYSTEM TF-29
C E F
G H
I
J
K L
M A
B
TF
Revision: 2005 July 2005 FX
1. CHECK AWD SOLENOID SIGNAL
With CONSULT-II
1. Start engine.
2. Select “DATA MONITOR” mode for “ALL MODE AWD/4WD” with CONSULT-II.
3. Read out the value of “ETS SOLENOID”.
*: The values are changed by throttle opening and engine speed.
OK or NG
OK >> GO TO 6.
NG >> GO TO 2.
2. CHECK POWER SUPPLY
1. Turn ignition switch “OFF”.
2. Disconnect AWD control unit harness connector.
3. Turn ignition switch “ON”. (Do not start engine.)
4. Check voltage between AWD control unit harness connector ter- minal 9 and ground.
OK or NG
OK >> GO TO 3.
NG >> Check the following. If any items are damaged, repair or replace damaged parts.
�10A fuse [No. 21, located in the fuse block (J/B)]
�Harness for short or open between battery and AWD
control unit harness connector terminal 9
3. CHECK AWD SOLENOID CIRCUIT
1. Turn ignition switch “OFF”.
2. Disconnect AWD control unit harness connector.
3. Check resistance between AWD control unit harness connector terminals 1 and 2.
OK or NG
OK >> GO TO 6.
NG >> GO TO 4.
Condition Display value
Engine running At idle speed Approx. 0.000A
When depressing accelerator
pedal Approx. 0.000 - 2.400A*
SDIA1885E
Connector Terminal (Wire color) Voltage (Approx.)
M92 9 (G/W) - Ground Battery voltage
SDIA1884E
Connector Terminal (Wire color) Resistance (Approx.)M92 1 (L/W) - 2 (L/OR) (Ground) 2.45 Ω
SDIA1928E
Page 4667 of 4731

TF-34
TROUBLE DIAGNOSIS FOR SYMPTOMS
Revision: 2005 July 2005 FX
2. CHECK AWD CONTROL UNIT POWER SUPPLY CIRCUIT
1. Turn ignition switch “OFF”.
2. Disconnect AWD control unit harness connector.
3. Turn ignition switch “ON”. (Do not start engine.)
4. Check voltage between AWD control unit harness connector ter- minals and ground.
5. Turn ignition switch “OFF”.
6. Check voltage between AWD control unit harness connector ter- minals and ground.
OK or NG
OK >> GO TO 3.
NG >> Check the following. If any items are damaged, repair or
replace damaged parts.
�10A fuse [No. 12 or 21, located in the fuse block (J/B)]
�Harness for short or open between battery and AWD control unit harness connector terminal 9
�Harness for short or open between ignition switch and AWD control unit harness connector ter-
minal 7
�Ignition switch. Refer to PG-3, "POWER SUPPLY ROUTING CIRCUIT" .
3. CHECK AWD CONTROL UNIT GROUND CIRCUIT
1. Turn ignition switch “OFF”.
2. Disconnect AWD control unit harness connector.
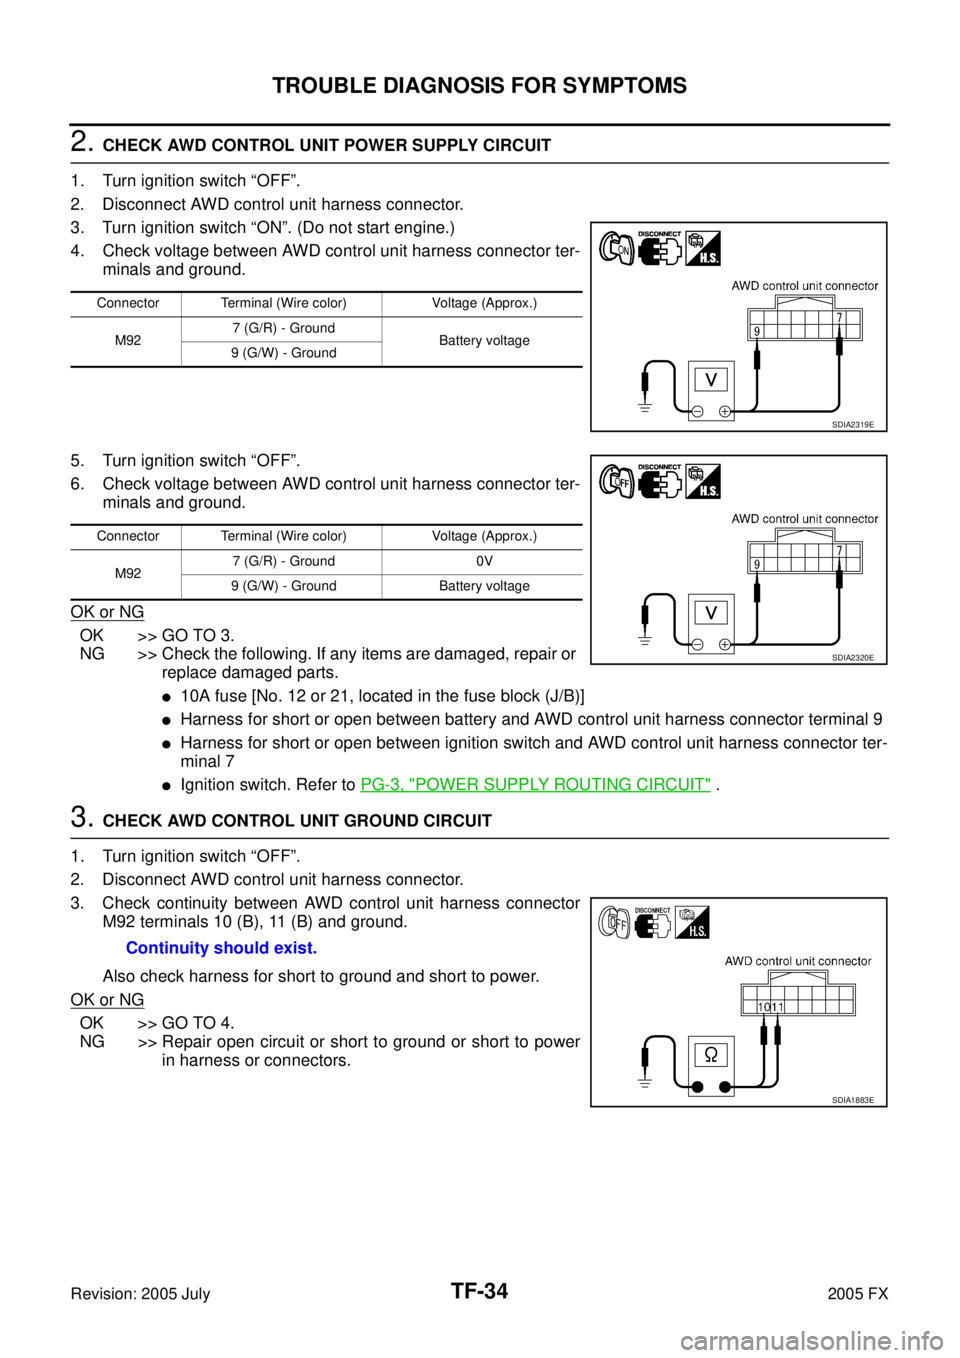
3. Check continuity between AWD control unit harness connector M92 terminals 10 (B), 11 (B) and ground.
Also check harness for short to ground and short to power.
OK or NG
OK >> GO TO 4.
NG >> Repair open circuit or short to ground or short to power in harness or connectors.
Connector Terminal (Wire color) Voltage (Approx.)
M92 7 (G/R) - Ground
Battery voltage
9 (G/W) - Ground
SDIA2319E
Connector Terminal (Wire color) Voltage (Approx.)
M92 7 (G/R) - Ground 0V
9 (G/W) - Ground Battery voltage
SDIA2320E
Continuity should exist.
SDIA1883E
Page 4707 of 4731
WT-14
TROUBLE DIAGNOSES
Revision: 2005 July 2005 FX
Control Unit Input/Output Signal StandardAES000Z4
Standards using a circuit tester and oscilloscope
Terminal
Item Condition Voltage (V)
Approx. value
+–
15 (G)
Ground Tire pressure warning check
connector Always 5V
18 (B) Remote keyless entry receiver
(Ground) —0V
19 (R) Remote keyless entry receiver
(Power supply) Stand-by
Press any of the keyfob
switches
20 (Y) Remote keyless entry receiver
(Signal) Stand-by
Press any of the keyfob
switches
38 (W/L) Ignition switch Ignition switch ON or START Battery voltage (12V)
39 (L) Data line (CAN H) — —
40 (R) Data line (CAN L) — —
42 (L/R) Battery power supply (Fuse) Always Battery voltage (12V)
45 (G/W) Turn signal (left)
�Ignition switch ON
�Combination switch is turn
signal (left)
OCC3879D
OCC3882D
OCC3881D
OCC3880D
SKIA3009J
Page 4708 of 4731
TROUBLE DIAGNOSES WT-15
C
D
F
G H
I
J
K L
M A
B
WT
Revision: 2005 July 2005 FX( ): Wire color 46 (BR/W)
Ground Turn signal (right)
�Ignition switch ON
�Combination switch is turn
signal (right)
49 (B) Ground — 0V
52 (B)
55 (G) Battery power supply (F/L) Always Battery voltage (12V) Terminal
Item Condition Voltage (V)
Approx. value
+–
SKIA3009J
Page 4713 of 4731

WT-20
TROUBLE DIAGNOSES
Revision: 2005 July 2005 FX
NOTE:
If more than one wheel transmitter is NOT activated, the warning lamp blinking patterns for those wheels will combine. (Example : one
blink/OFF/three blinks = Rear LH and Rear RH transmitters are not activated.)
CONSULT-II
CONSULT-II Main Function
In a diagnosis function (main function), there are “WORK SUPPORT”, “SELF-DIAGNOSTIC RESULTS”,
“DATA MONITOR”, “ACTIVE TEST”.
Low tire pres-
sure warning
lamp Warning lamp blinks
4 times Rear LH wheel
transmitter is not
activated. Activate rear LH wheel
transmitter. Refer to WT-
18, "Transmitter Wake Up
Operation" .
Warning lamp
comes on and does
not turn off The fuse for combi-
nation meter from
battery is pulled out. Check the fuse for combi-
nation meter from battery.
Install or replace (if
needed).
BCM connector
pulled out. Check BCM connector.
Re-connect if needed.
Low tire pressure or
low tire pressure
warning system
malfunction.
�Perform CONSULT-II
Self Diagnosis. Refer to
WT-19, "
Self-Diagnosis"
.
–Perform ID Registration
if needed. Refer to WT-
16, "ID Registration Pro-
cedure" .
Turn signal
lamp Turn signal lamp
does not flash 2
times or horn does
not sound after
transmitter activa-
tion. 1. Tool J-45295
(special service
tool) battery low.
2. Ignition OFF dur- ing activation.
3. Tool J-45295 (special service
tool) not posi-
tioned correctly.
4. Transmitters already activated. 1. Install new battery.
2. Make sure ignition is ON during activation.
3. Position tool correctly during activation.
4. None
Diagnosis
Item Symptom
(Ignition switch ON) Low tire pressure warning lamp Cause Action
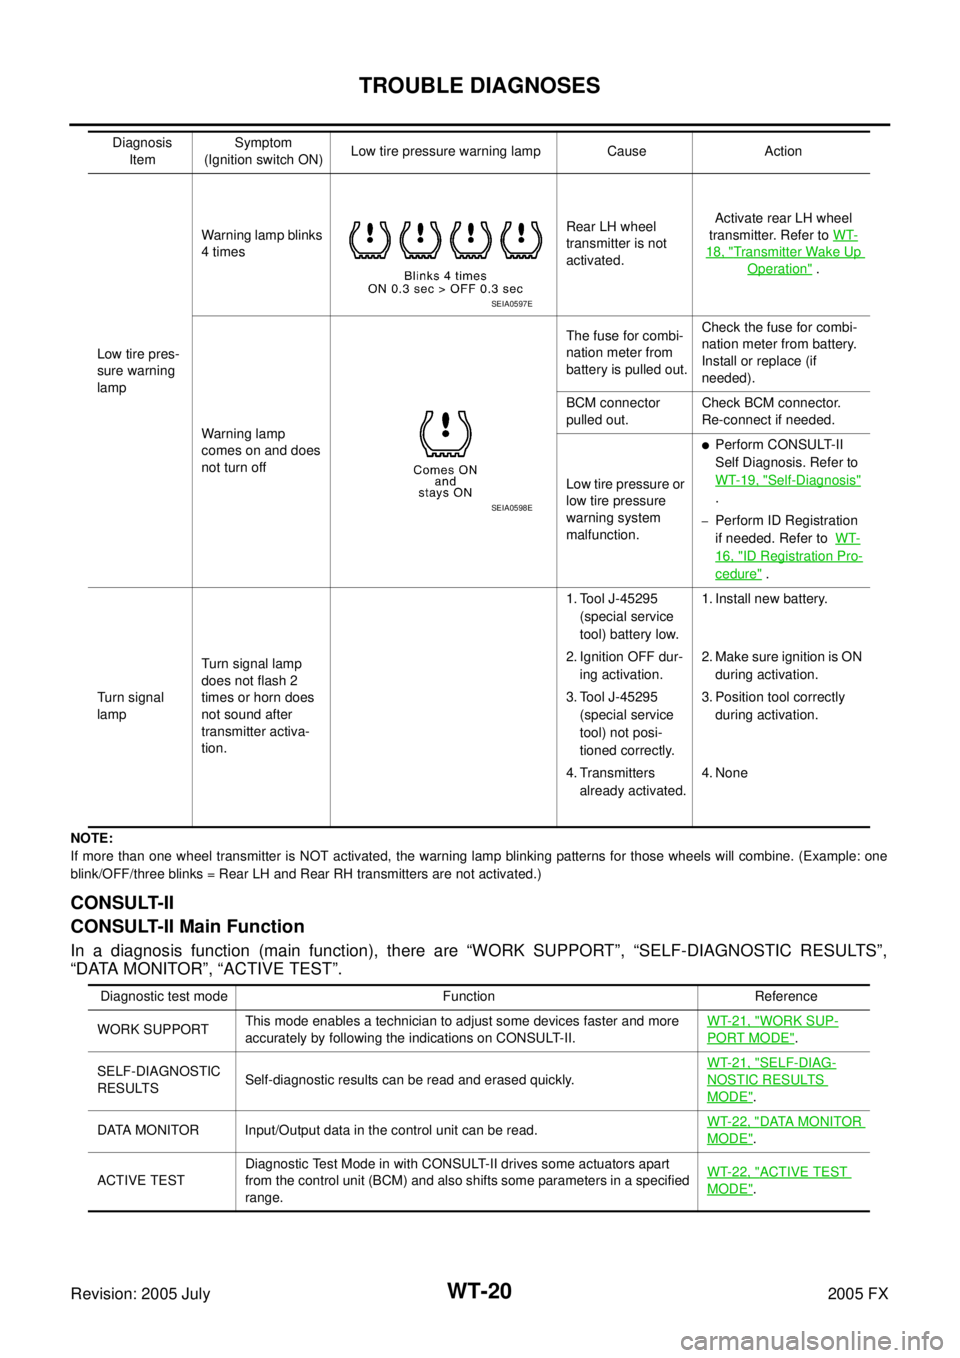
SEIA0597E
SEIA0598E
Diagnostic test mode Function Reference
WORK SUPPORT This mode enables a technician to adjust some devices faster and more
accurately by following the indications on CONSULT-II. WT-21, "
WORK SUP-
PORT MODE".
SELF-DIAGNOSTIC
RESULTS Self-diagnostic results can be read and erased quickly. WT-21, "
SELF-DIAG-
NOSTIC RESULTS
MODE".
DATA MONITOR Input/Output data in the control unit can be read. WT-22, "
DATA MONITOR
MODE".
ACTIVE TEST Diagnostic Test Mode in with CONSULT-II drives some actuators apart
from the control unit (BCM) and also shifts some parameters in a specified
range. WT-22, "
ACTIVE TEST
MODE".
Page 4715 of 4731

WT-22
TROUBLE DIAGNOSES
Revision: 2005 July 2005 FX
NOTE:
Before performing the self-diagnosis, be sure to register the ID, or else the actual malfunction location may be different from that dis-
played on CONSULT-II.
DATA MONITOR MODE
NOTE:
Before performing the self-diagnosis, be sure to register the ID, or else the actual malfunction location may be different from that dis-
played on CONSULT-II.
ACTIVE TEST MODE
NOTE:
Before performing the self-diagnosis, be sure to register the ID, or else the actual malfunction location may be
different from that displayed on CONSULT-II.
Operation Procedure
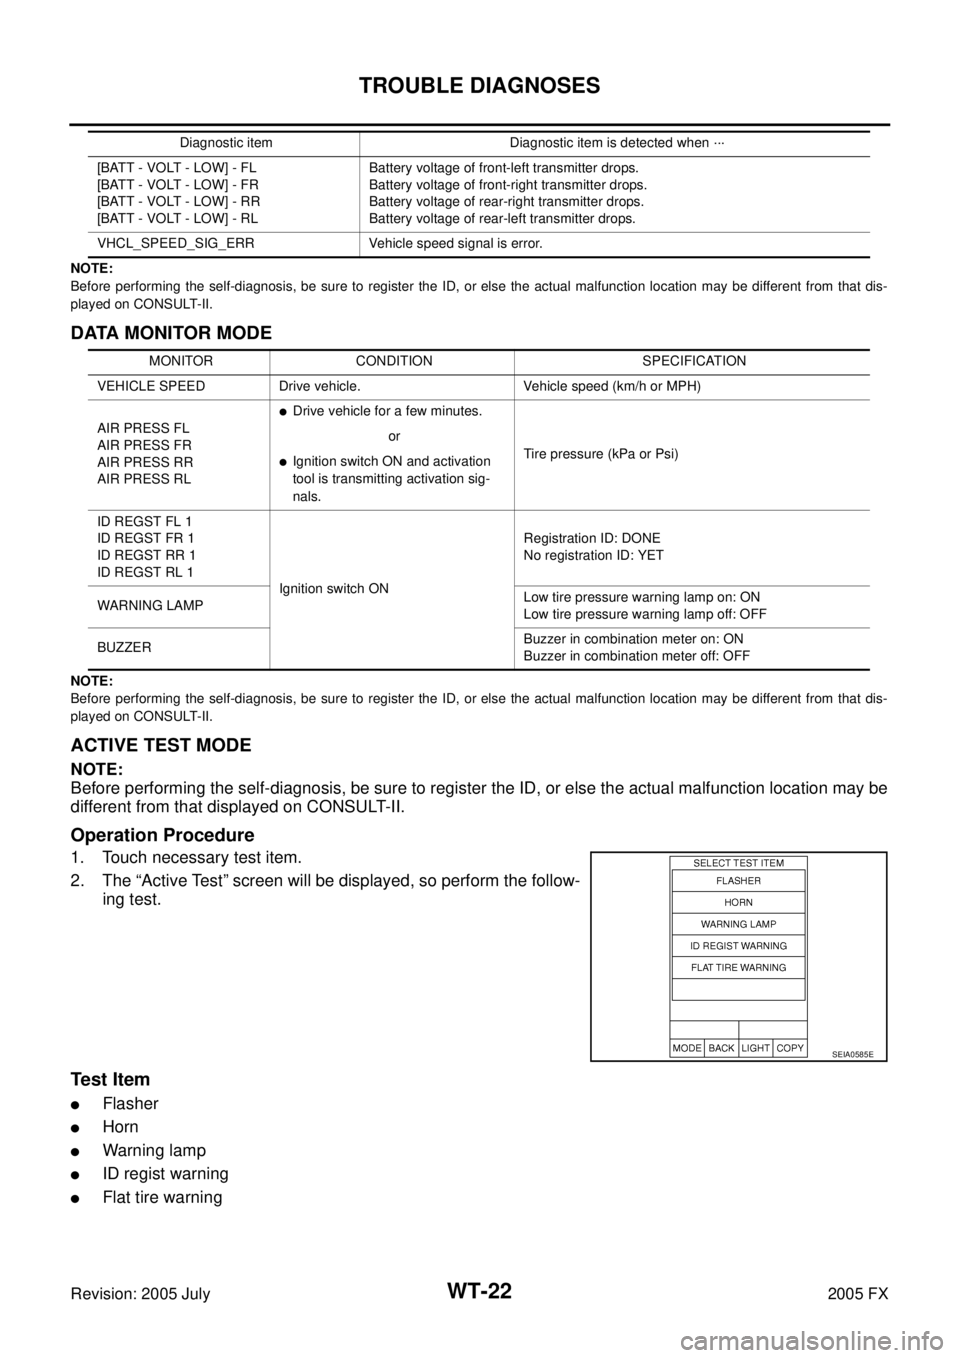
1. Touch necessary test item.
2. The “Active Test” screen will be displayed, so perform the follow- ing test.
Test Item
�Flasher
�Horn
�Warning lamp
�ID regist warning
�Flat tire warning
[BATT - VOLT - LOW] - FL
[BATT - VOLT - LOW] - FR
[BATT - VOLT - LOW] - RR
[BATT - VOLT - LOW] - RL Battery voltage of front-left transmitter drops.
Battery voltage of front-right transmitter drops.
Battery voltage of rear-right transmitter drops.
Battery voltage of rear-left transmitter drops.
VHCL_SPEED_SIG_ERR Vehicle speed signal is error. Diagnostic item Diagnostic item is detected when ···
MONITOR CONDITION SPECIFICATION
VEHICLE SPEED Drive vehicle. Vehicle speed (km/h or MPH)
AIR PRESS FL
AIR PRESS FR
AIR PRESS RR
AIR PRESS RL
�Drive vehicle for a few minutes.
Tire pressure (kPa or Psi)
or
�Ignition switch ON and activation
tool is transmitting activation sig-
nals.
ID REGST FL 1
ID REGST FR 1
ID REGST RR 1
ID REGST RL 1 Ignition switch ON Registration ID: DONE
No registration ID: YET
WARNING LAMP Low tire pressure warning lamp on: ON
Low tire pressure warning lamp off: OFF
BUZZER Buzzer in combination meter on: ON
Buzzer in combination meter off: OFF
SEIA0585E
Page 4719 of 4731
WT-26
TROUBLE DIAGNOSES
Revision: 2005 July 2005 FX
Preliminary CheckAES000Z9
BASIC INSPECTION
1. CHECK ALL TIRE PRESSURES
�Check all tire pressures. Refer to WT-37, "Tire" .
OK or NG
OK >> GO TO 2.
NG >> Adjust tire pressure to specified value.
2. CHECK LOW TIRE PRESSURE WARNING LAMP ACTIVATION
1. Check low tire pressure warning lamp activation.
2. Does low tire pressure warning lamp activate for 1 second when ignition switch is turned “ON”?
Does warning lamp activate?
YES >> GO TO 3.
NO >> Check fuse and combination meter.
3. CHECK CONNECTOR
1. Disconnect BCM harness connectors M3 and M4.
2. Check terminals for damage or loose connection.
OK or NG
OK >> GO TO 4.
NG >> Repair or replace damaged parts.
4. CHECK TRANSMITTER TOOL
�Check activation tool battery.
OK or NG
OK >> Perform self-diagnosis.
NG >> Replace activation tool battery.