2005 HYUNDAI TUCSON oil level
[x] Cancel search: oil levelPage 11 of 273

YOUR VEHICLE AT A GLANCE
SRS (Airbag) Service Reminder Indicator (SRI)
B255A01JM-AATINDICATOR SYMBOLS ON THE INSTRUMENT PANEL
Turn Signal Indicator LightsHigh Beam Indicator Light
Low Oil Pressure Warning Light
Charging System Warning LightSeat Belt Reminder Light and Chime
* More detailed explanations of these items will be found beginning on page 1-44.
Parking Brake/Brake Fluid Level Warning Light
Malfunction Indicator Light
Tail Gate Open Warning Light
Low Fuel Level Warning LightDoor Ajar Warning Light and Chime (If installed)Traction Control Indicator Light
(If installed)
ABS Service Reminder Indicator (If installed)
Electronic Stability Program Indicator
Lights (If installed)
Cruise Indicator (If installed)
4WD Lock Indicator Light (If installed)4WD System Warning Light (If installed)SET Indicator Light (If installed)
Page 54 of 273
1
FEATURES OF YOUR HYUNDAI
43
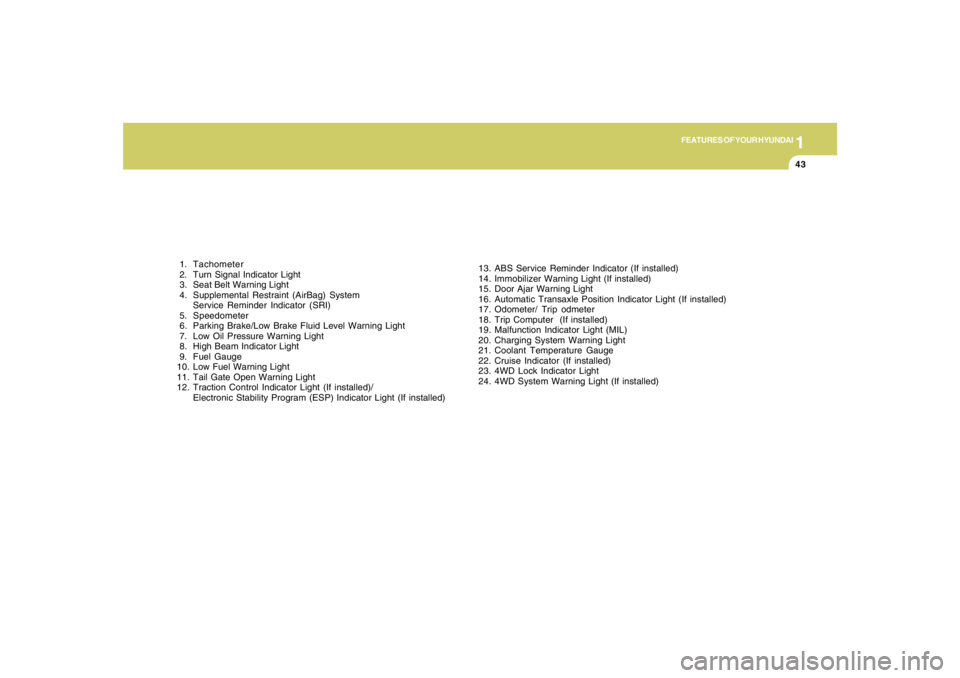
1. Tachometer
2. Turn Signal Indicator Light
3. Seat Belt Warning Light
4. Supplemental Restraint (AirBag) System
Service Reminder Indicator (SRI)
5. Speedometer
6. Parking Brake/Low Brake Fluid Level Warning Light
7. Low Oil Pressure Warning Light
8. High Beam Indicator Light
9. Fuel Gauge
10. Low Fuel Warning Light
11. Tail Gate Open Warning Light
12. Traction Control Indicator Light (If installed)/
Electronic Stability Program (ESP) Indicator Light (If installed)13. ABS Service Reminder Indicator (If installed)
14. Immobilizer Warning Light (If installed)
15. Door Ajar Warning Light
16. Automatic Transaxle Position Indicator Light (If installed)
17. Odometer/ Trip odmeter
18. Trip Computer (If installed)
19. Malfunction Indicator Light (MIL)
20. Charging System Warning Light
21. Coolant Temperature Gauge
22. Cruise Indicator (If installed)
23. 4WD Lock Indicator Light
24. 4WD System Warning Light (If installed)
Page 55 of 273
1FEATURES OF YOUR HYUNDAI44
WARNING AND INDICATOR LIGHTSB260B01JM-AAT
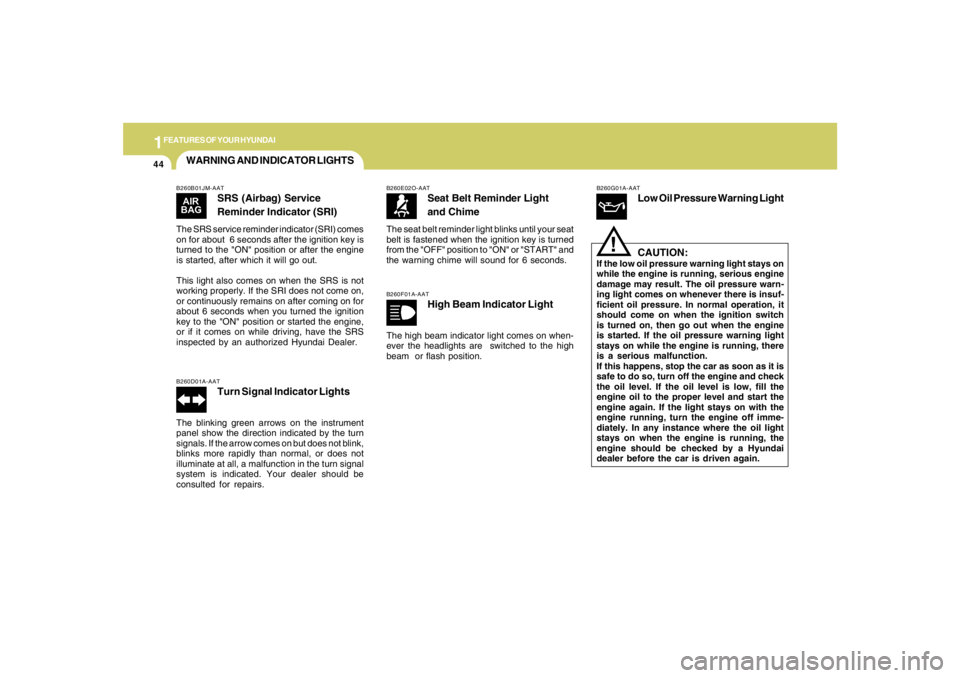
SRS (Airbag) Service
Reminder Indicator (SRI)
The SRS service reminder indicator (SRI) comes
on for about 6 seconds after the ignition key is
turned to the "ON" position or after the engine
is started, after which it will go out.
This light also comes on when the SRS is not
working properly. If the SRI does not come on,
or continuously remains on after coming on for
about 6 seconds when you turned the ignition
key to the "ON" position or started the engine,
or if it comes on while driving, have the SRS
inspected by an authorized Hyundai Dealer.B260D01A-AAT
Turn Signal Indicator Lights
The blinking green arrows on the instrument
panel show the direction indicated by the turn
signals. If the arrow comes on but does not blink,
blinks more rapidly than normal, or does not
illuminate at all, a malfunction in the turn signal
system is indicated. Your dealer should be
consulted for repairs.
B260E02O-AAT
Seat Belt Reminder Light
and Chime
The seat belt reminder light blinks until your seat
belt is fastened when the ignition key is turned
from the "OFF" position to "ON" or "START" and
the warning chime will sound for 6 seconds.B260F01A-AAT
High Beam Indicator Light
The high beam indicator light comes on when-
ever the headlights are switched to the high
beam or flash position.
B260G01A-AAT
Low Oil Pressure Warning Light
CAUTION:
If the low oil pressure warning light stays on
while the engine is running, serious engine
damage may result. The oil pressure warn-
ing light comes on whenever there is insuf-
ficient oil pressure. In normal operation, it
should come on when the ignition switch
is turned on, then go out when the engine
is started. If the oil pressure warning light
stays on while the engine is running, there
is a serious malfunction.
If this happens, stop the car as soon as it is
safe to do so, turn off the engine and check
the oil level. If the oil level is low, fill the
engine oil to the proper level and start the
engine again. If the light stays on with the
engine running, turn the engine off imme-
diately. In any instance where the oil light
stays on when the engine is running, the
engine should be checked by a Hyundai
dealer before the car is driven again.
!
Page 167 of 273
2
DRIVING YOUR HYUNDAI
21
C160D01A-AATCheck Battery and CablesWinter puts additional burdens on the battery
system. Visually inspect the battery and cables
as described in Section 6. The level of charge
in your battery can be checked by your Hyundai
dealer or a service station.C160C01A-AATUse High Quality Ethylene Glycol
CoolantYour Hyundai is delivered with high quality
ethylene glycol coolant in the cooling system. It
is the only type of coolant that should be used
because it helps prevent corrosion in the cool-
ing system, lubricates the water pump and
prevents freezing. Be sure to replace or replen-
ish your coolant in accordance with the main-
tenance schedule in Section 5. Before winter,
have your coolant tested to assure that its
freezing point is sufficient for the temperatures
anticipated during the winter.NOTE:o Tire chains are not legal in all states.
Check state laws before fitting tire
chains.
o Tire chains are to be used on front tires
only.
C160A01A-AATThe more severe weather conditions of winter
result in greater wear and other problems. To
minimize the problems of winter driving, you
should follow these suggestions:C160B01JM-AATSnowy or Icy ConditionsTo drive your vehicle in deep snow, it may be
necessary to use snow tires or to install tire
chains on your tires. If snow tires are needed,
it is necessary to select tires equivalent in size
and type of the original equipment tires. Failure
to do so may adversely affect the safety and
handling of your car. Furthermore, speeding,
rapid acceleration, sudden brake applications,
and sharp turns are potentially very hazardous
practices.
During deceleration, use engine braking to the
fullest extent. Sudden brake applications on
snowy or icy roads may cause skids to occur.
You need to keep sufficient distance between
the vehicle in operation in front and your vehicle.
Also, apply the brake gently. It should be noted
that installing tire chains on the tire will provide
a greater driving force, but will not prevent side
skids.WINTER DRIVING
C160F01A-AATCheck Spark Plugs and Ignition
SystemInspect your spark plugs as described in Sec-
tion 6 and replace them if necessary. Also
check all ignition wiring and components to be
sure they are not cracked, worn or damaged in
any way.C160E01A-AATChange to "Winter Weight" Oil if
NecessaryIn some climates it is recommended that a lower
viscosity "winter weight" oil be used during cold
weather. See Section 9 for recommendations.
If you aren't sure what weight oil you should use,
consult your Hyundai dealer.
Page 178 of 273
32WHAT TO DO IN AN EMERGENCY
IF THE ENGINE WILL NOT START!
D010A01A-AAT D010B02A-AAT
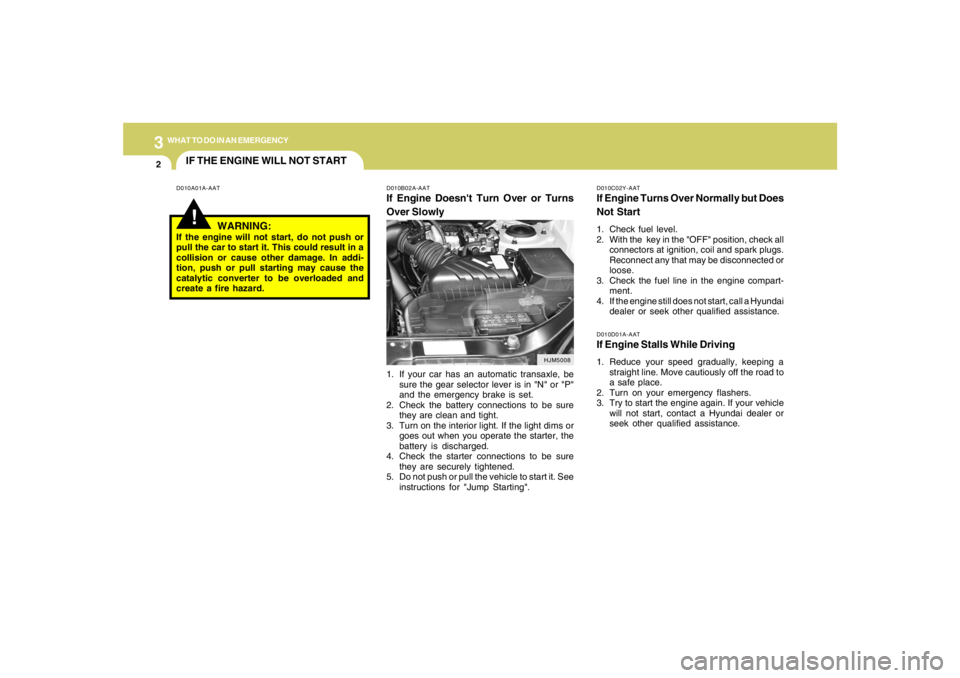
If Engine Doesn't Turn Over or Turns
Over Slowly
D010C02Y-AATIf Engine Turns Over Normally but Does
Not Start1. Check fuel level.
2. With the key in the "OFF" position, check all
connectors at ignition, coil and spark plugs.
Reconnect any that may be disconnected or
loose.
3. Check the fuel line in the engine compart-
ment.
4. If the engine still does not start, call a Hyundai
dealer or seek other qualified assistance.D010D01A-AATIf Engine Stalls While Driving1. Reduce your speed gradually, keeping a
straight line. Move cautiously off the road to
a safe place.
2. Turn on your emergency flashers.
3. Try to start the engine again. If your vehicle
will not start, contact a Hyundai dealer or
seek other qualified assistance.
WARNING:
If the engine will not start, do not push or
pull the car to start it. This could result in a
collision or cause other damage. In addi-
tion, push or pull starting may cause the
catalytic converter to be overloaded and
create a fire hazard.
1. If your car has an automatic transaxle, be
sure the gear selector lever is in "N" or "P"
and the emergency brake is set.
2. Check the battery connections to be sure
they are clean and tight.
3. Turn on the interior light. If the light dims or
goes out when you operate the starter, the
battery is discharged.
4. Check the starter connections to be sure
they are securely tightened.
5. Do not push or pull the vehicle to start it. See
instructions for "Jump Starting".
HJM5008
Page 205 of 273
5
VEHICLE MAINTENANCE REQUIREMENTS8
F070D01A-AATo Manual Transaxle OilInspect the manual transaxle oil according to
the maintenance schedule.NOTE:If the oil level is low, check for possible leaks
before adding oil. Do not overfill.F070F01A-AATo Brake Hoses and LinesVisually check for proper installation, chafing,
cracks, deterioration and any leakage. Replace
any deteriorated or damaged parts immedi-
ately.F070E04A-AATo Automatic Transaxle Fluid and FilterThe fluid level should be in the "HOT" range of
the dipstick, after the engine and transaxle are
at normal operating temperature. Check the
automatic transaxle fluid level with the engine
running and the transaxle in neutral, with the
parking brake properly applied. Use HYUNDAI
GENUINE ATF SP III, DIAMOND ATF SP III, SK
ATF SP III or other brands approved by Hyundai
Motor Co., when adding or changing fluid. Using
the wrong ATF may result in damage to the
ATM.
F070C01A-AATo CoolantThe coolant should be changed at the intervals
specified in the maintenance schedule.F060E01A-AATo Timing BeltInspect all parts related to the timing belt for
damage and deformation. Replace any dam-
aged parts immediately.F060J01A-AATo Spark PlugsMake sure to install new spark plugs of the
correct heat range.F060H01A-AATo Air Cleaner FilterA Genuine Hyundai air cleaner filter is recom-
mended when the filter is replaced.
F060G01A-AATo Vapor Hose and Fuel Filler CapThe vapor hose and fuel filler cap should be
inspected at those intervals specified in the
maintenance schedule. Make sure that a new
vapor hose or fuel filler cap is correctly re-
placed.F065F01O-AATo Crankcase Ventilation HoseInspect the surface of hose for evidence of heat
and/or mechanical damage. Hard and brittle
rubber, cracking, tears, cuts, abrasions, and
excessive swelling indicate deterioration. Par-
ticular attention should be paid to examine that
hose surface nearest to high heat sources,
such as the exhaust manifold.
Inspect the hose routing to assure that the hose
does not come in contact with any heat source,
sharp edges or moving component which might
cause heat damage or mechanical wear. In-
spect all hose connections, such as clamps and
couplings, to make sure they are secure, and
that no leaks are present. Hose should be
replaced immediately if there is any evidence of
deterioration or damage.
Page 206 of 273
5
VEHICLE MAINTENANCE REQUIREMENTS
9
F070L01A-AATo Suspension Mounting BoltsCheck the suspension connections for loose-
ness or damage. Retighten to the specified
torque.
F070G02A-AATo Brake FluidCheck brake fluid level in the brake fluid reser-
voir. The level should be between "MIN" and
"MAX" marks on the side of the reservoir. Use
only hydraulic brake fluid conforming to DOT 3
or DOT 4.
F070K01A-AATo Exhaust Pipe and MufflerVisually inspect the exhaust pipes, muffler and
hangers for cracks, deterioration, or damage.
Start the engine and listen carefully for any
exhaust gas leakage. Tighten connections or
replace parts as necessary.
F070J01A-AATo Brake Pads, Calipers and RotorsCheck the pads for excessive wear, discs for
run out and wear, and calipers for fluid leakage.F070H01O-AATo Rear Brake Discs and Linings/
Parking BrakeCheck the rear brake discs and linings for
scoring, burning, leaking fluid, broken parts,
and excessive wear. Inspect the parking brake
system including the parking brake lever and
cables. For detailed service procedures, refer
to the Shop Manual.
F070M01A-AATo Steering Gear Box, Linkage & Boots/
Lower Arm Ball JointWith the vehicle stopped and engine off, check
for excessive free-play in the steering wheel.
Check the linkage for bends or damage. Check
the dust boots and ball joints for deterioration,
cracks, or damage. Replace any damaged
parts.
F070Q01A-AATo Air Conditioning RefrigerantCheck the air conditioning lines and connec-
tions for leakage and damage. Check air con-
ditioning performance according to the relevant
shop manual if necessary.F070P01A-AATo Driveshafts and BootsCheck the drive shafts, boots and clamps for
cracks, deterioration, or damage. Replace any
damaged parts and, if necessary, repack the
grease.F070N01A-AATo Power Steering Pump, Belt and HosesCheck the power steering pump and hoses for
leakage and damage. Replace any damaged or
leaking parts immediately. Inspect the power
steering belt for evidence of cuts, cracks, ex-
cessive wear, oiliness and proper tension.
Replace or adjust it if necessary.
Page 207 of 273
6
Engine Compartment .................................................... 6-2
General Checks ............................................................ 6-4
Checking the Engine Oil ............................................... 6-5
Changing the Oil and Filter ............................................ 6-6
Checking and Changing the Engine Coolant ................ 6-8
Spark Plugs................................................................6-10
Changing the Air Cleaner Filter ...................................6-11
Checking the Transaxle Oil (Manual) .........................6-13
Checking the Transaxle Fluid (Automatic)..................6-14
Checking the Brakes ..................................................6-15
Checking the Clutch Fluid...........................................6-16
Air Conditioning Care..................................................6-17
Changing the Air Conditioner Filter .............................6-18
Checking the Free-play...............................................6-19
Checking Drive Belts ..................................................6-21
Checking and Replacing Fuses..................................6-21
Checking the Battery..................................................6-23
Power Steering Fluid Level .........................................6-24
Replacement of Light Bulbs ........................................6-26
Bulb Wattage ...............................................................6-34
Fuse Panel Description...............................................6-35
6
DO-IT-YOURSELF MAINTENANCE