Page 387 of 539
1CONTROLS AND EQUIPMENT
82
!
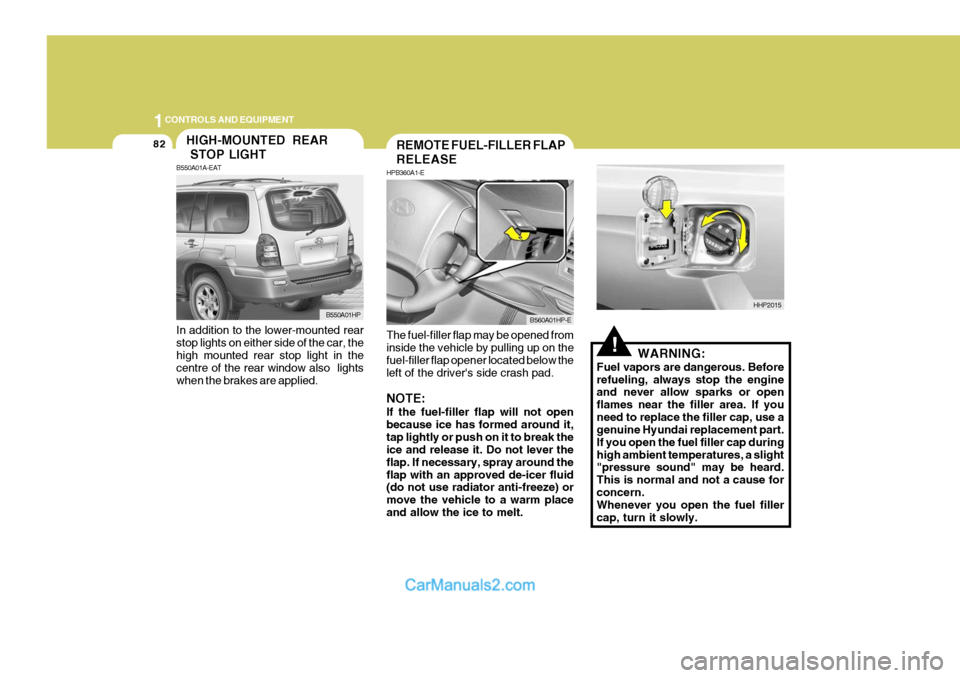
The fuel-filler flap may be opened from inside the vehicle by pulling up on the fuel-filler flap opener located below theleft of the driver's side crash pad. NOTE: If the fuel-filler flap will not open because ice has formed around it,tap lightly or push on it to break the ice and release it. Do not lever the flap. If necessary, spray around theflap with an approved de-icer fluid (do not use radiator anti-freeze) or move the vehicle to a warm placeand allow the ice to melt. WARNING:
Fuel vapors are dangerous. Beforerefueling, always stop the engine and never allow sparks or open flames near the filler area. If youneed to replace the filler cap, use a genuine Hyundai replacement part. If you open the fuel filler cap duringhigh ambient temperatures, a slight "pressure sound" may be heard. This is normal and not a cause forconcern. Whenever you open the fuel filler cap, turn it slowly.
REMOTE FUEL-FILLER FLAP RELEASE
HPB360A1-E
B560A01HP-E
HHP2015
In addition to the lower-mounted rear stop lights on either side of the car, the high mounted rear stop light in the centre of the rear window also lightswhen the brakes are applied.
HIGH-MOUNTED REAR STOP LIGHT
B550A01A-EAT
B550A01HP
Page 388 of 539
1
CONTROLS AND EQUIPMENT
83
HHP2017-1
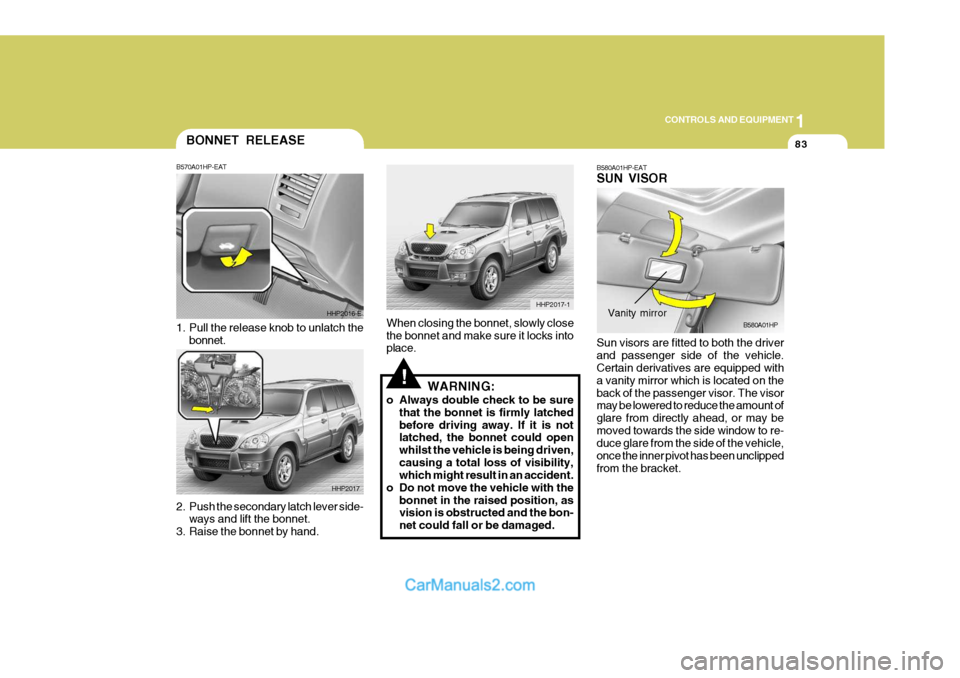
BONNET RELEASE
2. Push the secondary latch lever side-
ways and lift the bonnet.
3. Raise the bonnet by hand. B570A01HP-EAT
1. Pull the release knob to unlatch the
bonnet. HHP2016-E
HHP2017
!
When closing the bonnet, slowly close the bonnet and make sure it locks into place. WARNING:
o Always double check to be sure that the bonnet is firmly latched before driving away. If it is not latched, the bonnet could open whilst the vehicle is being driven,causing a total loss of visibility, which might result in an accident.
o Do not move the vehicle with the bonnet in the raised position, asvision is obstructed and the bon- net could fall or be damaged. B580A01HP-EAT SUN VISOR Sun visors are fitted to both the driver and passenger side of the vehicle. Certain derivatives are equipped with a vanity mirror which is located on theback of the passenger visor. The visor may be lowered to reduce the amount of glare from directly ahead, or may bemoved towards the side window to re- duce glare from the side of the vehicle, once the inner pivot has been unclippedfrom the bracket.B580A01HPVanity mirror
Page 389 of 539
1CONTROLS AND EQUIPMENT
84
A red light comes on when the front door is opened. The purpose of this light is to assist when you get in or out and also to warn passing vehicles.Press the pad on the steering wheel tosound the horn.FRONT DOOR EDGE WARNING LIGHT
B620A01S-EAT
B620A01HP-EHHP2070
!
NOTE: The Supplemental Restraint Sys- tem (SRS) label containing useful information can be found in the frontof each sun visor.
WARNING:
Do not place the sun visor in such amanner that it obscures visibility ofthe roadway, traffic or other objects.
HORN
B610A01L-GAT
Page 390 of 539
1
CONTROLS AND EQUIPMENT
85
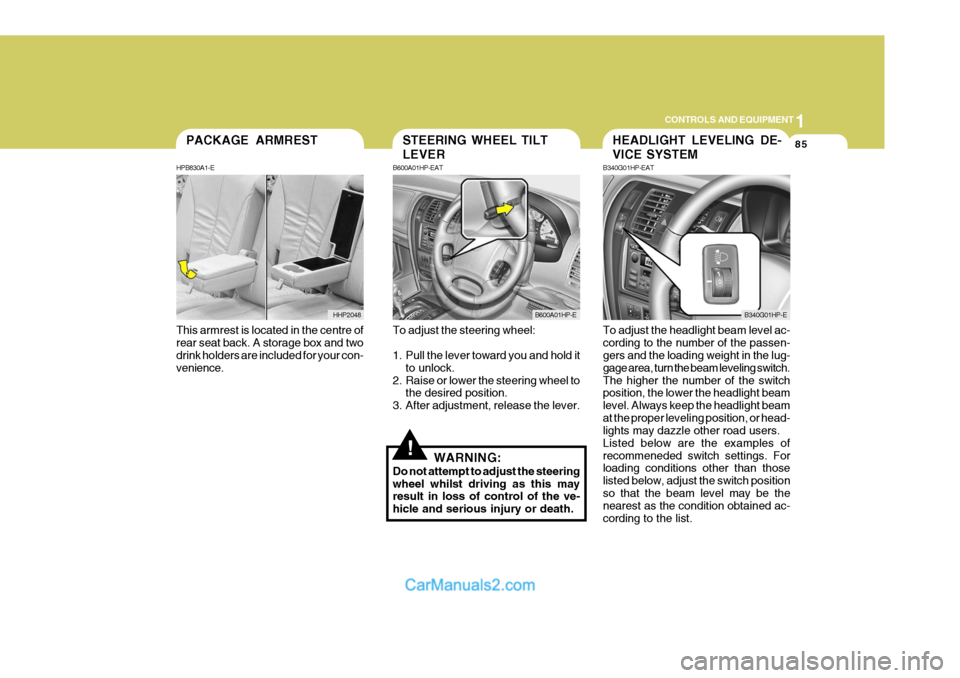
This armrest is located in the centre of rear seat back. A storage box and two drink holders are included for your con- venience.PACKAGE ARMREST
HPB830A1-E
HHP2048
!
To adjust the steering wheel:
1. Pull the lever toward you and hold it to unlock.
2. Raise or lower the steering wheel to the desired position.
3. After adjustment, release the lever.
WARNING:
Do not attempt to adjust the steering wheel whilst driving as this may result in loss of control of the ve- hicle and serious injury or death. To adjust the headlight beam level ac-cording to the number of the passen- gers and the loading weight in the lug- gage area, turn the beam leveling switch.The higher the number of the switch position, the lower the headlight beam level. Always keep the headlight beamat the proper leveling position, or head- lights may dazzle other road users. Listed below are the examples ofrecommeneded switch settings. For loading conditions other than those listed below, adjust the switch positionso that the beam level may be the nearest as the condition obtained ac- cording to the list.
STEERING WHEEL TILT LEVER
B600A01HP-EAT
B600A01HP-E
HEADLIGHT LEVELING DE- VICE SYSTEM
B340G01HP-EAT
B340G01HP-E
Page 393 of 539
1CONTROLS AND EQUIPMENT
88
!
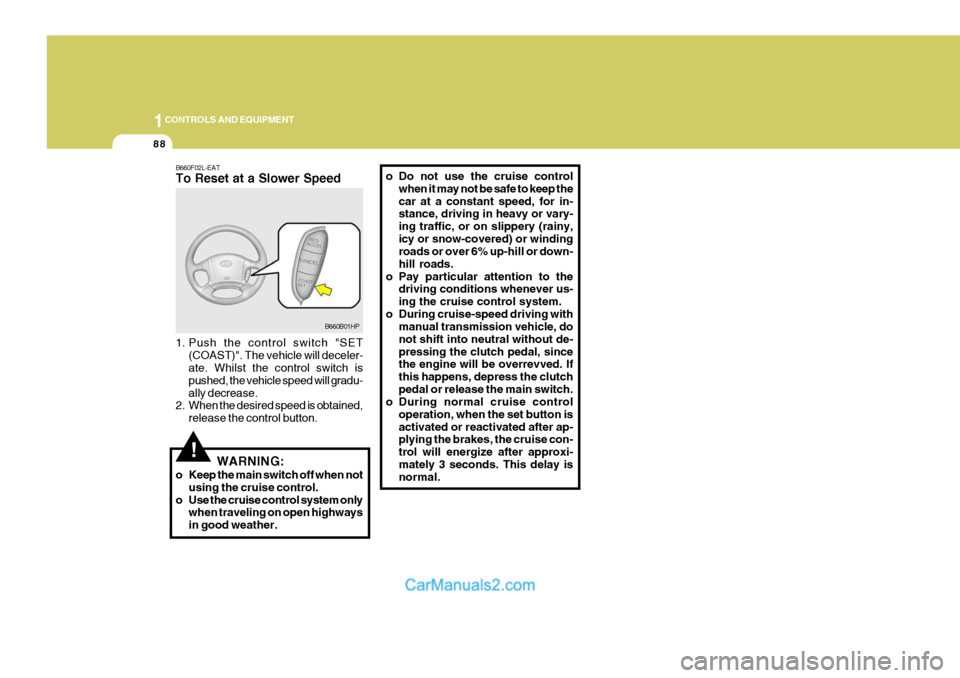
B660F02L-EAT To Reset at a Slower Speed
1. Push the control switch "SET
(COAST)". The vehicle will deceler- ate. Whilst the control switch is pushed, the vehicle speed will gradu-ally decrease.
2. When the desired speed is obtained,
release the control button. o Do not use the cruise control
when it may not be safe to keep thecar at a constant speed, for in- stance, driving in heavy or vary- ing traffic, or on slippery (rainy,icy or snow-covered) or winding roads or over 6% up-hill or down- hill roads.
o Pay particular attention to the driving conditions whenever us-ing the cruise control system.
o During cruise-speed driving with manual transmission vehicle, donot shift into neutral without de-pressing the clutch pedal, since the engine will be overrevved. If this happens, depress the clutchpedal or release the main switch.
o During normal cruise control
operation, when the set button isactivated or reactivated after ap- plying the brakes, the cruise con- trol will energize after approxi-mately 3 seconds. This delay is normal.
WARNING:
o Keep the main switch off when not using the cruise control.
o Use the cruise control system only when traveling on open highways in good weather.
B660B01HP
Page 412 of 539
1
CONTROLS AND EQUIPMENT
107
!WARNING:
Don't use a cellular phone when you are driving, you must stop at a safe place to use a cellular phone.
ANTENNA
!
B870A01A-GAT Fixed Rod Antenna Your car uses a fixed rod antenna to receive both AM and FM broadcast signals. This antenna is a removable type. Toremove the antenna, turn the antenna counterclockwise. To install the an- tenna, turn the antenna clockwise. CAUTION:
Be sure to remove the antenna be- fore washing the car in an auto- matic car wash or the antenna maybe damaged.
B870C01HP-D
Page 415 of 539
2 DRIVING YOUR HYUNDAI
2
C010A01HP-EAT
WARNING: ENGINE EXHAUST CAN BE DANGEROUS!
Engine exhaust gases are potentially lethal. If at any time engine exhaust gas is detected within the passenger compartment, move the vehicle to an open area and open all windows. o Never inhale exhaust gas. Exhaust gases contain Carbon Monoxide which is colourless and odourless. Carbon Monoxide is poisonous and can cause unconsciousness and death by asphyxiation. o Exhaust System Maintenance. Ensure that the exhaust system is maintained in good condition and is free from excessive corrosion and damage which may result in leakage. If the vehicle is driven over an object which strikes the exhaust system,ensure that the exhaust system is inspected at the first available opportunity to ensure that no leakage exists. o Confined Areas. Do not run the engine in confined spaces, allowing the engine to idle in a garage, even when the doors are open is dangerous practice. Only start the engine immediately prior to moving the vehicle out of the garage. o Prolonged Idling. If it is necessary to allow the vehicle to idle for prolonged periods, ensure that the heating system air intake control is set to the "Fresh" position, the blower is set to high speed operation and that the vehicle is standing in an open area. o Load Carrying. If it is necessary to carry long objects which do not permit the hatchback door to be fully closed, the side windows must remain closed and the heating air intake control set to the "Fresh" position with the blower running at the highest speed setting. To ensure correct operation of the heater system, the air intake grilles at the base of the windscreen must not be obstructed by snow leaves etc..
!
Page 416 of 539
2
DRIVING YOUR HYUNDAI
3
!WARNING:
Your vehicle is equipped with tyres designed to provide for safe ride and handling capability.Do not use a size and type of tyre and wheel that is different from the one that was originally installed on yourvehicle. It can affect the safety and performance of your vehicle, which could lead to handling failure orrollover and serious injury. When replacing the tyres, be sure to equip all four tyres with the tyre andwheel of the same size, type, tread, brand and load-carrying capacity. If you nevertheless decide to equipyour vehicle with any tyre/wheel com- bination not recommended by Hyundai for off-road driving, youshould not use these tyres for high- way driving.
TO START THE ENGINEBEFORE STARTING THE ENGINE
C020A01A-EAT Before you start the engine, you should always:
1. Look around the vehicle to be sure
there are no flat tyres, puddles of oil or water or other indications of pos- sible trouble.
2. After entering the car, check to be
sure the parking brake is engaged.
3. Check that all windows, and lights
are clean.
4. Check that the interior and exterior mirrors are clean and in position.
5. Check your seat, seatback and headrest to be sure they are in theirproper positions.
6. Close all the doors.
7. Fasten your seat belt and be sure that all other occupants have fas-tened theirs.
8. Turn off all lights and accessories that are not needed.
9. When you turn the ignition switch to "ON" check that all appropriate warning lights are operating and that you have sufficient fuel.
10.Check the operation of warning lights and all bulbs when key is inthe "ON" position. C030A01HP-EAT Cmbination Ignition Switch and Steering Lock
o If your Hyundai is equipped with a
manual transmission, place the shift lever in neutral and depress the clutch pedal fully.
o If your Hyundai has an automatic
transmission, place the shift lever in"P" (park).
o To start the engine, insert the igni- tion key and turn it to the "START"position. Release it as soon as the engine starts. Do not hold the key inthe "START" position for more than 15 seconds.
NOTE: For safety, the engine will not start if the shift lever is not in "P" or "N" position (Automatic Transmission).