Page 358 of 414

With the PAX system tires, you can
drive up to about 125 miles (200 km)
even if one or more of your tires are
punctured. This allows you to drive
to the nearest Honda dealer or
authorized Michelin PAX system
dealer to have the tire(s) repaired.
If you get a f lat tire, never try to
repair it yourself , and never replace a
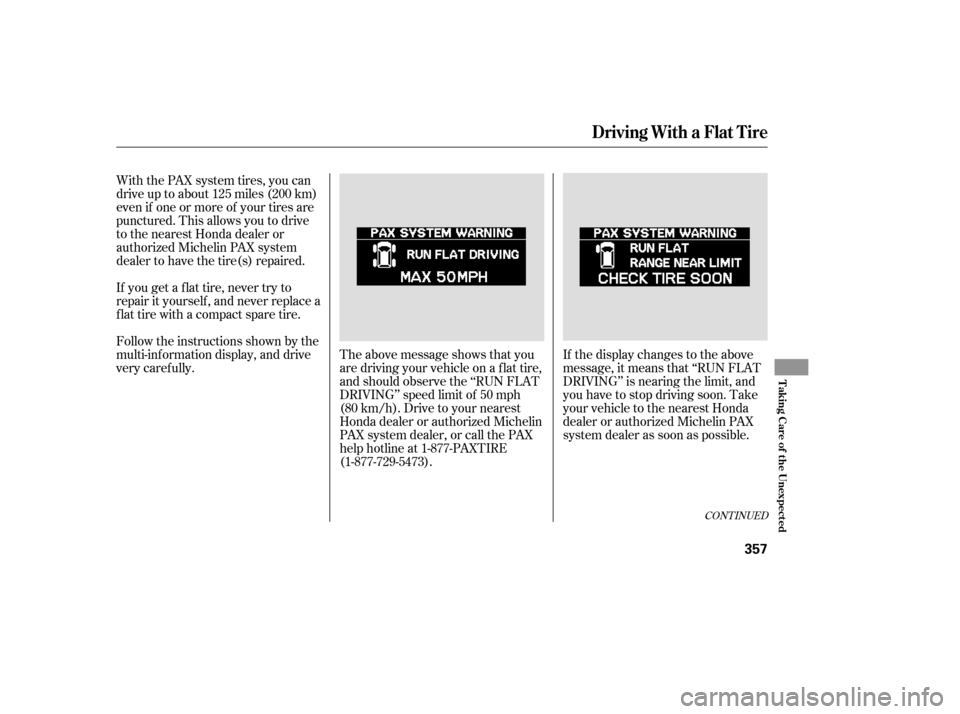
flat tire with a compact spare tire.The above message shows that you
are driving your vehicle on a flat tire,
andshouldobservethe‘‘RUNFLAT
DRIVING’’ speed limit of 50 mph
(80 km/h). Drive to your nearest
Honda dealer or authorized Michelin
PAX system dealer, or call the PAX
help hotline at 1-877-PAXTIRE
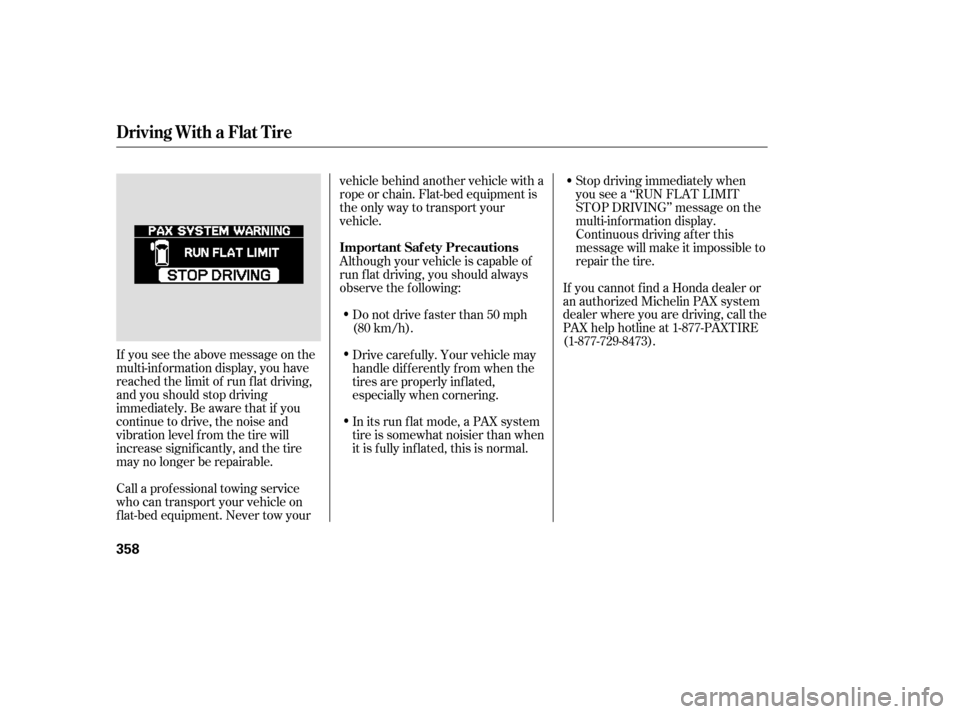
(1-877-729-5473).If the display changes to the above
message, it means that ‘‘RUN FLAT
DRIVING’’ is nearing the limit, and
you have to stop driving soon. Take
your vehicle to the nearest Honda
dealer or authorized Michelin PAX
system dealer as soon as possible.
Follow the instructions shown by the
multi-inf ormation display, and drive
very caref ully.
CONT INUED
Driving With a Flat Tire
T aking Care of t he Unexpect ed
357
Page 359 of 414

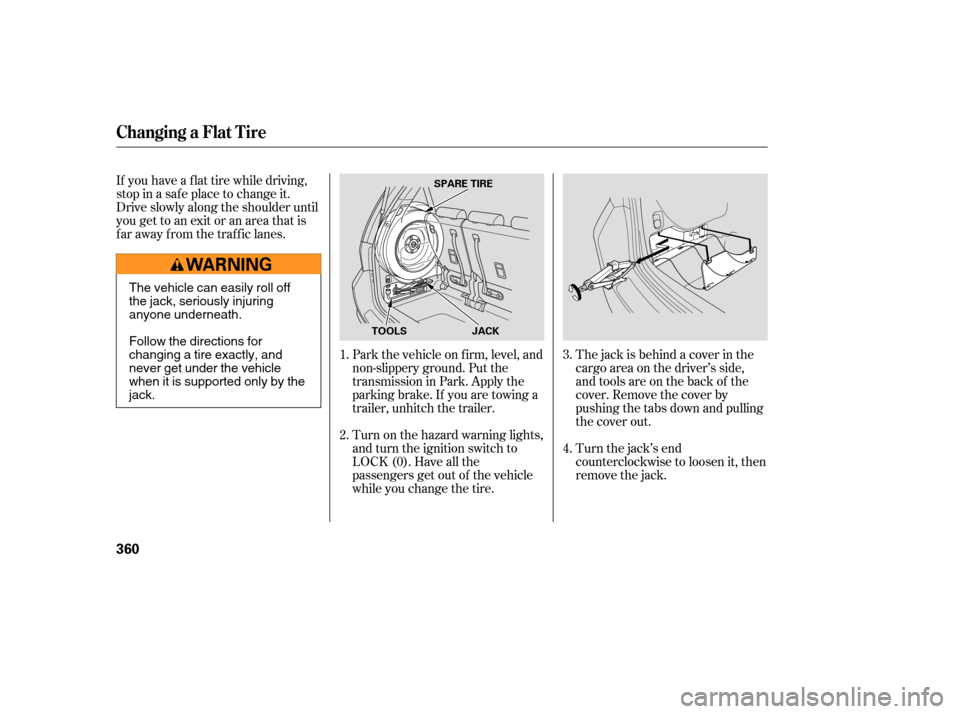
If you see the above message on the
multi-inf ormation display, you have
reached the limit of run f lat driving,
and you should stop driving
immediately. Be aware that if you
continue to drive, the noise and
vibration level f rom the tire will
increase signif icantly, and the tire
may no longer be repairable.Stop driving immediately when
you see a ‘‘RUN FLAT LIMIT
STOP DRIVING’’ message on the
multi-inf ormation display.
Continuous driving af ter this
message will make it impossible to
repair the tire.
If you cannot f ind a Honda dealer or
an authorized Michelin PAX system
dealer where you are driving, call the
PAX help hotline at 1-877-PAXTIRE
(1-877-729-8473).
Call a prof essional towing service
who can transport your vehicle on
f lat-bed equipment. Never tow your vehicle behind another vehicle with a
rope or chain. Flat-bed equipment is
the only way to transport your
vehicle.
Do not drive f aster than 50 mph
(80 km/h).
Drive caref ully. Your vehicle may
handle dif f erently f rom when the
tires are properly inf lated,
especially when cornering.
In its run f lat mode, a PAX system
tire is somewhat noisier than when
it is f ully inf lated, this is normal.
Although your vehicle is capable of
runflatdriving,youshouldalways
observe the f ollowing:
Driving With a Flat Tire
Important Saf ety Precautions
358
Page 361 of 414

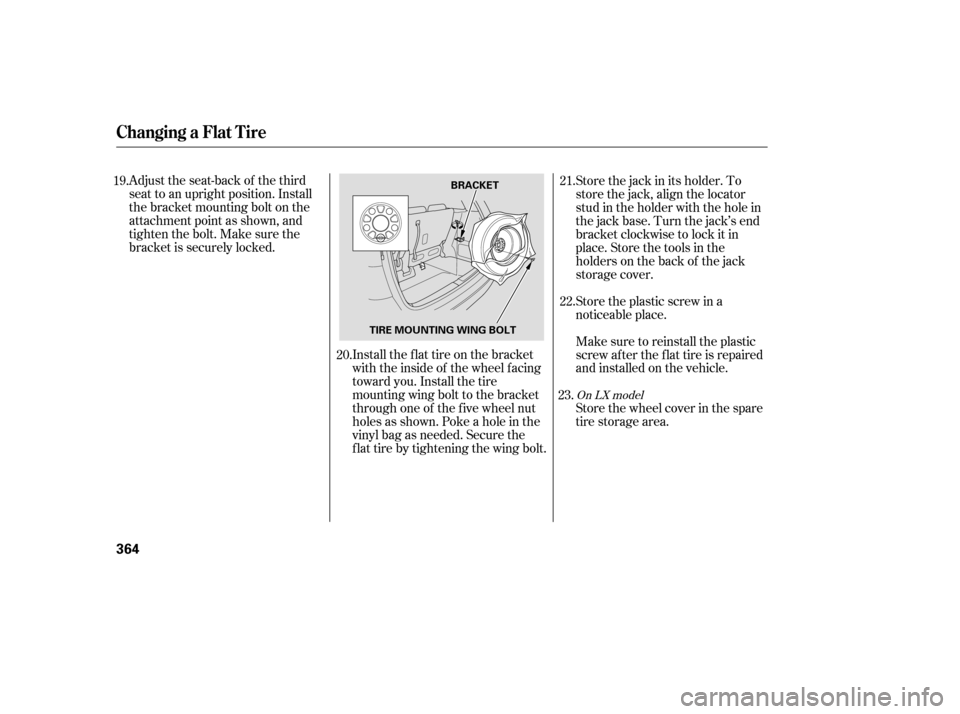
If you have a f lat tire while driving,
stop in a saf e place to change it.
Drive slowly along the shoulder until
you get to an exit or an area that is
far away from the traffic lanes.Turn on the hazard warning lights,
and turn the ignition switch to
LOCK (0). Have all the
passengers get out of the vehicle
while you change the tire. Park the vehicle on f irm, level, and
non-slippery ground. Put the
transmission in Park. Apply the
parking brake. If you are towing a
trailer, unhitch the trailer.The jack is behind a cover in the
cargo area on the driver’s side,
and tools are on the back of the
cover. Remove the cover by
pushing the tabs down and pulling
the cover out.
Turn the jack’s end
counterclockwise to loosen it, then
remove the jack.
2. 1.
3.
4.
Changing a Flat T ire
360
JACK
SPARE TIRE
TOOLS
The vehicle can easily roll off
the jack, seriously injuring
anyone underneath.
Follow the directions for
changing a tire exactly, and
never get under the vehicle
when it is supported only by the
jack.
Page 362 of 414
The spare tire is stored behind a
cover on the sidewall of the cargo
area on the driver’s side.
Remove the cover by holding the
two handles and pulling the cover
out.
Unscrew the wing bolt, and take
the spare tire out of its holder.If you are changing a rear tire,
close the sliding door. Then turn
of f the sliding door MAIN switch.
Loosen each wheel nut 1/2 turn
with the wheel nut wrench.
Placethejackunderthejacking
point nearest the tire you need to
change. Turn the end bracket
clockwise until the top of the jack
contacts the jacking point. Make
sure the jacking point tab is
restinginthejacknotch.
5.
6. 7.
8.
9.
CONT INUED
On EX model
Changing a Flat T ire
T aking Care of t he Unexpect ed
361
WHEEL NUTS
Page 363 of 414
Use the extension and the wheel
nut wrench as shown to raise the
vehicle until the f lat tire is of f the
ground.
Remove the wheel nuts, then
remove the f lat tire. Handle the
wheel nuts caref ully; they may be
hot f rom driving. Place the f lat tire
on the ground with the outside
surface facing up.Do not attempt to forcibly pry the
wheel cover of f with a screwdriver or
other tool. The wheel cover cannot
be removed without f irst removing
the wheel nuts.
Bef ore mounting the spare tire,
wipe any dirt of f the mounting
surface of the wheel and hub with
a clean cloth. Wipe the hub
carefully;itmaybehotfrom
driving.
11. 10. 12.On LX model
Changing a Flat T ire
362
WHEEL
WRENCH
EXTENSION
WHEEL COVER
HAB
Page 364 of 414
Tighten the wheel nuts securely in
the same crisscross pattern. Have
the wheel nut torque checked at
the nearest automotive service
f acility.
Tighten the wheel nuts to:Remove the bracket from the jack
storageareabyunscrewingthe
bracket mounting bolt.
Put the f lat tire in the supplied
vinyl bag. This bag is in the jack
storage area. You will f ind a u-shaped slit on the
carpet behind the seat bottom of
the third seat. Pull up the carpet at
the slit, and remove the plastic
screw with a coin.
Lower the vehicle to the ground,
and remove the jack. Put on the spare tire. Put the
wheel nuts back on f inger-tight,
then tighten them in a crisscross
pattern with the wheel nut wrench
until the wheel is f irmly against
the hub. Do not try to tighten
them f ully.
13.
14. 15.17.
18.
16.
CONT INUED
Changing a Flat T ire
T aking Care of t he Unexpect ed
363
BRACKET BRACKET MOUNTING BOLT
94 lbf·ft (127 N·m , 13 kgf·m)
Page 365 of 414

Adjust the seat-back of the third
seat to an upright position. Install
thebracketmountingboltonthe
attachment point as shown, and
tighten the bolt. Make sure the
bracket is securely locked.Install the flat tire on the bracket
with the inside of the wheel facing
toward you. Install the tire
mounting wing bolt to the bracket
through one of the f ive wheel nut
holes as shown. Poke a hole in the
vinyl bag as needed. Secure the
flat tire by tightening the wing bolt.Store the jack in its holder. To
store the jack, align the locator
stud in the holder with the hole in
the jack base. Turn the jack’s end
bracket clockwise to lock it in
place. Store the tools in the
holders on the back of the jack
storage cover.
Store the plastic screw in a
noticeable place.
Make sure to reinstall the plastic
screw af ter the f lat tire is repaired
andinstalledonthevehicle.
Store the wheel cover in the spare
tire storage area.
19.
20.21.
22.
23.
On LX model
Changing a Flat T ire
364
BRACKET
TIRE MOUNTING WING BOLT
Page 366 of 414
Place the flat tire face down on the
attachment point. Put the tire
mountingwingboltinthe
attachment point through one of
the f ive wheel nut holes as shown.
Poke holes in the vinyl bag. Secure
the f lat tire by tightening the wing
bolt.
Follow step 21 through 24 on page.
When the third seat is f olded, the
f lat tire is secured to the f loor on top
of the f olded seat.
Pull up the U-shaped carpet piece,
f old it, and tack the end under the
carpet.
Remove the plastic screw as
described in the previous
procedure.
Install the spare tire storage cover.
1.
3.
4.
2.
364
24.
Changing a Flat T ire
St oring a Flat T ire on t he Folded
Third Seat
T aking Care of t he Unexpect ed
365
Loose items can fly around the
interior in a crash and could
seriously injure the occupants.
Store the wheel, jack, and tools
securely before driving.