2005 GMC SIERRA DENALI service
[x] Cancel search: servicePage 206 of 428
Radio Reception
AM
The range for most AM stations is greater than for FM,
especially at night. The longer range can cause
station frequencies to interfere with each other. Static
can occur on AM stations caused by things like
storms and power lines. Try reducing the treble to
reduce this noise.
FM Stereo
FM stereo will give the best sound, but FM signals will
reach only about 10 to 40 miles (16 to 65 km). Tall
buildings or hills can interfere with FM signals, causing
the sound to fade in and out.
XM™ Satellite Radio Service
XM™ Satellite Radio Service gives digital radio
reception from coast to coast. Just as with FM, tall
buildings or hills can interfere with satellite radio signals,
causing the sound to fade in and out. The radio may
display NO SIGNAL to indicate interference.
Care of Your Cassette Tape Player
A tape player that is not cleaned regularly can cause
reduced sound quality, ruined cassettes, or a damaged
mechanism. Cassette tapes should be stored in their
cases away from contaminants, direct sunlight, and
extreme heat. If they are not, they may not operate
properly or may cause failure of the tape player.
The tape player should be cleaned regularly after every
50 hours of use. The radio may display CLN to
indicate that the tape player has been used for 50 hours
without resetting the tape clean timer. If this message
appears on the display, the cassette tape player
needs to be cleaned. It will still play tapes, but it should
be cleaned as soon as possible to prevent damage
to the tapes and player. If there is a reduction in sound
quality, try a known good cassette to see if the tape
or the tape player is at fault. If this other cassette has no
improvement in sound quality, clean the tape player.
For best results, use a scrubbing action, non-abrasive
cleaning cassette with pads which scrub the tape
head as the hubs of the cleaner cassette turn. The
recommended cleaning cassette is available through
your dealer.
3-92
Page 207 of 428
The cut tape detection feature of the cassette tape
player may identify the cleaning cassette as a damaged
tape, in error. To prevent the cleaning cassette from
being ejected, use the following steps:
1. Turn the ignition on.
2. Turn the radio off.
3. Press and hold the TAPE AUX button for �ve
seconds. The tape symbol on the display will
�ash for two seconds.
4. Insert the scrubbing action cleaning cassette.
5. Eject the cleaning cassette after the manufacturer’s
recommended cleaning time.
After the cleaning cassette is ejected, the cut tape
detection feature will be active again.
A non-scrubbing action, wet-type cleaner which uses a
cassette with a fabric belt to clean the tape head
can be used. This type of cleaning cassette will not
eject on its own. A non-scrubbing action cleaner may not
clean as thoroughly as the scrubbing type cleaner.
The use of a non-scrubbing action, dry-type cleaning
cassette is not recommended.
After the player is cleaned, press and hold the EJECT
button for �ve seconds to reset the CLN indicator.
The radio will display --- or CLEANED to show the
indicator was reset.Cassettes are subject to wear and the sound quality
may degrade over time. Always make sure the cassette
tape is in good condition before the tape player is
serviced.
Care of Your CDs
Handle CDs carefully. Store them in their original cases
or other protective cases and away from direct
sunlight and dust. If the surface of a CD is soiled,
dampen a clean, soft cloth in a mild, neutral detergent
solution and clean it, wiping from the center to the edge.
Be sure never to touch the side without writing when
handling CDs. Pick up CDs by grasping the outer edges
or the edge of the hole and the outer edge.
Care of Your CD Player
The use of CD lens cleaners for CD players is not
advised, due to the risk of contaminating the lens of the
CD optics with lubricants internal to the CD mechanism.
3-93
Page 214 of 428
Avoid needless heavy braking. Some people drive in
spurts — heavy acceleration followed by heavy
braking — rather than keeping pace with traffic. This is a
mistake. Your brakes may not have time to cool between
hard stops. Your brakes will wear out much faster if you
do a lot of heavy braking. If you keep pace with the traffic
and allow realistic following distances, you will eliminate a
lot of unnecessary braking. That means better braking
and longer brake life.
If your engine ever stops while you are driving, brake
normally but do not pump your brakes. If you do,
the pedal may get harder to push down. If your engine
stops, you will still have some power brake assist.
But you will use it when you brake. Once the power
assist is used up, it may take longer to stop and
the brake pedal will be harder to push.Anti-Lock Brake System (ABS)
Your vehicle has anti-lock brakes. ABS is an advanced
electronic braking system that will help prevent a
braking skid.
When you start your engine and begin to drive away,
your anti-lock brake system will check itself. You
may hear a momentary motor or clicking noise while
this test is going on. This is normal.
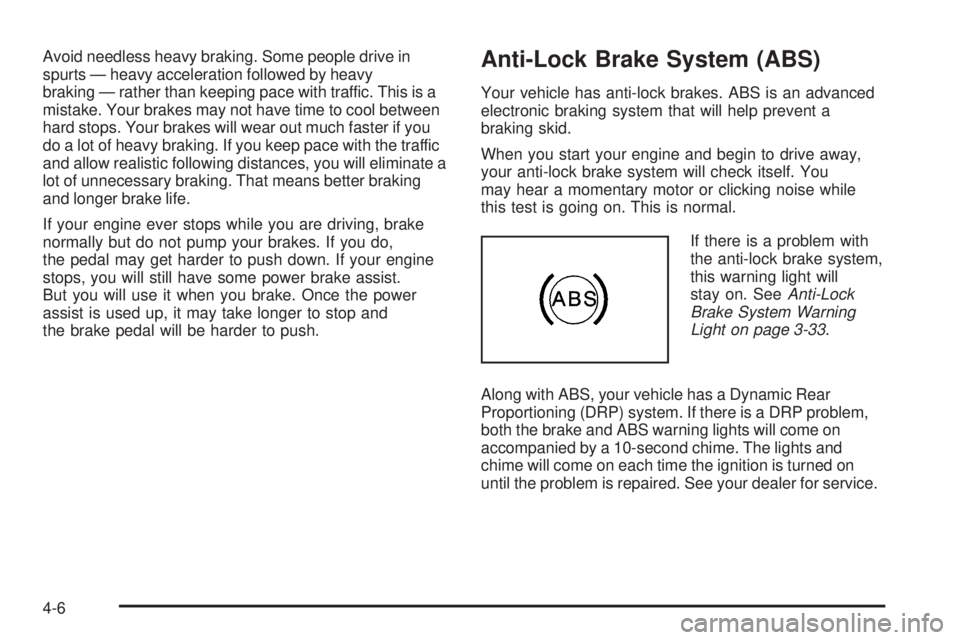
If there is a problem with
the anti-lock brake system,
this warning light will
stay on. SeeAnti-Lock
Brake System Warning
Light on page 3-33.
Along with ABS, your vehicle has a Dynamic Rear
Proportioning (DRP) system. If there is a DRP problem,
both the brake and ABS warning lights will come on
accompanied by a 10-second chime. The lights and
chime will come on each time the ignition is turned on
until the problem is repaired. See your dealer for service.
4-6
Page 221 of 428
Operating Your All-Wheel-Drive
Vehicle Off Paved Roads
If your vehicle has 20-inch tire/wheel assemblies, you
should not drive off-road unless you are on a level, solid
surface. SeeTires on page 5-56.
Many of the same design features that help make your
vehicle responsive on paved roads during poor
weather conditions — features like the locking rear axle
and all-wheel drive — help make it much better
suited for off-road use than a conventional passenger
car. Its higher ground clearance also helps your vehicle
step over some off-road obstacles. But your vehicle
does not have features like special underbody shielding
and a transfer case low gear range, things that are
usually thought necessary for extended or severe
off-road service. This guide is for operating your vehicle
off paved roads.
Also, seeBraking on page 4-5.
Off-road driving can be great fun. But it does have
some de�nite hazards. The greatest of these is
the terrain itself.“Off-roading” means you have left the great North
American road system behind. Traffic lanes are not
marked. Curves are not banked. There are no
road signs. Surfaces can be slippery, rough, uphill or
downhill. In short, you have gone right back to nature.
Off-road driving involves some new skills. And that
is why it is very important that you read this guide. You
will �nd many driving tips and suggestions. These
will help make your off-road driving safer and more
enjoyable.
Before You Go Off-Roading
There are some things to do before you go out. For
example, be sure to have all necessary maintenance
and service work done. Check to make sure all
underbody shields (if so equipped) are properly
attached. Is there enough fuel? Is the spare tire fully
in�ated? Are the �uid levels up where they should be?
What are the local laws that apply to off-roading
where you will be driving? If you do not know, you
should check with law enforcement people in the area.
Will you be on someone’s private land? If so, be
sure to get the necessary permission.
4-13
Page 233 of 428
{CAUTION:
Driving through rushing water can be
dangerous. Deep water can sweep your vehicle
downstream and you and your passengers
could drown. If it is only shallow water, it can
still wash away the ground from under your
tires, and you could lose traction and roll the
vehicle over. Do not drive through rushing
water.
SeeDriving in Rain and on Wet Roads on page 4-28for
more information on driving through water.
After Off-Road Driving
Remove any brush or debris that has collected on the
underbody, chassis or under the hood. These
accumulations can be a �re hazard.
After operation in mud or sand, have the brake linings
cleaned and checked. These substances can cause
glazing and uneven braking. Check the body structure,
steering, suspension, wheels, tires and exhaust
system for damage. Also, check the fuel lines and
cooling system for any leakage.
Your vehicle will require more frequent service due to
off-road use. Refer to the Maintenance Schedule
for additional information.
4-25
Page 241 of 428
Reduce your speed according to your speedometer, not
to your sense of motion. After driving for any distance
at higher speeds, you may tend to think you are
going slower than you actually are.
Before Leaving on a Long Trip
Make sure you are ready. Try to be well rested. If you
must start when you are not fresh — such as after
a day’s work — do not plan to make too many miles that
�rst part of the journey. Wear comfortable clothing
and shoes you can easily drive in.
Is your vehicle ready for a long trip? If you keep it
serviced and maintained, it is ready to go. If it needs
service, have it done before starting out. Of course, you
will �nd experienced and able service experts in GM
dealerships all across North America. They will be ready
and willing to help if you need it.
Here are some things you can check before a trip:
Windshield Washer Fluid:Is the reservoir full? Are
all windows clean inside and outside?
Wiper Blades:Are they in good shape?
Fuel, Engine Oil, Other Fluids:Have you checked
all levels?
Lamps:Are they all working? Are the lenses clean?
Tires:They are vitally important to a safe,
trouble-free trip. Is the tread good enough for
long-distance driving? Are the tires all in�ated to the
recommended pressure?
Weather Forecasts:What is the weather outlook
along your route? Should you delay your trip a
short time to avoid a major storm system?
Maps:Do you have up-to-date maps?
Highway Hypnosis
Is there actually such a condition as highway hypnosis?
Or is it just plain falling asleep at the wheel? Call it
highway hypnosis, lack of awareness, or whatever.
There is something about an easy stretch of road with
the same scenery, along with the hum of the tires on the
road, the drone of the engine, and the rush of the
wind against the vehicle that can make you sleepy. Do
not let it happen to you! If it does, your vehicle can
leave the road in less than a second, and you could
crash and be injured.
What can you do about highway hypnosis? First, be
aware that it can happen.
4-33
Page 242 of 428
Then here are some tips:
Make sure your vehicle is well ventilated, with a
comfortably cool interior.
Keep your eyes moving. Scan the road ahead and
to the sides. Check your mirrors and your
instruments frequently.
If you get sleepy, pull off the road into a rest,
service, or parking area and take a nap, get some
exercise, or both. For safety, treat drowsiness
on the highway as an emergency.
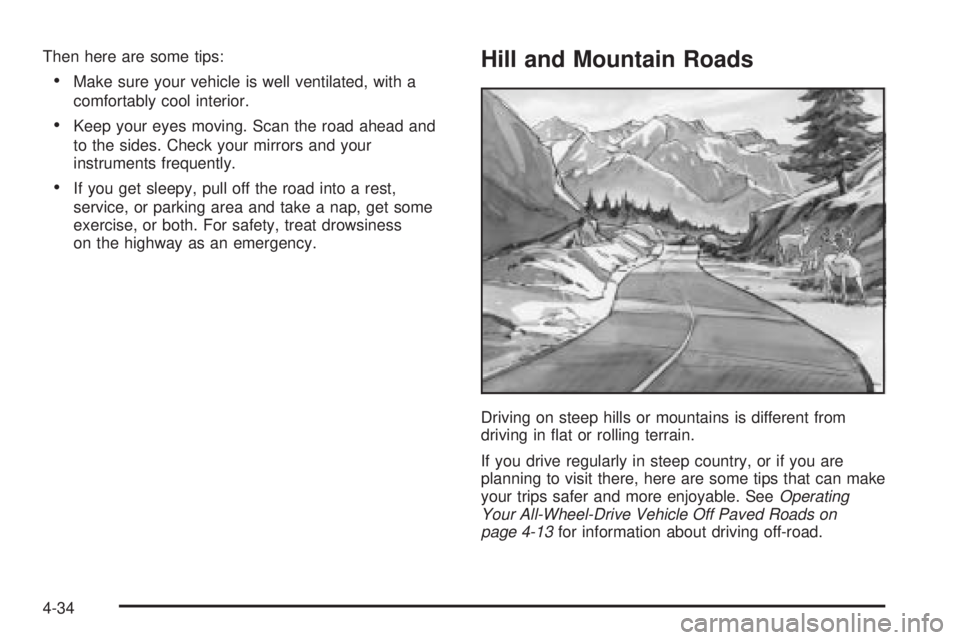
Hill and Mountain Roads
Driving on steep hills or mountains is different from
driving in �at or rolling terrain.
If you drive regularly in steep country, or if you are
planning to visit there, here are some tips that can make
your trips safer and more enjoyable. SeeOperating
Your All-Wheel-Drive Vehicle Off Paved Roads on
page 4-13for information about driving off-road.
4-34
Page 259 of 428
Towing
Towing Your Vehicle
Consult your dealer or a professional towing service if
you need to have your disabled vehicle towed. See
Roadside Assistance Program on page 7-5.
If you want to tow your vehicle behind another vehicle
for recreational purposes (such as behind a motorhome),
see “Recreational Vehicle Towing” following.
Recreational Vehicle Towing
Recreational vehicle towing means towing your vehicle
behind another vehicle — such as behind a motorhome.
The two most common types of recreational vehicle
towing are known as “dinghy towing” (towing your vehicle
with all four wheels on the ground) and “dolly towing”
(towing your vehicle with two wheels on the ground and
two wheels up on a device known as a “dolly”).
Your vehicle was not designed to be towed with any of
its wheels on the ground. If your vehicle must be
towed, seeTowing Your Vehicle on page 4-51.Notice:Towing an all-wheel-drive vehicle with all
four wheels on the ground, or even with only two of
its wheels on the ground, will damage drivetrain
components. Do not tow an all-wheel-drive vehicle if
any of its wheels will be on the ground.
Trailer Recommendations
You must subtract your hitch loads from the CWR for
your vehicle. Weigh your vehicle with the trailer
attached, so that you won’t go over the GVWR or
GAWR. If you are using a weight-distributing hitch,
weigh the vehicle without the spring bars in place.
You’ll get the best performance if you spread out the
weight of your load the right way, and if you choose the
correct hitch and trailer brakes.
For more information, seeTowing a Trailer on
page 4-52.
4-51