Page 153 of 248

FUSES
If electrical components in the
vehicle are not working, a fuse may
have blown. Blown fuses are
identified by a broken wire within
the fuse. Check the appropriate
fuses before replacing any electrical
components.
Note:Always replace a fuse with one that has the specified amperage
rating. Using a fuse with a higher amperage rating can cause severe wire
damage and could start a fire.
Standard fuse amperage rating and color
COLOR
Fuse
ratingMini
fusesStandard
fusesMaxi
fusesCartridge
Maxi
fusesFuse link
cartridge
2A Grey Grey Ð Ð Ð
3A Violet Violet Ð Ð Ð
4A Pink Pink Ð Ð Ð
5A Tan Tan Ð Ð Ð
7.5A Brown Brown Ð Ð Ð
10A Red Red Ð Ð Ð
15A Blue Blue Ð Ð Ð
20A Yellow Yellow Yellow Blue Blue
25A Natural Natural Ð Ð Ð
30A Green Green Green Pink Pink
40A Ð Ð Amber Green Green
50A Ð Ð Red Red Red
60A Ð Ð Blue Ð Yellow
70A Ð Ð Tan Ð Brown
80A Ð Ð Natural Ð Black
Passenger compartment fuse panel
The fuse panel is located below and to the left of the steering wheel by
the brake pedal. Remove the panel cover to access the fuses.
15
Roadside Emergencies
153
Page 159 of 248

Fuse/relay
locationFuse amp rating Power distribution box
description
29 Ð Wiper park relay
30 Ð Fuel pump relay
31 Ð PCM power relay
32 Ð Fan relay
33 Ð A/C clutch relay
* - Mini Fuses ** - Maxi Fuses CB - Circuit breaker
Relays
Relays are located in the power distribution box and should be replaced
by qualified technicians.
CHANGING THE TIRES
If you get a flat tire while driving, do not apply the brake heavily.
Instead, gradually decrease your speed. Hold the steering wheel firmly
and slowly move to a safe place on the side of the road.
The use of tire sealants is not recommended and may damage
your tires.
Temporary spare tire information
The temporary spare tire for your vehicle is labeled as such. It is smaller
than a regular tire and is designed for emergency use only. Replace the
temporary spare tire with a full-size tire as soon as possible.
If you use the temporary spare tire continuously or do not follow
these precautions, the tire could fail, causing you to lose control
of the vehicle, possibly injuring yourself or others.
When driving with the temporary spare tiredo not:
²use more than one temporary spare tire at a time
²exceed 50 mph (80 km/h)
²load the vehicle beyond maximum vehicle load rating listed on the
Safety Compliance Label
²tow a trailer
²use tire chains
Roadside Emergencies
159
Page 160 of 248

²drive through an automatic car wash, because of the vehicle's reduced
ground clearance
²try to repair the temporary spare tire or remove it from its wheel
²use the wheel for any other type of vehicle
Use of a temporary spare tire at any one wheel location can lead to
impairment of the following:
²handling, stability and braking performance
²comfort and noise
²ground clearance and parking at curbs
²Winter driving capability
Dissimilar spare tire/wheel information
Failure to follow these guidelines could result in an increased
risk of loss of vehicle control, injury or death.
Your vehicle may be equipped with a dissimilar spare tire/wheel. A
dissimilar spare tire/wheel is defined as a spare tire and/or wheel that is
different in brand, size or appearance from the road tires and wheels. If
you have a dissimilar spare tire/wheel, then it is intended for temporary
use only. This means that if you need to use it, you should replace it as
soon as possible with a road tire/wheel that is the same size and type as
the road tires and wheels that were originally provided by Ford. If the
dissimilar spare tire or wheel is damaged, it should be replaced rather
than repaired.
When driving with the dissimilar spare tire/wheel,do not:
²Exceed 70 mph (113 km/h)
²Use more than one dissimilar spare tire/wheel at a time
²Use commercial car washing equipment
²Use snow chains on the end of the vehicle with the dissimilar spare
tire/wheel
The usage of a dissimilar spare tire/wheel can lead to impairment of the
following:
²Handling, stability and braking performance
²Comfort and noise
²Ground clearance and parking at curbs
Roadside Emergencies
160
Page 161 of 248

²Winter weather driving capability
²Wet weather driving capability
²All-Wheel Driving Capability (if applicable)
²Load Leveling Adjustment (if applicable)
When driving with the dissimilar spare tire/wheel additional caution
should be given to:
²Towing a trailer
²Driving vehicles equipped with a camper body
²Driving vehicles with a load on the cargo rack
Drive cautiously when using a dissimilar spare tire/wheel and seek
service as soon as possible.
Tire change procedure
1. Park on a level surface, activate hazard flashers and set parking brake.
When one of the front wheels is off the ground, the transaxle
alone will not prevent the vehicle from moving or slipping off the
jack, even if the vehicle is in P (Park).
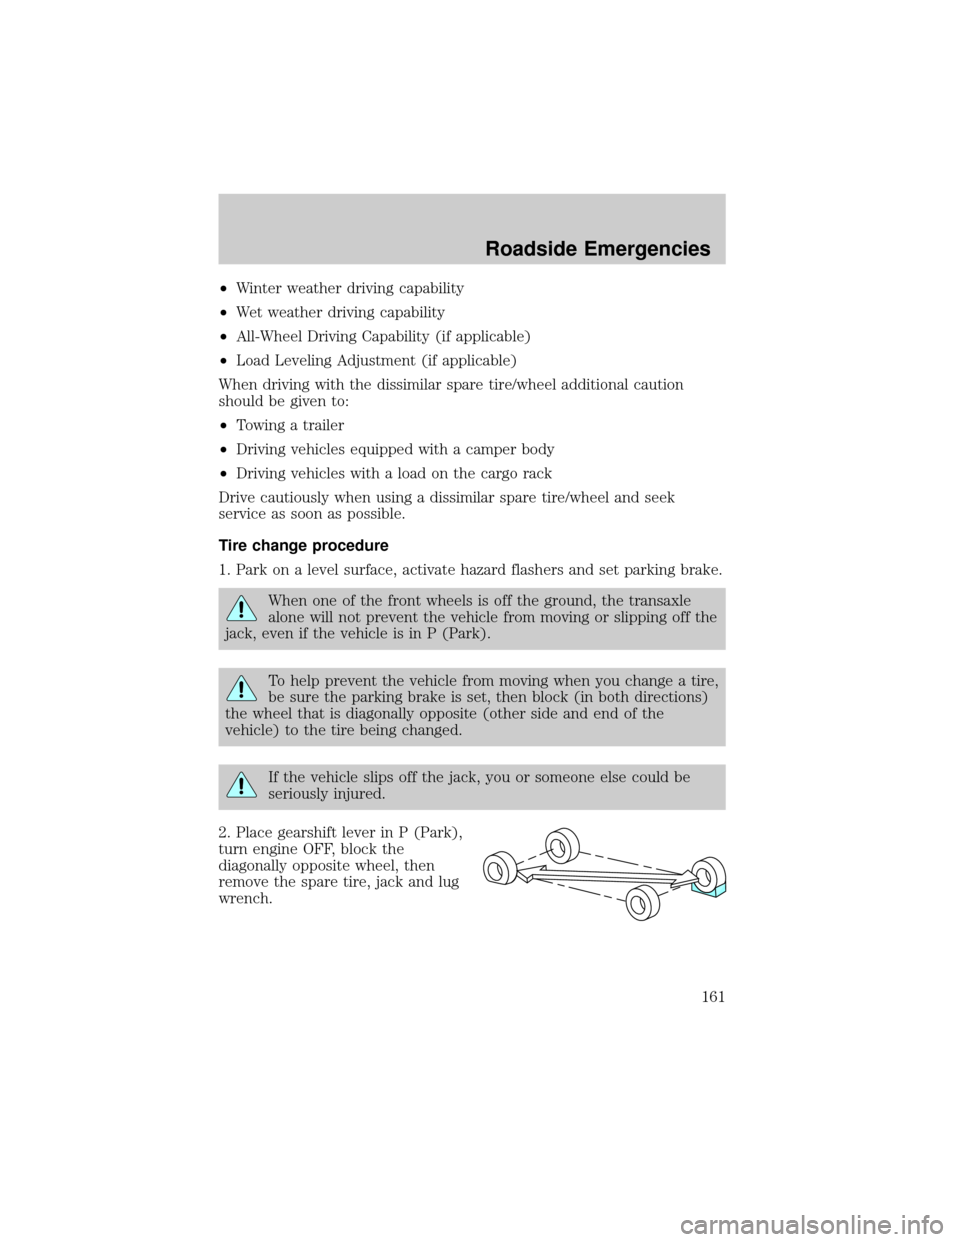
To help prevent the vehicle from moving when you change a tire,
be sure the parking brake is set, then block (in both directions)
the wheel that is diagonally opposite (other side and end of the
vehicle) to the tire being changed.
If the vehicle slips off the jack, you or someone else could be
seriously injured.
2. Place gearshift lever in P (Park),
turn engine OFF, block the
diagonally opposite wheel, then
remove the spare tire, jack and lug
wrench.
Roadside Emergencies
161
Page 162 of 248
²In the sedan, these are located in
the trunk cargo area storage
compartment.
²In the wagon, they are stored in
the left side rear trim panel for
the temporary spare and in the
floor cargo area storage
compartment for the full size
spare.
3. If equipped with a wheel cover
that's bolted on, loosen the five
plastic nuts with the lug nut
wrench.
4. Remove the center ornament or wheel cover from the wheel with the
tapered end of the wheel lug nut wrench that came with your vehicle.
Insert and twist the handle, then pry against the wheel.
Roadside Emergencies
162
Page 163 of 248
5. Loosen each wheel lug nut
one-half turn counterclockwise but
do not remove them until the wheel
is raised off the ground.
6. Put the jack in the jack notch
next to the door of the tire you are
changing. Turn the jack handle
clockwise until the wheel is
completely off the ground.
7. Remove the lug nuts with the lug
nut wrench.
8. Replace the flat tire with the spare tire, making sure the valve stem is
facing outward. Reinstall lug nuts until the wheel is snug against the hub.
Do not fully tighten the lug nuts until the wheel has been lowered.
9. Lower the wheel by turning the jack handle counterclockwise.
10. Remove the jack and fully
tighten the lug nuts in the order
shown. Refer toWheel lug nut
torque specificationslater in this
chapter for the proper lug nut
torque specification.
1
4 3
2 5
Roadside Emergencies
163
Page 164 of 248

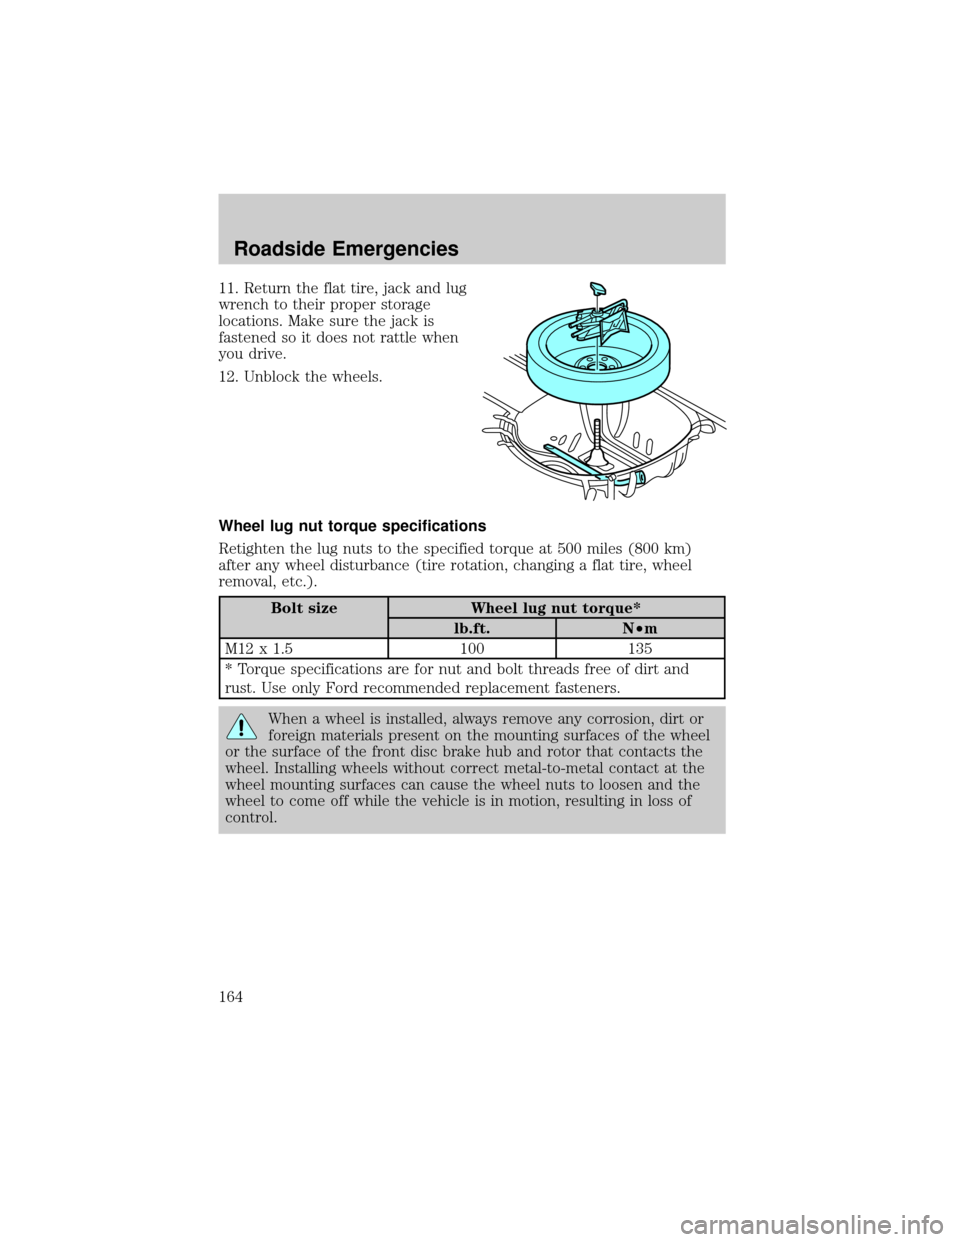
11. Return the flat tire, jack and lug
wrench to their proper storage
locations. Make sure the jack is
fastened so it does not rattle when
you drive.
12. Unblock the wheels.
Wheel lug nut torque specifications
Retighten the lug nuts to the specified torque at 500 miles (800 km)
after any wheel disturbance (tire rotation, changing a flat tire, wheel
removal, etc.).
Bolt size Wheel lug nut torque*
lb.ft. N²m
M12 x 1.5 100 135
* Torque specifications are for nut and bolt threads free of dirt and
rust. Use only Ford recommended replacement fasteners.
When a wheel is installed, always remove any corrosion, dirt or
foreign materials present on the mounting surfaces of the wheel
or the surface of the front disc brake hub and rotor that contacts the
wheel. Installing wheels without correct metal-to-metal contact at the
wheel mounting surfaces can cause the wheel nuts to loosen and the
wheel to come off while the vehicle is in motion, resulting in loss of
control.
Roadside Emergencies
164
Page 170 of 248
WRECKER TOWING
If you need to have your vehicle towed, contact a professional towing
service or, if you are a member of a roadside assistance program, your
roadside assistance service provider.
It is recommended that your vehicle be towed with a wheel lift or flatbed
equipment. Do not tow with a slingbelt. Ford Motor Company has not
approved a slingbelt towing procedure.
If your vehicle is to be towed from the rear using wheel lift equipment, it
is recommended that the front wheels (drive wheels) be placed on a
dolly to prevent damage to the transaxle.
If your vehicle must be towed with the drive wheels on the ground:
²Place the transaxle in N (Neutral).
²DO NOT exceed the distance of 50 miles (80 km).
²DO NOT exceed the speed of 35 mph (56 km/h).
If the vehicle is towed by other means or incorrectly, vehicle
damage may occur.
Roadside Emergencies
170