2005 FORD SUPER DUTY set clock
[x] Cancel search: set clockPage 21 of 304
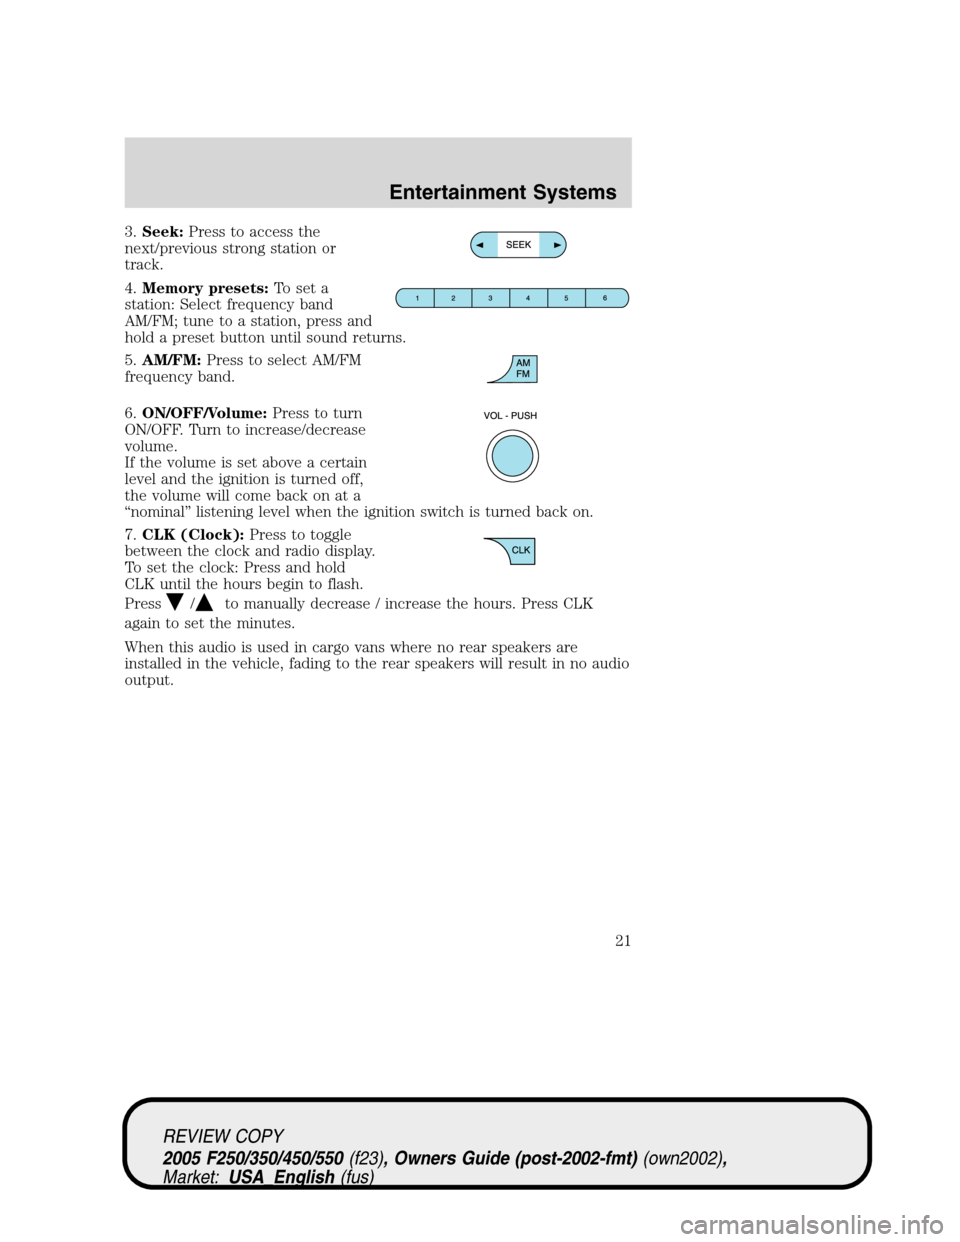
3.Seek:Press to access the
next/previous strong station or
track.
4.Memory presets:To set a
station: Select frequency band
AM/FM; tune to a station, press and
hold a preset button until sound returns.
5.AM/FM:Press to select AM/FM
frequency band.
6.ON/OFF/Volume:Press to turn
ON/OFF. Turn to increase/decrease
volume.
If the volume is set above a certain
level and the ignition is turned off,
the volume will come back on at a
“nominal” listening level when the ignition switch is turned back on.
7.CLK (Clock):Press to toggle
between the clock and radio display.
To set the clock: Press and hold
CLK until the hours begin to flash.
Press
/to manually decrease / increase the hours. Press CLK
again to set the minutes.
When this audio is used in cargo vans where no rear speakers are
installed in the vehicle, fading to the rear speakers will result in no audio
output.
REVIEW COPY
2005 F250/350/450/550(f23), Owners Guide (post-2002-fmt)(own2002),
Market:USA_English(fus)
Entertainment Systems
21
Page 23 of 304
Treble:Press to adjust the treble setting. Use//SEEK.
Balance:Press to adjust the audio between the left and right speakers.
Use
//SEEK.
Fade:Press to adjust the audio between the front and rear speakers.
Use
//SEEK.
Speed sensitive volume (if equipped):Radio volume automatically
changes slightly with vehicle speed to compensate for road and wind
noise. Press MENU to access and use
//SEEKto adjust.
Setting the clock:Press MENU until SELECT HOUR or SELECT
MINUTE is displayed. Use
/to manually increase/decrease Press
MENU again to disengage clock mode.
If your vehicle is equipped with an in-dash clock, refer to “Setting the
clock” in theDriver Controlschapter.
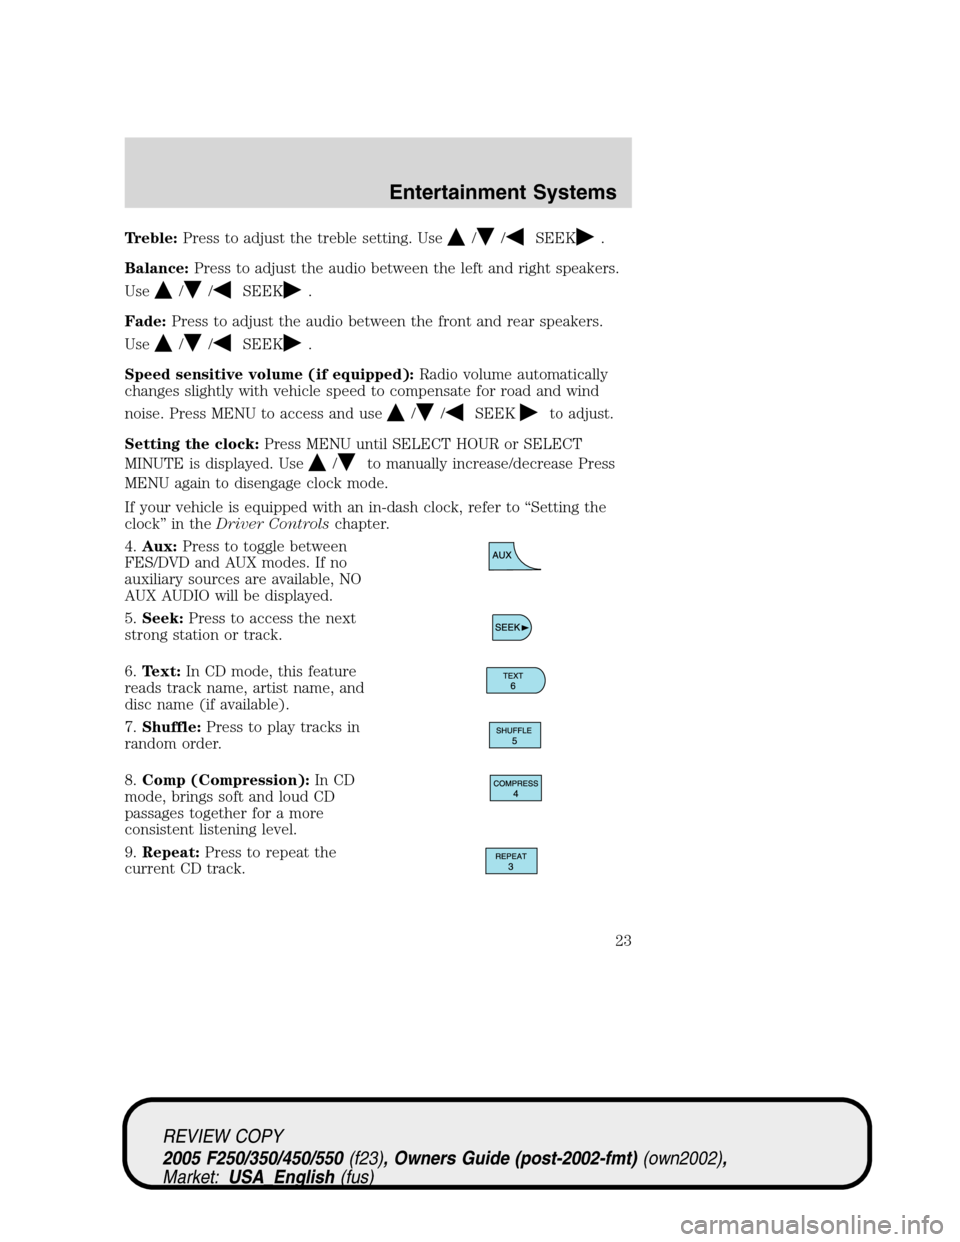
4.Aux:Press to toggle between
FES/DVD and AUX modes. If no
auxiliary sources are available, NO
AUX AUDIO will be displayed.
5.Seek:Press to access the next
strong station or track.
6.Text:In CD mode, this feature
reads track name, artist name, and
disc name (if available).
7.Shuffle:Press to play tracks in
random order.
8.Comp (Compression):In CD
mode, brings soft and loud CD
passages together for a more
consistent listening level.
9.Repeat:Press to repeat the
current CD track.
REVIEW COPY
2005 F250/350/450/550(f23), Owners Guide (post-2002-fmt)(own2002),
Market:USA_English(fus)
Entertainment Systems
23
Page 26 of 304
Balance:Press to adjust the audio between the left and right speakers.
Use
//SEEK.
Fade:Press to adjust the audio between the front and rear speakers.
Use
//SEEK.
Speed sensitive volume (if equipped):Radio volume automatically
changes slightly with vehicle speed to compensate for road and wind
noise. Press MENU to access and use
//SEEKto adjust.
Setting the clock:Press MENU until SELECT HOUR or SELECT
MINUTE is displayed. Press
//SEEKto adjust the
hours/minutes.
If your vehicle is equipped with an in-dash clock, refer to “Setting the
clock” in theDriver Controlschapter.
Autoset:Allows you to set the strongest local radio stations without
losing your original manually set preset stations for AM/FM1/FM2 . Press
MENU to access. Use
//SEEKto set.
When the six strongest stations are filled, the station stored in preset 1
will begin playing. If there are less than six strong stations, the system
will store the last one in the remaining presets.
Clean tape reminder:After 20 hours of cassette operation, the radio
will notify you that it is time to clean the cassette player head. After
cleaning the player head, you can clear the reminder through menu
control and selecting YES.
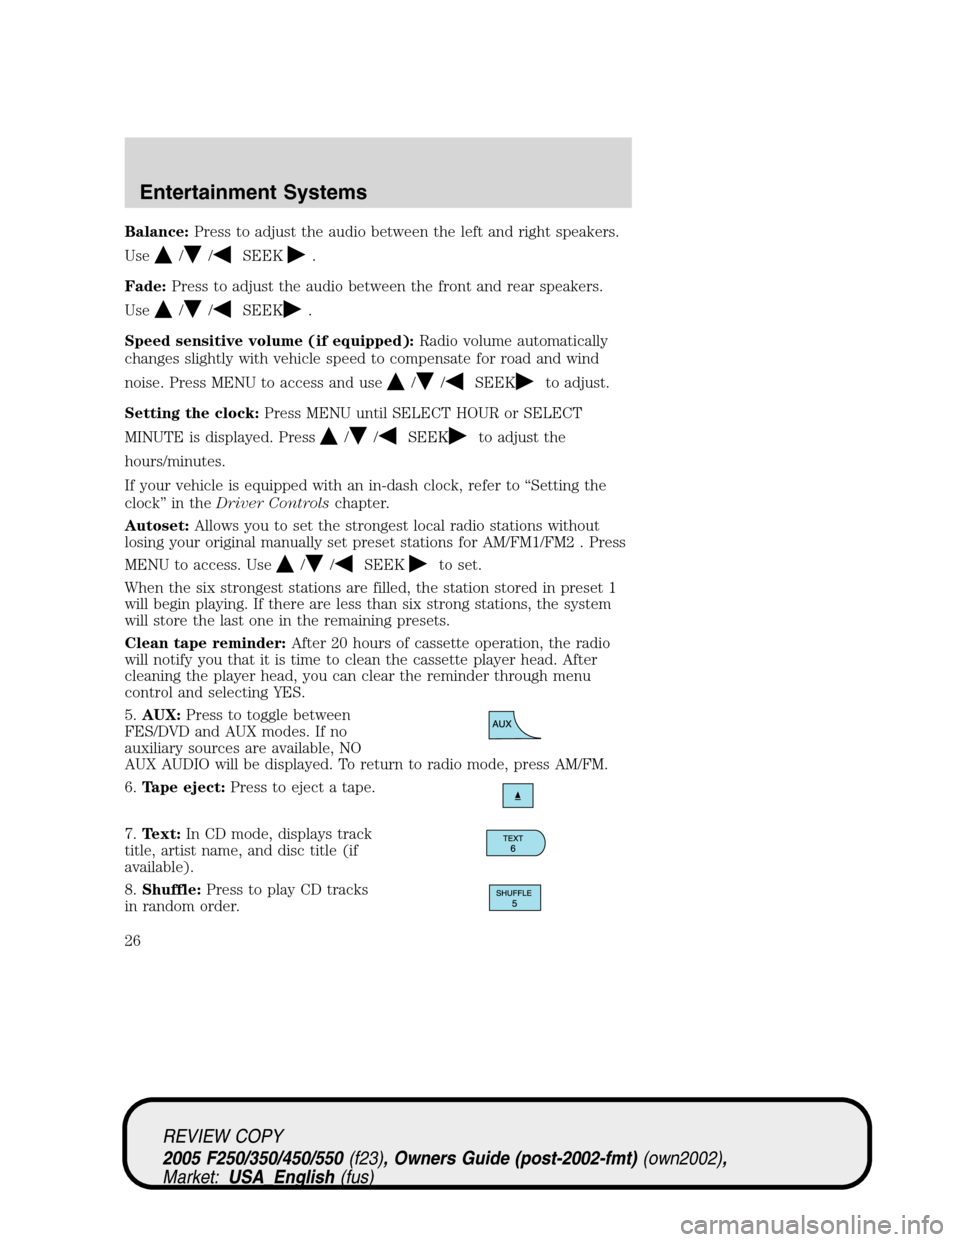
5.AUX:Press to toggle between
FES/DVD and AUX modes. If no
auxiliary sources are available, NO
AUX AUDIO will be displayed. To return to radio mode, press AM/FM.
6.Tape eject:Press to eject a tape.
7.Text:In CD mode, displays track
title, artist name, and disc title (if
available).
8.Shuffle:Press to play CD tracks
in random order.
REVIEW COPY
2005 F250/350/450/550(f23), Owners Guide (post-2002-fmt)(own2002),
Market:USA_English(fus)
Entertainment Systems
26
Page 29 of 304

1./Tuner:Press to
manually go up or down the radio
frequency. Also use in menu mode
to select various settings.
2.Phone/mute:Press to mute the
playing media. Press again to return
to the playing media.
3.Menu:Press to toggle through
the following modes:
Treble:Press to adjust the treble setting. Use
//SEEK.
Bass:Press to adjust the bass setting. Use
//SEEK.
Balance:Press to adjust the audio between the left and right speakers.
Use
//SEEK.
Fade:Press to adjust the audio between the front and rear speakers.
Use
//SEEK.
Speed sensitive volume (if equipped):Radio volume automatically
changes slightly with vehicle speed to compensate for road and wind
noise. Press MENU to access and use
//SEEKto adjust.
Setting the clock:Press MENU until SELECT HOUR or SELECT
MINUTE is displayed. Press
//SEEKto adjust the
hours/minutes.
If your vehicle is equipped with an in-dash clock, refer to “Setting the
clock” in theDriver Controlschapter.
Autoset:Allows you to set the strongest local radio stations without
losing your original manually set preset stations for AM/FM1/FM2 . Press
MENU to access. Use
//SEEKto set.
When the six strongest stations are filled, the station stored in preset 1
will begin playing. If there are less than six strong stations, the system
will store the last one in the remaining presets.
REVIEW COPY
2005 F250/350/450/550(f23), Owners Guide (post-2002-fmt)(own2002),
Market:USA_English(fus)
Entertainment Systems
29
Page 141 of 304
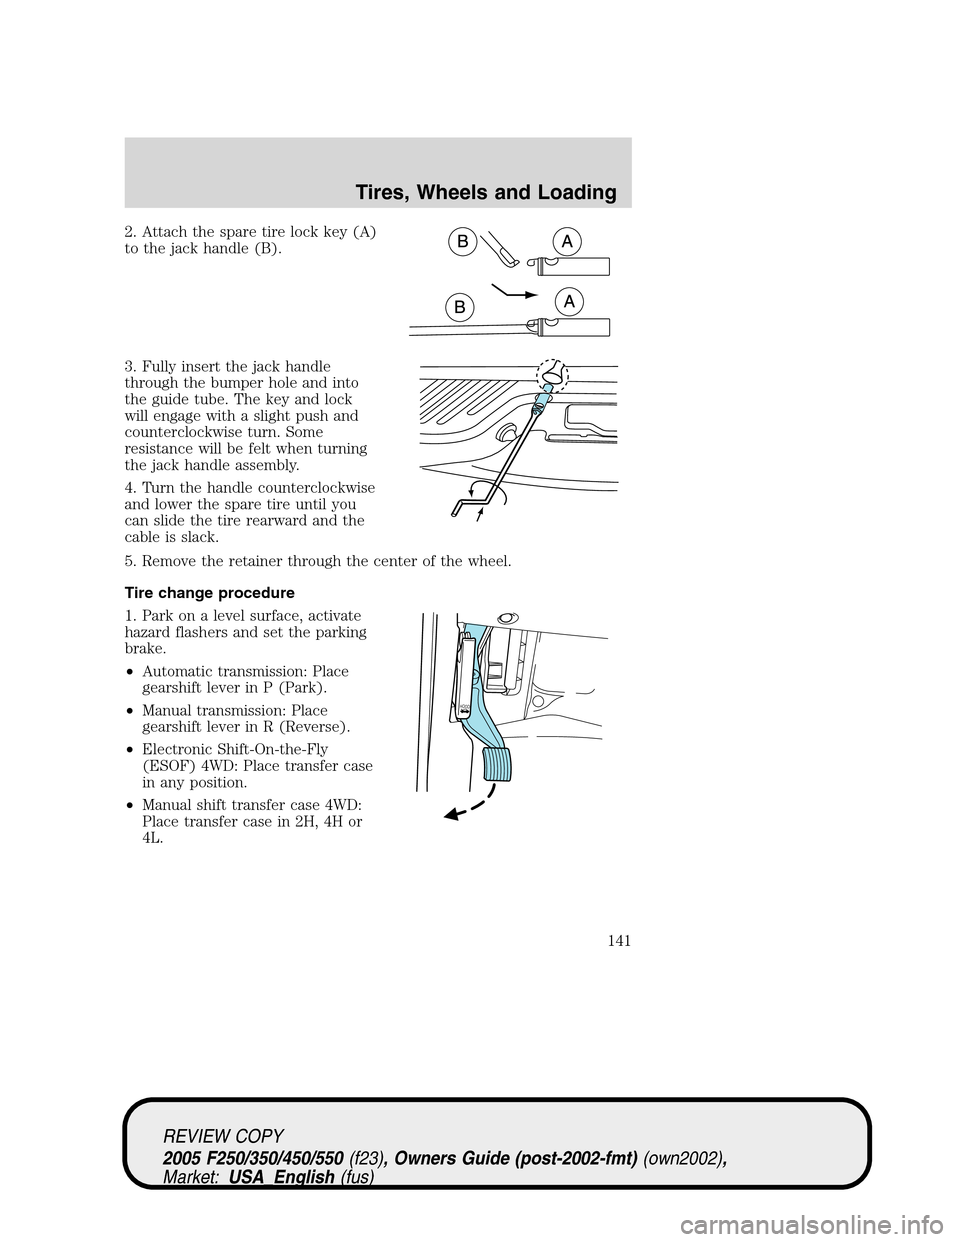
2. Attach the spare tire lock key (A)
to the jack handle (B).
3. Fully insert the jack handle
through the bumper hole and into
the guide tube. The key and lock
will engage with a slight push and
counterclockwise turn. Some
resistance will be felt when turning
the jack handle assembly.
4. Turn the handle counterclockwise
and lower the spare tire until you
can slide the tire rearward and the
cable is slack.
5. Remove the retainer through the center of the wheel.
Tire change procedure
1. Park on a level surface, activate
hazard flashers and set the parking
brake.
•Automatic transmission: Place
gearshift lever in P (Park).
•Manual transmission: Place
gearshift lever in R (Reverse).
•Electronic Shift-On-the-Fly
(ESOF) 4WD: Place transfer case
in any position.
•Manual shift transfer case 4WD:
Place transfer case in 2H, 4H or
4L.
HO
O
D
REVIEW COPY
2005 F250/350/450/550(f23), Owners Guide (post-2002-fmt)(own2002),
Market:USA_English(fus)
Tires, Wheels and Loading
141
Page 142 of 304
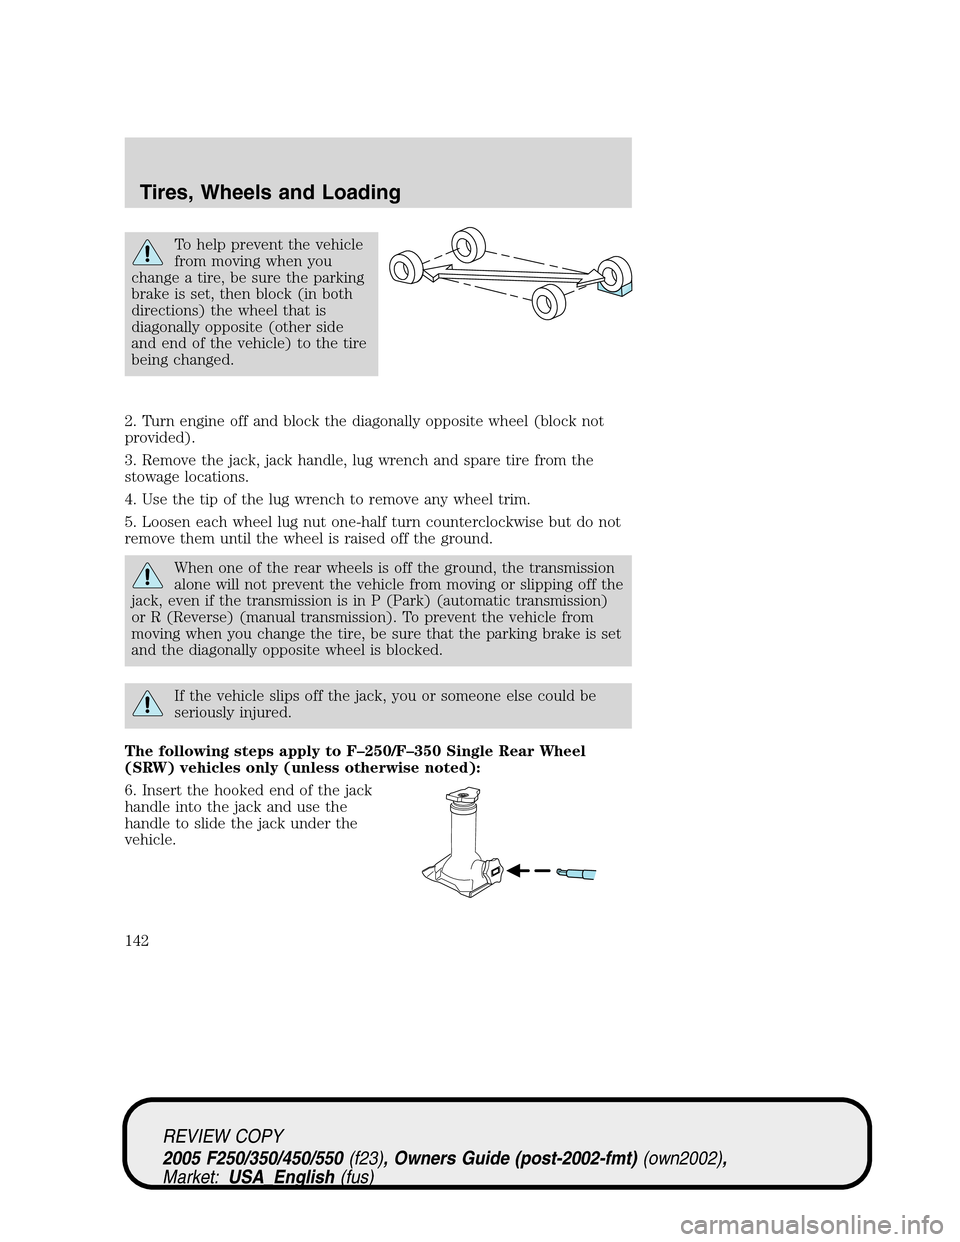
To help prevent the vehicle
from moving when you
change a tire, be sure the parking
brake is set, then block (in both
directions) the wheel that is
diagonally opposite (other side
and end of the vehicle) to the tire
being changed.
2. Turn engine off and block the diagonally opposite wheel (block not
provided).
3. Remove the jack, jack handle, lug wrench and spare tire from the
stowage locations.
4. Use the tip of the lug wrench to remove any wheel trim.
5. Loosen each wheel lug nut one-half turn counterclockwise but do not
remove them until the wheel is raised off the ground.
When one of the rear wheels is off the ground, the transmission
alone will not prevent the vehicle from moving or slipping off the
jack, even if the transmission is in P (Park) (automatic transmission)
or R (Reverse) (manual transmission). To prevent the vehicle from
moving when you change the tire, be sure that the parking brake is set
and the diagonally opposite wheel is blocked.
If the vehicle slips off the jack, you or someone else could be
seriously injured.
The following steps apply to F–250/F–350 Single Rear Wheel
(SRW) vehicles only (unless otherwise noted):
6. Insert the hooked end of the jack
handle into the jack and use the
handle to slide the jack under the
vehicle.
REVIEW COPY
2005 F250/350/450/550(f23), Owners Guide (post-2002-fmt)(own2002),
Market:USA_English(fus)
Tires, Wheels and Loading
142
Page 193 of 304

If your vehicle sustains damage to the rear bumper/fascia, leaving
it misaligned or bent, the sensing zone may be altered causing
inaccurate measurement of obstacles or false alarms.
FOUR-WHEEL DRIVE (4WD) OPERATION (IF EQUIPPED)
For important information regarding safe operation of this type
of vehicle, seePreparing to drive your vehiclein this chapter.
When four–wheel drive (4WD) is engaged, power is supplied to all four
wheels through a transfer case. 4WD can be selected when additional
driving power is desired.
4WD operation is not recommended on dry pavement. Doing so could
result in difficult disengagement of the transfer case, increased tire wear
and decreased fuel economy.
Manual 4x4 system (if equipped)
The 4WD system is engaged or
disengaged by rotating the control
for both front wheel hub locks from
the FREE or LOCK position, then
manually engaging or disengaging
the transfer case with the
floor-mounted shifter. For increased
fuel economy in 2WD, rotate both
hub locks to the FREE position.
•For proper operation, make
sure that each hub is fully
engaged and that both hub locks are set to the same position
(both set to LOCK or both set to FREE). To engage LOCK,
turn the hub locks completely clockwise; to disengage the hubs
(FREE), turn the hub locks completely counterclockwise.
•Some vehicles may be equipped with wheel ornaments that cover the
4x4 manual hub lock. These ornaments must be removed to access
the manual hub locks.
Electronic shift on the fly (ESOF) 4x4 system (if equipped)
If equipped with the electronic shift 4WD System, and the
instrument panel control is moved to 4X4 LOW (4WD Low) while
the vehicle is moving above 3 mph (5 km/h), the system will not
engage and no damage will occur to the 4WD system. Before 4X4
REVIEW COPY
2005 F250/350/450/550(f23), Owners Guide (post-2002-fmt)(own2002),
Market:USA_English(fus)
Driving
193
Page 194 of 304
LOW (4WD Low) can be engaged, the vehicle speed must be
below 3 mph (5 km/h) with the brake pedal depressed and the
transmission in N (Neutral). This vehicle is equipped with a
non-synchronous low range gearset which will not allow the
transfer case to shift into 4X4 LOW (4WD Low) if vehicle speed
is above 3 mph (5 km/h). It is recommended that a shift to 4X4
LOW (4WD Low) is performed while the vehicle speed is below 3
mph (5 km/h).
The 4WD system:
•provides 4x4 High engagement and disengagement while the vehicle is
moving.
•is operated by a rotary control located on the instrument panel that
allows you select 2WD, 4x4 High or 4x4 Low operation.
•uses auto-manual hub locks that can be engaged and disengaged
automatically based on the 4x4 mode selected.
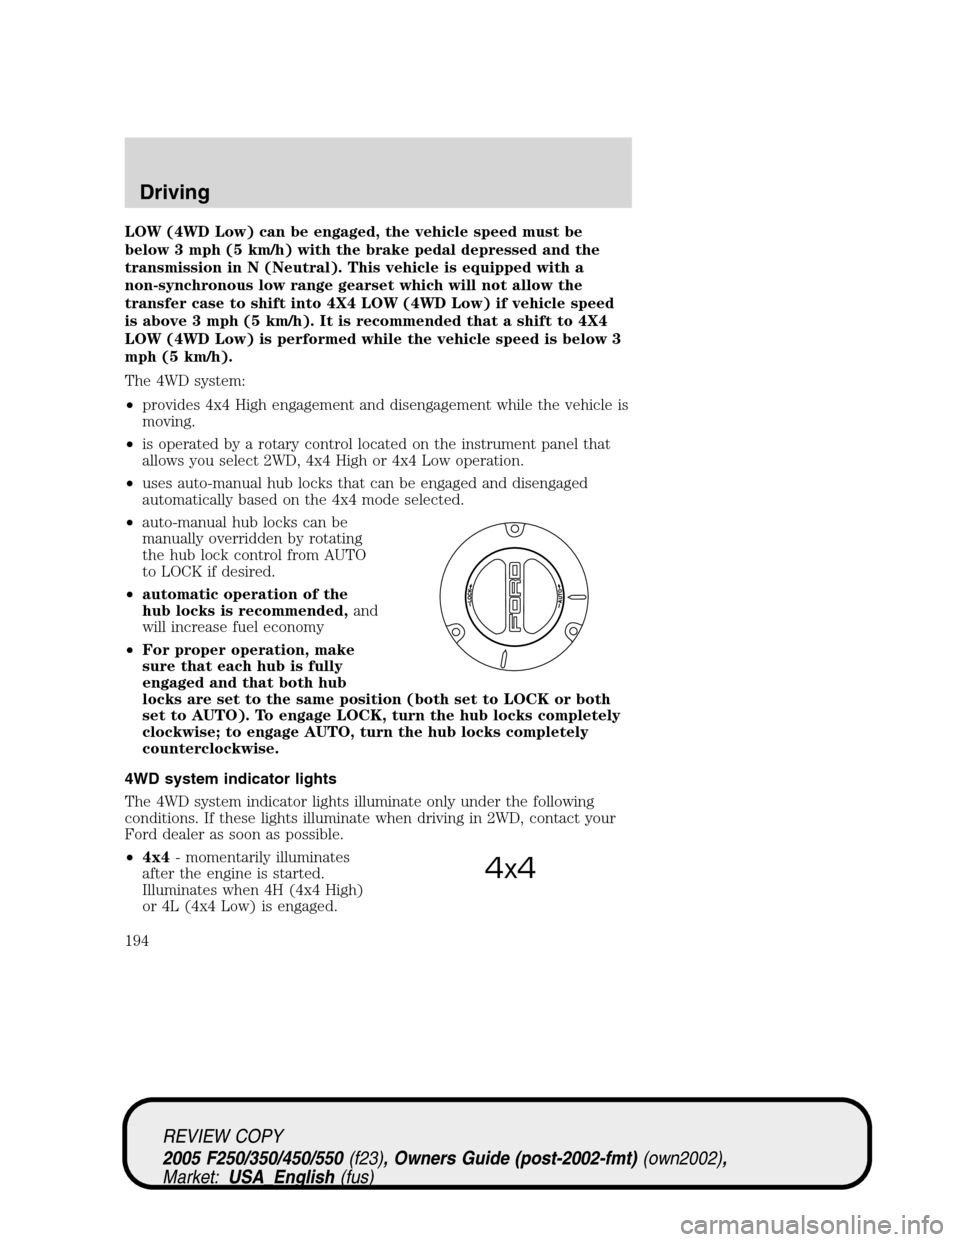
•auto-manual hub locks can be
manually overridden by rotating
the hub lock control from AUTO
to LOCK if desired.
•automatic operation of the
hub locks is recommended,and
will increase fuel economy
•For proper operation, make
sure that each hub is fully
engaged and that both hub
locks are set to the same position (both set to LOCK or both
set to AUTO). To engage LOCK, turn the hub locks completely
clockwise; to engage AUTO, turn the hub locks completely
counterclockwise.
4WD system indicator lights
The 4WD system indicator lights illuminate only under the following
conditions. If these lights illuminate when driving in 2WD, contact your
Ford dealer as soon as possible.
•4x4- momentarily illuminates
after the engine is started.
Illuminates when 4H (4x4 High)
or 4L (4x4 Low) is engaged.
4x4
REVIEW COPY
2005 F250/350/450/550(f23), Owners Guide (post-2002-fmt)(own2002),
Market:USA_English(fus)
Driving
194