2005 FORD RANGER ECU
[x] Cancel search: ECUPage 1 of 256

Introduction 4
Instrument Cluster 10
Warning and control lights 10
Gauges 14
Entertainment Systems 16
AM/FM stereo 16
AM/FM Stereo single CD/MP3 system 18
AM/FM Stereo cassette, CD/MP3 sound system 21
In-dash CD6/MP3 disc Premium/Audiophile Pioneer audio
system 25
Tremor IV CD/MP3 audio system 28
Climate Controls 34
Heater only 34
Manual heating and air conditioning 35
Lights 37
Headlamps 37
Turn signal control 40
Bulb replacement 41
Driver Controls 47
Windshield wiper/washer control 47
Steering wheel adjustment 48
Power windows 49
Mirrors 49
Speed control 50
Locks and Security 55
Keys 55
Locks 55
Table of Contents
1
REVIEW COPY
2005 Ranger(ran), Owners Guide (post-2002-fmt)(own2002),
Market:USA_English(fus)
Table of Contents
Page 53 of 256

such equipment. Mobile Communications can enhance personal safety
and security when appropriately used, particularly in emergency
situations. Safety must be paramount when using mobile communications
equipment to avoid negating these benefits.
Mobile Communication Equipment includes, but is not limited to cellular
phones, pagers, portable email devices, in vehicle communications
systems, telematics devices and portable two-way radios.
A driver’s first responsibility is the safe operation of the vehicle.
The most important thing you can do to prevent a crash is to
avoid distractions and pay attention to the road. Wait until it is safe to
operate Mobile Communications Equipment.
CARGO AREA FEATURES
Cargo area shade (if equipped)
Your vehicle may be equipped with notches in the side trim panels that
are used for a cargo area shade. See your dealer for more information.
BEDRAILS (IF EQUIPPED)
•This bedrail is for appearance use only.
To help prevent injury, do not use bedrail to retain cargo.
•Retain cargo with the pickup tie down hooks.
BED EXTENDER (IF EQUIPPED)
Your vehicle may be equipped with a bed extender designed to extend
the pickup box for longer loads.
To extend the bed extender:
1. Lower tailgate.
2. Pull the round knobs on each side
of the extender to release it from
the pickup box.
3. Pivot extender on to the tailgate.
REVIEW COPY
2005 Ranger(ran), Owners Guide (post-2002-fmt)(own2002),
Market:USA_English(fus)
Driver Controls
53
Page 54 of 256

4. Evenly push down on the
extender and push the round knobs
in on each side locking it in place.
Green markings on the shaft
indicate the locked position. The
locking clip screws below the middle
bar can be tightened
counterclockwise for extra security.
Note: If the red marking on the
shaft is visible, the bed extender
is not locked or properly secured.
To stow the bed extender, follow steps one through four in reverse order.
The bed extender may be used to secure a load of up to 100 lb. (46 kg)
on the tailgate.
The bed extender should always be kept in the stowed position
with the tailgate closed when not in use.
When driving the vehicle off road, the bed extender should be in
the stowed position and the tailgate closed.
To remove the bed extender:
1. Extend the bed extender.
2. Pull the round knobs on each side
of the extender to unlock it.
Make sure the locking clip screws
are loose before removing the
extender.
3. Press the locking clips below the
middle bar on each side and lift the
extender out of the bed.
Note:Remove and store the bed extender when not in use.
To install the bed extender, follow the removal procedure in reverse order.
REVIEW COPY
2005 Ranger(ran), Owners Guide (post-2002-fmt)(own2002),
Market:USA_English(fus)
Driver Controls
54
Page 55 of 256

KEYS
The key operates all locks on your vehicle. You should always carry a
second key with you in a safe place in case you require it in an
emergency.
Your keys are programmed to your vehicle; using a non-programmed key
will not permit your vehicle to start. If you lose your dealer supplied
keys, replacement keys are available through your authorized dealer.
POWER DOOR LOCKS (IF EQUIPPED)
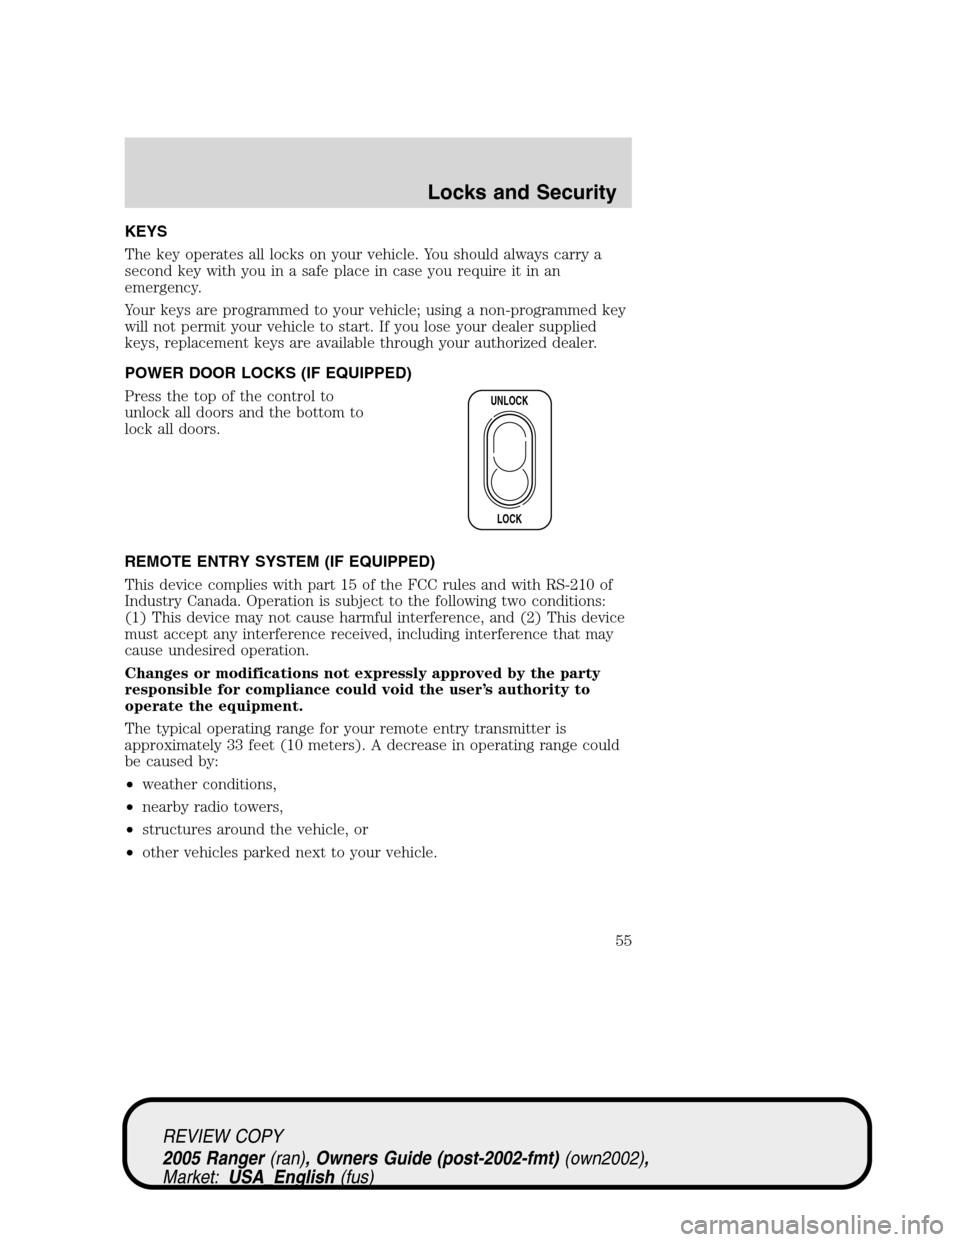
Press the top of the control to
unlock all doors and the bottom to
lock all doors.
REMOTE ENTRY SYSTEM (IF EQUIPPED)
This device complies with part 15 of the FCC rules and with RS-210 of
Industry Canada. Operation is subject to the following two conditions:
(1) This device may not cause harmful interference, and (2) This device
must accept any interference received, including interference that may
cause undesired operation.
Changes or modifications not expressly approved by the party
responsible for compliance could void the user’s authority to
operate the equipment.
The typical operating range for your remote entry transmitter is
approximately 33 feet (10 meters). A decrease in operating range could
be caused by:
•weather conditions,
•nearby radio towers,
•structures around the vehicle, or
•other vehicles parked next to your vehicle.
UNLOCK
LOCK
REVIEW COPY
2005 Ranger(ran), Owners Guide (post-2002-fmt)(own2002),
Market:USA_English(fus)
Locks and Security
Locks and Security
55
Page 56 of 256

Your vehicle is equipped with a remote entry system which allows you to:
•unlock the vehicle doors without
a key.
•lock all the vehicle doors without
a key.
•activate the personal alarm.
If there is any potential remote keyless entry problem with your vehicle,
ensureALL remote entry transmittersare taken to the dealership, to
aid in troubleshooting.
Unlocking the doors
1. Pressand release to unlock the driver’s door.Note:The interior
lamps will illuminate.
2.
Pressand release again within three seconds to unlock all the doors.
Locking the doors
•Pressand release to lock all the doors. The park lamps will flash
once to confirm lock; if any of the doors are not properly closed, the
lamps will not flash.
•If
is pressed a second time within three seconds, the lamps will
flash again and the horn will chirp to confirm all doors are locked and
closed. If either door is ajar the lamps will not flash and the horn will
chirp twice.
Sounding a panic alarm
Press
to activate the alarm. The horn will sound for a maximum of
30 seconds and the parklamps will flash for a maximum of 3 minutes.
Press again or turn the ignition to ON to deactivate, or wait for the alarm
to timeout in 3 minutes.
Note:The panic alarm will only operate when the ignition is in the OFF
or ACC position.
Replacing the battery
The remote entry transmitter uses one coin type three-volt lithium
battery CR2032 or equivalent.
REVIEW COPY
2005 Ranger(ran), Owners Guide (post-2002-fmt)(own2002),
Market:USA_English(fus)
Locks and Security
56
Page 57 of 256

To replace the battery:
1. Twist a thin coin between the two
halves of the remote entry
transmitter near the key ring. DO
NOT TAKE THE RUBBER COVER
AND CIRCUIT BOARD OFF THE
FRONT HOUSING OF THE
REMOTE ENTRY TRANSMITTER.
2. Do not wipe off any grease on the
battery terminals on the back
surface of the circuit board.
3. Remove the old battery.Note:Please refer to local regulations when
disposing of transmitter batteries.
4. Insert the new battery. Refer to the diagram inside the remote entry
transmitter for the correct orientation of the battery. Press the battery
down to ensure that the battery is fully seated in the battery housing
cavity.
5. Snap the two halves back together.
Note:Replacement of the battery willnotcause the remote transmitter
to become deprogrammed from your vehicle. The remote transmitter
should operate normally after battery replacement.
Replacing lost remote entry transmitters
If you would like to have your remote entry transmitter reprogrammed
because you lost one, or would like to buy additional remote entry
transmitters, you can either reprogram them yourself, or takeall
remote entry transmittersto your authorized dealer for
reprogramming.
How to reprogram your remote entry transmitters
You must haveall remote entry transmitters(maximum of four)
available before beginning this procedure.
REVIEW COPY
2005 Ranger(ran), Owners Guide (post-2002-fmt)(own2002),
Market:USA_English(fus)
Locks and Security
57
Page 58 of 256

To reprogram the remote entry
transmitters:
1. Ensure the vehicle is
electronically unlocked.
2. Put the key in the ignition.
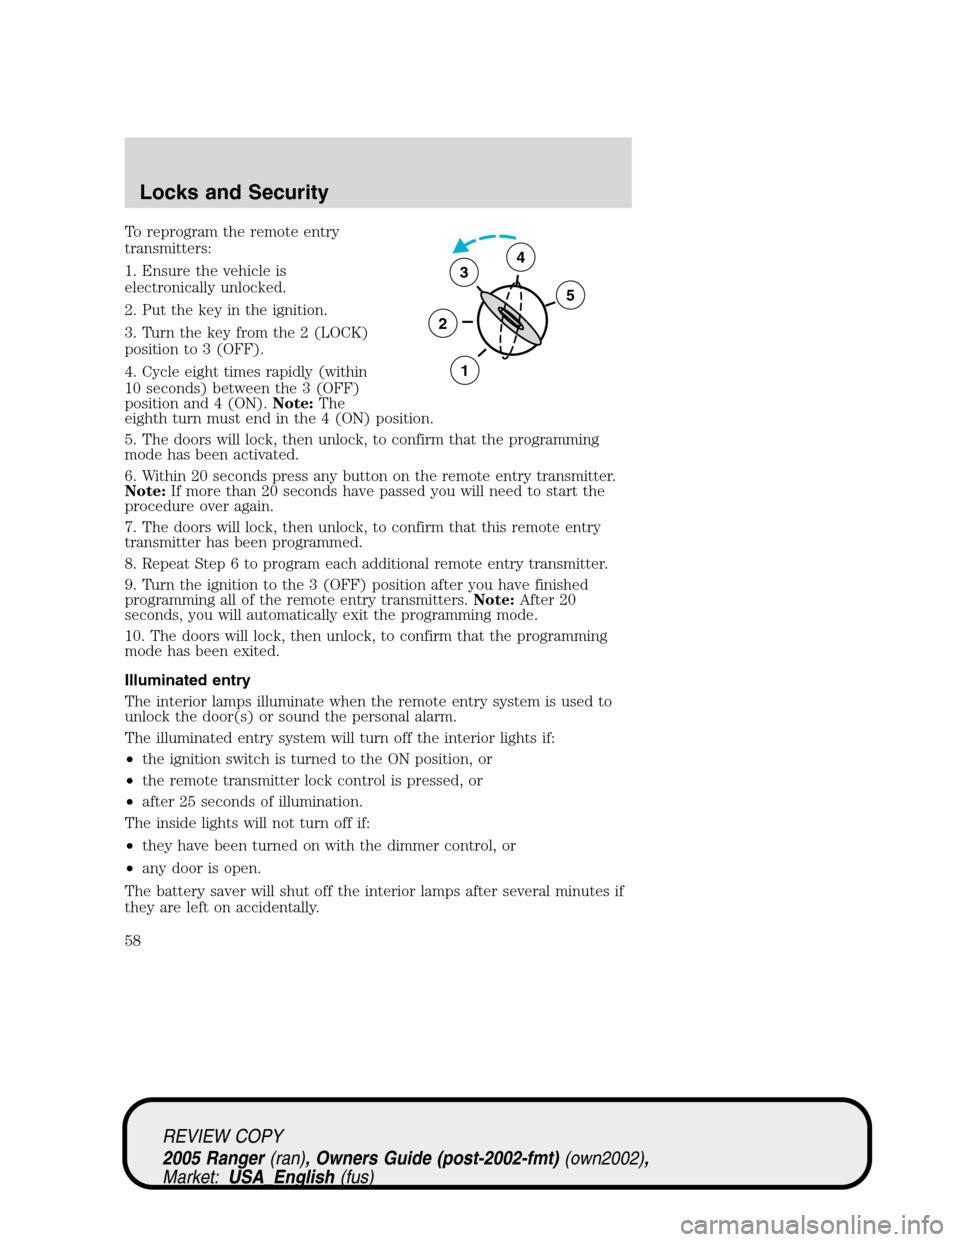
3. Turn the key from the 2 (LOCK)
position to 3 (OFF).
4. Cycle eight times rapidly (within
10 seconds) between the 3 (OFF)
position and 4 (ON).Note:The
eighth turn must end in the 4 (ON) position.
5. The doors will lock, then unlock, to confirm that the programming
mode has been activated.
6. Within 20 seconds press any button on the remote entry transmitter.
Note:If more than 20 seconds have passed you will need to start the
procedure over again.
7. The doors will lock, then unlock, to confirm that this remote entry
transmitter has been programmed.
8. Repeat Step 6 to program each additional remote entry transmitter.
9. Turn the ignition to the 3 (OFF) position after you have finished
programming all of the remote entry transmitters.Note:After 20
seconds, you will automatically exit the programming mode.
10. The doors will lock, then unlock, to confirm that the programming
mode has been exited.
Illuminated entry
The interior lamps illuminate when the remote entry system is used to
unlock the door(s) or sound the personal alarm.
The illuminated entry system will turn off the interior lights if:
•the ignition switch is turned to the ON position, or
•the remote transmitter lock control is pressed, or
•after 25 seconds of illumination.
The inside lights will not turn off if:
•they have been turned on with the dimmer control, or
•any door is open.
The battery saver will shut off the interior lamps after several minutes if
they are left on accidentally.
3
2
1
5
4
REVIEW COPY
2005 Ranger(ran), Owners Guide (post-2002-fmt)(own2002),
Market:USA_English(fus)
Locks and Security
58
Page 63 of 256

Combination lap and shoulder belts
1. Insert the belt tongue into the
proper buckle (the buckle closest to
the direction the tongue is coming
from) until you hear a snap and feel
it latch. Make sure the tongue is
securely fastened in the buckle.
2. To unfasten, push the release
button and remove the tongue from
the buckle.
The front outboard safety restraints in the vehicle are combination lap
and shoulder belts. The front passenger outboard safety belt has two
types of locking modes described below:
Vehicle sensitive mode
This is the normal retractor mode, which allows free shoulder belt length
adjustment to your movements and locking in response to vehicle
movement. For example, if the driver brakes suddenly or turns a corner
sharply, or the vehicle receives an impact of approximately 5 mph (8
km/h) or more, the combination safety belts will lock to help reduce
forward movement of the driver and passengers.
Automatic locking mode
The automatic locking mode is not available on the driver safety belt.
In this mode, the shoulder belt is automatically pre-locked. The belt will
still retract to remove any slack in the shoulder belt. The automatic
locking mode is not available on the driver safety belt.
REVIEW COPY
2005 Ranger(ran), Owners Guide (post-2002-fmt)(own2002),
Market:USA_English(fus)
Seating and Safety Restraints
63