2005 FORD RANGER tow
[x] Cancel search: towPage 54 of 256

4. Evenly push down on the
extender and push the round knobs
in on each side locking it in place.
Green markings on the shaft
indicate the locked position. The
locking clip screws below the middle
bar can be tightened
counterclockwise for extra security.
Note: If the red marking on the
shaft is visible, the bed extender
is not locked or properly secured.
To stow the bed extender, follow steps one through four in reverse order.
The bed extender may be used to secure a load of up to 100 lb. (46 kg)
on the tailgate.
The bed extender should always be kept in the stowed position
with the tailgate closed when not in use.
When driving the vehicle off road, the bed extender should be in
the stowed position and the tailgate closed.
To remove the bed extender:
1. Extend the bed extender.
2. Pull the round knobs on each side
of the extender to unlock it.
Make sure the locking clip screws
are loose before removing the
extender.
3. Press the locking clips below the
middle bar on each side and lift the
extender out of the bed.
Note:Remove and store the bed extender when not in use.
To install the bed extender, follow the removal procedure in reverse order.
REVIEW COPY
2005 Ranger(ran), Owners Guide (post-2002-fmt)(own2002),
Market:USA_English(fus)
Driver Controls
54
Page 55 of 256

KEYS
The key operates all locks on your vehicle. You should always carry a
second key with you in a safe place in case you require it in an
emergency.
Your keys are programmed to your vehicle; using a non-programmed key
will not permit your vehicle to start. If you lose your dealer supplied
keys, replacement keys are available through your authorized dealer.
POWER DOOR LOCKS (IF EQUIPPED)
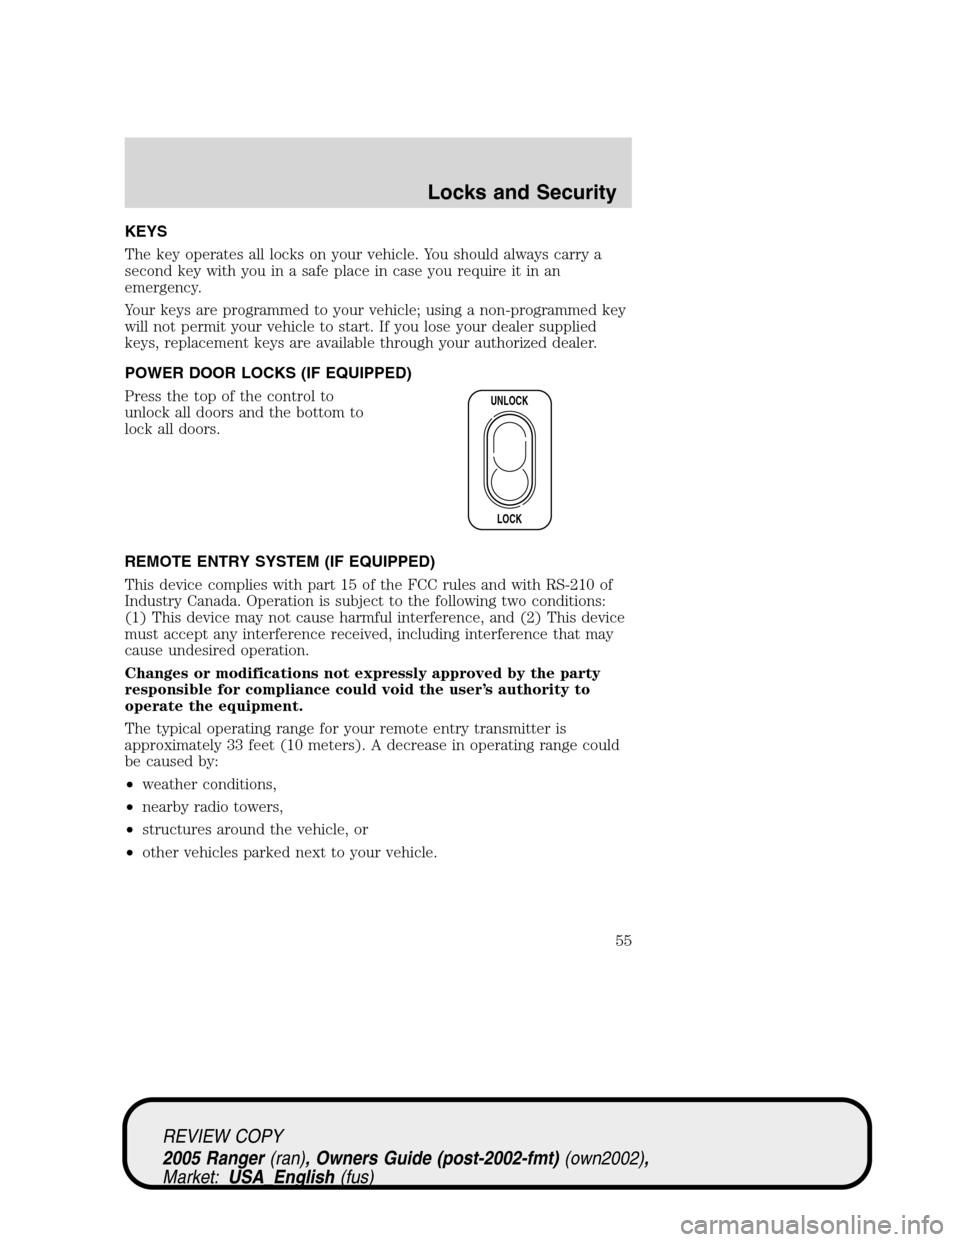
Press the top of the control to
unlock all doors and the bottom to
lock all doors.
REMOTE ENTRY SYSTEM (IF EQUIPPED)
This device complies with part 15 of the FCC rules and with RS-210 of
Industry Canada. Operation is subject to the following two conditions:
(1) This device may not cause harmful interference, and (2) This device
must accept any interference received, including interference that may
cause undesired operation.
Changes or modifications not expressly approved by the party
responsible for compliance could void the user’s authority to
operate the equipment.
The typical operating range for your remote entry transmitter is
approximately 33 feet (10 meters). A decrease in operating range could
be caused by:
•weather conditions,
•nearby radio towers,
•structures around the vehicle, or
•other vehicles parked next to your vehicle.
UNLOCK
LOCK
REVIEW COPY
2005 Ranger(ran), Owners Guide (post-2002-fmt)(own2002),
Market:USA_English(fus)
Locks and Security
Locks and Security
55
Page 61 of 256

To return seat to original position, slide the seat bottom back, then push
the seatback up to lock it in place. The seat will lock, and you will have
to use the release bar to move the seat back to the original position.
REAR SEATS
Center facing jump seat (2 door SuperCab) (if equipped)
To open, pull inboard and down on the seat strap.
To stow the seat, pull seat bottom back to the fully upright position.
Do not install a child seat in a center facing jump seat.
Center facing jump seat (4 door SuperCab) (if equipped)
To open, pull seat assembly down,
then raise seatback.
To stow the seat, fold seat back
down and raise seat assembly to the
fully upright position.
Do not install a child seat in
a center facing jump seat.
Booster seats must be
installed only in seating
positions equipped with a
combination lap/shoulder belt.
SAFETY RESTRAINTS
Safety restraints precautions
Always drive and ride with your seatback upright and the lap
belt snug and low across the hips.
REVIEW COPY
2005 Ranger(ran), Owners Guide (post-2002-fmt)(own2002),
Market:USA_English(fus)
Seating and Safety Restraints
61
Page 73 of 256

National Highway Traffic Safety Administration (NHTSA)
recommends a minimum distance of at least 25 cm (10 inches)
between an occupant’s chest and the driver air bag module.
Never place your arm over the air bag module as a deploying air
bag can result in serious arm fractures or other injuries.
Steps you can take to properly position yourself away from the airbag:
•Move your seat to the rear as far as you can while still reaching the
pedals comfortably.
•Recline the seat slightly (one or two degrees) from the upright
position.
Do not put anything on or over the air bag module. Placing
objects on or over the air bag inflation area may cause those
objects to be propelled by the air bag into your face and torso causing
serious injury.
Do not attempt to service, repair, or modify the Air Bag
Supplemental Restraint System or its fuses. See your Ford or
Lincoln Mercury dealer.
The front passenger air bag is not designed to offer protection to
an occupant in the center front seating position.
Modifying or adding equipment to the front end of the vehicle
(including frame, bumper, front end body structure and tow
hooks) may affect the performance of the air bag system, increasing
the risk of injury. Do not modify the front end of the vehicle.
Additional equipment may affect the performance of the air bag
sensors increasing the risk of injury. Please refer to theBody
Builders Layout Bookfor instructions about the appropriate
installation of additional equipment.
REVIEW COPY
2005 Ranger(ran), Owners Guide (post-2002-fmt)(own2002),
Market:USA_English(fus)
Seating and Safety Restraints
73
Page 84 of 256

•Those with a high back.
If, with a backless booster seat,
you cannot find a seating position
that adequately supports your
child’s head, a high back booster
seat would be a better choice.
Both can be used in any vehicle in a seating position equipped with
lap/shoulder belts if your child is over 40 lb. (18 kg).
The shoulder belt should cross the chest, resting snugly on the center of
the shoulder. The lap belt should rest low and snug across the hips,
never up high across the stomach.
If the booster seat slides on the vehicle seat, placing a rubberized mesh
sold as shelf or carpet liner under the booster seat may improve this
condition.
The importance of shoulder belts
Using a booster without a shoulder belt increases the risk of a child’s
head hitting a hard surface in a collision. For this reason, you should
never use a booster seat with a lap belt only. It is best to use a booster
seat with lap/shoulder belts in the back seat- the safest place for children
to ride.
Follow all instructions provided by the manufacturer of the
booster seat.
Never put the shoulder belt under a child’s arm or behind the
back because it eliminates the protection for the upper part of
the body and may increase the risk of injury or death in a collision.
Never use pillows, books, or towels to boost a child. They can
slide around and increase the likelihood of injury or death in a
collision.
REVIEW COPY
2005 Ranger(ran), Owners Guide (post-2002-fmt)(own2002),
Market:USA_English(fus)
Seating and Safety Restraints
84
Page 88 of 256

7. Pull the lap belt portion across
the child seat toward the buckle and
pull up on the shoulder belt while
pushing down with knee on the
child seat.
8. Allow the safety belt to retract to
remove any slack in the belt.
9. Before placing the child in the
seat, forcibly tilt the seat forward
and back to make sure the seat is
securely held in place. To check
this, grab the seat at the belt path
and attempt to move it side to side
and forward. There should be no
more than one inch of movement for
proper installation.
10. Try to pull the belt out of the retractor to make sure the retractor is
in the automatic locking mode (you should not be able to pull more belt
out). If the retractor is not locked, unbuckle the belt and repeat steps
two through nine.
Check to make sure the child seat is properly secured before each use.
Attaching child safety seats with tether straps
Most new forward-facing child safety seats include a tether strap which
goes over the back of the seat and hooks to an anchoring point. Tether
straps are available as an accessory for many older safety seats. Contact
the manufacturer of your child seat for information about ordering a
tether strap.
The tether anchors in your vehicle are located on the back of the front
seat cushion.
REVIEW COPY
2005 Ranger(ran), Owners Guide (post-2002-fmt)(own2002),
Market:USA_English(fus)
Seating and Safety Restraints
88
Page 103 of 256

If your vehicle is equipped with TPMS, have a flat serviced by a dealer or
a qualified technician in order to prevent damage to the TPMS sensor.
Replace the spare tire with a road tire as soon as possible.
Temporary Emergency Spare Tire Information
Your vehicle may be equipped with a temporary emergency spare tire.
This tire may be a T-type/mini-spare tire which will have the words
“Temporary Use Only”molded into the tire sidewall or it may be a full
size dissimilar spare tire/wheel that is different in brand, size or
appearance from the road tire, which will be identified with a“Caution”
label on the wheel. Both of these spare tires are considered“temporary”.
Replace these temporary emergency spare tires on the vehicle with a tire
of the same size, speed rating and load carrying capacity as the other
road tires as soon as possible.
It is not recommended that the vehicle be operated in 4WD modes with
a temporary emergency spare tire. If 4WD operation is necessary, do not
operate above speeds of 10 mph (16 km/h) or for distances above 50
miles (80 km).
When driving with the temporary emergency spare tiredo not:
•Exceed 50 mph (80 km/h)
•Exceed 2000 miles (3200 km)
•Load the vehicle beyond maximum vehicle load rating listed on the
Safety Compliance Label
•Tow a trailer
•Use snow chains
•Use more than one temporary emergency spare tire
•Use commercial car washing equipment
•Try to repair the temporary emergency spare tire
Use of a temporary emergency spare tire at any one wheel location can
lead to impairment of the following:
•Handling, stability and braking performance
•Comfort and noise
•Ground clearance and parking at curbs
•Winter weather driving capability
•Wet weather driving capability
REVIEW COPY
2005 Ranger(ran), Owners Guide (post-2002-fmt)(own2002),
Market:USA_English(fus)
Tires, Wheels and Loading
103
Page 104 of 256

Conventional spare tire information
If you have the spare tire that is the same size as your other road tires,
you can use the spare as you would any of the other tires. The spare tire
will be equivalent to your road tires, although it may not have the same
appearance (black-side wall instead of outlined-white letters).
Location of the spare tire and tools
The spare tire and tools for your vehicle are stowed in the following
locations:
Tool Location
Spare tire Under the vehicle, just forward of
the rear bumper
Jack, jack handle, wheel nut
wrenchRegular Cab: behind the passenger
seat, underneath the jack and tools
cover on the floor
SuperCab: stowed in the passenger
side rear cab under the plastic tray
inside the storage bin or behind
the jump seat in a separate tool
bag
Four-door models: stowed behind
the front seats, between jump
seats and underneath jack and
tools cover.
Key, spare tire lock (if equipped) In the glove box
Removing the spare tire
1. Assemble the jack handle to the lug wrench as shown in the
illustrations.
When connecting the jack handle, assemble the following:
•one handle extension and one
typical extension. To assemble,
slide parts together. To
disconnect, depress button and
pull apart.
REVIEW COPY
2005 Ranger(ran), Owners Guide (post-2002-fmt)(own2002),
Market:USA_English(fus)
Tires, Wheels and Loading
104