2005 FORD F250 4WD
[x] Cancel search: 4WDPage 128 of 312
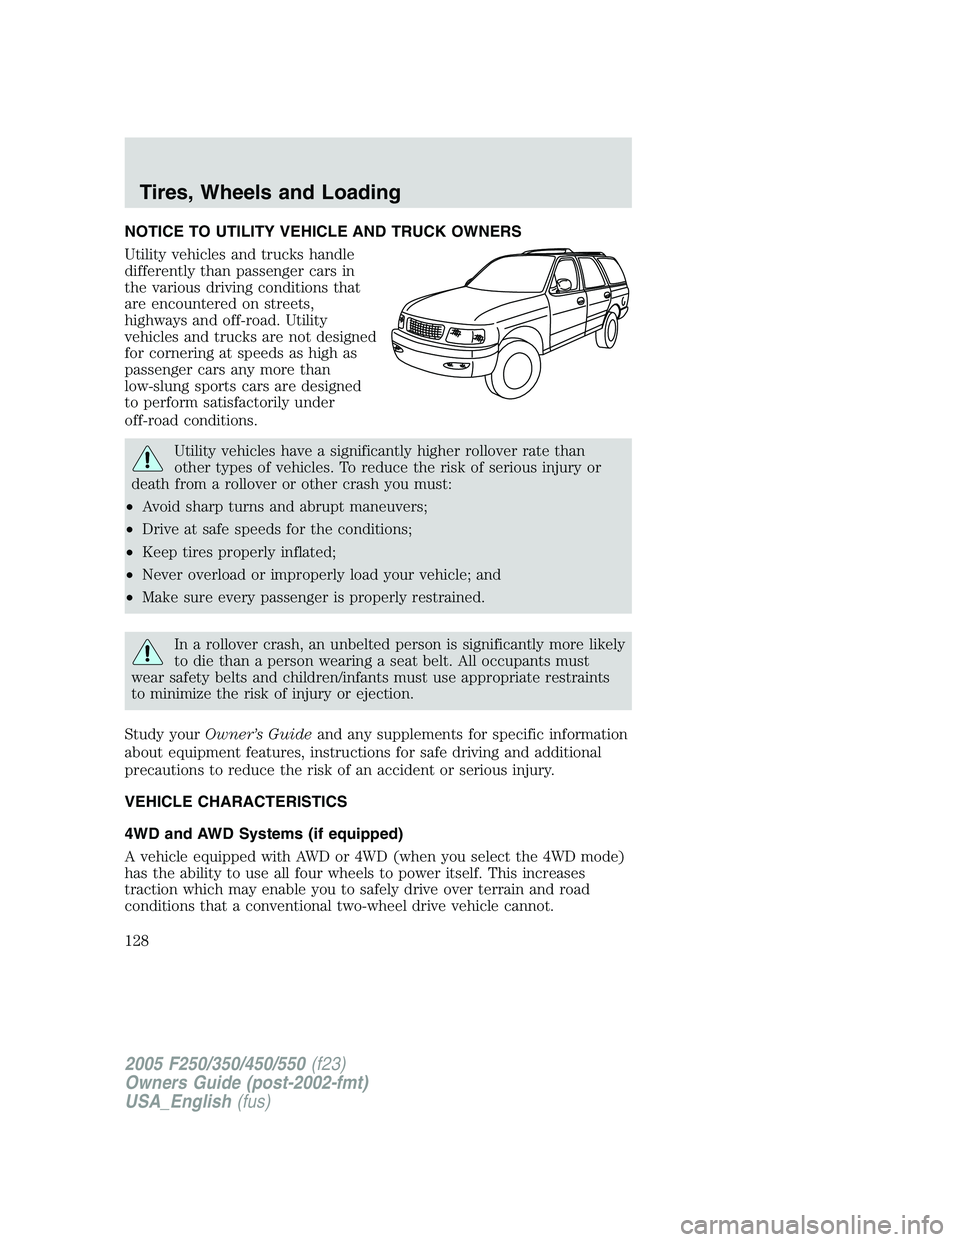
NOTICE TO UTILITY VEHICLE AND TRUCK OWNERS
Utility vehicles and trucks handle
differently than passenger cars in
the various driving conditions that
are encountered on streets,
highways and off-road. Utility
vehicles and trucks are not designed
for cornering at speeds as high as
passenger cars any more than
low-slung sports cars are designed
to perform satisfactorily under
off-road conditions.
Utility vehicles have a significantly higher rollover rate than
other types of vehicles. To reduce the risk of serious injury or
death from a rollover or other crash you must:
•Avoid sharp turns and abrupt maneuvers;
•Drive at safe speeds for the conditions;
•Keep tires properly inflated;
•Never overload or improperly load your vehicle; and
•Make sure every passenger is properly restrained.
In a rollover crash, an unbelted person is significantly more likely
to die than a person wearing a seat belt. All occupants must
wear safety belts and children/infants must use appropriate restraints
to minimize the risk of injury or ejection.
Study yourOwner’s Guideand any supplements for specific information
about equipment features, instructions for safe driving and additional
precautions to reduce the risk of an accident or serious injury.
VEHICLE CHARACTERISTICS
4WD and AWD Systems (if equipped)
A vehicle equipped with AWD or 4WD (when you select the 4WD mode)
has the ability to use all four wheels to power itself. This increases
traction which may enable you to safely drive over terrain and road
conditions that a conventional two-wheel drive vehicle cannot.
2005 F250/350/450/550(f23)
Owners Guide (post-2002-fmt)
USA_English(fus)
Tires, Wheels and Loading
Tires, Wheels and Loading
128
Page 129 of 312
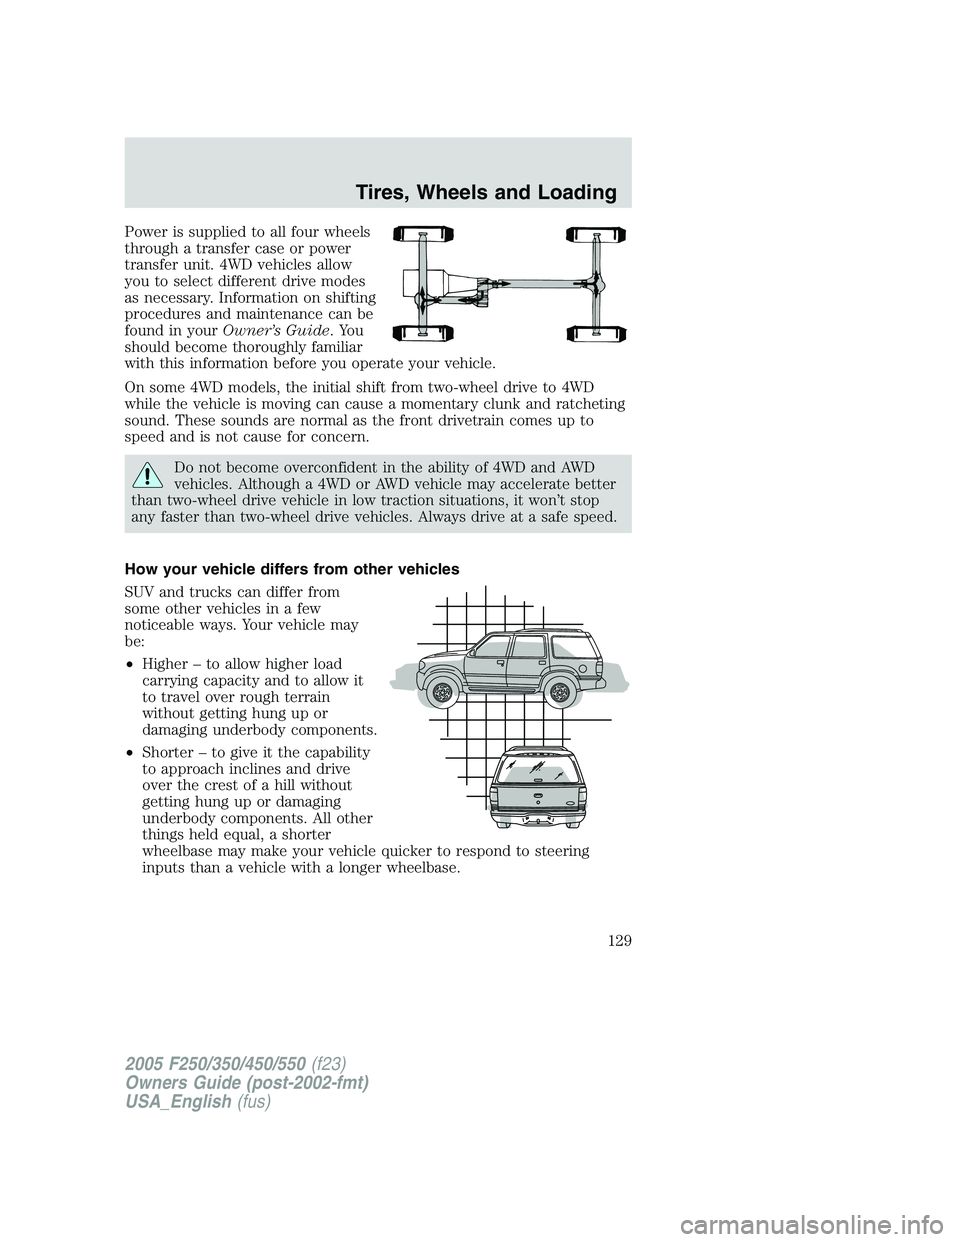
Power is supplied to all four wheels
through a transfer case or power
transfer unit. 4WD vehicles allow
you to select different drive modes
as necessary. Information on shifting
procedures and maintenance can be
found in yourOwner’s Guide.You
should become thoroughly familiar
with this information before you operate your vehicle.
On some 4WD models, the initial shift from two-wheel drive to 4WD
while the vehicle is moving can cause a momentary clunk and ratcheting
sound. These sounds are normal as the front drivetrain comes up to
speed and is not cause for concern.
Do not become overconfident in the ability of 4WD and AWD
vehicles. Although a 4WD or AWD vehicle may accelerate better
than two-wheel drive vehicle in low traction situations, it won’t stop
any faster than two-wheel drive vehicles. Always drive at a safe speed.
How your vehicle differs from other vehicles
SUV and trucks can differ from
some other vehicles in a few
noticeable ways. Your vehicle may
be:
•Higher – to allow higher load
carrying capacity and to allow it
to travel over rough terrain
without getting hung up or
damaging underbody components.
•Shorter – to give it the capability
to approach inclines and drive
over the crest of a hill without
getting hung up or damaging
underbody components. All other
things held equal, a shorter
wheelbase may make your vehicle quicker to respond to steering
inputs than a vehicle with a longer wheelbase.
2005 F250/350/450/550(f23)
Owners Guide (post-2002-fmt)
USA_English(fus)
Tires, Wheels and Loading
129
Page 141 of 312
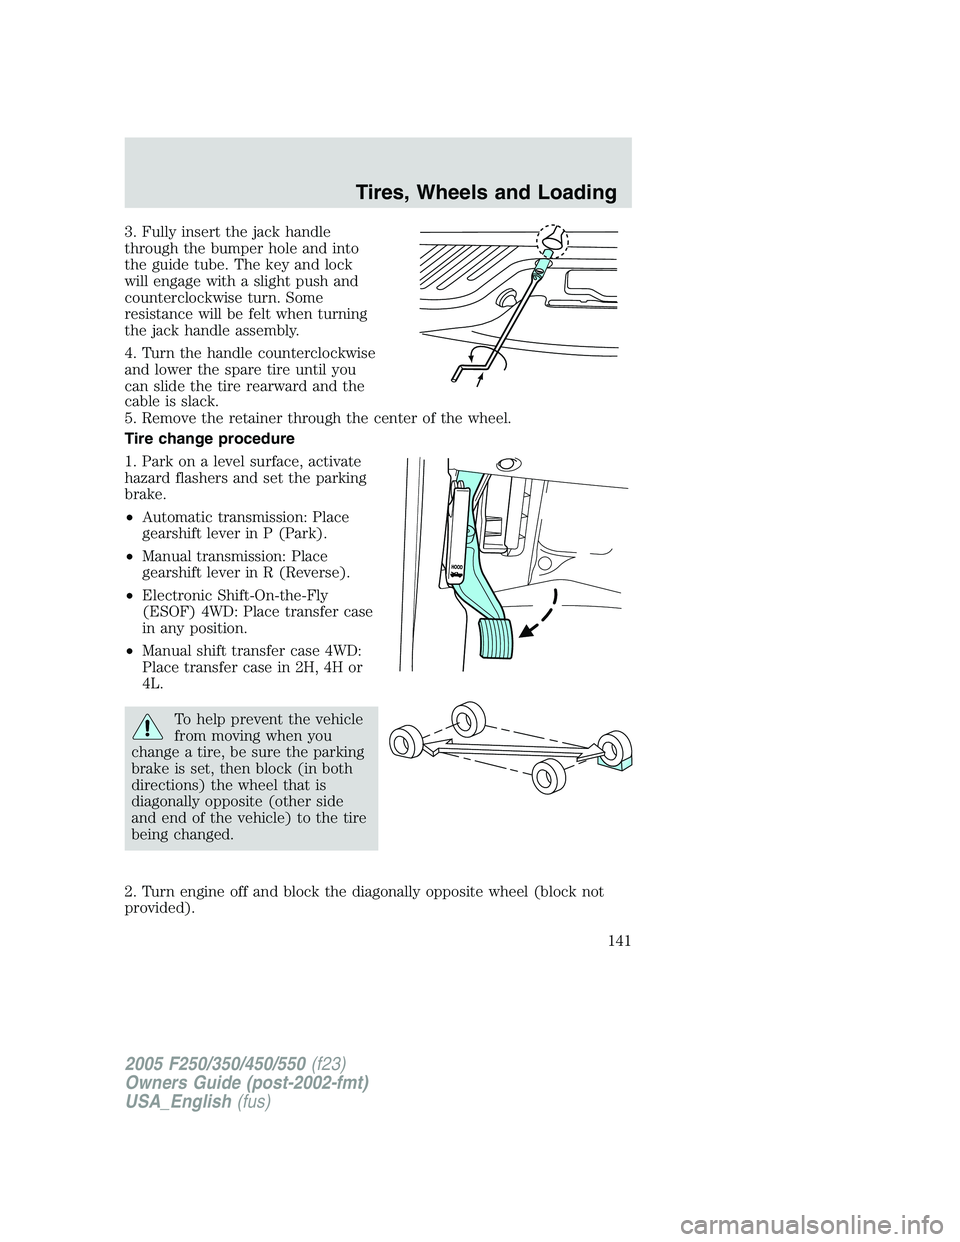
3. Fully insert the jack handle
through the bumper hole and into
the guide tube. The key and lock
will engage with a slight push and
counterclockwise turn. Some
resistance will be felt when turning
the jack handle assembly.
4. Turn the handle counterclockwise
and lower the spare tire until you
can slide the tire rearward and the
cable is slack.
5. Remove the retainer through the center of the wheel.
Tire change procedure
1. Park on a level surface, activate
hazard flashers and set the parking
brake.
•Automatic transmission: Place
gearshift lever in P (Park).
•Manual transmission: Place
gearshift lever in R (Reverse).
•Electronic Shift-On-the-Fly
(ESOF) 4WD: Place transfer case
in any position.
•Manual shift transfer case 4WD:
Place transfer case in 2H, 4H or
4L.
To help prevent the vehicle
from moving when you
change a tire, be sure the parking
brake is set, then block (in both
directions) the wheel that is
diagonally opposite (other side
and end of the vehicle) to the tire
being changed.
2. Turn engine off and block the diagonally opposite wheel (block not
provided).
2005 F250/350/450/550(f23)
Owners Guide (post-2002-fmt)
USA_English(fus)
Tires, Wheels and Loading
141
Page 158 of 312
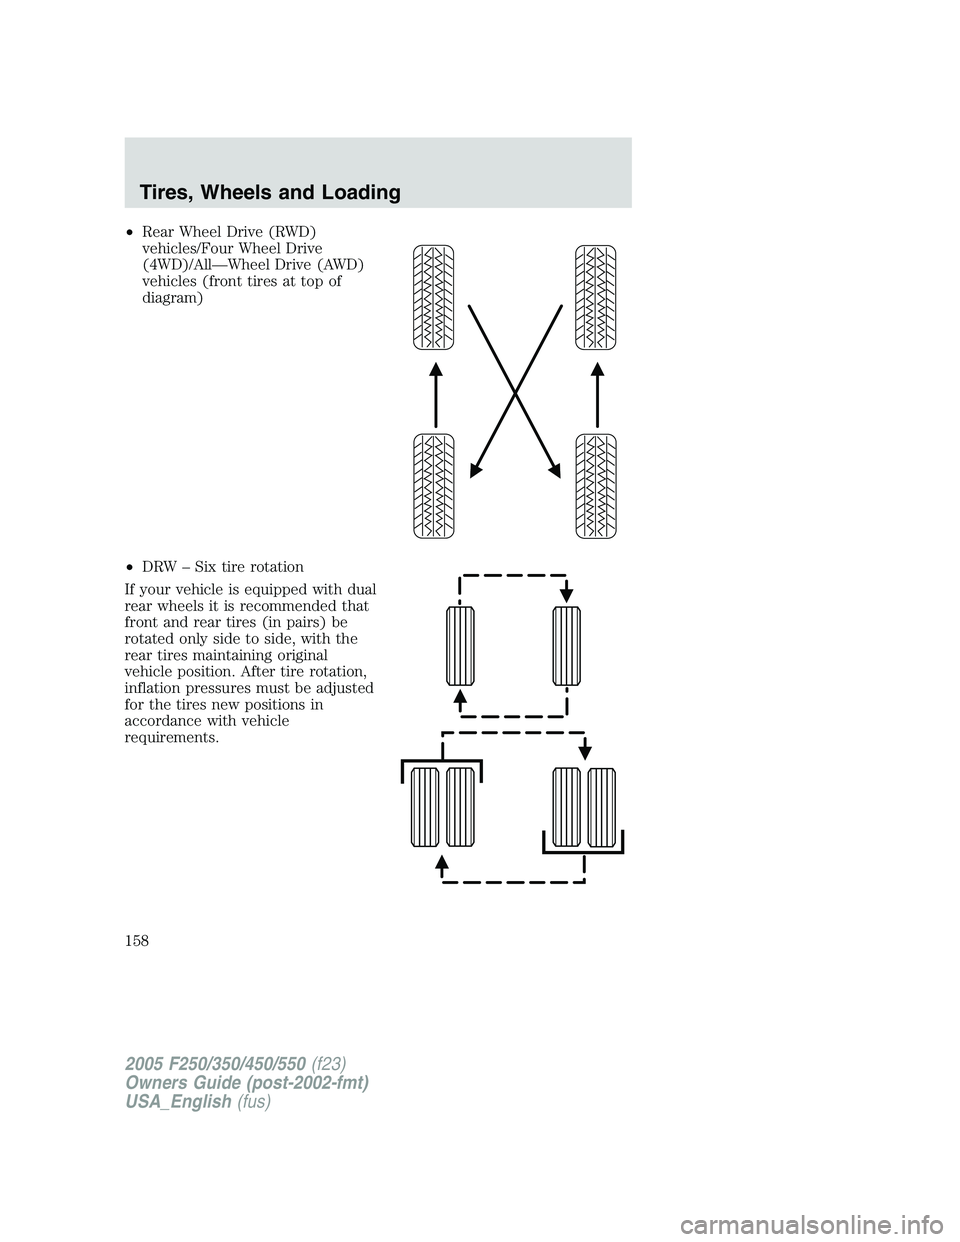
•Rear Wheel Drive (RWD)
vehicles/Four Wheel Drive
(4WD)/All—Wheel Drive (AWD)
vehicles (front tires at top of
diagram)
•DRW – Six tire rotation
If your vehicle is equipped with dual
rear wheels it is recommended that
front and rear tires (in pairs) be
rotated only side to side, with the
rear tires maintaining original
vehicle position. After tire rotation,
inflation pressures must be adjusted
for the tires new positions in
accordance with vehicle
requirements.
2005 F250/350/450/550(f23)
Owners Guide (post-2002-fmt)
USA_English(fus)
Tires, Wheels and Loading
158
Page 192 of 312
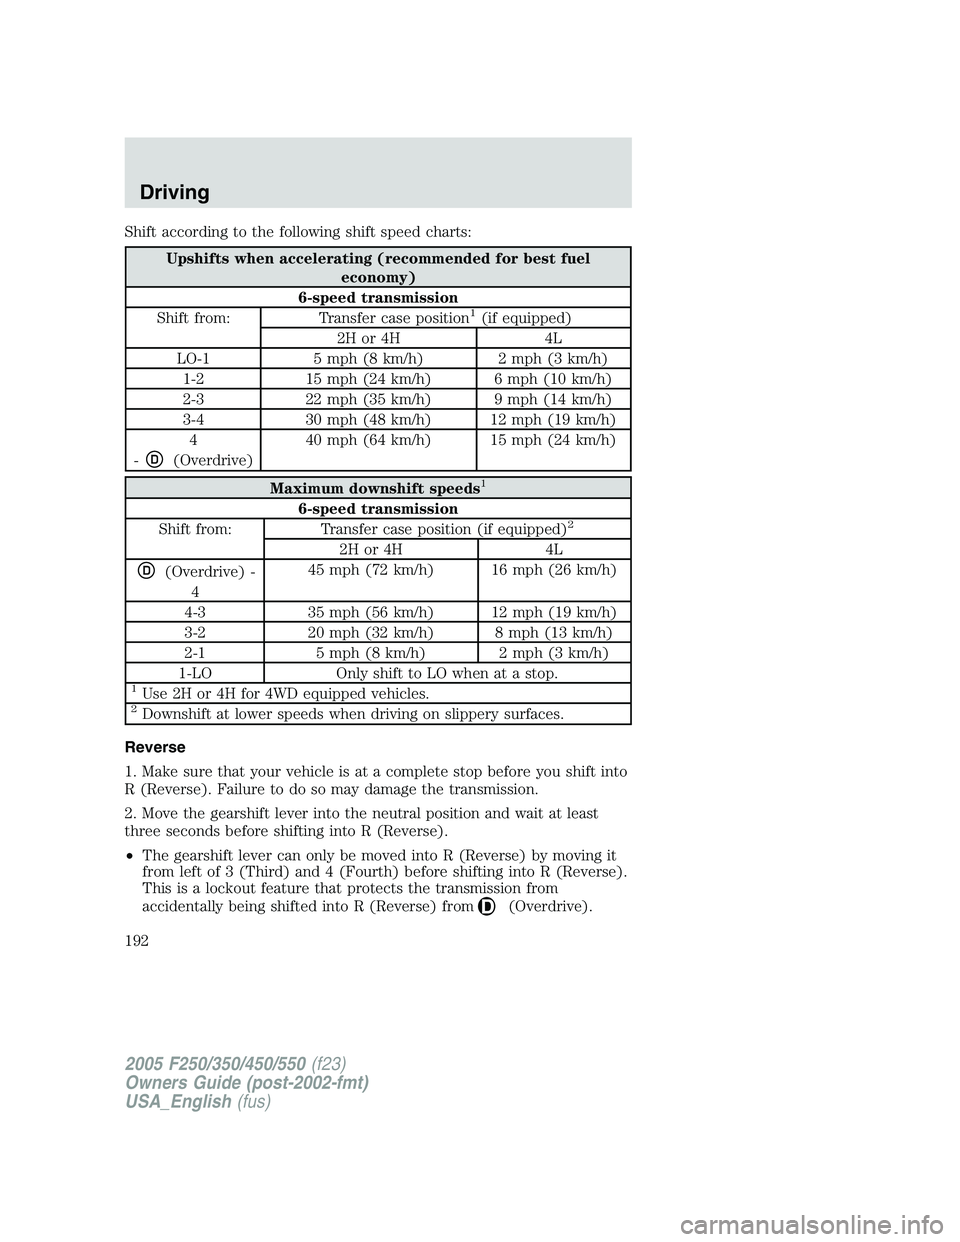
Shift according to the following shift speed charts:
Upshifts when accelerating (recommended for best fuel
economy)
6-speed transmission
Shift from: Transfer case position
1(if equipped)
2H or 4H 4L
LO-1 5 mph (8 km/h) 2 mph (3 km/h)
1-2 15 mph (24 km/h) 6 mph (10 km/h)
2-3 22 mph (35 km/h) 9 mph (14 km/h)
3-4 30 mph (48 km/h) 12 mph (19 km/h)
4
-
D(Overdrive)40 mph (64 km/h) 15 mph (24 km/h)
Maximum downshift speeds1
6-speed transmission
Shift from: Transfer case position (if equipped)2
2H or 4H 4L
D(Overdrive) -
445 mph (72 km/h) 16 mph (26 km/h)
4-3 35 mph (56 km/h) 12 mph (19 km/h)
3-2 20 mph (32 km/h) 8 mph (13 km/h)
2-1 5 mph (8 km/h) 2 mph (3 km/h)
1-LO Only shift to LO when at a stop.
1Use 2H or 4H for 4WD equipped vehicles.2Downshift at lower speeds when driving on slippery surfaces.
Reverse
1. Make sure that your vehicle is at a complete stop before you shift into
R (Reverse). Failure to do so may damage the transmission.
2. Move the gearshift lever into the neutral position and wait at least
three seconds before shifting into R (Reverse).
•The gearshift lever can only be moved into R (Reverse) by moving it
from left of 3 (Third) and 4 (Fourth) before shifting into R (Reverse).
This is a lockout feature that protects the transmission from
accidentally being shifted into R (Reverse) from
(Overdrive).
2005 F250/350/450/550(f23)
Owners Guide (post-2002-fmt)
USA_English(fus)
Driving
192
Page 195 of 312

The RSS automatically turns on
when the gearshift lever is placed in
R (Reverse) and the ignition is ON.
An RSS control allows the driver to
turn the RSS on and off. To turn the
RSS off, the ignition must be ON,
and the gear selector in R
(Reverse). An indicator light on the
control will illuminate when the system is turned off. If the indicator
light illuminates when the RSS is not turned off, it may indicate a failure
in the RSS. The RSS will remain off until either the RSS control is
pushed again or the ignition switch is recycled.
Keep the RSS sensors (located on the rear bumper/fascia) free
from snow, ice and large accumulations of dirt (do not clean the
sensors with sharp objects). If the sensors are covered, it will
affect the accuracy of the RSS.
If your vehicle sustains damage to the rear bumper/fascia, leaving
it misaligned or bent, the sensing zone may be altered causing
inaccurate measurement of obstacles or false alarms.
FOUR-WHEEL DRIVE (4WD) OPERATION (IF EQUIPPED)
For important information regarding safe operation of this type
of vehicle, seePreparing to drive your vehiclein this chapter.
When four–wheel drive (4WD) is engaged, power is supplied to all four
wheels through a transfer case. 4WD can be selected when additional
driving power is desired.
4WD operation is not recommended on dry pavement. Doing so could
result in difficult disengagement of the transfer case, increased tire wear
and decreased fuel economy.
2005 F250/350/450/550(f23)
Owners Guide (post-2002-fmt)
USA_English(fus)
Driving
195
Page 196 of 312
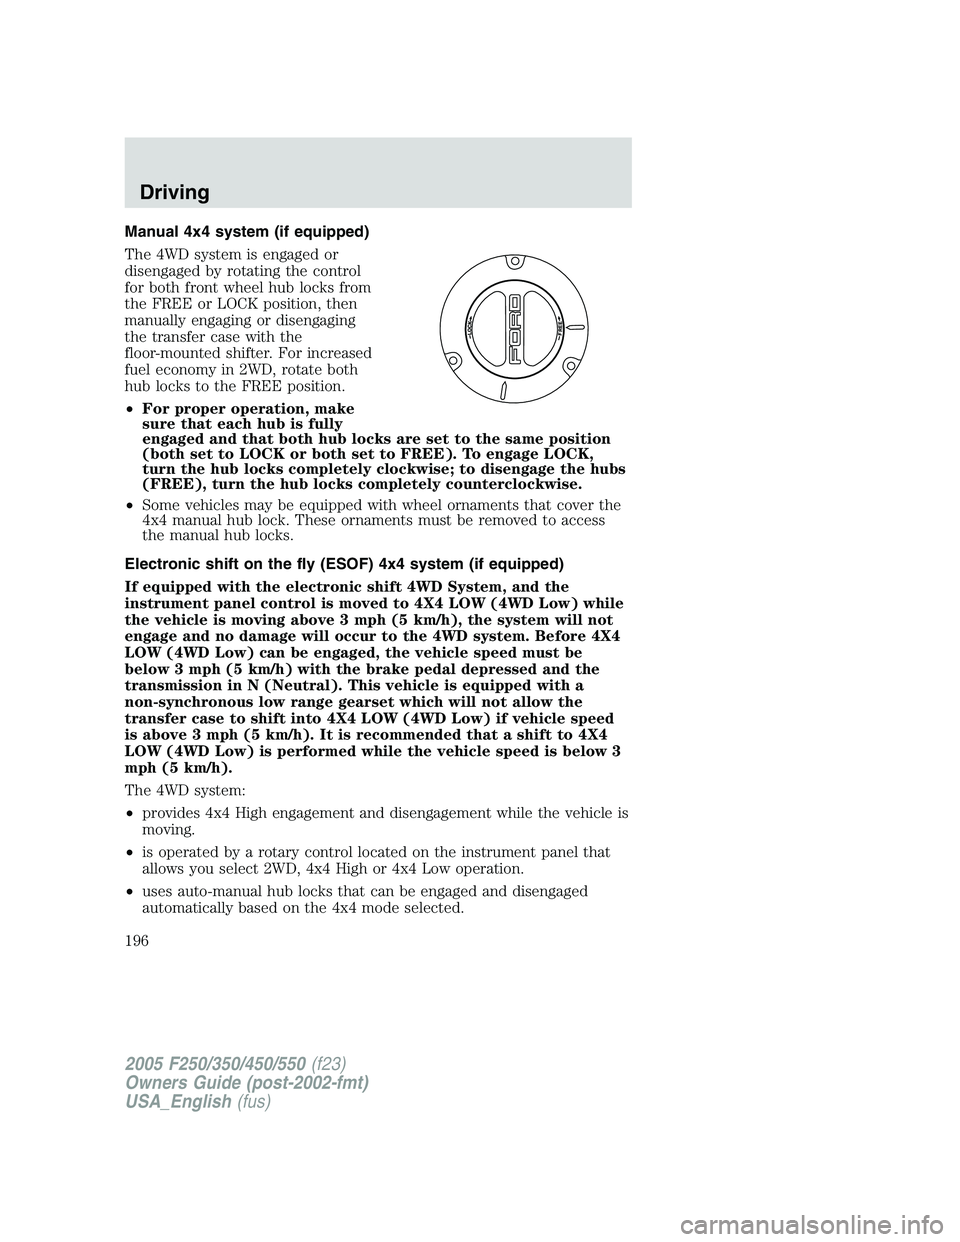
Manual 4x4 system (if equipped)
The 4WD system is engaged or
disengaged by rotating the control
for both front wheel hub locks from
the FREE or LOCK position, then
manually engaging or disengaging
the transfer case with the
floor-mounted shifter. For increased
fuel economy in 2WD, rotate both
hub locks to the FREE position.
•For proper operation, make
sure that each hub is fully
engaged and that both hub locks are set to the same position
(both set to LOCK or both set to FREE). To engage LOCK,
turn the hub locks completely clockwise; to disengage the hubs
(FREE), turn the hub locks completely counterclockwise.
•Some vehicles may be equipped with wheel ornaments that cover the
4x4 manual hub lock. These ornaments must be removed to access
the manual hub locks.
Electronic shift on the fly (ESOF) 4x4 system (if equipped)
If equipped with the electronic shift 4WD System, and the
instrument panel control is moved to 4X4 LOW (4WD Low) while
the vehicle is moving above 3 mph (5 km/h), the system will not
engage and no damage will occur to the 4WD system. Before 4X4
LOW (4WD Low) can be engaged, the vehicle speed must be
below 3 mph (5 km/h) with the brake pedal depressed and the
transmission in N (Neutral). This vehicle is equipped with a
non-synchronous low range gearset which will not allow the
transfer case to shift into 4X4 LOW (4WD Low) if vehicle speed
is above 3 mph (5 km/h). It is recommended that a shift to 4X4
LOW (4WD Low) is performed while the vehicle speed is below 3
mph (5 km/h).
The 4WD system:
•provides 4x4 High engagement and disengagement while the vehicle is
moving.
•is operated by a rotary control located on the instrument panel that
allows you select 2WD, 4x4 High or 4x4 Low operation.
•uses auto-manual hub locks that can be engaged and disengaged
automatically based on the 4x4 mode selected.
2005 F250/350/450/550(f23)
Owners Guide (post-2002-fmt)
USA_English(fus)
Driving
196
Page 197 of 312
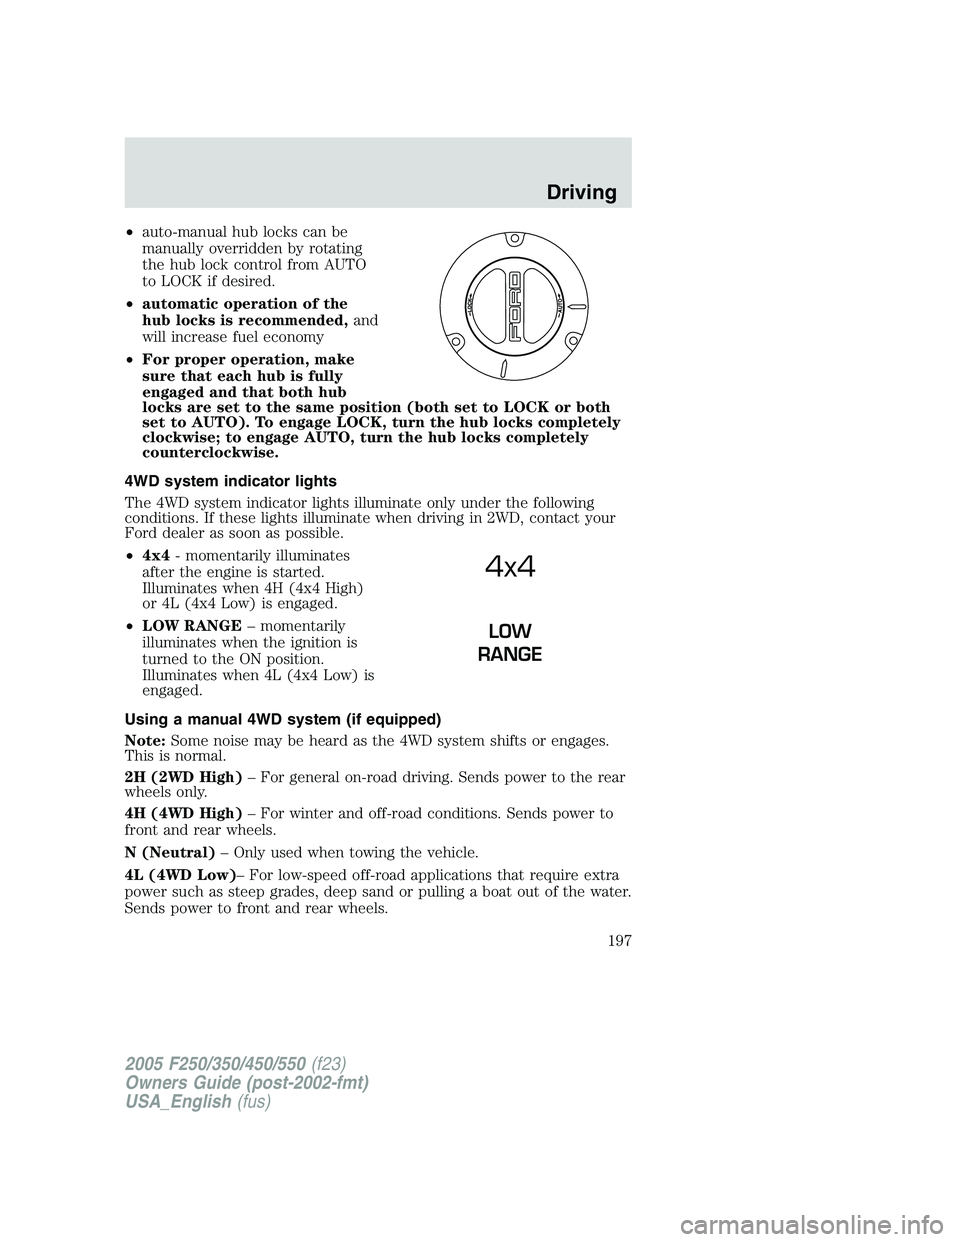
•auto-manual hub locks can be
manually overridden by rotating
the hub lock control from AUTO
to LOCK if desired.
•automatic operation of the
hub locks is recommended,and
will increase fuel economy
•For proper operation, make
sure that each hub is fully
engaged and that both hub
locks are set to the same position (both set to LOCK or both
set to AUTO). To engage LOCK, turn the hub locks completely
clockwise; to engage AUTO, turn the hub locks completely
counterclockwise.
4WD system indicator lights
The 4WD system indicator lights illuminate only under the following
conditions. If these lights illuminate when driving in 2WD, contact your
Ford dealer as soon as possible.
•4x4- momentarily illuminates
after the engine is started.
Illuminates when 4H (4x4 High)
or 4L (4x4 Low) is engaged.
•LOW RANGE– momentarily
illuminates when the ignition is
turned to the ON position.
Illuminates when 4L (4x4 Low) is
engaged.
Using a manual 4WD system (if equipped)
Note:Some noise may be heard as the 4WD system shifts or engages.
This is normal.
2H (2WD High)– For general on-road driving. Sends power to the rear
wheels only.
4H (4WD High)– For winter and off-road conditions. Sends power to
front and rear wheels.
N (Neutral)– Only used when towing the vehicle.
4L (4WD Low)– For low-speed off-road applications that require extra
power such as steep grades, deep sand or pulling a boat out of the water.
Sends power to front and rear wheels.
4x4
LOW
RANGE
2005 F250/350/450/550(f23)
Owners Guide (post-2002-fmt)
USA_English(fus)
Driving
197