Page 11 of 320

Service engine soon:TheService
engine soonindicator light
illuminates when the ignition is first
turned to the ON position to check
the bulb. Solid illumination after the engine is started indicates the On
Board Diagnostics System (OBD-II) has detected a malfunction. Refer to
On board diagnostics (OBD-II)in theMaintenance and Specifications
chapter. If the light is blinking, engine misfire is occurring which could
damage your catalytic converter. Drive in a moderate fashion (avoid
heavy acceleration and deceleration) and have your vehicle serviced
immediately.
Under engine misfire conditions, excessive exhaust temperatures
could damage the catalytic converter, the fuel system, interior
floor coverings or other vehicle components, possibly causing a fire.
Check fuel cap (if equipped):
Illuminates when the fuel cap may
not be properly installed. Continued
driving with this light on may cause
the Service engine soon light to
come on, refer toFuel filler capin theMaintenance and
Specificationschapter.
Brake system warning light:To
confirm the brake system warning
light is functional, it will
momentarily illuminate when the
ignition is turned to the ON position when the engine is not running, or
in a position between ON and START, or by applying the parking brake
when the ignition is turned to the ON position. If the brake system
warning light does not illuminate at this time, seek service immediately
from your dealership. Illumination after releasing the parking brake
indicates low brake fluid level and the brake system should be inspected
immediately by your servicing dealership.
Driving a vehicle with the brake system warning light on is
dangerous. A significant decrease in braking performance may
occur. It will take you longer to stop the vehicle. Have the vehicle
checked by your dealer immediately.
SERVICE
ENGINE
SOON
CHECK
FUEL
CAP
REVIEW COPY
2005 Explorer(exp), Owners Guide (post-2002-fmt)(own2002),
Market:USA_English(fus)
Instrument Cluster
11
Page 54 of 320
•the headlamp control is in theorposition
•the parking brake must be disengaged.
Always remember to turn on your headlamps at dusk or during
inclement weather. The Daytime Running Light (DRL) System
does not activate your tail lamps and generally may not provide
adequate lighting during these conditions. Failure to activate your
headlamps under these conditions may result in a collision.
High beams
Push the lever toward the
instrument panel to activate. Pull
the lever towards you to deactivate.
Flash to pass
Pull the lever toward you to
activate. Release the lever to
deactivate.
Use to adjust the brightness of the
instrument panel when exterior
lights are on.
•Rotate up to brighten.
•Rotate down to dim.
•Rotate to full up position (past
detent) to turn on interior lamps.
INT2OFFOFFINT1
INT2OFFOFFINT1
REVIEW COPY
2005 Explorer(exp), Owners Guide (post-2002-fmt)(own2002),
Market:USA_English(fus)
Lights
54
Page 60 of 320
Replacing front parking lamp/turn signal/sidemarker bulbs
1. Turn off the headlamp switch to
off.
2. Remove headlamp screw from the
bulb assembly.
3. Disengage lamp assembly.
4. Rotate the bulb socket
counterclockwise and remove it
from the lamp assembly.
5. Pull the bulb straight out of the
socket.
Reverse steps to reinstall bulb(s).
Replacing tail/brake/turn/backup lamp bulbs
1. Turn the headlamp switch to OFF
and open the liftgate.
2. Remove the two screws from the
lamp assembly.
3. Remove the lamp assembly.
4. Rotate the bulb socket
counterclockwise and remove it
from the lamp assembly.
5. Pull the bulb straight out of the
socket.
Reverse steps to reinstall bulb(s).
REVIEW COPY
2005 Explorer(exp), Owners Guide (post-2002-fmt)(own2002),
Market:USA_English(fus)
Lights
60
Page 133 of 320
Reasons given... Consider...
“I have an air bag” Air bags offer greater protection when
used with safety belts. Frontal airbags
are not designed to inflate in rear and
side crashes or rollovers.
“I’d rather be thrown clear” Not a good idea.Peoplewho are
ejected are 40 times more likely
to DIE.Safety belts help prevent
ejection, WE CAN’T “PICK OUR
CRASH”.
Do not sit on top of a buckled safety belt to avoid the Belt
Minder chime. Sitting on the safety belt will increase the risk of
injury in an accident. To disable (one-time) or deactivate the Belt
Minder feature please follow the directions stated below.
One time disable
Any time the safety belt is buckled and then unbuckled during an
ignition ON cycle, the BeltMinder will be disabled for that ignition cycle
only.
Deactivating/activating the BeltMinder feature
Before following the procedure, make sure that:
•the parking brake is set
•the gearshift is in P (Park)
•the ignition switch is in the OFF position
•all vehicle doors are closed
•the driver’s safety belt is unbuckled
•the parklamps/headlamps are in OFF position (If vehicle is equipped
with Autolamps, the Autolamps featureMUSTbe turned off.)
Read steps1-9thoroughly before proceeding with the
deactivation/activation programming procedure.
BeltMinder deactivation/activation procedure
To reduce the risk of injury, do not deactivate/activate the Belt
Minder feature while driving the vehicle.
REVIEW COPY
2005 Explorer(exp), Owners Guide (post-2002-fmt)(own2002),
Market:USA_English(fus)
Seating and Safety Restraints
133
Page 166 of 320
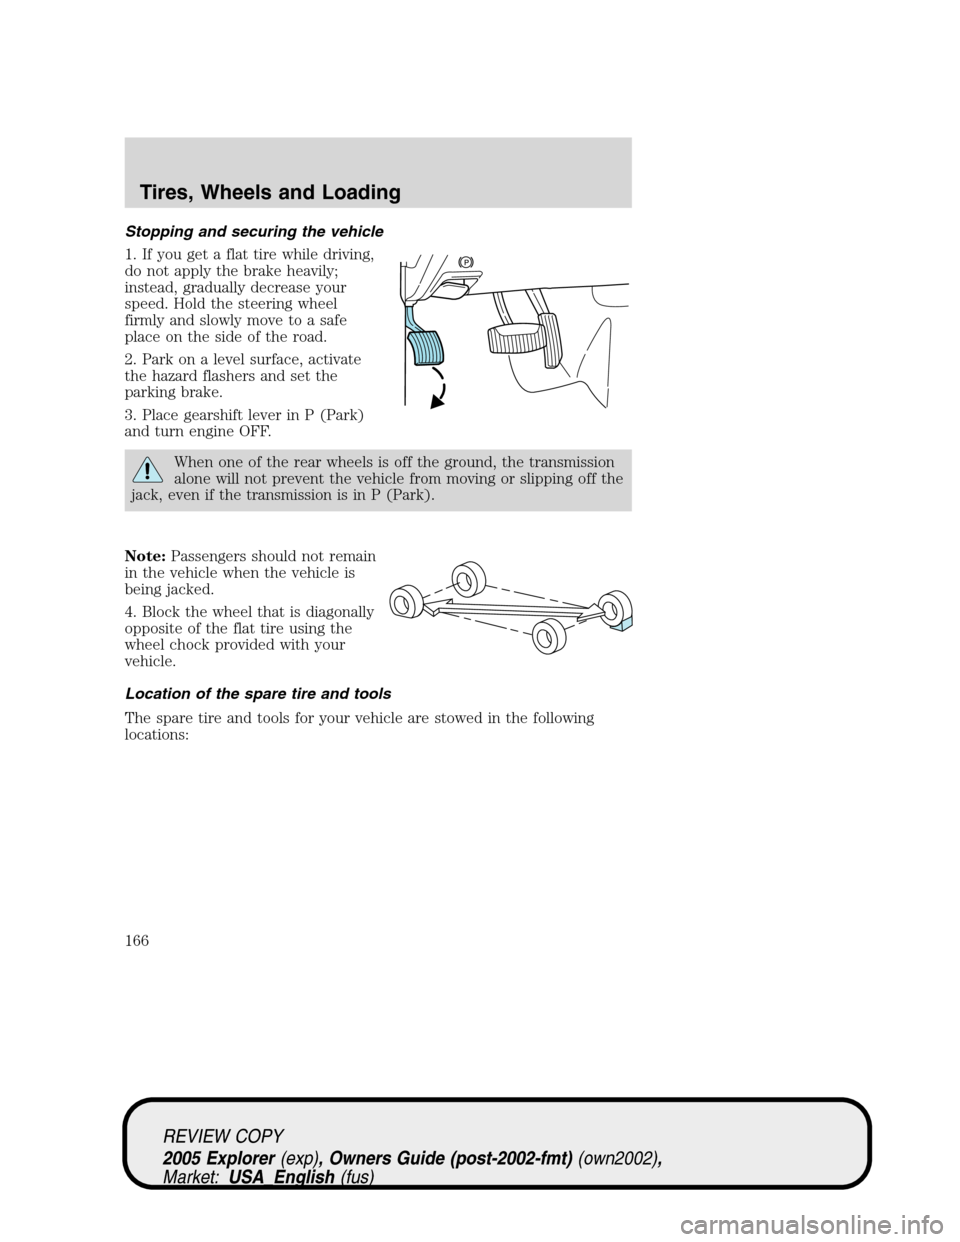
Stopping and securing the vehicle
1. If you get a flat tire while driving,
do not apply the brake heavily;
instead, gradually decrease your
speed. Hold the steering wheel
firmly and slowly move to a safe
place on the side of the road.
2. Park on a level surface, activate
the hazard flashers and set the
parking brake.
3. Place gearshift lever in P (Park)
and turn engine OFF.
When one of the rear wheels is off the ground, the transmission
alone will not prevent the vehicle from moving or slipping off the
jack, even if the transmission is in P (Park).
Note:Passengers should not remain
in the vehicle when the vehicle is
being jacked.
4. Block the wheel that is diagonally
opposite of the flat tire using the
wheel chock provided with your
vehicle.
Location of the spare tire and tools
The spare tire and tools for your vehicle are stowed in the following
locations:
REVIEW COPY
2005 Explorer(exp), Owners Guide (post-2002-fmt)(own2002),
Market:USA_English(fus)
Tires, Wheels and Loading
166
Page 169 of 320
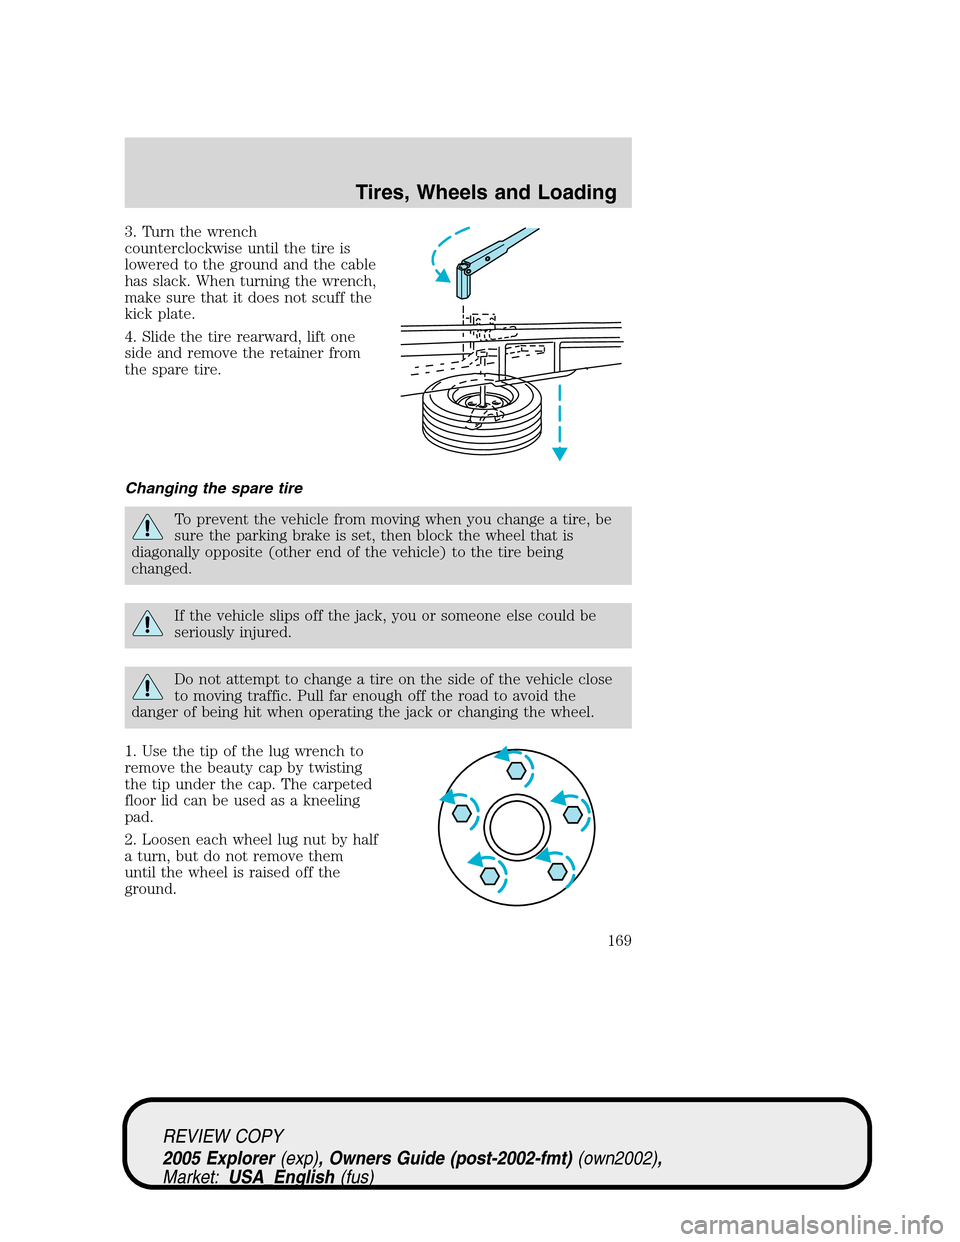
3. Turn the wrench
counterclockwise until the tire is
lowered to the ground and the cable
has slack. When turning the wrench,
make sure that it does not scuff the
kick plate.
4. Slide the tire rearward, lift one
side and remove the retainer from
the spare tire.
Changing the spare tire
To prevent the vehicle from moving when you change a tire, be
sure the parking brake is set, then block the wheel that is
diagonally opposite (other end of the vehicle) to the tire being
changed.
If the vehicle slips off the jack, you or someone else could be
seriously injured.
Do not attempt to change a tire on the side of the vehicle close
to moving traffic. Pull far enough off the road to avoid the
danger of being hit when operating the jack or changing the wheel.
1. Use the tip of the lug wrench to
remove the beauty cap by twisting
the tip under the cap. The carpeted
floor lid can be used as a kneeling
pad.
2. Loosen each wheel lug nut by half
a turn, but do not remove them
until the wheel is raised off the
ground.
REVIEW COPY
2005 Explorer(exp), Owners Guide (post-2002-fmt)(own2002),
Market:USA_English(fus)
Tires, Wheels and Loading
169
Page 200 of 320
STARTING
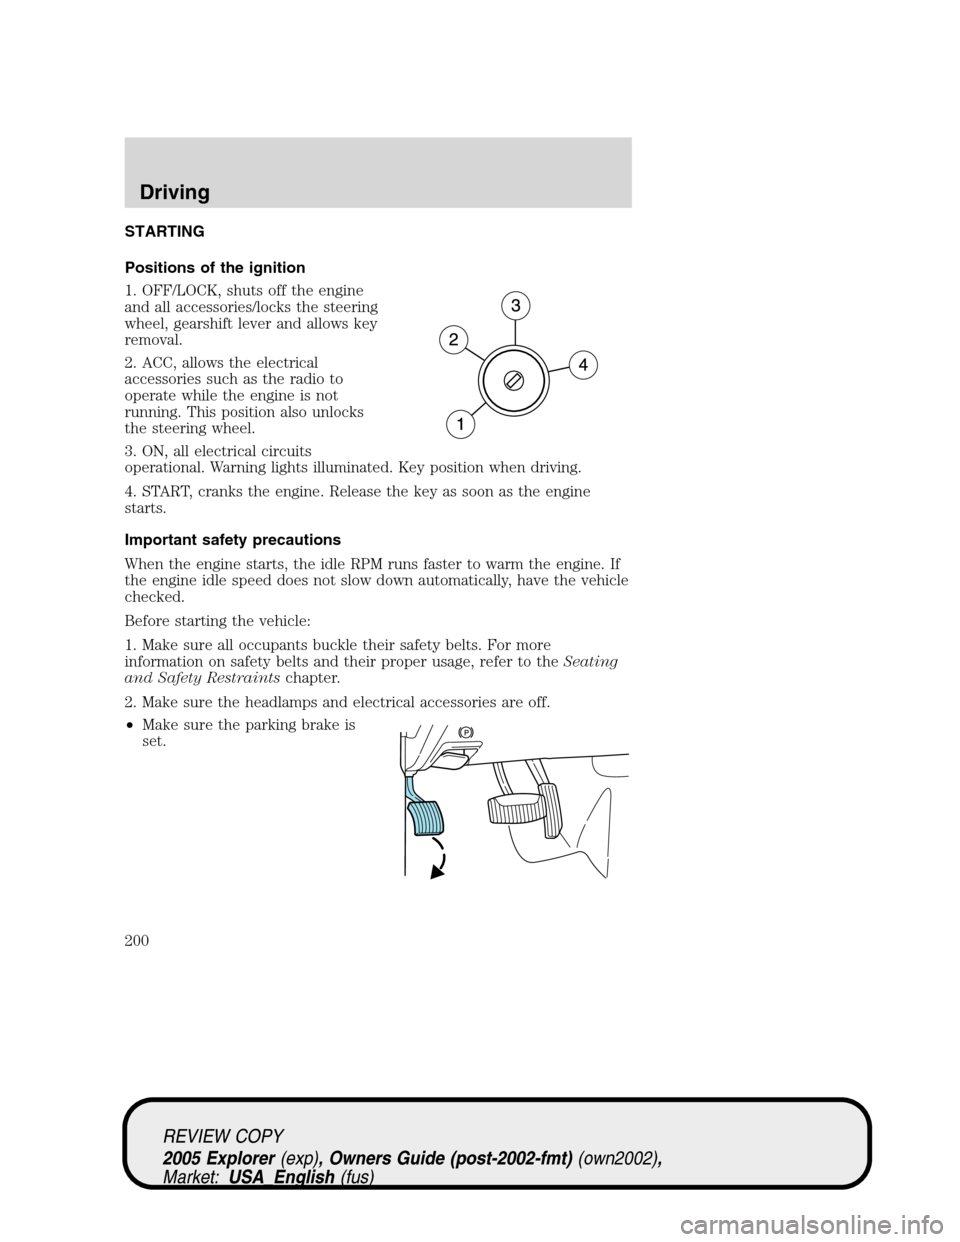
Positions of the ignition
1. OFF/LOCK, shuts off the engine
and all accessories/locks the steering
wheel, gearshift lever and allows key
removal.
2. ACC, allows the electrical
accessories such as the radio to
operate while the engine is not
running. This position also unlocks
the steering wheel.
3. ON, all electrical circuits
operational. Warning lights illuminated. Key position when driving.
4. START, cranks the engine. Release the key as soon as the engine
starts.
Important safety precautions
When the engine starts, the idle RPM runs faster to warm the engine. If
the engine idle speed does not slow down automatically, have the vehicle
checked.
Before starting the vehicle:
1. Make sure all occupants buckle their safety belts. For more
information on safety belts and their proper usage, refer to theSeating
and Safety Restraintschapter.
2. Make sure the headlamps and electrical accessories are off.
•Make sure the parking brake is
set.
REVIEW COPY
2005 Explorer(exp), Owners Guide (post-2002-fmt)(own2002),
Market:USA_English(fus)
Driving
Driving
200
Page 204 of 320
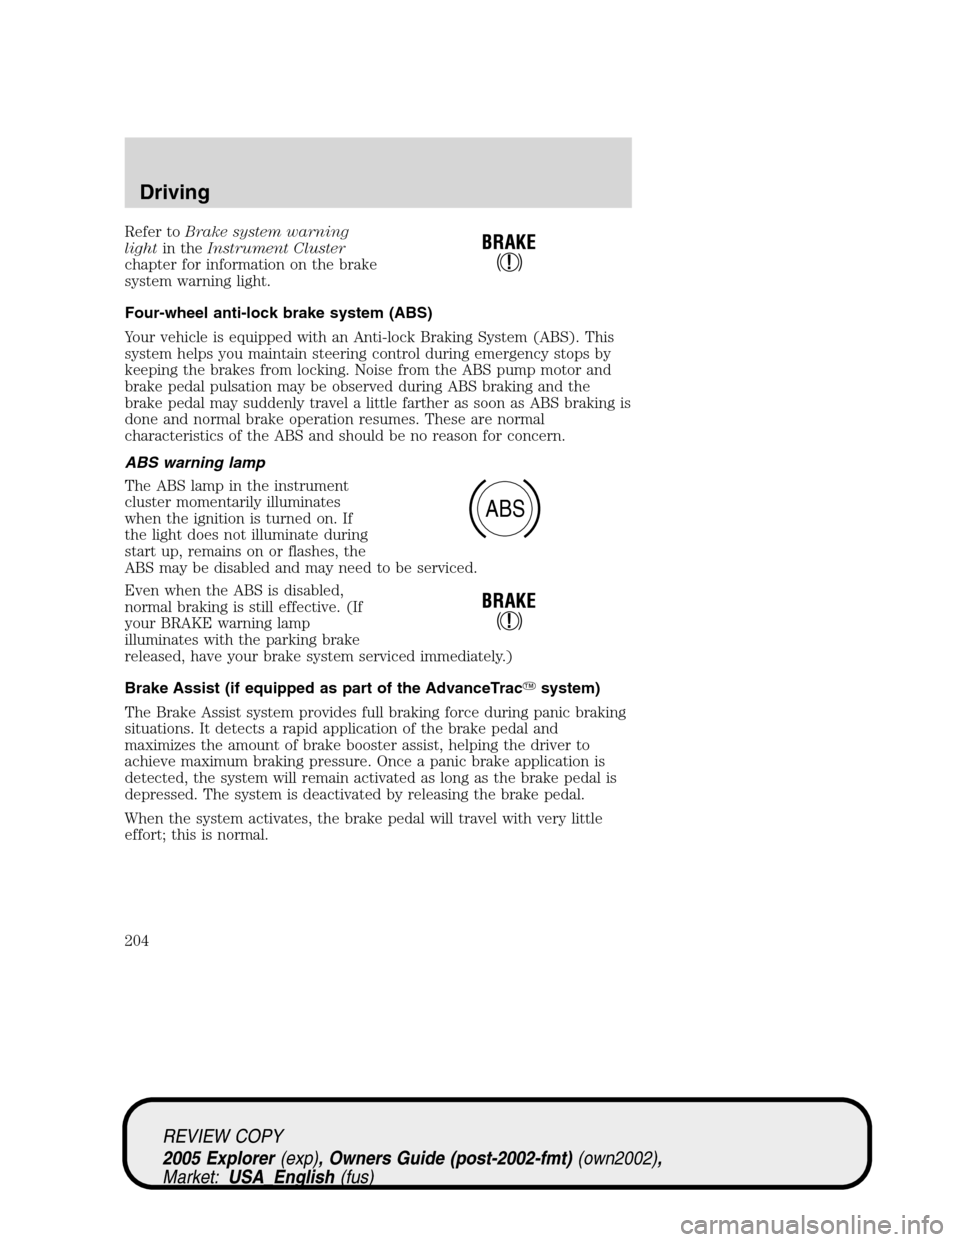
Refer toBrake system warning
lightin theInstrument Cluster
chapter for information on the brake
system warning light.
Four-wheel anti-lock brake system (ABS)
Your vehicle is equipped with an Anti-lock Braking System (ABS). This
system helps you maintain steering control during emergency stops by
keeping the brakes from locking. Noise from the ABS pump motor and
brake pedal pulsation may be observed during ABS braking and the
brake pedal may suddenly travel a little farther as soon as ABS braking is
done and normal brake operation resumes. These are normal
characteristics of the ABS and should be no reason for concern.
ABS warning lamp
The ABS lamp in the instrument
cluster momentarily illuminates
when the ignition is turned on. If
the light does not illuminate during
start up, remains on or flashes, the
ABS may be disabled and may need to be serviced.
Even when the ABS is disabled,
normal braking is still effective. (If
your BRAKE warning lamp
illuminates with the parking brake
released, have your brake system serviced immediately.)
Brake Assist (if equipped as part of the AdvanceTrac�system)
The Brake Assist system provides full braking force during panic braking
situations. It detects a rapid application of the brake pedal and
maximizes the amount of brake booster assist, helping the driver to
achieve maximum braking pressure. Once a panic brake application is
detected, the system will remain activated as long as the brake pedal is
depressed. The system is deactivated by releasing the brake pedal.
When the system activates, the brake pedal will travel with very little
effort; this is normal.
ABS
REVIEW COPY
2005 Explorer(exp), Owners Guide (post-2002-fmt)(own2002),
Market:USA_English(fus)
Driving
204