2005 FORD EXPLORER driver seat
[x] Cancel search: driver seatPage 6 of 320

Please read the sectionSupplemental restraint system (SRS)
in theSeating and Safety Restraintschapter. Failure to follow
the specific warnings and instructions could result in personal injury.
Front seat mounted rear-facing child or infant seats should
NEVERbe placed in front of an active passenger air bag.
Service Data Recording
Service data recorders in your vehicle are capable of collecting and
storing diagnostic information about your vehicle. This potentially
includes information about the performance or status of various systems
and modules in the vehicle, such as engine, throttle, steering or brake
systems. In order to properly diagnose and service your vehicle, Ford
Motor Company, Ford of Canada, and service and repair facilities may
access vehicle diagnostic information through a direct connection to your
vehicle when diagnosing or servicing your vehicle.
Event Data Recording
Other modules in your vehicle — event data recorders — are capable of
collecting and storing data during a crash or near crash event. The
recorded information may assist in the investigation of such an event.
The modules may record information about both the vehicle and the
occupants, potentially including information such as:
•how various systems in your vehicle were operating;
•whether or not the driver and passenger seatbelts were buckled;
•how far (if at all) the driver was depressing the accelerator and/or the
brake pedal;
•how fast the vehicle was traveling; and
•where the driver was positioning the steering wheel.
To access this information, special equipment must be directly connected
to the recording modules. Ford Motor Company and Ford of Canada do
not access event data recorder information without obtaining consent,
unless pursuant to court order or where required by law enforcement,
other government authorities or other third parties acting with lawful
authority. Other parties may seek to access the information
independently of Ford Motor Company and Ford of Canada.
REVIEW COPY
2005 Explorer(exp), Owners Guide (post-2002-fmt)(own2002),
Market:USA_English(fus)
Introduction
6
Page 22 of 320

Occupancy:Press DSP again to change the occupancy mode to optimize
sound for ALL SEATS, DRIVERS SEAT or REAR SEATS. Press SEL to
scroll through settings.
4.Mute:Press to MUTE playing
media; press again to return to
playing media
5.Eject:Press to eject a CD. Press
EJ and a memory preset to eject a
specific disk. Press and hold to eject
all loaded discs.
6.Bass:Press BASS; then press
SEL
/to decrease/increase
the bass output.
Treble:Press TREB; then press
SEL
/to decrease/increase
the treble output.
7.Select:Use with Bass, Treble,
Balance, Fade and other menu
selections.
8.Balance:Press BAL; then press
SEL
/to shift sound to the
left/right speakers.
Fade:Press FADE; then press
SEL
/to shift sound to the
rear/front speakers.
9.Menu:Press MENU to access
clock mode, RDS on/off, Traffic
announcement mode, Program type
mode, Shuffle and Compression
mode.
The Federal Communications Commission (FCC) and the Canadian Radio
and Telecommunications Commission (CRTC) recommend that FM radio
broadcasters use RDS technology to transmit information. FM radio
stations are independently operated and individually elect to use RDS
technology to transmit station ID and program type as desired.
REVIEW COPY
2005 Explorer(exp), Owners Guide (post-2002-fmt)(own2002),
Market:USA_English(fus)
Entertainment Systems
22
Page 41 of 320
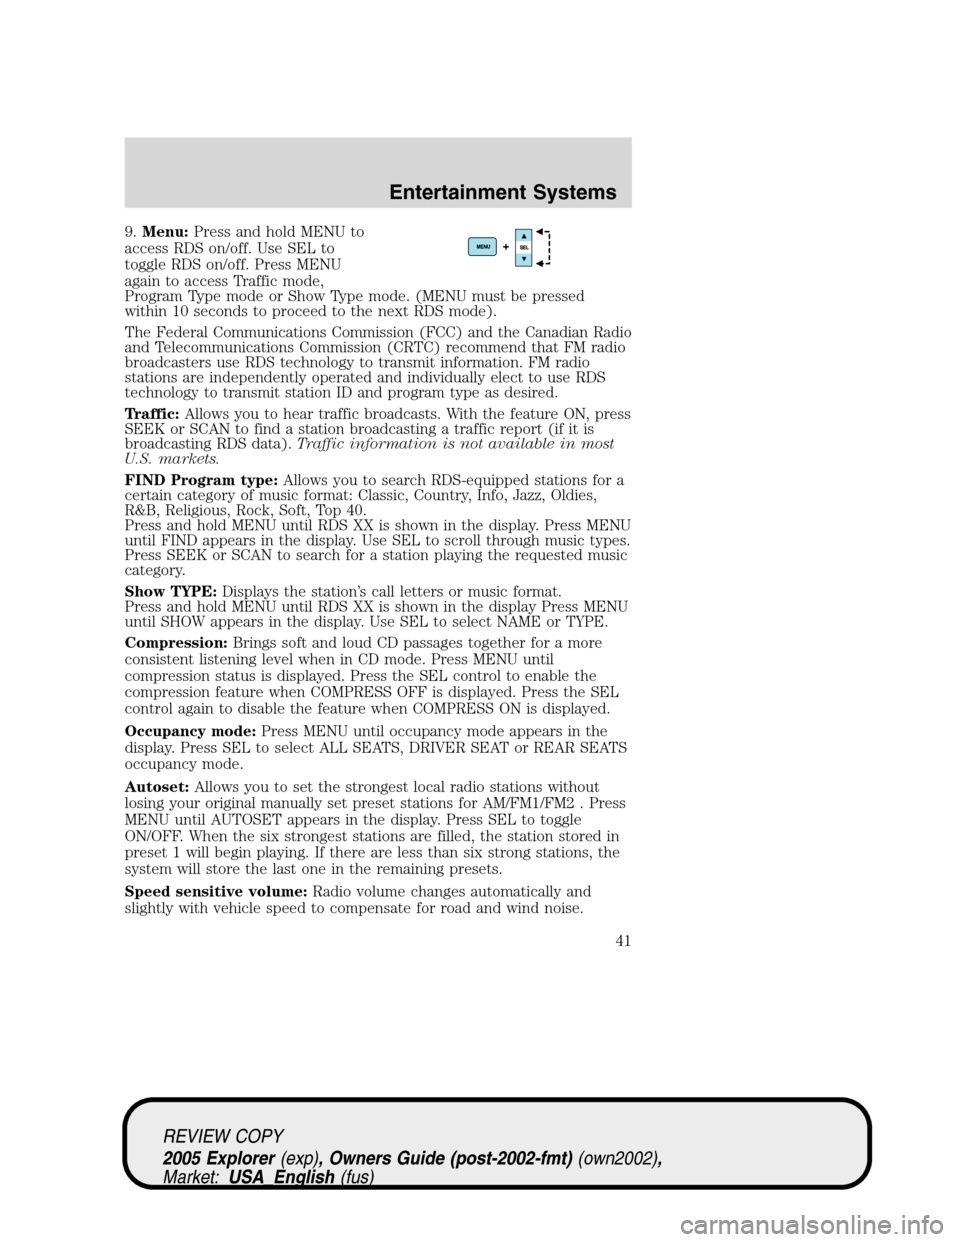
9.Menu:Press and hold MENU to
access RDS on/off. Use SEL to
toggle RDS on/off. Press MENU
again to access Traffic mode,
Program Type mode or Show Type mode. (MENU must be pressed
within 10 seconds to proceed to the next RDS mode).
The Federal Communications Commission (FCC) and the Canadian Radio
and Telecommunications Commission (CRTC) recommend that FM radio
broadcasters use RDS technology to transmit information. FM radio
stations are independently operated and individually elect to use RDS
technology to transmit station ID and program type as desired.
Traffic:Allows you to hear traffic broadcasts. With the feature ON, press
SEEK or SCAN to find a station broadcasting a traffic report (if it is
broadcasting RDS data).Traffic information is not available in most
U.S. markets.
FIND Program type:Allows you to search RDS-equipped stations for a
certain category of music format: Classic, Country, Info, Jazz, Oldies,
R&B, Religious, Rock, Soft, Top 40.
Press and hold MENU until RDS XX is shown in the display. Press MENU
until FIND appears in the display. Use SEL to scroll through music types.
Press SEEK or SCAN to search for a station playing the requested music
category.
Show TYPE:Displays the station’s call letters or music format.
Press and hold MENU until RDS XX is shown in the display Press MENU
until SHOW appears in the display. Use SEL to select NAME or TYPE.
Compression:Brings soft and loud CD passages together for a more
consistent listening level when in CD mode. Press MENU until
compression status is displayed. Press the SEL control to enable the
compression feature when COMPRESS OFF is displayed. Press the SEL
control again to disable the feature when COMPRESS ON is displayed.
Occupancy mode:Press MENU until occupancy mode appears in the
display. Press SEL to select ALL SEATS, DRIVER SEAT or REAR SEATS
occupancy mode.
Autoset:Allows you to set the strongest local radio stations without
losing your original manually set preset stations for AM/FM1/FM2 . Press
MENU until AUTOSET appears in the display. Press SEL to toggle
ON/OFF. When the six strongest stations are filled, the station stored in
preset 1 will begin playing. If there are less than six strong stations, the
system will store the last one in the remaining presets.
Speed sensitive volume:Radio volume changes automatically and
slightly with vehicle speed to compensate for road and wind noise.
REVIEW COPY
2005 Explorer(exp), Owners Guide (post-2002-fmt)(own2002),
Market:USA_English(fus)
Entertainment Systems
41
Page 68 of 320
Do not plug electrical accessories into the cigarette lighter socket
(if equipped). Always use the power point for accessories.
Do not use the power point for operating the cigarette lighter element.
The maximum power each power point can supply depends on the fuse
rating. For example: a 20A fuse should supply a maximum of 240 Watts,
a 15A fuse should supply a maximum of 180 Watts. Exceeding these
limits will result in a blown fuse.
Always keep the power point caps closed when not being used.
Rear auxiliary power point (if equipped)
A second auxiliary power point is located on the rear side of the console.
It is accessible from the rear seats.
POWER WINDOWS
Do not leave children unattended in the vehicle and do not let
children play with the power windows. They may seriously injure
themselves.
When closing the power windows, you should verify they are free
of obstructions and ensure that children and/or pets are not in
the proximity of the window openings.
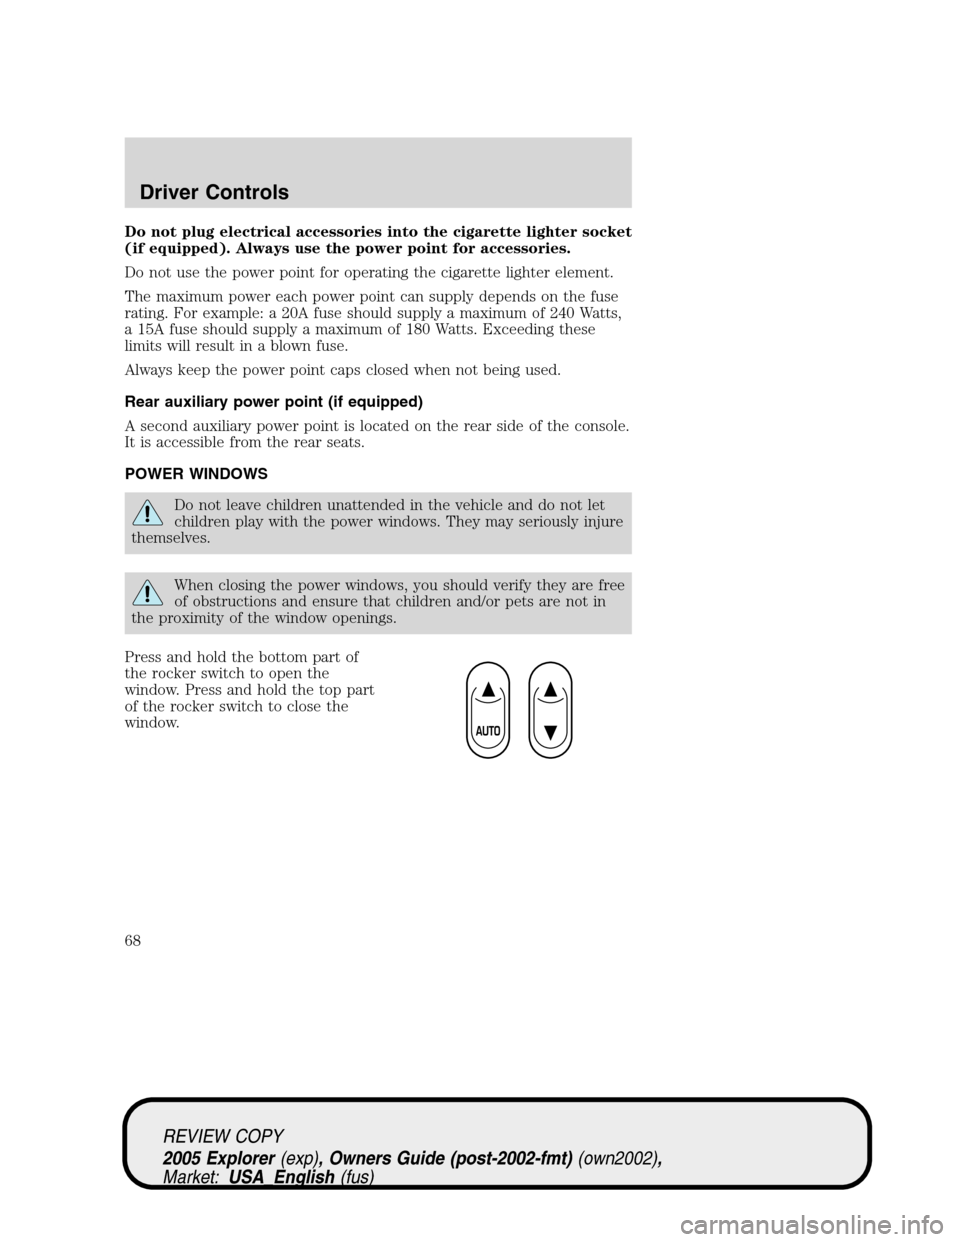
Press and hold the bottom part of
the rocker switch to open the
window. Press and hold the top part
of the rocker switch to close the
window.
REVIEW COPY
2005 Explorer(exp), Owners Guide (post-2002-fmt)(own2002),
Market:USA_English(fus)
Driver Controls
68
Page 88 of 320

Autolocks
1. Select this function from the
SETUP control for the current
display mode.
2. Press the RESET control to turn
the autolocks ON or OFF.
Easy entry/exit (if equipped)
1. Select this function from the
SETUP control for the current
display mode.
2. Press the RESET control to turn
the easy entry/exit feature ON or
OFF. For more information refer toMemory Seat/Adjustable Pedals/
Easy entry/exit featurein theSeating and Safety Restraintschapter.
Autolamp delay (if equipped)
1. Select this function from the
SETUP control for the current
display mode.
2. Press the RESET control to select
the autolamp delay time.
Oil Change
1. Select this function from the
SETUP control for the current
display mode.
2. Press the RESET control to reset
oil change.
Language
1. Select this function from the
SETUP menu for the current
language to be displayed.
REVIEW COPY
2005 Explorer(exp), Owners Guide (post-2002-fmt)(own2002),
Market:USA_English(fus)
Driver Controls
88
Page 96 of 320
The liftgate door and window should be closed before driving. If not,
possible damage may occur to your vehicle.
Always close liftgate window before opening liftgate. Liftgate
glass and liftgate should never be open at the same time. Failure
to observe this warning may result in personal injury or damage to
your vehicle.
Make sure the liftgate door and/or window are closed to prevent
exhaust fumes from being drawn into the vehicle. This will also
reduce the risk of passengers and cargo falling out.
CARGO COVER (IF EQUIPPED)
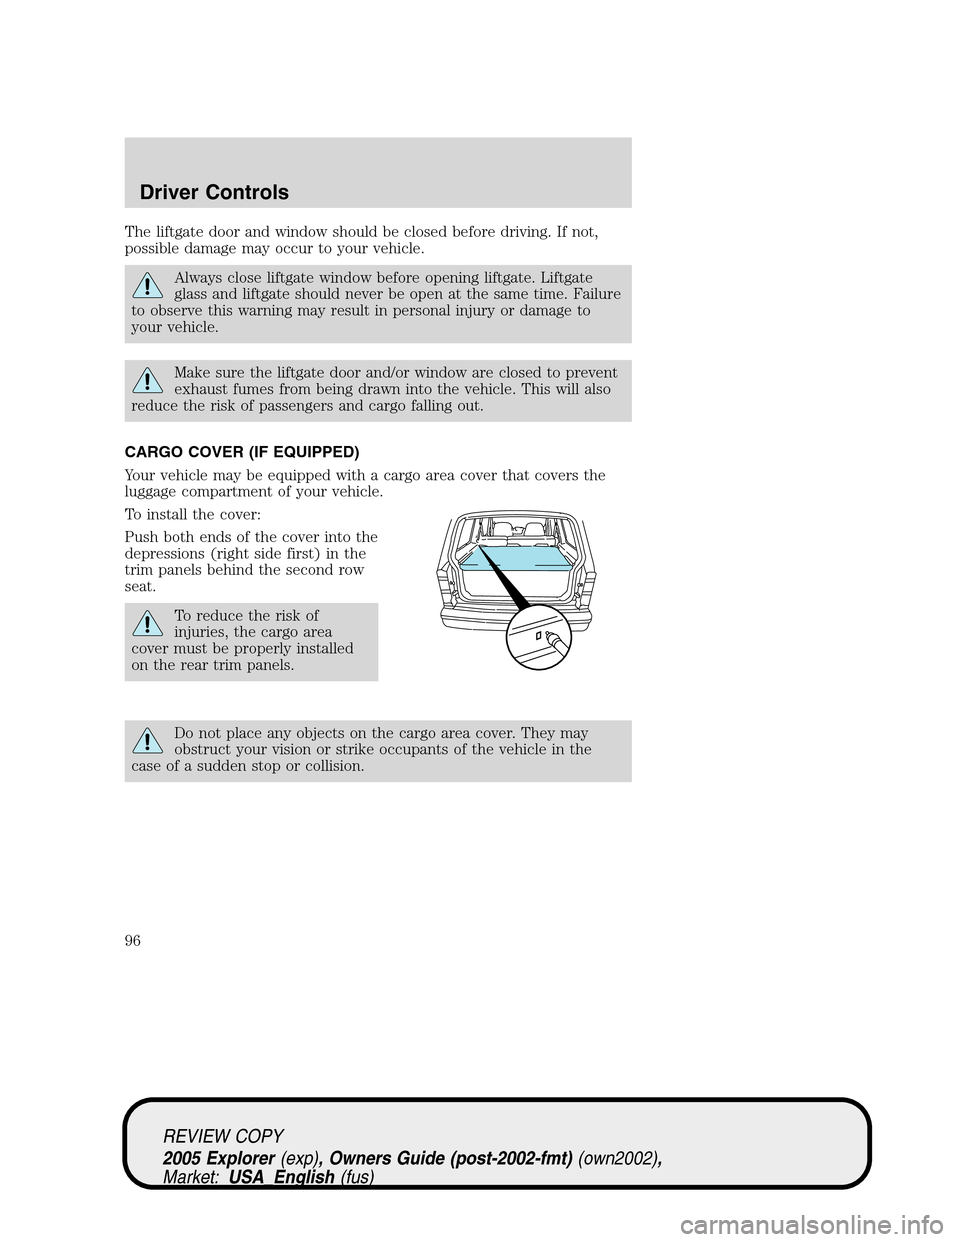
Your vehicle may be equipped with a cargo area cover that covers the
luggage compartment of your vehicle.
To install the cover:
Push both ends of the cover into the
depressions (right side first) in the
trim panels behind the second row
seat.
To reduce the risk of
injuries, the cargo area
cover must be properly installed
on the rear trim panels.
Do not place any objects on the cargo area cover. They may
obstruct your vision or strike occupants of the vehicle in the
case of a sudden stop or collision.
REVIEW COPY
2005 Explorer(exp), Owners Guide (post-2002-fmt)(own2002),
Market:USA_English(fus)
Driver Controls
96
Page 102 of 320
2. Pressand release again within three seconds to confirm that all the
doors are closed and locked.Note:The doors will lock again, the horn
will chirp and the lamps flash once.
Note:If any door, the liftgate or the liftgate glass are not closed
properly, the horn will make two quick chirps.
Opening the liftgate window
Press
to unlatch the liftgate window.
Sounding a panic alarm
Press
to activate the alarm. The horn will sound and the parklamps
will flash for a maximum of 3 minutes. Press again or turn the ignition to
the 3 (ON) position to deactivate, or wait for the alarm to timeout in 3
minutes.
Note:The panic alarm will only operate when the ignition is in the 1
(OFF/LOCK) or 2 (ACCESSORY) position.
Memory seats/adjustable pedals/easy entry-exit feature
(if equipped)
The remote entry system can also control the memory seat /adjustable
pedals/easy entry-exit feature.
Press
to automatically move the seat and adjustable pedals to the
desired memory position (the seat position corresponds to the
transmitter being used).
Activating the memory seat feature
To activate this feature:
1. Position the seat and adjustable pedals to the position desired.
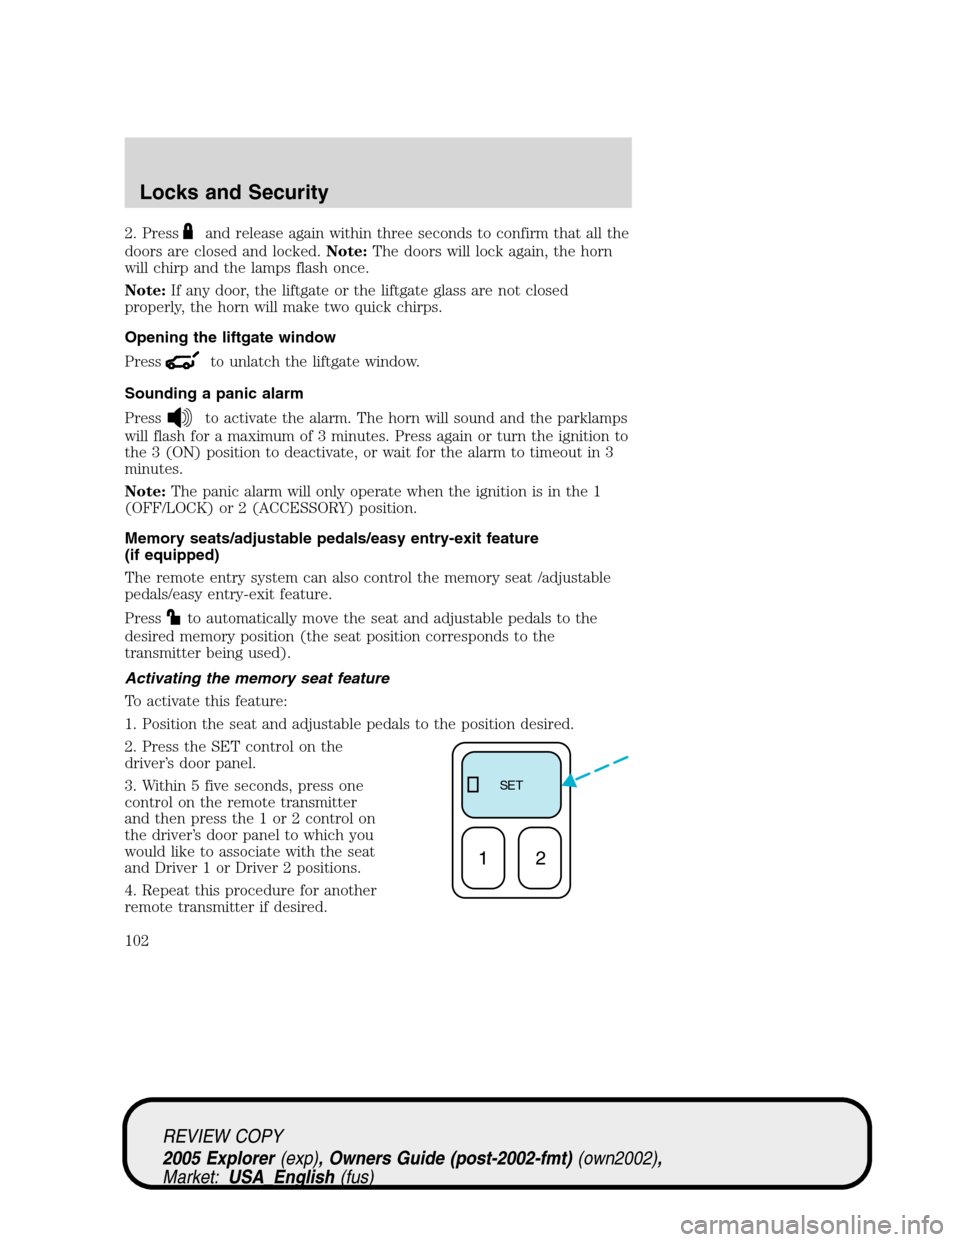
2. Press the SET control on the
driver’s door panel.
3. Within 5 five seconds, press one
control on the remote transmitter
and then press the 1 or 2 control on
the driver’s door panel to which you
would like to associate with the seat
and Driver 1 or Driver 2 positions.
4. Repeat this procedure for another
remote transmitter if desired.
SE T
12
REVIEW COPY
2005 Explorer(exp), Owners Guide (post-2002-fmt)(own2002),
Market:USA_English(fus)
Locks and Security
102
Page 103 of 320
Deactivating the memory seat feature
To deactivate this feature:
1. Press the SET control on the driver’s door panel.
2. Within 5 five seconds, press any control on the remote transmitter
which you would like to deactivate and then press the SET control on
the driver’s door panel.
3. Repeat this procedure for another remote transmitter if desired.
Replacing the battery
The remote entry transmitter uses one coin type three-volt lithium
battery CR2032 or equivalent.
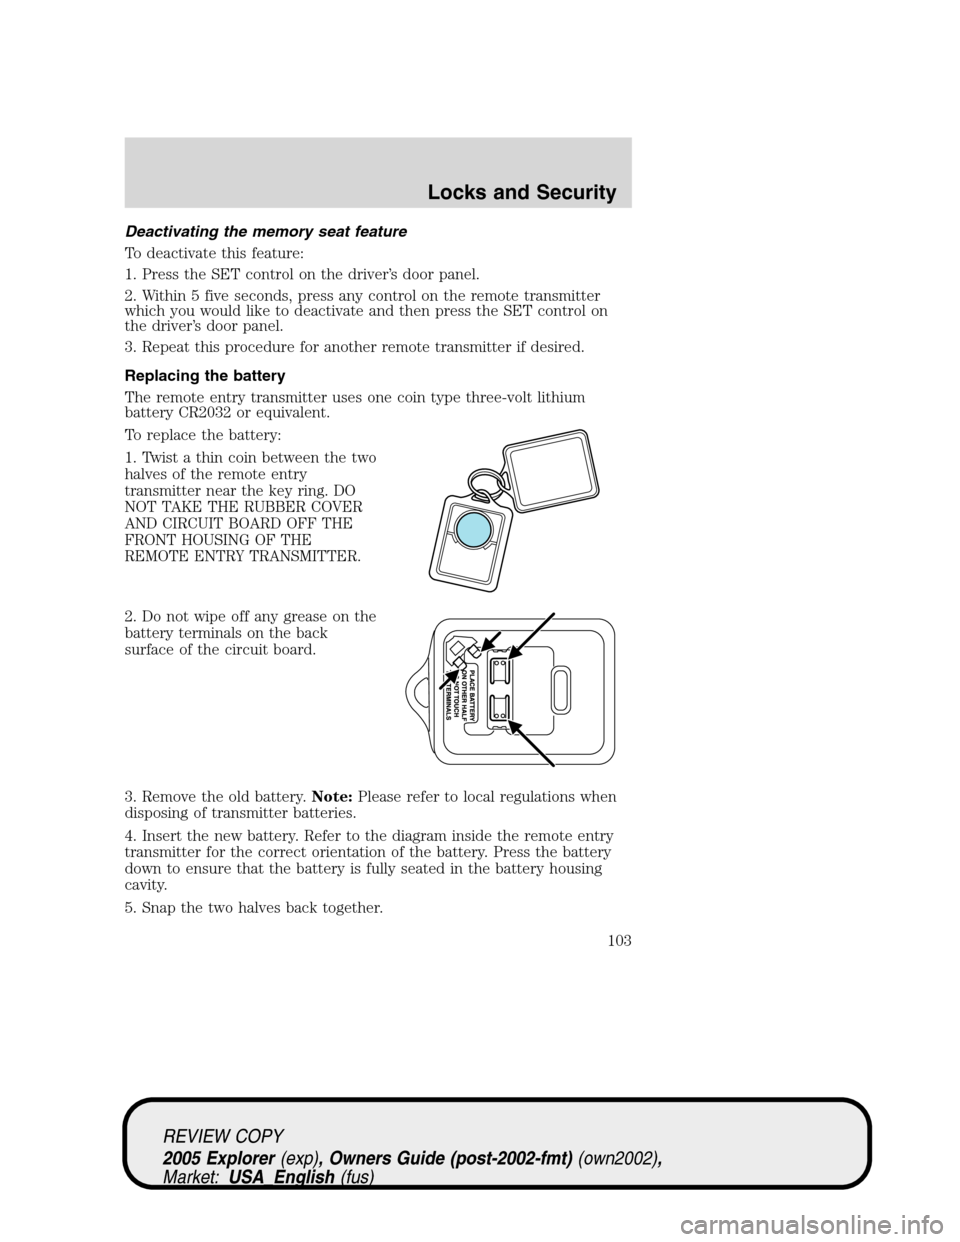
To replace the battery:
1. Twist a thin coin between the two
halves of the remote entry
transmitter near the key ring. DO
NOT TAKE THE RUBBER COVER
AND CIRCUIT BOARD OFF THE
FRONT HOUSING OF THE
REMOTE ENTRY TRANSMITTER.
2. Do not wipe off any grease on the
battery terminals on the back
surface of the circuit board.
3. Remove the old battery.Note:Please refer to local regulations when
disposing of transmitter batteries.
4. Insert the new battery. Refer to the diagram inside the remote entry
transmitter for the correct orientation of the battery. Press the battery
down to ensure that the battery is fully seated in the battery housing
cavity.
5. Snap the two halves back together.
REVIEW COPY
2005 Explorer(exp), Owners Guide (post-2002-fmt)(own2002),
Market:USA_English(fus)
Locks and Security
103