Page 57 of 320
Cargo/reading lamps
The dome portion of the lamp or
the center light can be turned on
when the headlamp control is
rotated fully up or when a door is
opened.
With the ignition in the ACC or ON position, the rear dome lamp can be
turned ON or OFF by sliding the control.
BULBS
Replacing exterior bulbs
Check the operation of all the bulbs frequently.
Replacing the interior bulbs
Check the operation of the bulbs frequently. To replace any of the
interior bulbs, see a dealer or qualified technician.
Using the right bulbs
Replacement bulbs are specified in the chart below. Headlamp bulbs
must be marked with an authorized “D.O.T.” for North America and an
“E” for Europe to assure lamp performance, light brightness and pattern
and safe visibility. Using incorrect bulbs may damage the lamp assembly
or void the lamp assembly warranty or may not provide quality bulb burn
time.
REVIEW COPY
2005 Explorer(exp), Owners Guide (post-2002-fmt)(own2002),
Market:USA_English(fus)
Lights
57
Page 58 of 320
Function Number of bulbs Trade number
Park/turn lamps
(front)2
3457
Headlamp high beam 2 9005
Headlamp low beam 2 9006
Rear stop/turn/tail
lamps2
3157K
Rear license plate
lamps2
168
Backup lamp 2 3156K
High-mount stop
lamps5
W5W
Fog lamp 2 9145
Cargo lamp 1 211-2
Interior overhead lamp 1 912 (906)
Front door courtesy
lamp1
168
Map lamps 2 168 (T10)
Ashtray lamp 1 161
All replacement bulbs are clear in color except where noted.
To replace all instrument panel lights - see your dealer.
REVIEW COPY
2005 Explorer(exp), Owners Guide (post-2002-fmt)(own2002),
Market:USA_English(fus)
Lights
58
Page 59 of 320
Replacing headlamp bulbs
Do not touch the glass of a halogen bulb.
1. Turn off the headlamps and open
the hood.
2. Pry up the two retainer pins until
they stop to release the headlamp
assembly from the vehicle, then pull
headlamp forward.
3. Disconnect the electrical
connector by pushing the center tab
and pulling down.
4. Remove the old bulb by turning
counterclockwise to unlock and pull
it out.
Handle a halogen headlamp bulb carefully and keep out of
children’s reach. Grasp the bulb only by its plastic base and do
not touch the glass. The oil from your hand could cause the bulb to
break the next time the headlamps are operated.
Reverse steps to reinstall bulb(s).
REVIEW COPY
2005 Explorer(exp), Owners Guide (post-2002-fmt)(own2002),
Market:USA_English(fus)
Lights
59
Page 60 of 320
Replacing front parking lamp/turn signal/sidemarker bulbs
1. Turn off the headlamp switch to
off.
2. Remove headlamp screw from the
bulb assembly.
3. Disengage lamp assembly.
4. Rotate the bulb socket
counterclockwise and remove it
from the lamp assembly.
5. Pull the bulb straight out of the
socket.
Reverse steps to reinstall bulb(s).
Replacing tail/brake/turn/backup lamp bulbs
1. Turn the headlamp switch to OFF
and open the liftgate.
2. Remove the two screws from the
lamp assembly.
3. Remove the lamp assembly.
4. Rotate the bulb socket
counterclockwise and remove it
from the lamp assembly.
5. Pull the bulb straight out of the
socket.
Reverse steps to reinstall bulb(s).
REVIEW COPY
2005 Explorer(exp), Owners Guide (post-2002-fmt)(own2002),
Market:USA_English(fus)
Lights
60
Page 61 of 320
Replacing foglamp bulbs
1. Make sure the headlamp switch is
in the OFF position.
2. Remove the plastic splash shield
by removing the two screws on the
front of the fenderwell.
3. Remove the bulb socket from the
foglamp by turning it
counterclockwise.
4. Disconnect the electrical connector.
Reverse steps to reinstall bulb(s).
Replacing license plate lamp bulbs
1. Make sure the headlamp switch is
in the OFF position and then
remove two screws and the license
plate lamp assembly.
2. Remove the bulb socket from the
lamp assembly by turning
counterclockwise and pull the bulb
straight out.
Reverse steps to reinstall bulb(s).
Replacing high-mount brakelamp bulb
1. Remove the two screws and lamp
assembly from vehicle.
2. Remove the bulb socket from the
lamp assembly by depressing the
snaps and pull the bulb straight out.
Reverse steps to reinstall bulb(s).
REVIEW COPY
2005 Explorer(exp), Owners Guide (post-2002-fmt)(own2002),
Market:USA_English(fus)
Lights
61
Page 70 of 320

Heated outside mirrors(if equipped)
Both mirrors are heated
automatically to remove ice, mist
and fog when the rear window
defrost is activated.
Do not remove ice from the
mirrors with a scraper or
attempt to readjust the mirror
glass if it is frozen in place.
These actions could cause
damage to the glass and mirrors.
Fold-away mirrors
Pull the side mirrors in carefully
when driving through a narrow
space, like an automatic car wash.
Automatic dimming rear view mirror
Your vehicle may be equipped with
an inside rear view mirror with an
auto-dimming feature. When the
auto-dimming mirror is turned on,
as indicated by an illuminated green
LED to the left of the button on
mirror, it will detect bright
lights(glare) from behind the vehicle, and will change from the normal,
high reflective state, to the darkened state to minimize glare.
When the auto-dimming mirror is turned on, it will automatically return
to the normal, high reflective, state whenever the vehicle is placed in R
(Reverse) to ensure a clear view while backing up.
Do not block the sensor located to the right of the mirror button or the
sensor located on the back side of the mirror as this may impair mirror
performance.
REVIEW COPY
2005 Explorer(exp), Owners Guide (post-2002-fmt)(own2002),
Market:USA_English(fus)
Driver Controls
70
Page 101 of 320

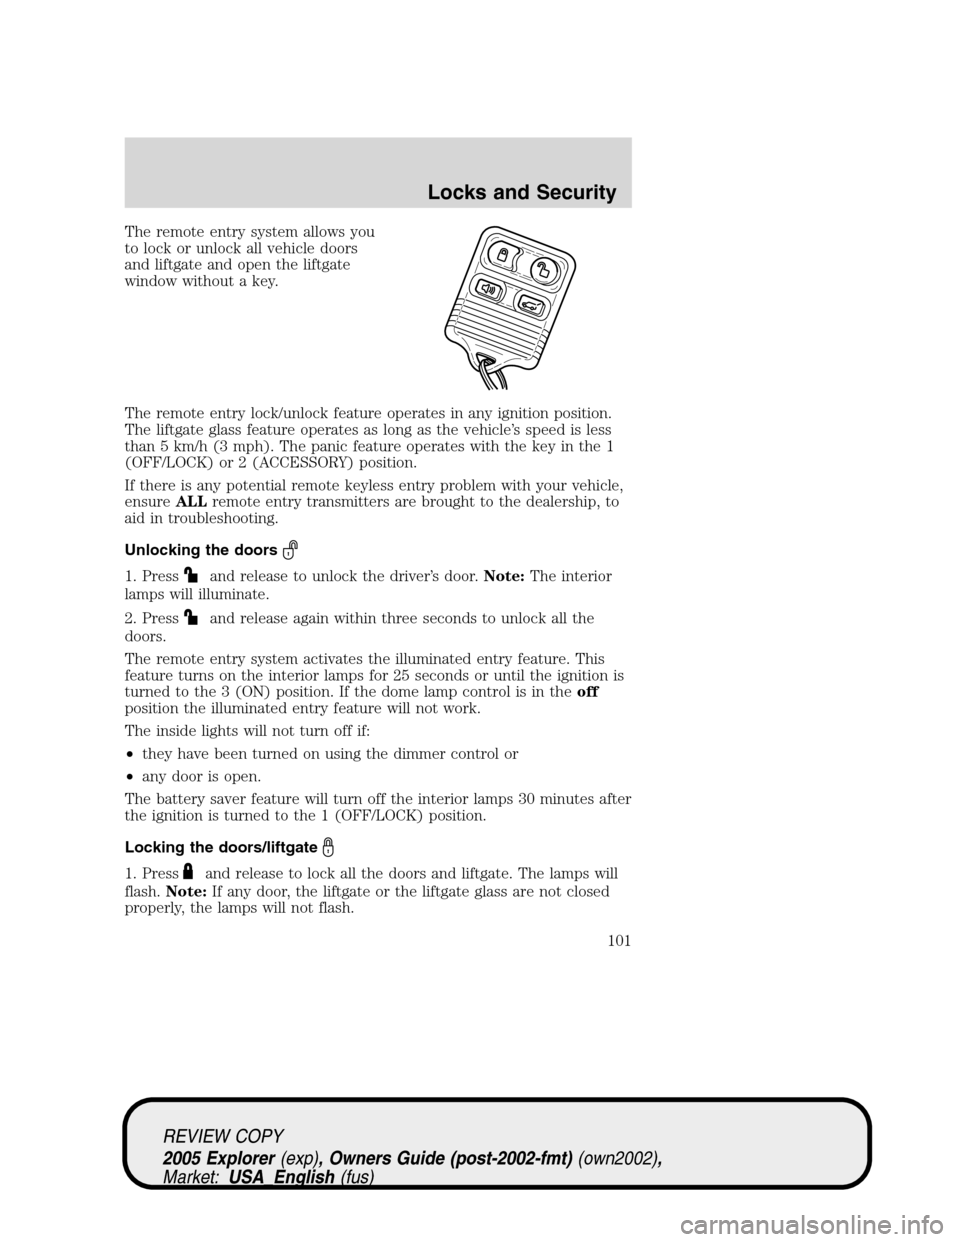
The remote entry system allows you
to lock or unlock all vehicle doors
and liftgate and open the liftgate
window without a key.
The remote entry lock/unlock feature operates in any ignition position.
The liftgate glass feature operates as long as the vehicle’s speed is less
than 5 km/h (3 mph). The panic feature operates with the key in the 1
(OFF/LOCK) or 2 (ACCESSORY) position.
If there is any potential remote keyless entry problem with your vehicle,
ensureALLremote entry transmitters are brought to the dealership, to
aid in troubleshooting.
Unlocking the doors
1. Pressand release to unlock the driver’s door.Note:The interior
lamps will illuminate.
2. Press
and release again within three seconds to unlock all the
doors.
The remote entry system activates the illuminated entry feature. This
feature turns on the interior lamps for 25 seconds or until the ignition is
turned to the 3 (ON) position. If the dome lamp control is in theoff
position the illuminated entry feature will not work.
The inside lights will not turn off if:
•they have been turned on using the dimmer control or
•any door is open.
The battery saver feature will turn off the interior lamps 30 minutes after
the ignition is turned to the 1 (OFF/LOCK) position.
Locking the doors/liftgate
1. Pressand release to lock all the doors and liftgate. The lamps will
flash.Note:If any door, the liftgate or the liftgate glass are not closed
properly, the lamps will not flash.
REVIEW COPY
2005 Explorer(exp), Owners Guide (post-2002-fmt)(own2002),
Market:USA_English(fus)
Locks and Security
101
Page 105 of 320

9. Turn the ignition to the 1 (OFF/LOCK) position after you have
finished programming all of the remote entry transmitters.
10. The doors will lock, then unlock, to confirm that the programming
mode has been exited.
Illuminated entry
The interior lamps illuminate when the remote entry system is used to
unlock the door(s) or sound the personal alarm.
The illuminated entry system will turn off the interior lights if:
•the ignition is turned to the 3 (ON) position, or
•the remote transmitter lock control is pressed, or
•after 25 seconds of illumination.
The dome lamp control (if equipped) mustnotbe set to theoffposition
for the illuminated entry system to operate.
The inside lights will not turn off if:
•they have been turned on with the dimmer control, or
•any door is open.
The battery saver will shut off the interior lamps 10 minutes after the
ignition has been turned to the 1 (OFF/LOCK) position.
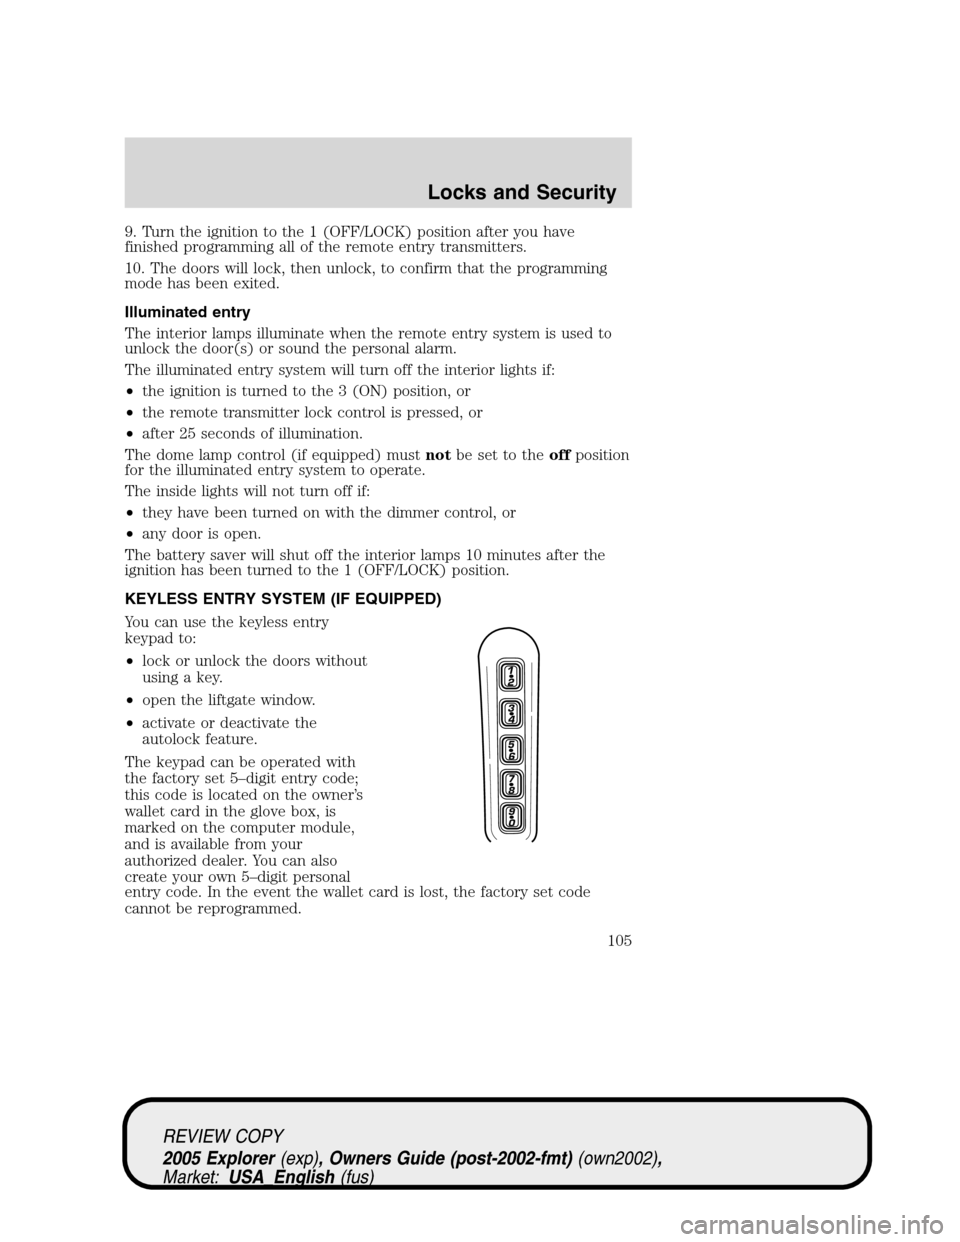
KEYLESS ENTRY SYSTEM (IF EQUIPPED)
You can use the keyless entry
keypad to:
•lock or unlock the doors without
using a key.
•open the liftgate window.
•activate or deactivate the
autolock feature.
The keypad can be operated with
the factory set 5–digit entry code;
this code is located on the owner’s
wallet card in the glove box, is
marked on the computer module,
and is available from your
authorized dealer. You can also
create your own 5–digit personal
entry code. In the event the wallet card is lost, the factory set code
cannot be reprogrammed.
REVIEW COPY
2005 Explorer(exp), Owners Guide (post-2002-fmt)(own2002),
Market:USA_English(fus)
Locks and Security
105