Page 142 of 258

141IN AN EMERGENCY
GENERAL INSTRUCTIONS
When a light is not working, check
that it has not fused before changing
the bulb.
For the location of the fuses, refer to
“If a fuse blows” in this section.
Before replacing a bulb that does not
work, check that the contacts are not
oxidised.
Burnt-out bulbs must be replaced
with ones of the same type. Light from
bulbs with insufficient power is dim
while those which are too powerful
use too much electricity. Always check
the height of the headlight beam after
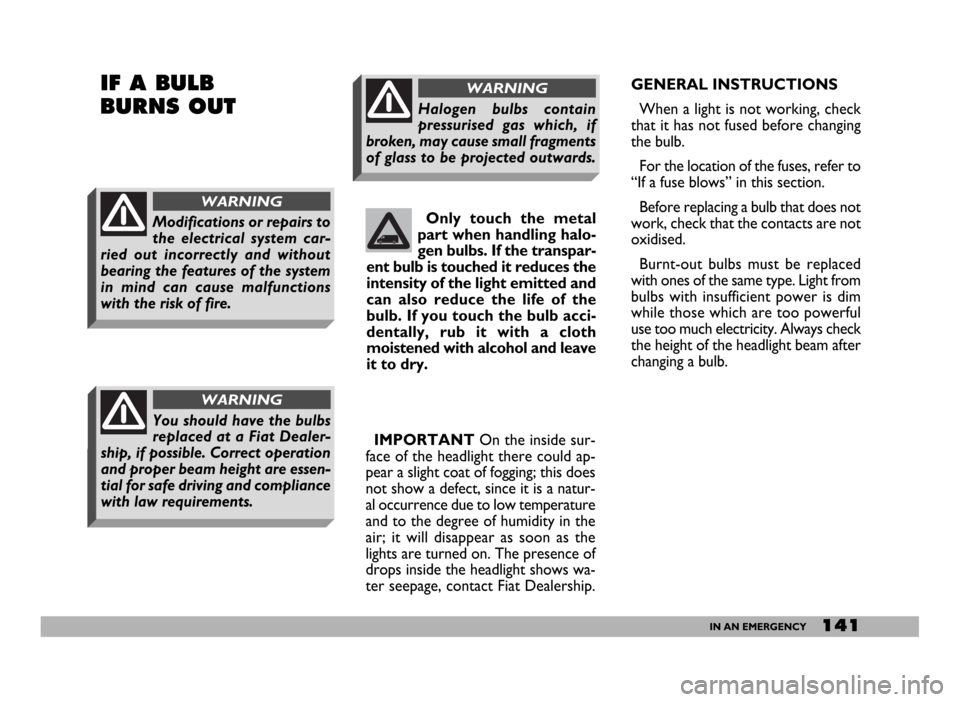
changing a bulb. Only touch the metal
part when handling halo-
gen bulbs. If the transpar-
ent bulb is touched it reduces the
intensity of the light emitted and
can also reduce the life of the
bulb. If you touch the bulb acci-
dentally, rub it with a cloth
moistened with alcohol and leave
it to dry.IF A BULB
BURNS OUT
Modifications or repairs to
the electrical system car-
ried out incorrectly and without
bearing the features of the system
in mind can cause malfunctions
with the risk of fire.
WARNING
You should have the bulbs
replaced at a Fiat Dealer-
ship, if possible. Correct operation
and proper beam height are essen-
tial for safe driving and compliance
with law requirements.
WARNING
Halogen bulbs contain
pressurised gas which, if
broken, may cause small fragments
of glass to be projected outwards.
WARNING
IMPORTANTOn the inside sur-
face of the headlight there could ap-
pear a slight coat of fogging; this does
not show a defect, since it is a natur-
al occurrence due to low temperature
and to the degree of humidity in the
air; it will disappear as soon as the
lights are turned on. The presence of
drops inside the headlight shows wa-
ter seepage, contact Fiat Dealership.
Page 143 of 258
142IN AN EMERGENCY
Bulbs
Main beam headlights
Dipped beam headlights
Front side lights
Front direction indicators
Side direction indicators
Rear direction indicators
Brake lights
Third brake light
Reversing light
Rear fog light/taillights
Front ceiling light
Rear ceiling light
Number plate lightW
60/55 W
60/55 W
5 W
21 W
5 W
21 W
21 W
21 W
21 W
21 W
10 W
15 W
5 W Type
H4
H4
R5W
P21W
W5W
PY21W
P21W
P21W
P21W
P21/4W
CW10
CW15
CW5
Figure
D
D
B
B
A
B
B
B
B
B
C
C
B
fig. 8
F0D0090m
TYPES OF BULBS fig. 8
Several types of bulbs are installed in
the vehicle:
A. Glass bulbs
Snapped into position. Pull to remove.
B. Bayonet connection bulbs
Remove from the bulb holder by
pressing the bulb and rotating it anti-
clockwise.
C. Cylindrical bulbs
Remove by pulling away from termi-
nals.
D. Halogen bulbs
To remove the bulb, release the clip
holding the bulb in place.
Page 144 of 258
143IN AN EMERGENCY
MAIN AND DIPPED BEAM
HEADLIGHTS
To replace a halogen bulb with head-
light disconnected, proceed as follows:
1)loosen the four screws and re-
move the front grid A-fig. 9;
2)loosen the two fastening screws
B-fig. 10and remove the headlight re-
leasing pin D-fig. 11from C;
3)release the retaining clips A-fig.
12and remove the cover B;
4)remove the connector Cor E-
fig. 13;5)release the two retaining clips D
or F-fig. 14and remove bulbs Gor
H-fig. 14.
G- main beam headlight bulb
H- main beam headlight bulb.
fig. 12
F0D0096m
fig. 11
F0D0176m
fig. 10
F0D0175m
IF AN EXTERIOR
BULB BURNS OUT
For the type of bulb and power re-
fer to paragraph “If a bulb burns out”
in this section.
fig. 9
F0D0000m
Page 145 of 258
144IN AN EMERGENCY
3)remove the bulb holder C-fig. 16
turning it slightly to release it;
4)remove the bulb E-fig. 17;
5) replace the bulb, refit the bulb
holder and the cover B-fig. 15. 6)be careful to position the bulb
correctly
7)refit the retaining clips, the con-
nector and the cover B-fig. 12and
lock it with the relevant clips.
fig. 15
F0D0099m
fig. 16
F0D0100m
fig. 17
F0D0101m
FRONT SIDE LIGHTS
To replace the bulb proceed as fol-
lows:
1)remove the headlight as described
previously;
2)release the retaining clips A-
fig. 15and remove the cover B;
fig. 13
F0D0097m
fig. 14
F0D0098m
Page 146 of 258

145IN AN EMERGENCY
REAR LIGHT CLUSTER
To replace a bulb proceed as follows:
1)loosen the two screws A-fig. 20
with a screwdriver
2)remove the light cluster Band dis-
connect connector C
3)loosen the two screws D-fig. 21
and remove the light cluster:
E- stop light bulb;
F- bulb for reversing light
G - bulb (amber) for direction indi-
cators
H- twin-light bulb for rear fog light
and taillight
fig. 20
F0D0073m
FRONT DIRECTION
INDICATORS
To replace the halogen bulb proceed
as follows:
1) remove the headlight as described
previously;
2)release the retaining clips A-
fig. 15 and remove the cover B;
3)remove the bulb holder D-fig. 16;
4)remove the bulb F-fig. 17push-
ing it slightly and turning it anticlock-
wise at the same time;
5)after replacing the bulb refit the
bulb holder and the cover B-fig. 15.SIDE DIRECTION
INDICATORS
To replace the bulb proceed as fol-
lows:
1)Press the lens in the direction
shown fig. 18
2)remove the bulb holder A-fig. 19
turning it slightly and replace the bulb
B.
FRONT FOG LIGHTS
To replace these bulbs contact a Fi-
at Dealership.
fig. 18
F0D0137m
fig. 19
F0D0138m
Page 155 of 258

154IN AN EMERGENCY
System/Component
Rear current socket
Siren (Ambulance versions)
Suction fan (Minibus versions)
Current socket for special set-up
CFB (main fusebox under the dashboard on driver’s side for
LH drive versions, on passenger’s side for RH drive versions)
Windscreen washer pump
Cigar lighter
Cab heater fan
Direction indicators
Hazard lights
Instrument panel
Cab lights
EOBD diagnostic socket
Rear fog lights
Radio
Front current socket
Headlight washer pump
Front right-hand side light
Rear right-hand side light
Front left-hand side light
Rear left-hand side light
Number plate lights
Side/taillight warning light
Control lights
PCA (Ambulance - Minibus versions)
Radio
ABI
Door power window controlLocation
Fig. 38
Fig. 38
Fig. 38
Fig. 38
Fig. 36
Fig. 36
Fig. 36
Fig. 36
Fig. 36
Fig. 36
Fig. 36
Fig. 36
Fig. 36
Fig. 36
Fig. 36
Fig. 36
Fig. 36
Fig. 36
Fig. 36
Fig. 36
Fig. 36
Fig. 36
Fig. 36
Fig. 36
Fig. 36
Fig. 36
Fig. 36 Ampere
20
20
20
10
15
15
30
10
10
10
10
10
7,5
15
20
15
5
5
5
5
5
5
5
10
7.5
7.5
7.5 Fuse no.
F 64
F 64
F 64
F 65
F 43
F 44
F 55
F 53
F 53
F 53
F 39
F 39
F 33
F 32
F 52
F 49
F 12
F 12
F 13
F 13
F 24
F 24
F 24
F 51
F 25
F 35
F 35
Page 157 of 258

156IN AN EMERGENCY
System/Component
Front fog lights
Windscreen wiper motor
Engine cooling fan 2nd speed
Engine control unit 2nd speed
Radiator fan 2nd speed remote switch coil (climate control)
Engine cooling fan 1st speed
Engine control unit 1st speed
Cab fan (climate control)
ABS control unit
Ignition switch
Glow plug preheating
Right-hand dipped beam headlight
Left-hand dipped beam headlight
E.I. system
Fiat code
Automatic gearbox control unit
Fiat code
Compressor
Engine control unit
PTC
Engine control unit
Fuel pump
Engine control unit
Automatic gearbox control unit
Main beam headlights
Windscreen washer pumpFuse no.
F 09
F 08
F 07
F 07
F 07
F 06
F 06
F 05
F 04
F 03
F 02
F 14
F 15
F 16
F 16
F 24
F 18
F 19
F 18
F 20
F 11
F 21
F 17
F 23
F 30
F 08Ampere
15
30
40/60
40/60
40/60
40
40
30
50
30
50
10
10
7.5
7.5
15
7.5
7.5
7.5
30
10
15
5
10
15
30Location
Fig. 41
Fig. 41
Fig. 41
Fig. 41
Fig. 41
Fig. 41
Fig. 41
Fig. 41
Fig. 41
Fig. 41
Fig. 41
Fig. 41
Fig. 41
Fig. 41
Fig. 41
Fig. 41
Fig. 41
Fig. 41
Fig. 41
Fig. 41
Fig. 41
Fig. 41
Fig. 41
Fig. 41
Fig. 41
Fig. 41
Page 161 of 258

160IN AN EMERGENCY
IF AN ACCIDENT
OCCURS
– It is important to keep calm.
– If you are not directly involved in
the accident, stop at least ten metres
away from the accident.
– If you are on a motorway, do not
obstruct the emergency lane with
your vehicle.
– Turn the engine off and the haz-
ard lights on.
– At night, illuminate the scene of the
accident with your headlights.
– Act carefully, you must not risk be-
ing run over.
– Mark the accident by putting the
red triangle at the regulatory distance
from the vehicle where it can be clear-
ly see.
– If the doors are blocked, do not at-
tempt to smash the windscreen to get
out of the vehicle. It is made of layered
glass and is very hard. Side and rear
windows are much more easily bro-
ken. VEHICLE WITH AUTOMATIC
GEARBOX
If towing is not due to gearbox faults,
proceed as follows:
– gearshift lever to N;
– do not exceed 50 km/h;
– the vehicle should not be towed
for more than 200 km.
If towing is due to gearbox faults or
the vehicle should be towed for more
than 200 km, tow the vehicle raising
the front wheels from the ground.– Call for rescue making the infor-
mation you give as accurate as you
can.On the motorway use the special
column-mounted emergency phones.
– In pile-ups on the motorway, par-
ticularly when the visibility is bad,
there is a high risk of other vehicles
running into those already
stopped.Get out of the vehicle imme-
diately and take refuge behind the
guard rail.
– Remove the ignition keys from the
vehicles involved.
– If you can smell petrol or other
chemicals, do not smoke and make
sure all cigarettes are extinguished.
– Use a fire extinguisher, blanket, sand
or earth to put out fires no matter how
small they are. Never use water.
When towing the vehicle
you must comply with the
specific traffic regulations regard-
ing the tow hitch and how to tow
on the road.
WARNING