Page 120 of 293

Playing Discs
The radio will show the CD number, the CD track
number, and the Track Time Elapsed while the radio is in
the CD mode. If more than one CD is loaded in the
changer, the changer will automatically play the next disc
after playing the last track of the current disc.
Seek Button
Press the top of this button on the radio once to play the
next track. Press the bottom of the button once to return
to the beginning of the current track. Press the bottom of
the button twice to play the previous track.
FF/TUNE/RW
Press the FF (fast forward) button and the CD player will
fast forward through the tracks until the button is re-
leased. Press the RW (rewind) button and the CD player
will reverse through the tracks until the button is re-
leased.
Mode Button
Press this button to toggle between radio and cd modes.
Program Button 1
Press this button to play the next available disc.
Program Button 4 (Random Play)
Press this button while the CD is playing to activate
Random Play. This feature plays the selections on the
current compact disc in random order to provide an
interesting change of pace. The CD changer stays in the
random play mode when changing to the next disc.
NOTE:The changer will not random play between
discs.
Press the top of the Seek button once to move to the next
randomly selected track. Press the bottom of the Seek
button to go back to the beginning of the track.
Press button 4 a second time to stop random play.
Program Button 5
Press this button to play the previous disc.
120 UNDERSTANDING YOUR INSTRUMENT PANEL
Page 121 of 293

Time Button
Press this button to switch between time of day and CD
track time.
Changing Modes
While in the radio mode, if a cassette is loaded, press the
Mode button to switch to the tape mode. If a CD is
loaded, press the Mode button to select the CD mode. If
neither a tape nor CD is loaded, the radio will ignore the
command.
•Inserting either a tape or CD automatically starts that
mode of play.
•Pressing the AM/FM button while in the tape or CD
mode will select the radio mode.
•If in the CD mode and the last CD is ejected, the radio
will tune to the last station selected.
Removing Discs from the CD Changer
If there is a single CD in the changer, press the EJT button
and the CD will eject. If the CD is not removed within 15
seconds, it will automatically reload into the CD changer.
To eject additional CDs from the changer, first select the
numbered button where the CD is located and then press
the EJT button.
CD Changer Operation with the Changer Off
The CD changer is able to load and eject discs with the
ignition power off. However, while the ignition is off, one
of the six numbered buttons must be pressed first.
UNDERSTANDING YOUR INSTRUMENT PANEL 121
4
Page 123 of 293

If you press the switch up or down twice it plays the
second selection, three times, it will play the third, etc.
The button in the center of the left hand switch has no
function in this mode.
CD Player—Single Disc in Radio
Pressing the top of the switch once will go to the next
track on the CD. Pressing the bottom of the switch once
will go to the beginning of the current track or to the
beginning of the previous track if it is within one second
after the current track begins to play.
If you press the switch up or down twice it plays the
second track, three times, it will play the third, etc.
The button in the center of the left hand switch has no
function in this mode.
CD Player—6 Disc CD Changer
Pressing the top of the switch once will go to the next
track on the CD. Pressing the bottom of the switch once
will go to the beginning of the current track or to the
beginning of the previous track if it is within one second
after the current track begins to play.If you press the switch up or down twice it plays the
second track, three times, it will play the third, etc.
The button in the center of the left hand switch will cause
the CD changer to play the next available disc.
CASSETTE TAPE AND PLAYER MAINTENANCE
To keep the cassette tapes and player in good condition,
take the following precautions:
1. Do not use cassette tapes longer than C-90; otherwise,
sound quality and tape durability will be greatly dimin-
ished.
2. Keep the cassette tape in its case to protect from
slackness and dust when it is not in use.
3. Keep the cassette tape away from direct sunlight, heat
and magnetic fields such as the radio speakers.
4. Before inserting a tape, make sure that the label is
tightly secured to the cassette.
5. A loose tape should not be inserted into the radio.
Maintain your cassette tape player. The head and capstan
shaft in the cassette player can pick up dirt or tape
UNDERSTANDING YOUR INSTRUMENT PANEL 123
4
Page 126 of 293

Interior ATC Sensors
There are two interior sensors in the vehicle. The Sun
Sensor is mounted in the center of the instrument panel
near the windshield glass. The In-Car Temperature Sen-
sor is mounted behind the ATC control panel. These
sensors transmit data on sun strength and vehicle interior
temperatures to enhance system performance.
CAUTION!
Do not cover either sensor with any foreign material
as improper operation of the system will result.
Level Of Automatic Control
72°F (22°C) is the recommended setting for maximum
comfort for the average person, however, this may vary.
NOTE:The temperature setting can be adjusted at any
time without affecting automatic control operation.
The control also will show what Mode the system is in by
the figure shown in the display.
NOTE:The Mode can change when the system is in the
Auto Mode. This will be indicated in changes in the
display window. This shows automatic changes in air
direction.
Fan Control
Use this control to regulate the amount of air forced
through the system in any mode you select. Turn the
control clockwise to increase fan speed.
In ambient temperatures below 21°C (70°F), fan opera-
tion is delayed when the engine is first started. The fan
will automatically start when the engine coolant is warm
enough to heat the air. This feature can be defeated by
turning the fan control.
AUTO Control
Press the top of the button to turn the ATC system On.
Press the lower portion of the button to turn the entire
system Off.
Comfort Control
Use this control to regulate the comfort inside the pas-
senger compartment. Press the top of the switch to raise
the temperature selection and the bottom of the switch to
126 UNDERSTANDING YOUR INSTRUMENT PANEL
Page 209 of 293

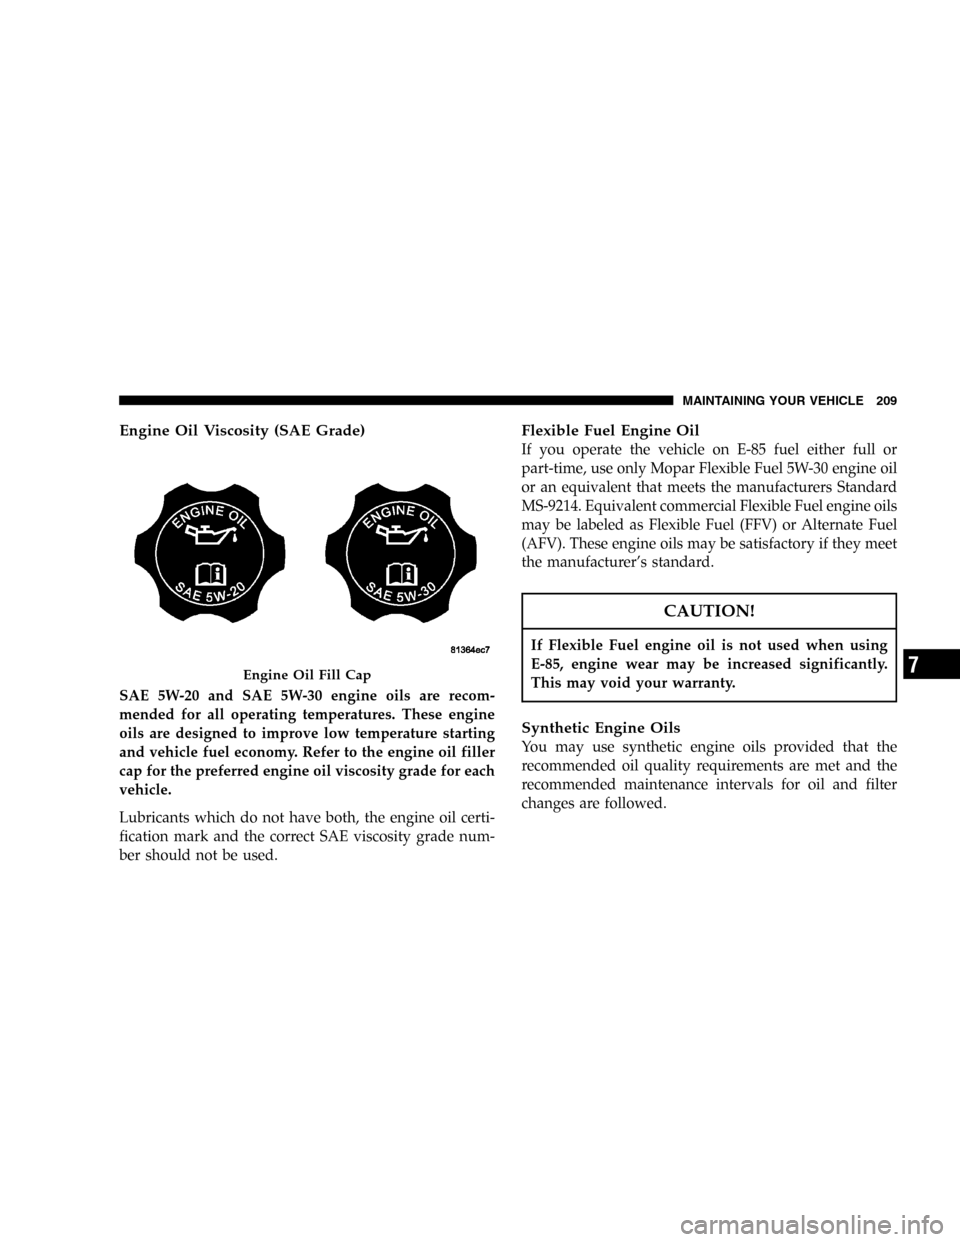
Engine Oil Viscosity (SAE Grade)
SAE 5W-20 and SAE 5W-30 engine oils are recom-
mended for all operating temperatures. These engine
oils are designed to improve low temperature starting
and vehicle fuel economy. Refer to the engine oil filler
cap for the preferred engine oil viscosity grade for each
vehicle.
Lubricants which do not have both, the engine oil certi-
fication mark and the correct SAE viscosity grade num-
ber should not be used.
Flexible Fuel Engine Oil
If you operate the vehicle on E-85 fuel either full or
part-time, use only Mopar Flexible Fuel 5W-30 engine oil
or an equivalent that meets the manufacturers Standard
MS-9214. Equivalent commercial Flexible Fuel engine oils
may be labeled as Flexible Fuel (FFV) or Alternate Fuel
(AFV). These engine oils may be satisfactory if they meet
the manufacturer’s standard.
CAUTION!
If Flexible Fuel engine oil is not used when using
E-85, engine wear may be increased significantly.
This may void your warranty.
Synthetic Engine Oils
You may use synthetic engine oils provided that the
recommended oil quality requirements are met and the
recommended maintenance intervals for oil and filter
changes are followed.
Engine Oil Fill Cap
MAINTAINING YOUR VEHICLE 209
7
Page 219 of 293
WARNING!
Commercially available windshield washer solvents
are flammable. They could ignite and burn you. Care
must be exercised when filling or working around
the washer solution.
Exhaust System
The best protection against carbon monoxide entry into
the vehicle body is a properly maintained engine exhaust
system.
If you notice a change in the sound of the exhaust system;
or if exhaust fumes can be detected inside the vehicle; or
when the underside or rear of the vehicle is damaged;
have a competent mechanic inspect the complete exhaust
system and adjacent body areas for broken, damaged,
deteriorated, or mispositioned parts. Open seams or
loose connections could permit exhaust fumes to seep
into the passenger compartment. In addition, inspect the
exhaust system each time the vehicle is raised for lubri-
cation or oil change. Replace as required.
Washer Fluid Reservoir
MAINTAINING YOUR VEHICLE 219
7
Page 250 of 293

Use the schedule that best describes your driving condi-
tions. Where time and mileage are listed, follow the
interval that occurs first.
NOTE:Under no circumstances should oil change
intervals exceed 6 months or 6,000 miles, whichever
comes first.
CAUTION!
Failure to perform the required maintenance items
may result in damage to the vehicle.
At Each Stop for Fuel
•
Check the engine oil level about 5 minutes after a fully
warmed engine is shut off. Checking the oil level while
the vehicle is on level ground will improve the accu-
racy of the oil level reading. Add oil only when the
level is at or below the ADD or MIN mark.
•Check the windshield washer solvent and add if
required.
Once a Month
•
Check tire pressure and look for unusual wear or
damage.
•Inspect the battery and clean and tighten the terminals
as required.
•Check the fluid levels of coolant reservoir, brake
master cylinder, and transaxle and add as needed.
•Check all lights and all other electrical items for correct
operation.
•Check rubber seals on each side of the radiator for
proper fit.
250 MAINTENANCE SCHEDULES
8
M
A
I
N
T
E
N
A
N
C
E
S
C
H
E
D
U
L
E
S
Page 261 of 293
Miles 144,000 147,000 150,000
(Kilometers) (232 000) (237 000) (241 000)
Change engine oil and engine oil filter, if not replaced at 3
months.XXX
Inspect theair cleaner filterand replace if necessary.* X X
Replace theair cleaner filter.X
Replace thespark plugson the 2.4 liter engine. ** X
Inspect the front and rear brake pads, linings, rotors, rear drums
and shoes.X
Check and replace, if necessary, thePCV valve.*‡X
Rotate the tires.X
* This maintenance is recommended by the manufacture
to the owner but is not required to maintain the emis-
sions warranty.
** Except for the 2.4 liter Partial Zero Emissions Vehicle
(PZEV).
*** 2.4 liter PZEV only.‡This maintenance is not required if previously replaced.
Inspection and service should also be performed anytime
a malfunction is observed or suspected. Retain all re-
ceipts.
SCHEDULE“B”261
8
M
A
I
N
T
E
N
A
N
C
E
S
C
H
E
D
U
L
E
S