Page 186 of 472
To move the cross bars, loosen the thumb screws located
at the upper edge of each cross bar approximately six
turns, then move the cross bar to the desired position.
Once the cross bar is in place, retighten the thumb screws
to lock the cross bar into position.
Attempt to move the crossbar again to ensure that it has
properly locked into position.
NOTE:To help control wind noise when installing the
cross bars make sure that the arrows marked on the front
side of the cross bars are facing the front of the vehicle.
Also, when the cross bars are not in use the notch on the
cross bars should be aligned with the arrows on the side
rails. This will help reduce the amount of wind noise
when the crossbars are not in use.
The tie down holes on the cross bar ends should always
be used to tie down the load. Check the straps frequently
to be sure that the load remains securely attached.CAUTION!
•To avoid damage to the roof rack and vehicle, do
not exceed the maximum roof rack load capacity
of 68 kg (150 lbs). Always distribute heavy loads
as evenly as possible and secure the load appro-
priately.
•Long loads which extend over the windshield,
such as wood panels or surfboards, or loads with
large frontal area should be secured to both the
front and rear of the vehicle.
•Travel at reduced speeds and turn corners care-
fully when carrying large or heavy loads on the
roof rack. Wind forces, due to natural causes or
nearby truck traffic, can add sudden upward
loads. This is especially true on large flat loads
and may result in damage to the cargo or your
vehicle.
186 UNDERSTANDING THE FEATURES OF YOUR VEHICLE
Page 187 of 472
WARNING!
Cargo must be securely tied before driving your
vehicle. Improperly secured loads can fly off the
vehicle, particularly at high speeds, resulting in
personal injury or property damage. Follow the Roof
Rack Cautions when carrying cargo on your roof
rack.
LOAD LEVELING SYSTEM
The automatic load leveling system will provide a level
riding vehicle under most passenger and cargo loading
conditions.
A hydraulic pump contained within the shock absorbers
raises the rear of the vehicle to the correct height. It takes
approximately 1 mile (1.6 km) of driving for the leveling
to complete depending on road surface conditions.If the leveled vehicle is not moved for approximately 15
hours, the leveling system will bleed itself down. The
vehicle must be driven to reset the system.
WARNING!
Do not install the load leveling system on vehicles
that are not equipped with Anti-Lock Brakes. Ve-
hicles without Anti-Lock Brakes (ABS) have a
height-sensing proportioning valve. Installing a lev-
eling system will render this system ineffective,
inappropriately reducing rear brake pressure, result-
ing in increased stopping distances. You could have
an accident.
UNDERSTANDING THE FEATURES OF YOUR VEHICLE 187
3
Page 301 of 472
Reset Mode - Electronic Transmission
The transmission is monitored electronically for abnor-
mal conditions. If a condition is detected that could cause
damage, the transmission automatically shifts into sec-
ond gear. The transmission remains in second gear
despite the forward gear selected. Park (P), Reverse (R),
and Neutral (N) will continue to operate. This Reset
feature allows the vehicle to be driven to a dealer for
service without damaging the transmission.
In the event that the problem has been momentary, the
transmission can be reset to regain all forward gears.
•Stop the vehicle and shift into Park (P).
•Turn the key to OFF then restart the engine.
•Shift into the desired range and resume driving.
NOTE:Even if the transmission can be reset, it is
recommended that you visit a dealer at your earliestpossible convenience. Your dealer has diagnostic equip-
ment to determine if the problem could recur.
If the transmission cannot be reset, dealer service is
required.
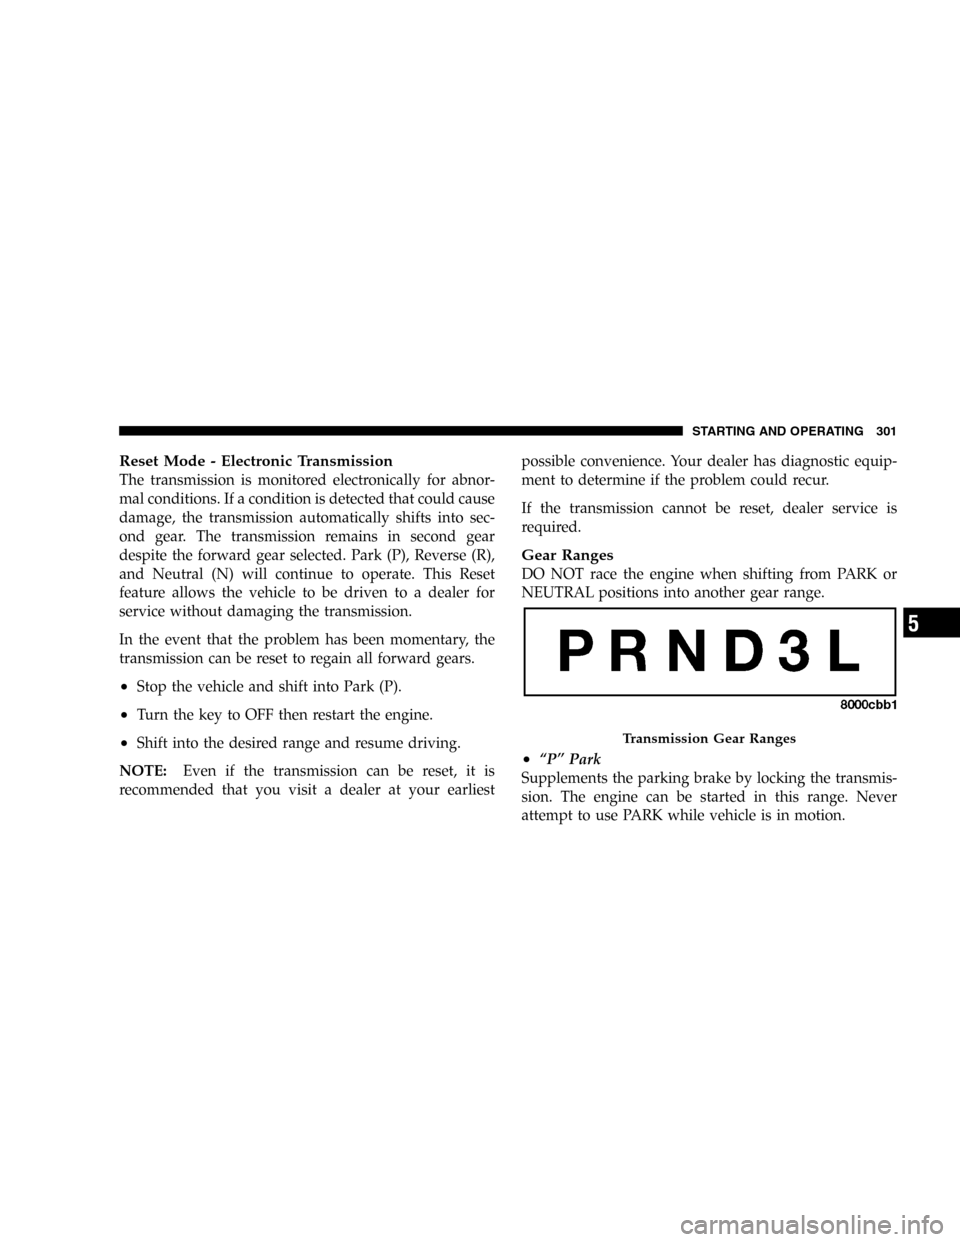
Gear Ranges
DO NOT race the engine when shifting from PARK or
NEUTRAL positions into another gear range.
•“P”Park
Supplements the parking brake by locking the transmis-
sion. The engine can be started in this range. Never
attempt to use PARK while vehicle is in motion.
Transmission Gear Ranges
STARTING AND OPERATING 301
5
Page 337 of 472
CAUTION!
Damage to the fuel system or emission control
system could result from using an improper fuel
tank filler tube cap (gas cap). A poorly fitting cap
could let impurities into the fuel system.
NOTE:The driver’s side sliding door cannot be opened
while the fuel door is open. This feature operates only
when the sliding door is fully closed prior to opening the
fuel door.
CAUTION!
To avoid fuel spillage and overfilling, do not“top
off”the fuel tank after filling has stopped.
NOTE:
•Tighten the gas cap until you hear a“clicking”sound.
This is an indication that the gas cap is properly
tightened. If the gas cap is not secured properly the
Malfunction Indicator Light will turn on. Make sure
that the gas cap is tightened each time the vehicle is
refueled.
•When the fuel nozzle“clicks”or shuts off, the fuel
tank is full.
STARTING AND OPERATING 337
5
Page 340 of 472

Figure out the weight on the front and rear of the vehicle
separately. It is important that you distribute the load
evenly over the front and rear axles.
Overloading can cause potential safety hazards and
shorten useful service life. Heavier axles or suspension
components do not necessarily increase the vehicle’s
GVWR.
Loading
To load your vehicle properly, first figure out its empty
weight, axle by axle and side by side. Store heavier items
down low and be sure you distribute their weight as
evenly as possible. Stow all loose items securely before
driving. If weighing the loaded vehicle shows that you
have exceeded either GAWR, but the total load is within
the specified GVWR, you must redistribute the weight.
Improper weight distribution can have an adverse effect
on the way your vehicle steers and handles and the way
the brakes operate.A loaded vehicle is shown in the illustration. Note that
neither the GVWR or the GAWR capacities have been
exceeded.
340 STARTING AND OPERATING
Page 356 of 472
6. These locations are on the sill flange of the body and
consist of a pair of downstanding tabs. The jack is to be
located, engaging the flange, between the pair of tabs
closest to the wheel to be changed. Place the wrench on
the jack screw and turn to the right until the jack head is
properly engaged in the described location.Do not raise
the vehicle until you are sure the jack is securely
engaged.
7. Raise the vehicle by turning the jack screw to the right,
using the swivel wrench. Raise the vehicle only until the
tire just clears the surface and enough clearance is
obtained to install the spare tire. Minimum tire lift
provides maximum stability.WARNING!
Raising the vehicle higher than necessary can make
the vehicle less stable. It could slip off the jack and
hurt someone near it. Raise the vehicle only enough
to remove the tire.
8. Remove the wheel lug nuts, for vehicles with wheel
covers, remove the cover from the wheel by hand. Do not
pry the wheel cover off. Then pull the wheel off the hub.
9. Install the compact spare tire. Lightly tighten the lug
nuts. To avoid the risk of forcing the vehicle off the jack,
do not tighten the lug nuts fully until the vehicle has been
lowered.
NOTE:Do not install the wheel cover on the compact
spare.
Do not use a hammer or force to install the wheel covers.
356 WHAT TO DO IN EMERGENCIES
Page 357 of 472
10. Lower the vehicle by turning the jack screw to the
left.
11. Finish tightening the lug nuts. Push down on the
wrench while tightening for increased leverage. Alternate
lug nuts until each nut has been tightened twice. Correct
wheel nut tightness is 130 N·m (95 ft. lbs). If in doubt
about the correct tightness, have them checked with a
torque wrench by your dealer or at a service station.
12. Lower the jack to its fully closed position.
13. Secure the flat tire as follows:
•Place the deflated (flat) tire and compact spare tire
cover assembly in the rear cargo area,have the tire
repaired or replaced as soon as possible.
WARNING!
A loose deflated (flat) tire thrown forward in a
collision or hard stop could injure the occupants in
the vehicle. Have the deflated (flat) tire repaired or
replaced immediately.
CAUTION!
Vehicle damage will occur if the compact spare tire
cover assembly is installed without the compact
spare tire in position. Place the deflated (flat) tire
and compact spare tire cover assembly in the rear
cargo area.
WHAT TO DO IN EMERGENCIES 357
6
Page 358 of 472
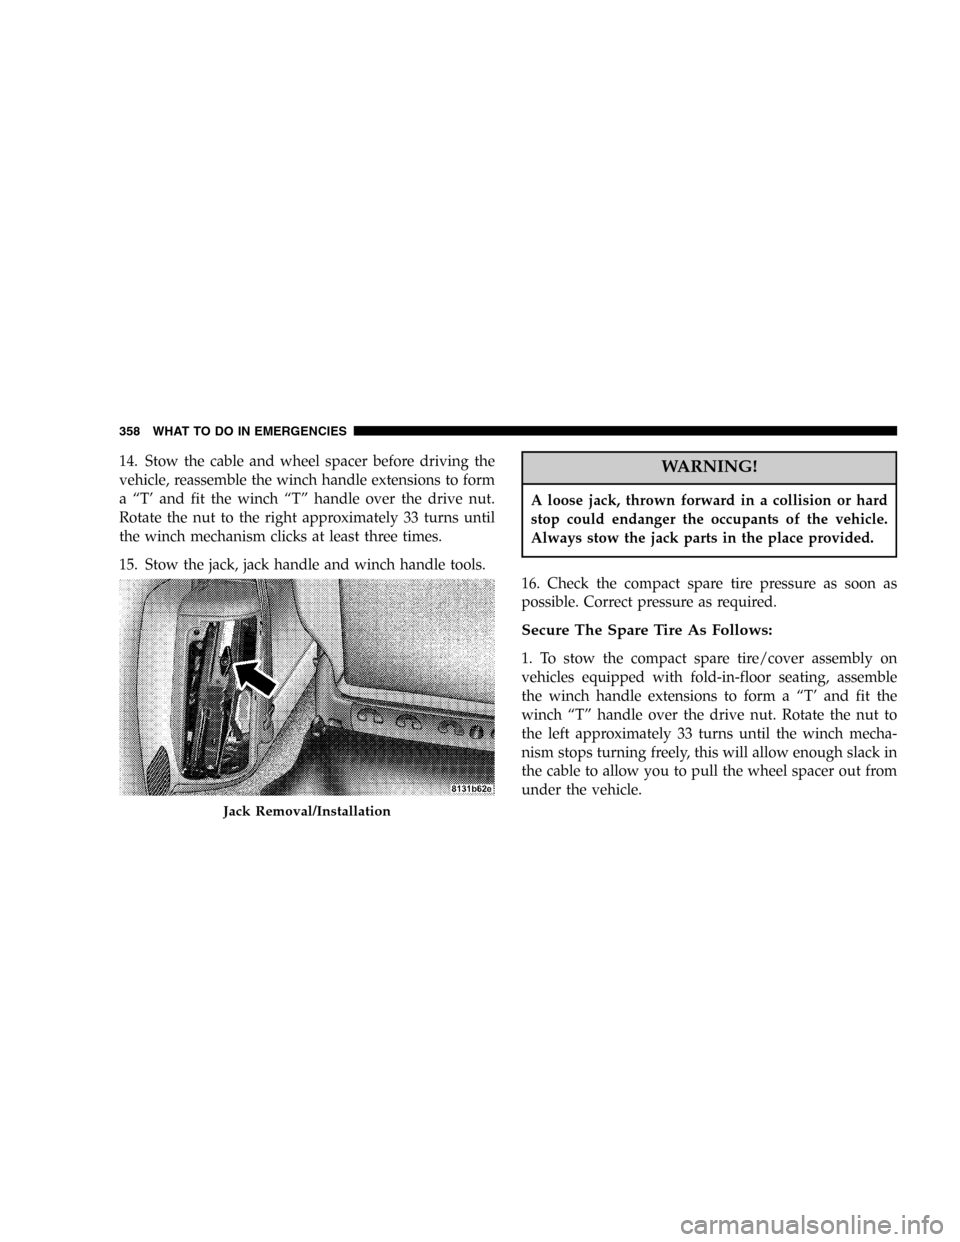
14. Stow the cable and wheel spacer before driving the
vehicle, reassemble the winch handle extensions to form
a“T’and fit the winch“T”handle over the drive nut.
Rotate the nut to the right approximately 33 turns until
the winch mechanism clicks at least three times.
15. Stow the jack, jack handle and winch handle tools.WARNING!
A loose jack, thrown forward in a collision or hard
stop could endanger the occupants of the vehicle.
Always stow the jack parts in the place provided.
16. Check the compact spare tire pressure as soon as
possible. Correct pressure as required.
Secure The Spare Tire As Follows:
1. To stow the compact spare tire/cover assembly on
vehicles equipped with fold-in-floor seating, assemble
the winch handle extensions to form a“T’and fit the
winch“T”handle over the drive nut. Rotate the nut to
the left approximately 33 turns until the winch mecha-
nism stops turning freely, this will allow enough slack in
the cable to allow you to pull the wheel spacer out from
under the vehicle.
Jack Removal/Installation
358 WHAT TO DO IN EMERGENCIES