Page 256 of 420
CAUTION!
All wheels must have the same size and type tires.
Unequal tire sizes must not be used. Unequal tire
size may cause failure of the power transfer unit
and/or the viscous coupling.
PARKING BRAKE
When the parking brake is applied with the ignition
switch on, the brake light in the instrument cluster will
turn on.
NOTE:This light only shows that the parking brake is
applied. It does not show the degree of brake application.Before leaving the vehicle, make sure that the parking
brake is fully applied and place the gear selector in the
Park position. To release the parking brake, pull out on
the parking brake release located on the left side of the
instrument panel.
Parking Brake Release
256 STARTING AND OPERATING
Page 259 of 420

WARNING!
•Anti-lock system (ABS) cannot prevent the natu-
ral laws of physics from acting on the vehicle, nor
can it increase braking or steering efficiency be-
yond that afforded by the condition of the vehicle
brakes and tires or the traction afforded.
•The ABS cannot prevent accidents, including
those resulting from excessive speed in turns,
following another vehicle too closely, or hydro-
planing. Only a safe, attentive, and skillful driver
can prevent accidents.
•The capabilities of an ABS equipped vehicle must
never be exploited in a reckless or dangerous
manner which could jeopardize the user’s safety
or the safety of others.
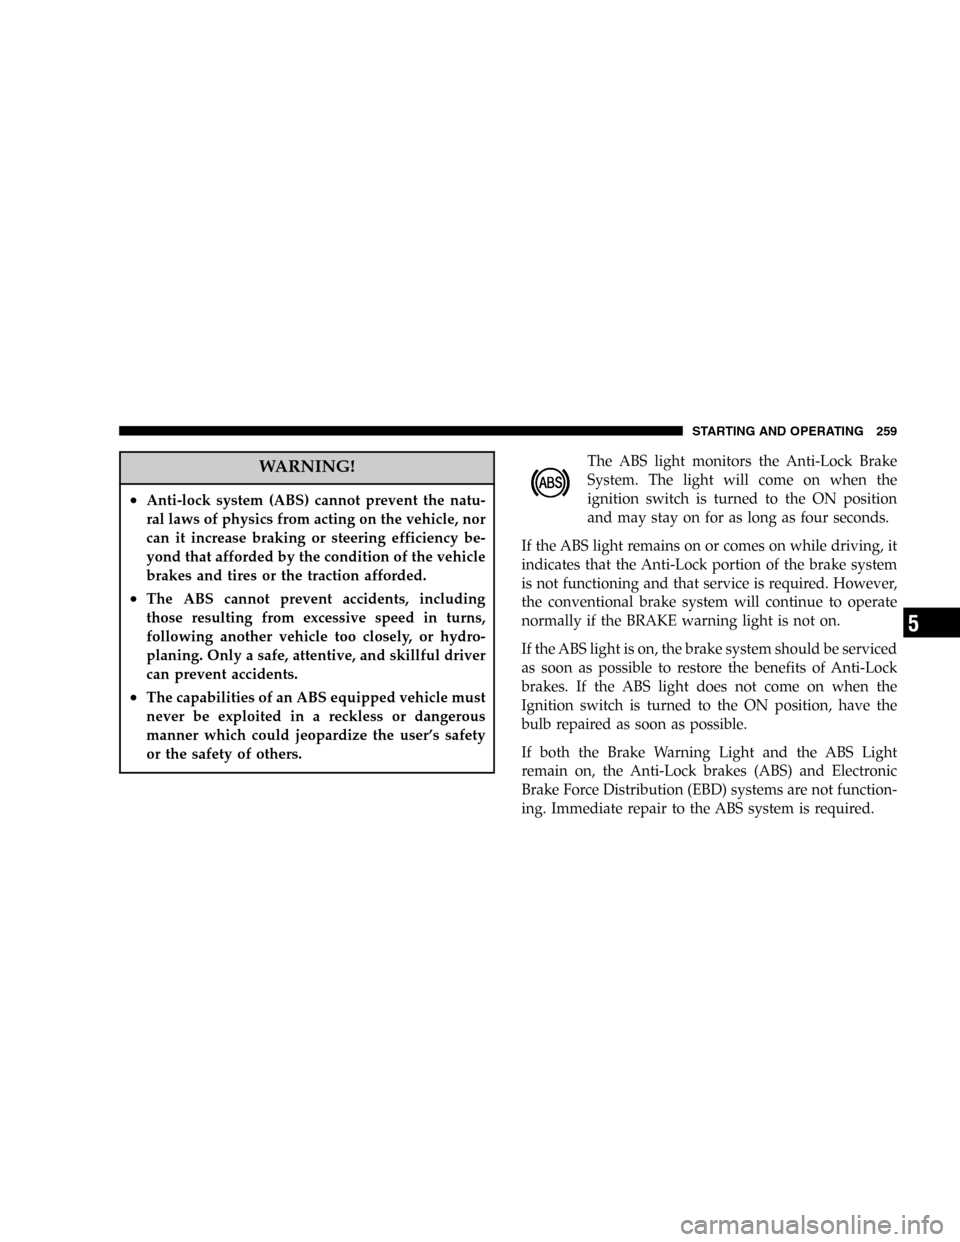
The ABS light monitors the Anti-Lock Brake
System. The light will come on when the
ignition switch is turned to the ON position
and may stay on for as long as four seconds.
If the ABS light remains on or comes on while driving, it
indicates that the Anti-Lock portion of the brake system
is not functioning and that service is required. However,
the conventional brake system will continue to operate
normally if the BRAKE warning light is not on.
If the ABS light is on, the brake system should be serviced
as soon as possible to restore the benefits of Anti-Lock
brakes. If the ABS light does not come on when the
Ignition switch is turned to the ON position, have the
bulb repaired as soon as possible.
If both the Brake Warning Light and the ABS Light
remain on, the Anti-Lock brakes (ABS) and Electronic
Brake Force Distribution (EBD) systems are not function-
ing. Immediate repair to the ABS system is required.
STARTING AND OPERATING 259
5
Page 260 of 420

When the vehicle is driven over 7 mph (11 km/h), you
may also hear a slight clicking sound as well as some
related motor noises. These noises are the system per-
forming its self check cycle to ensure that the ABS system
is working properly. This self check occurs each time the
vehicle is started and accelerated past 7 mph (11 km/h).
ABS is activated during braking under certain road or
stopping conditions. ABS-inducing conditions can in-
clude ice, snow, gravel, bumps, railroad tracks, loose
debris, or panic stops.
You also may experience the following when the brake
system goes into Anti-lock:
•The ABS motor running (it may continue to run for a
short time after the stop),
•the clicking sound of solenoid valves,
•brake pedal pulsations,
•and a slight drop or fall away of the brake pedal at the
end of the stop.
These are all normal characteristics of ABS.
WARNING!
The Anti-Lock Brake System contains sophisticated
electronic equipment that may be susceptible to
interference caused by improperly installed or high
output radio transmitting equipment. This interfer-
ence can cause possible loss of anti-lock braking
capability. Installation of such equipment should be
performed by qualified professionals.
All vehicle wheels and tires must be the same size and
type and tires must be properly inflated to produce
accurate signals for the computer.
260 STARTING AND OPERATING
Page 318 of 420

▫Air Conditioner Maintenance.............335
▫Power Steering—Fluid Check............336
▫Front & Rear Suspension Ball Joints........337
▫Steering Shaft Seal....................337
▫Steering Linkage......................337
▫Drive Shaft Universal Joints..............337
▫Body Lubrication.....................338
▫Windshield Wiper Blades................338
▫Windshield And Rear Window Washers.....339
▫Exhaust System......................339
▫Cooling System.......................340
▫Hoses And Vacuum/Vapor Harnesses.......345
▫Brakes.............................346▫Master Cylinder—ABS Brakes Brake Fluid
Level Check.........................347
▫Fuel System Hoses....................349
▫Automatic Transmission................349
▫All Wheel Drive (AWD)—If Equipped.....352
▫Front And Rear Wheel Bearings...........354
▫Appearance Care And Protection From
Corrosion...........................354
▫Cleaning The Center Console Cup Holders . . . 358
�Integrated Power Module (IPM)............359
�Vehicle Storage........................362
�Replacement Light Bulbs.................363
�Bulb Replacement......................364
▫Standard Quad Headlights...............364
318 MAINTAINING YOUR VEHICLE
Page 347 of 420

Insure nylon tubing in these areas has not melted or
collapsed.
Inspect all hose connections such as clamps and cou-
plings to make sure they are secure and no leaks are
present.
NOTE:Often, fluid such as oil, power steering fluid,
and brake fluid are used during assembly plant opera-
tions to facilitate the assembly of hoses to couplings.
Therefore, oil wetness at the hose-coupling area is not
necessarily an indication of leakage. Actual dripping of
hot fluid when systems are under pressure (during
vehicle operation), should be noted before a hose is
replaced based on leakage.
NOTE:Inspection of brake hoses should be performed
whenever the brake system is serviced and at every
engine oil change. Inspect hydraulic brake hoses for
surface cracking, scuffing, or worn spots. If there is any
evidence of cracking, scuffing, or worn spots, the hoseshould be replaced immediately! Eventual deterioration
of the hose can take place resulting in a possibility of a
burst failure.
WARNING!
Worn brake hoses can burst and cause brake failure.
You could have an accident. If you see any signs of
cracking, scuffing, or worn spots, have the brake
hoses replaced immediately.
Master Cylinder—ABS Brakes Brake Fluid Level
Check
The fluid level in the master cylinder should be checked
when performing underhood services, or immediately if
the brake system warning light indicates system failure.
MAINTAINING YOUR VEHICLE 347
7
Page 359 of 420
INTEGRATED POWER MODULE (IPM)
An Integrated Power Module is located in the engine
compartment near the battery. This center contains maxi
fuses, mini fuses and relays. A label that identifies each
component is printed on the inside of the cover.
Cavity Maxi Fuse Description
1 40 Amp
GreenAnti-Lock Brake System
(ABS) Pump
2 Spare
3 30 Amp
PinkIgnition Off Draw (IOD)
4 40 Amp
GreenBody Control Module
(BCM) Feed 1
5 40 Amp
GreenElectronic Back Light (EBL)
6 30 Amp
PinkFront Wipers
7 40 Amp
GreenStarter
8 40 Amp
GreenPower Seat C/B
9 40 Amp
GreenPower Sunroof
Integrated Power Module (IPM)
MAINTAINING YOUR VEHICLE 359
7
Page 360 of 420
Cavity Maxi Fuse Description
10 Spare
11 40 Amp
GreenHeadlight Washer, Power
Liftgate
12 Spare
13 40 Amp
GreenRadiator Fan 1
14 Spare
15 40 Amp
GreenAnti-Lock Brake System
(ABS) Module
40 40 Amp
GreenDriver Door Node
41 40 Amp
GreenPassenger Door Node
42 40 Amp
GreenFront BlowerCavity Mini Fuse Description
24 20 Amp Yel-
lowPower Outlet (Selectable)
25 15 Amp Blue Radio, Amplifier, Naviga-
tion, Hands-Free Phone
(HFM), Electronic Vehicle
Information Center (EVIC),
EC, SNRF, Mirror
26 20 Amp Yel-
lowPower Outlet
27 Spare
28 25 Amp
NaturalHorn
29 20 Amp Yel-
lowCluster, CHMSL, Stop
Lights, Anti-Lock Brake
System (ABS)
30 10 Amp Red Ignition Switch
31 20 Amp Yel-
lowHazard
360 MAINTAINING YOUR VEHICLE
Page 374 of 420
Once a Month
•Check tire pressure and look for unusual wear or
damage.
•Inspect the battery and clean and tighten the terminals
as required.
•Check the fluid levels of coolant bottle, brake master
cylinder and transmission, add as needed.
•Check all lights and all other electrical items for correct
operation.At Each Oil Change
•Change the engine oil filter.
•Inspect the exhaust system.
•Inspect the brake hoses.
•Inspect the CV joints and front suspension compo-
nents.
•Check the automatic transmission fluid level.
•Check the coolant level, hoses, and clamps.
374 MAINTENANCE SCHEDULES
8
M
A
I
N
T
E
N
A
N
C
E
S
C
H
E
D
U
L
E
S