Page 187 of 280
13. Turn the latch handle just past one quarter turn
clockwise and pull the convertible top frame carefully
down until it meets the windshield header attachment
points.
14. Turn the latch handle counterclockwise to the stop in
order to lock the convertible top.15. Fold the latch handle up until the release button
engages.
The convertible top is now locked onto the windshield
header.
NOTE:Have the convertible top operation checked at
your authorized DaimlerChrysler Dealer as soon as pos-
sible.
WHAT TO DO IN EMERGENCIES 187
6
Page 229 of 280

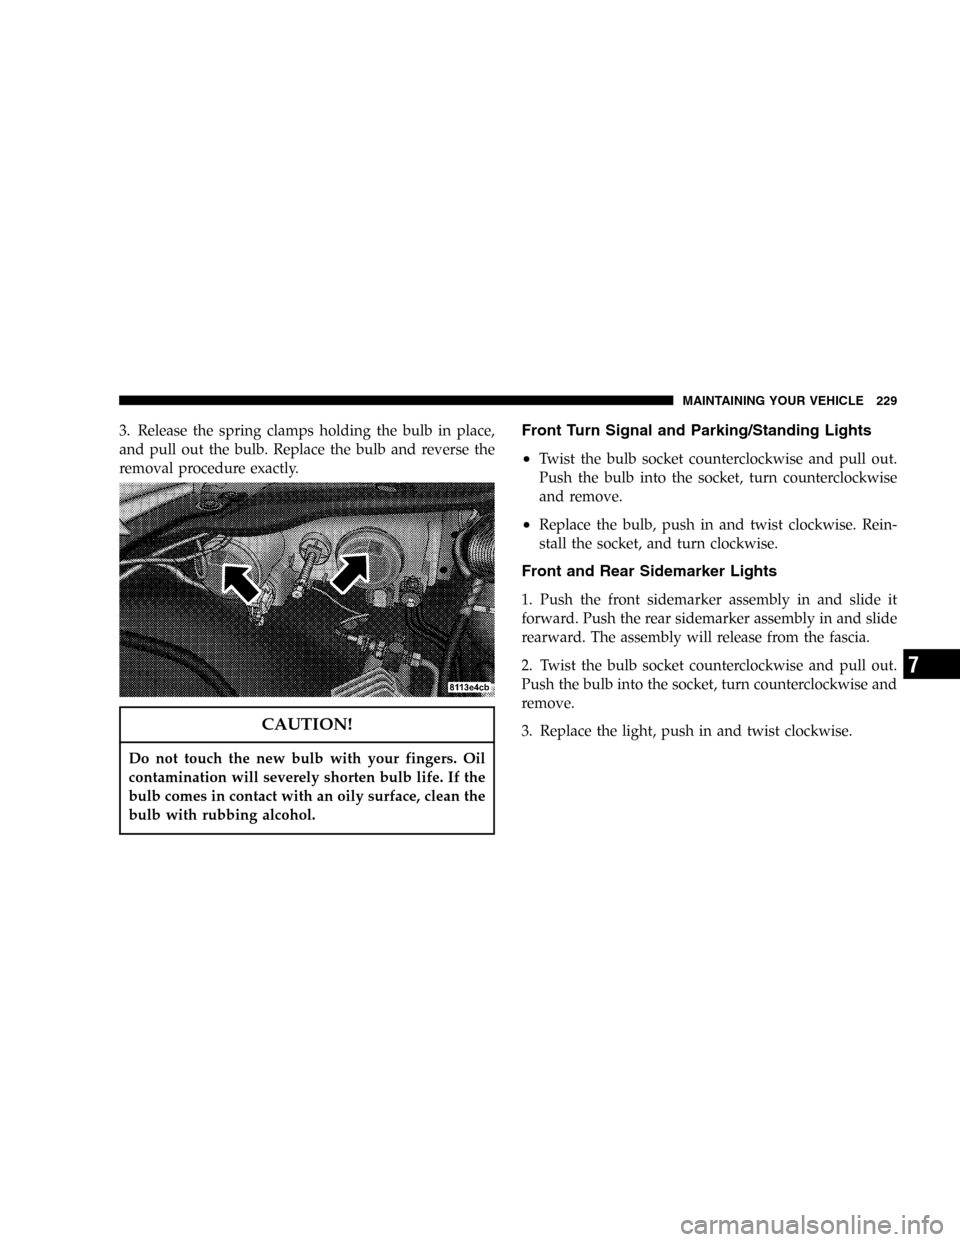
3. Release the spring clamps holding the bulb in place,
and pull out the bulb. Replace the bulb and reverse the
removal procedure exactly.
CAUTION!
Do not touch the new bulb with your fingers. Oil
contamination will severely shorten bulb life. If the
bulb comes in contact with an oily surface, clean the
bulb with rubbing alcohol.
Front Turn Signal and Parking/Standing Lights
•
Twist the bulb socket counterclockwise and pull out.
Push the bulb into the socket, turn counterclockwise
and remove.
•Replace the bulb, push in and twist clockwise. Rein-
stall the socket, and turn clockwise.
Front and Rear Sidemarker Lights
1. Push the front sidemarker assembly in and slide it
forward. Push the rear sidemarker assembly in and slide
rearward. The assembly will release from the fascia.
2. Twist the bulb socket counterclockwise and pull out.
Push the bulb into the socket, turn counterclockwise and
remove.
3. Replace the light, push in and twist clockwise.
MAINTAINING YOUR VEHICLE 229
7
Page 230 of 280
4. Realign the two tabs and push the light in until it
engages into the lock.
Tail, Stop, Back Up and Turn Signal Lights
1. Open the rear liftgate / decklid and remove the access
door in the trim panel.
2. Twist the bulb socket counterclockwise and pull out.
3. Replace the light and return to open socket, turn
clockwise until it stops.
4. Replace the access door in the trim panel.
License Plate Light
1. Remove the two lens assembly mounting screws.
2. Pull the bulb out of the socket.
3. Replace the bulb and reattach the lens assembly.
4. Align and resecure the two lens assembly mounting
screws.
NOTE:Be sure not to over-torque the mounting screws
or permanent damage to the lens may occur.
230 MAINTAINING YOUR VEHICLE
Page 245 of 280

There are two symbols which will appear in the main
odometer display field prior to the next suggested ser-
vice.
This symbol represents Service A.
This second symbol represents Service B. Ser-
vice B rotates with Service A and includes
additional service tasks.
The next service is normally calculated and
displayed next to the Service A or Service B
symbol as distance remaining before the next
service is required.
Depending on operating conditions through-
out the year, a clock symbol may appear next to
the service symbol. When this occurs, the next
service is calculated and displayed in days
remaining before the next service is required.You should have the maintenance performed within the
stated time period or distance.
Following a completed A or B service your authorized
dealer sets the counter to 7,000 miles (Canada: 11,000
km).
NOTE:When disconnecting vehicle battery for one or
more days at a time, such days will not be counted. Any
such days not counted by FSS can be added by your
authorized dealer.
The interval between services is determined by the type
of vehicle operation. Driving at extreme speeds, and cold
starts combined with short distance driving in which the
engine does not reach normal operating temperature,
reduce the interval between services.
Regardless of the service interval determined by your
FSS, the scheduled services as posted in this manual must
be followed to properly care for your vehicle.
MAINTENANCE SCHEDULES 245
8
M
A
I
N
T
E
N
A
N
C
E
S
C
H
E
D
U
L
E
S
Page:
< prev 1-8 9-16 17-24