2005 CHEVROLET VENTURE brake light
[x] Cancel search: brake lightPage 132 of 470
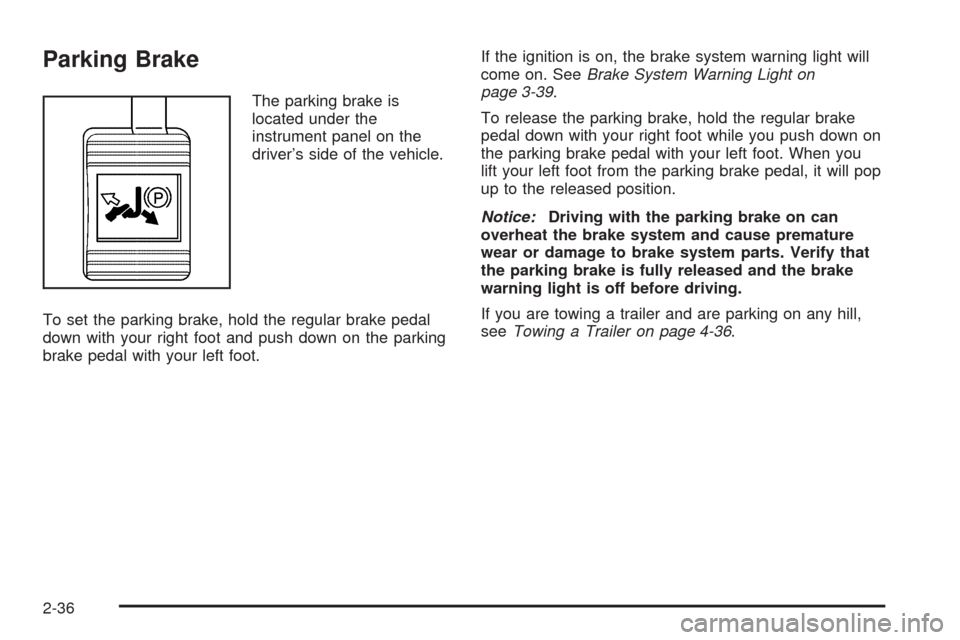
Parking Brake
The parking brake is
located under the
instrument panel on the
driver’s side of the vehicle.
To set the parking brake, hold the regular brake pedal
down with your right foot and push down on the parking
brake pedal with your left foot.If the ignition is on, the brake system warning light will
come on. SeeBrake System Warning Light on
page 3-39.
To release the parking brake, hold the regular brake
pedal down with your right foot while you push down on
the parking brake pedal with your left foot. When you
lift your left foot from the parking brake pedal, it will pop
up to the released position.
Notice:Driving with the parking brake on can
overheat the brake system and cause premature
wear or damage to brake system parts. Verify that
the parking brake is fully released and the brake
warning light is off before driving.
If you are towing a trailer and are parking on any hill,
seeTowing a Trailer on page 4-36.
2-36
Page 161 of 470

Instrument Panel Overview...............................3-4
Hazard Warning Flashers................................3-6
Other Warning Devices...................................3-6
Horn.............................................................3-6
Tilt Wheel.....................................................3-6
Turn Signal/Multifunction Lever.........................3-7
Turn and Lane-Change Signals........................3-7
Headlamp High/Low-Beam Changer..................3-8
Flash-to-Pass.................................................3-8
Windshield Wipers..........................................3-9
Windshield Washer.........................................3-9
Cruise Control..............................................3-10
Exterior Lamps.............................................3-14
Daytime Running Lamps (DRL)/Automatic
Headlamp System.....................................3-14
Instrument Panel Brightness...........................3-15
Interior Lamps Control...................................3-15
Interior Lamp Override...................................3-16
Dome Lamp.................................................3-16
Entry Lighting...............................................3-16
Delayed Lighting...........................................3-17
Exit Lighting.................................................3-17
Front Reading Lamps....................................3-18
Rear Reading Lamps....................................3-18
Cargo Lamp.................................................3-18
Battery Run-Down Protection..........................3-19
Switchbanks.................................................3-19Instrument Panel Switchbank..........................3-19
Overhead Console Switchbank.......................3-20
Ultrasonic Rear Parking Assist (URPA)............3-20
Accessory Power Outlets...............................3-23
Climate Controls............................................3-24
Climate Control System.................................3-24
Outlet Adjustment.........................................3-26
Rear Climate Control System
(Without Entertainment System)...................3-27
Rear Climate Control System
(With Entertainment System).......................3-29
Passenger Compartment Air Filter...................3-30
Warning Lights, Gages, and Indicators............3-32
Instrument Panel Cluster................................3-33
Speedometer and Odometer...........................3-35
Dual Trip Odometers.....................................3-35
Tachometer.................................................3-37
Safety Belt Reminder Light.............................3-37
Airbag Readiness Light..................................3-38
Brake System Warning Light..........................3-39
Anti-Lock Brake System Warning Light.............3-40
Traction Control System (TCS) Warning Light......3-40
Engine Coolant Temperature Gage..................3-41
Malfunction Indicator Lamp.............................3-42
Highbeam On Light.......................................3-45
Fuel Gage...................................................3-45
Section 3 Instrument Panel
3-1
Page 173 of 470
Reducing Speed While Using Cruise
Control
To reduce your speed while using cruise control, do one
of the following:
Press the SET button at the end of the lever until you
reach the lower speed you want, then release it.
To slow down in very small amounts, press the SET
button brie�y. Each time you do this, you will go
about 1 mph (1.6 km/h) slower.
Passing Another Vehicle While Using
Cruise Control
To pass another vehicle while using cruise control, use
the accelerator pedal to increase your speed. When
you take your foot off the pedal, your vehicle will slow
down to the cruise control speed you set earlier.
Using Cruise Control on Hills
How well your cruise control will work on hills depends
upon your speed, load and the steepness of the
hills. When going up steep hills, you may have to step
on the accelerator pedal to maintain your speed.
When going downhill, you may have to brake or shift to
a lower gear to keep your speed down. Of course,
applying the brake takes you out of cruise control. Many
drivers �nd this to be too much trouble and do not
use cruise control on steep hills.
Ending Cruise Control
To turn off the cruise control, do one of the following:
Step lightly on the brake pedal.
Move the cruise switch to OFF.
Erasing Speed Memory
When you turn off the cruise control or the ignition, your
cruise control set speed memory is erased.
3-13
Page 175 of 470
A light sensor on top of the instrument panel makes the
DRL work, so be sure it is not covered. The DRL
system will make front parking and turn signal lamps
come on in daylight when the following conditions
are met:
The ignition is on.
The exterior lamps control is off.
The parking brake is released.
When the DRL are on, only your front parking and turn
signal lamps will be on. Your instrument panel will
not be lit up.
When it is dark enough outside, the exterior lamps will
come on automatically. When it is bright enough
outside, the exterior lamps will turn off and the DRL will
turn on. Of course, you may still turn on the headlamps
any time you need to.
If you start your vehicle in a dark garage, the automatic
headlamp system will come on immediately. Once
you leave the garage, it will take approximately
one minute for the automatic headlamp system to
change to DRL if it is light outside. During that delay,
your instrument panel cluster may not be as bright
as usual. Make sure your instrument panel brightness
control is in the full bright position. SeeInstrument Panel
Brightness on page 3-15.To idle your vehicle with the DRL and automatic
headlamps off, set the parking brake while the ignition is
in OFF or LOCK. Then start the vehicle. The DRL
and automatic headlamps will stay off until you release
the parking brake.
As with any vehicle, you should turn on the regular
headlamp system when you need it.Instrument Panel Brightness
The thumbwheel for this feature is located below the
exterior lamps control. Turn the thumbwheel to the right
to brighten the lights, or to the left to dim them.
Interior Lamps Control
Turn the thumbwheel all the way to the right to turn on
the interior lamps, if the interior lamps override
switch is off. Turn the thumbwheel to the left to turn the
lamps off.
3-15
Page 182 of 470
How the System Works
Unless disabled, the URPA will turn on automatically
when the shift lever is moved into REVERSE (R). When
the system turns on, the three lights on the display
will illuminate for one and a half seconds to let you know
that the system is working. If your vehicle is moving in
REVERSE (R) at a speed greater than 3 mph (5 km/h),
the red light will �ash to remind you that the system
does not work at speed greater than 3 mph (5 km/h).
If an object is detected at a REVERSE (R) speed of less
than 3 mph (5 km/h), one of the following will occur:
Description English Metric
amber light 5 ft 1.5 m
amber/amber lights 40 in 1.0 m
amber/amber/red lights &
continuous chime20 in 0.5 m
amber/amber/red lights
�ashing & continuous
chime1 ft 0.3 m
A chime will sound the �rst time an object is detected
between 20 inches (0.5 m) and 5 feet (1.5 m) away.
URPA cannot detect objects that are above liftgate level.
In order for the rear sensors to recognize an object, it
must be within detection range behind the vehicle.
When the System Does Not Seem to Work
Properly
The light may �ash red when the vehicle is in
REVERSE (R) if the ultrasonic sensors are not kept
clean. So be sure to keep your rear bumper free of mud,
dirt, snow, ice and slush. Other conditions that may
affect system performance include things like the
vibrations from a jackhammer or the compression of air
brakes on a very large truck. If after cleaning the
rear bumper and then driving forward at least 15 mph
(25 km/h), the display continues to �ash red, see
your dealer.
If a trailer was attached to your vehicle, or a bicycle or
an object was on the back of, or hanging out of your
liftgate during your last drive cycle, the light may
also �ash red. The light will continue to �ash whenever
in REVERSE (R) until your vehicle is driven forward
at least 15 mph (25 km/h) without any obstructions
behind the vehicle.
For cleaning instructions, seeWashing Your Vehicle on
page 5-86.
3-22
Page 199 of 470
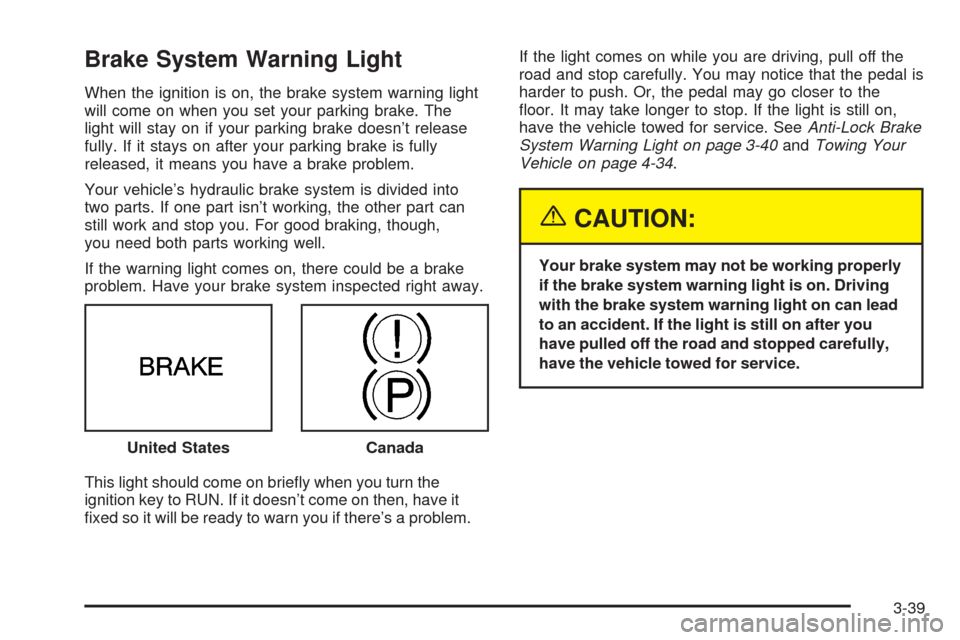
Brake System Warning Light
When the ignition is on, the brake system warning light
will come on when you set your parking brake. The
light will stay on if your parking brake doesn’t release
fully. If it stays on after your parking brake is fully
released, it means you have a brake problem.
Your vehicle’s hydraulic brake system is divided into
two parts. If one part isn’t working, the other part can
still work and stop you. For good braking, though,
you need both parts working well.
If the warning light comes on, there could be a brake
problem. Have your brake system inspected right away.
This light should come on brie�y when you turn the
ignition key to RUN. If it doesn’t come on then, have it
�xed so it will be ready to warn you if there’s a problem.If the light comes on while you are driving, pull off the
road and stop carefully. You may notice that the pedal is
harder to push. Or, the pedal may go closer to the
�oor. It may take longer to stop. If the light is still on,
have the vehicle towed for service. SeeAnti-Lock Brake
System Warning Light on page 3-40andTowing Your
Vehicle on page 4-34.
{CAUTION:
Your brake system may not be working properly
if the brake system warning light is on. Driving
with the brake system warning light on can lead
to an accident. If the light is still on after you
have pulled off the road and stopped carefully,
have the vehicle towed for service.
United States
Canada
3-39
Page 200 of 470
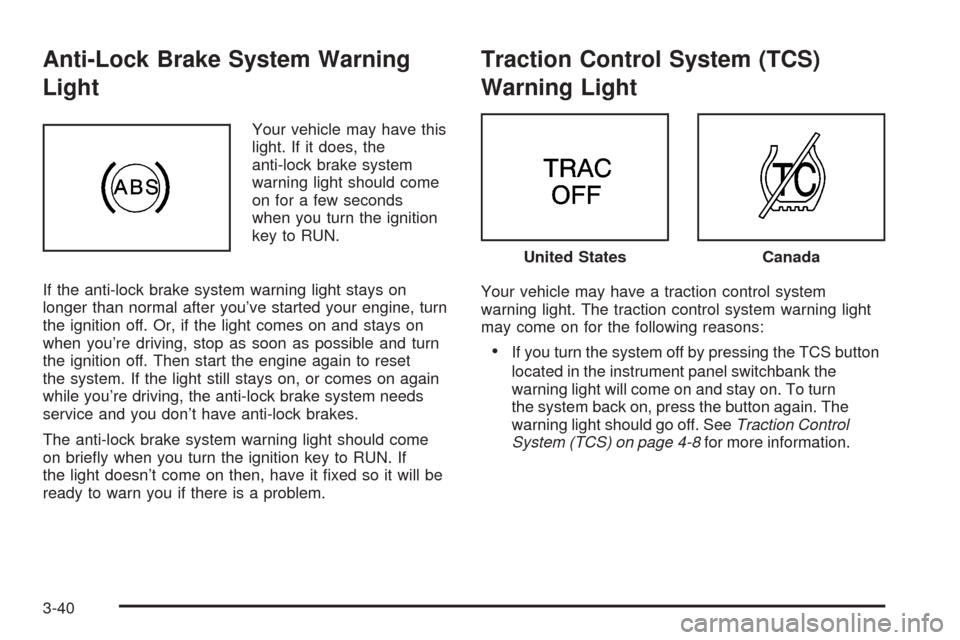
Anti-Lock Brake System Warning
Light
Your vehicle may have this
light. If it does, the
anti-lock brake system
warning light should come
on for a few seconds
when you turn the ignition
key to RUN.
If the anti-lock brake system warning light stays on
longer than normal after you’ve started your engine, turn
the ignition off. Or, if the light comes on and stays on
when you’re driving, stop as soon as possible and turn
the ignition off. Then start the engine again to reset
the system. If the light still stays on, or comes on again
while you’re driving, the anti-lock brake system needs
service and you don’t have anti-lock brakes.
The anti-lock brake system warning light should come
on brie�y when you turn the ignition key to RUN. If
the light doesn’t come on then, have it �xed so it will be
ready to warn you if there is a problem.
Traction Control System (TCS)
Warning Light
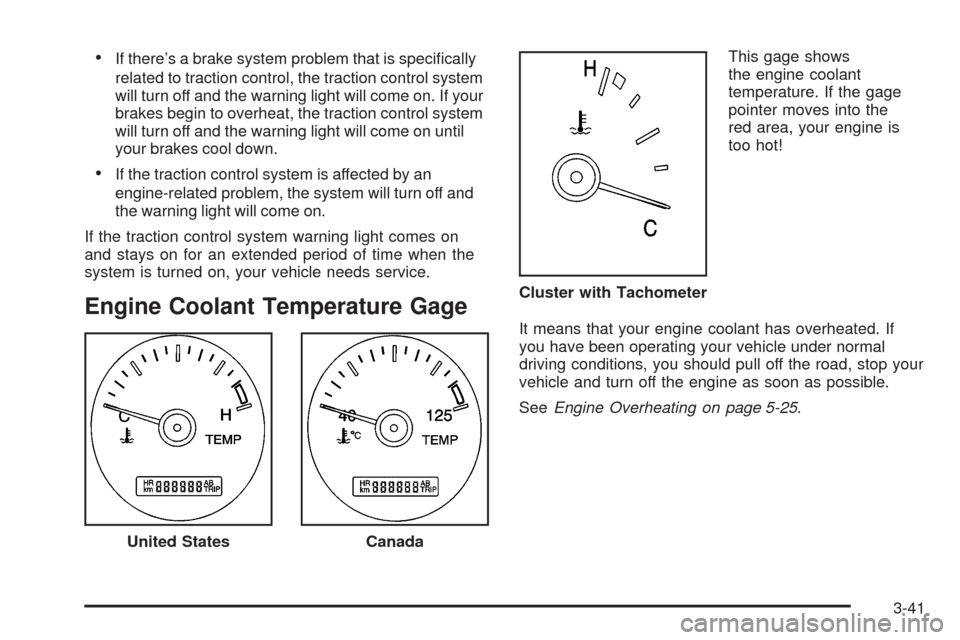
Your vehicle may have a traction control system
warning light. The traction control system warning light
may come on for the following reasons:
If you turn the system off by pressing the TCS button
located in the instrument panel switchbank the
warning light will come on and stay on. To turn
the system back on, press the button again. The
warning light should go off. SeeTraction Control
System (TCS) on page 4-8for more information.
United StatesCanada
3-40
Page 201 of 470
If there’s a brake system problem that is speci�cally
related to traction control, the traction control system
will turn off and the warning light will come on. If your
brakes begin to overheat, the traction control system
will turn off and the warning light will come on until
your brakes cool down.
If the traction control system is affected by an
engine-related problem, the system will turn off and
the warning light will come on.
If the traction control system warning light comes on
and stays on for an extended period of time when the
system is turned on, your vehicle needs service.
Engine Coolant Temperature Gage
This gage shows
the engine coolant
temperature. If the gage
pointer moves into the
red area, your engine is
too hot!
It means that your engine coolant has overheated. If
you have been operating your vehicle under normal
driving conditions, you should pull off the road, stop your
vehicle and turn off the engine as soon as possible.
SeeEngine Overheating on page 5-25.
United States
Canada
Cluster with Tachometer
3-41