2005 CHEVROLET SUBURBAN lock
[x] Cancel search: lockPage 131 of 536
Follow the proper steps to be sure your vehicle will
not move. SeeShifting Into Park (P) on page 2-36.
If you are pulling a trailer, seeTowing a Trailer
on page 4-67.
Mirrors
Manual Rearview Mirror
Pull the tab under the mirror toward you to reduce glare
from headlamps behind you after dark. Push the tab
away from you for normal daytime operation.
Automatic Dimming Rearview Mirror
with OnStar
®, Compass and
Temperature Display
Your vehicle may have this feature. When on, the
automatic dimming mirror dims to the proper level to
minimize glare from lights behind you after dark.
The mirror has a dual display in the upper right corner
of the mirror face that shows the compass reading
and the outside temperature.Control buttons for the OnStar
®system are at the bottom
of the mirror. SeeOnStar®System on page 2-50for more
information about the services OnStar®provides.
P(On/Off):This is the on/off button.
Temperature and Compass Display
Press the on/off button, located to the far left, brie�y to
turn the compass/temperature display on or off.
If the display reads CAL, the compass needs to be
calibrated. For more information, see “Compass
Calibration” following.
To adjust between Fahrenheit and Celsius, do the
following:
1. Press and hold the on/off button for approximately
four seconds until either a �ashing F or C appears.
2. Press the button again to change the display to the
desired unit of measurement. After approximately
four seconds of inactivity, the new unit will be
locked in and the compass/temperature display
will return.
If an abnormal temperature reading is displayed for an
extended period of time, please see your GM dealer.
Under certain circumstances, a delay in updating
the temperature is normal.
2-41
Page 133 of 536
3. Keep pressing the on/off button until the desired
zone number appears in the display. Release
the button. After approximately four seconds of
inactivity, the new zone number will be locked
in and the compass/temperature display will return.
4. Calibrate the compass as described next.
Compass Calibration
The compass may need calibration if one of the
following occurs:
After approximately �ve seconds, the display does
not show a compass heading, N for North, for
example, there may be a strong magnetic �eld
interfering with the compass. Such interference may
be caused by a magnetic antenna mount, magnetic
note pad holder, or a similar magnetic item.
The compass does not display the correct heading
and the compass zone variance is set correctly.
In order to calibrate, CAL must be displayed in the
mirror compass windows. If CAL is not displayed, push
the on/off button for approximately 12 seconds or
until CAL is displayed.
The compass can be calibrated by driving the vehicle
in circles at 5 mph (8 km/h) or less until the display
reads a direction.
Passenger Airbag Indicator
The vehicle may be equipped with a passenger airbag
indicator, on the mirror glass, just above the buttons.
For more information, seePassenger Sensing System
on page 1-78andPassenger Airbag Status Indicator
on page 3-40.
Cleaning the Mirror
When cleaning the mirror, use a paper towel or similar
material dampened with glass cleaner. Do not spray
glass cleaner directly on the mirror as that may cause
the liquid cleaner to enter the mirror housing.
Automatic Dimming Rearview Mirror
with Compass and Temperature
Display
Your vehicle may be equipped with this feature.
When on, an automatic dimming mirror will dim to
the proper level to minimize glare from lights behind
you after dark.
The mirror also includes a dual display in the upper
right corner of the mirror with the compass reading and
the outside temperature. The display can be turned
on or off by brie�y pressing either the TEMP or
the COMP button.
2-43
Page 140 of 536
OnStar®System
OnStar®uses global positioning system (GPS) satellite
technology, wireless communications, and call centers
to provide you with a wide range of safety, security,
information, and convenience services.
A complete OnStar
®user’s guide and the terms and
conditions of the OnStar®Subscription Service
Agreement are included in the vehicle’s glove box
literature. For more information, visit www.onstar.com
or www.onstarcanada.com. Contact OnStar
®at
1-888-4-ONSTAR (1-888-466-7827), or press the
OnStar
®button to speak to an OnStar®advisor
24 hours a day, 7 days a week.
Terms and conditions of the Subscription Service
Agreement can be found at www.onstar.com or
www.onstarcanada.com.
OnStar®Services
For new vehicles equipped with OnStar®, the Safe
and Sound Plan is included for the �rst year. You can
extend this plan beyond the �rst year, or upgrade to the
Directions and Connections Plan to meet your needs.
For more information, press the OnStar
®button to speak
with an advisor.
Safe and Sound Plan
Automatic Noti�cation of Airbag Deployment
Emergency Services
Roadside Assistance
Stolen Vehicle Tracking
AccidentAssist
Remote Door Unlock/Vehicle Alert
Remote Diagnostics
Online Concierge
Directions and Connections Plan
All Safe and Sound Plan Services
Driving Directions
RideAssist
Information and Convenience Services
2-50
Page 142 of 536
HomeLink®Wireless Control
System
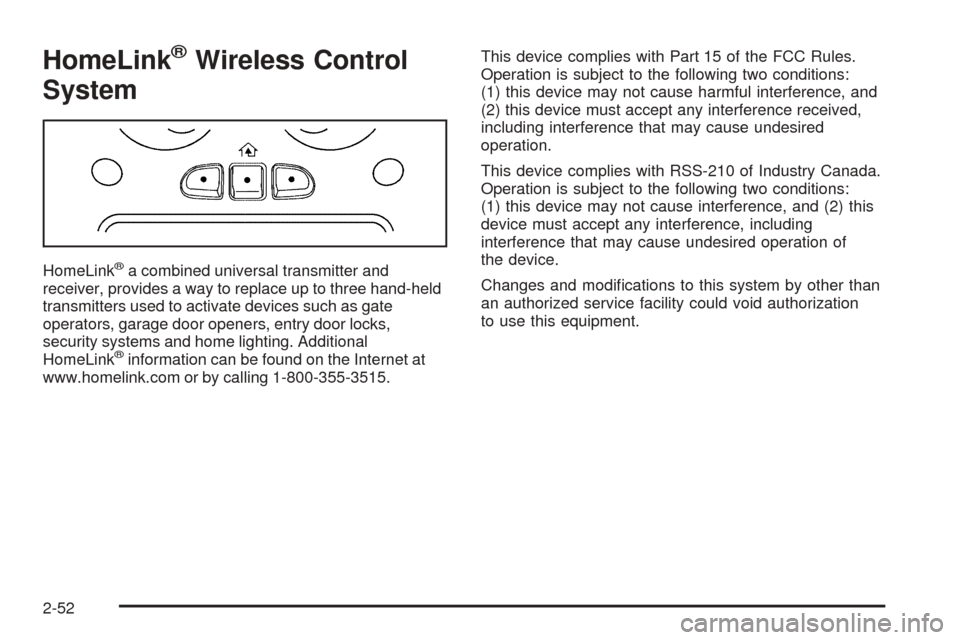
HomeLink®a combined universal transmitter and
receiver, provides a way to replace up to three hand-held
transmitters used to activate devices such as gate
operators, garage door openers, entry door locks,
security systems and home lighting. Additional
HomeLink
®information can be found on the Internet at
www.homelink.com or by calling 1-800-355-3515.This device complies with Part 15 of the FCC Rules.
Operation is subject to the following two conditions:
(1) this device may not cause harmful interference, and
(2) this device must accept any interference received,
including interference that may cause undesired
operation.
This device complies with RSS-210 of Industry Canada.
Operation is subject to the following two conditions:
(1) this device may not cause interference, and (2) this
device must accept any interference, including
interference that may cause undesired operation of
the device.
Changes and modi�cations to this system by other than
an authorized service facility could void authorization
to use this equipment.
2-52
Page 147 of 536
Center Console Storage Area
Your vehicle may have a console compartment with
cupholders between the bucket seats.
To open it, press the button and swing the console
lid open.
The rear of the console has a cupholder that swings
down for the rear seat passenger to use.
Luggage Carrier
If you have the luggage carrier, you can load things on
top of your vehicle.
The luggage carrier has slats and siderails attached to
the roof and crossrails which can be moved back
and forth to help secure cargo. Tie the load to the
siderails or siderail supports.
Notice:Loading cargo on the luggage carrier that
weighs more than 200 lbs (91 kg) or hangs over
the rear or sides of the vehicle may damage your
vehicle. Load cargo so that it rests on the slats
as far forward as possible and against the side rails,
making sure to fasten it securely.
Don’t exceed the maximum vehicle capacity when
loading your vehicle. For more information on vehicle
capacity and loading, seeLoading Your Vehicle
on page 4-52.To prevent damage or loss of cargo as you’re leaving,
check now and then to make sure the luggage and
cargo are still securely fastened.
Be sure the cargo is properly loaded.
If small heavy objects are placed on the roof, place
the load in the area over the rear wheels (behind
the rear side door on extended models). If you
need to, cut a piece of 3/8 inch plywood to �t inside
the crossrails and siderails to spread the load.
If plywood is used, tie it to the siderail supports.
Tie the load to the crossrails or the siderail supports.
Use the crossrails only to keep the load from sliding.
To move the crossrails, pull out on the latch release
handle at each end. Slide the crossrail to the desired
position balancing the force side to side. Push the
release handle back into the latched position and
slide the crossrail back and forth slightly to be sure
the latch snaps securely into place.
If you need to carry long items, move the crossrails
as far apart as they will go. Tie the load to the
crossrails and the siderails or siderail supports. Also
tie the load to the bumpers. Do not tie the load so
tightly that the crossrails or siderails are damaged.
After moving a crossrail, be sure it is securely locked
into the siderail.
2-57
Page 148 of 536
Your vehicle has a Center High-Mounted Stoplamp
(CHMSL) located above the glass or above the rear
load doors.
If items are loaded on the roof of the vehicle, care
should be taken not to block or damage the CHMSL unit.
If your vehicle has the Z71 option, your vehicle’s
luggage carrier has a roller crossrail at the rear of
the vehicle.
To load cargo, place cargo on the roller and roll the
cargo forward onto the two front crossrails.
To move the crossrails do the following:
1. Loosen the thumbscrew at each end.
2. Move crossrail to desired position.
3. Tighten the thumbscrews.
Make sure the crossrail is secured.Rear Storage Area
Your vehicle may have a storage compartment located
in the rear cargo area of the vehicle in the driver’s
side trim panel.
To open the utility compartment, press in on the release
latch and swing the compartment door open.
To open the compartment on extended models, pull the
latch to access.
Convenience Net
The convenience net (if equipped) in the rear of your
vehicle helps to keep small loads in place during sharp
turns or quick stops and starts.
The net is not designed for larger, heavier items.
To install the net, attach the hooks to the raised cargo
tie downs. Then, attach the cord loops to the button
retainers in the side trim.
You can unhook the net so that it will lie �at when
you’re not using it.
2-58
Page 149 of 536
Cargo Cover
{CAUTION:
An improperly stored cargo cover could be
thrown about the vehicle during a collision or
sudden maneuver. You or others could be
injured. If you remove the cover, always store
it in the proper storage location. When you
put it back, always be sure that it is securely
reattached.
If you have a cargo cover, you can use it to cover items
in the cargo area of your vehicle.
To use the cover, do the following:
1. Pull the cover handle toward the rear of the vehicle.
2. Latch the cover posts into the retaining sockets
on the cargo area trim panels.
To return the cover to the retracted position, do the
following:
1. Pull up on the cover handle to release the cover
posts from the retaining sockets.
2. Let the cover move forward to the full retracted
position.To remove the cover from the vehicle, do the following:
1. Let the cover go all the way into the holder.
2. Then, grasping the passenger’s side cover endcap,
push the cover endcap toward the driver’s side of
the vehicle. The endcap should lock in the
compressed position.
3. Lift the cover up on the passenger’s side, swing the
cover rearward and take it out of the vehicle.
To put the cover in the vehicle, do the following:
1. Make sure the cover slot in the holder faces
rearward with the round surface facing down.
2. Then, hold the cover at an angle and place the
cover holder tab into the slot in the driver’s side
trim panel.
3. Move the other end of the cover forward and hold it
next to the passenger’s side trim panel slot.
4. Push the button on top of the passenger’s side
endcap. This will allow the cover to extend into
the trim slot.
5. Lightly pull on the cover holder to make sure it is
secure.
On some models there are two slots. The slots
furthest forward allow the cover to be used if the
third seat is removed or folded down.
2-59
Page 151 of 536
The sunroof is also equipped with a sunshade which
you can pull forward to block sun rays.
If a hand, arm, or other object is blocking the sunroof
glass panel as it is closing, the glass panel will stop
at the obstruction. After the obstruction is removed,
the glass panel can be closed or opened.
Use care not to leave the sunroof open for long periods
of time as debris may collect in the tracks.
If the battery has been recharged, disconnected or is
not working, you may need to reprogram the sunroof.
To do this, start the vehicle and press the forward
side of the sunroof button until the glass panel moves
to a fully closed position. Release, and press again
to move to the vent position, which occurs when
the sunroof is fully tilted upward and the button is held
for an additional twenty seconds. This will reset the
memory and enable the sunroof to function properly.Vehicle Personalization
Memory Seat
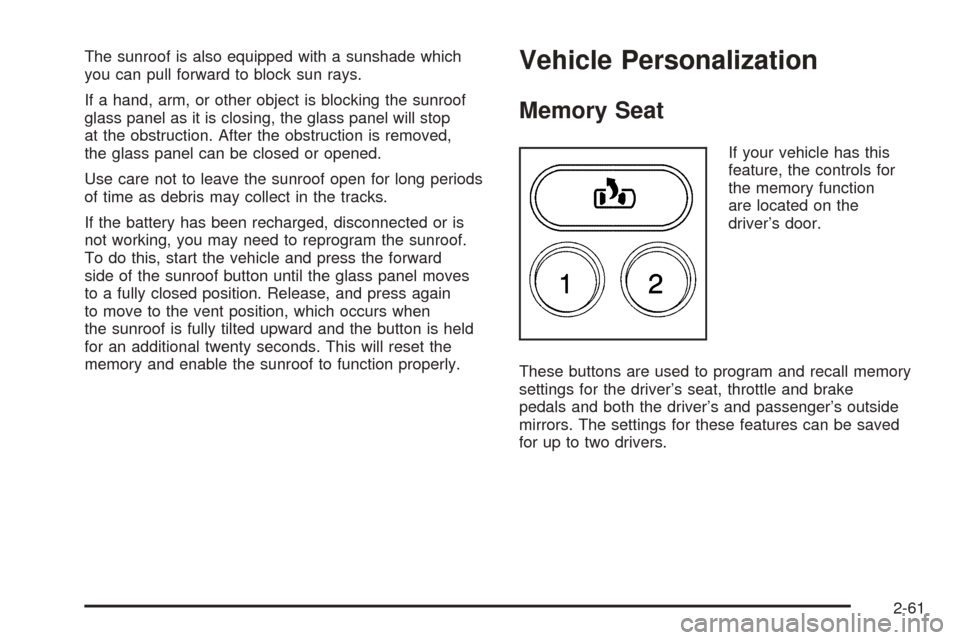
If your vehicle has this
feature, the controls for
the memory function
are located on the
driver’s door.
These buttons are used to program and recall memory
settings for the driver’s seat, throttle and brake
pedals and both the driver’s and passenger’s outside
mirrors. The settings for these features can be saved
for up to two drivers.
2-61