2005 CHEVROLET SUBURBAN service
[x] Cancel search: servicePage 110 of 536
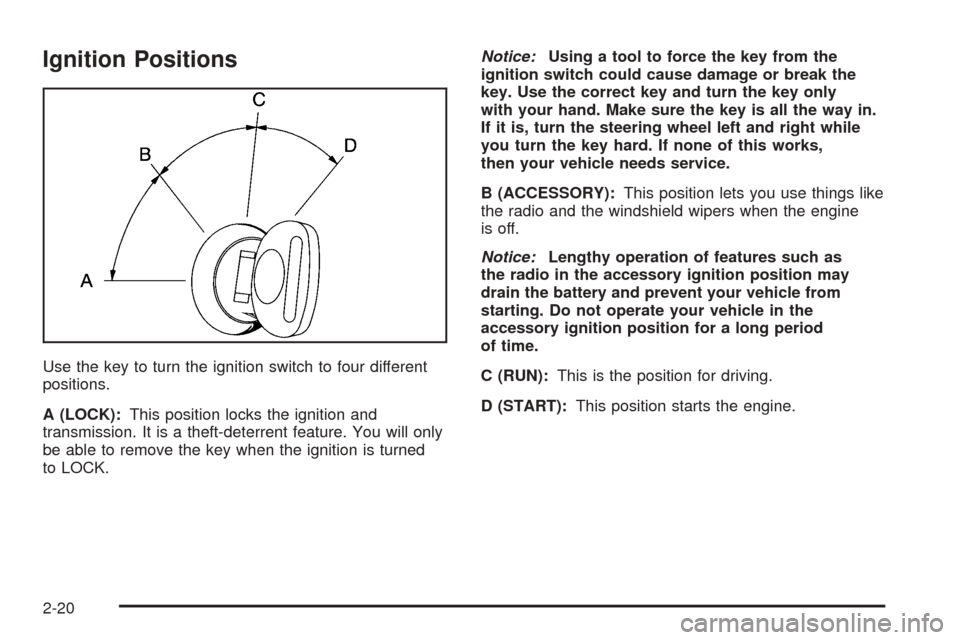
Ignition Positions
Use the key to turn the ignition switch to four different
positions.
A (LOCK):This position locks the ignition and
transmission. It is a theft-deterrent feature. You will only
be able to remove the key when the ignition is turned
to LOCK.Notice:Using a tool to force the key from the
ignition switch could cause damage or break the
key. Use the correct key and turn the key only
with your hand. Make sure the key is all the way in.
If it is, turn the steering wheel left and right while
you turn the key hard. If none of this works,
then your vehicle needs service.
B (ACCESSORY):This position lets you use things like
the radio and the windshield wipers when the engine
is off.
Notice:Lengthy operation of features such as
the radio in the accessory ignition position may
drain the battery and prevent your vehicle from
starting. Do not operate your vehicle in the
accessory ignition position for a long period
of time.
C (RUN):This is the position for driving.
D (START):This position starts the engine.
2-20
Page 119 of 536

2m(Two Wheel-High):This setting is used for driving
in most street and highway situations. Your front axle
is not engaged in two-wheel drive. This setting also
provides the best fuel economy.
4
m(Four Wheel-High):Use the four-wheel high
position when you need extra traction, such as on snowy
or icy roads or in most off-road situations. This setting
also engages your front axle to help drive your vehicle.
This is the best setting to use when plowing snow.
4
n(Four Wheel-Low):This setting also engages your
front axle and delivers extra torque. You may never need
this setting. It sends maximum power to all four wheels.
You might choose Four Wheel-Low if you are driving
off-road in deep sand, deep mud, deep snow, and while
climbing or descending steep hills. StabiliTrak
®will not
engage in this mode. SeeStabiliTrak®System on
page 4-11for more information.
{CAUTION:
Shifting the transfer case to NEUTRAL can cause
your vehicle to roll even if the transmission is
in PARK (P). You or someone else could be
seriously injured. Be sure to set the parking
brake before placing the transfer case in
NEUTRAL. SeeParking Brake on page 2-35.
NEUTRAL (N):Shift the vehicle’s transfer case
to NEUTRAL only when towing your vehicle.
SeeRecreational Vehicle Towing on page 4-62or
Towing Your Vehicle on page 4-62for more information.
Indicator lights in the button show which setting you
are in. The indicator lights will come on brie�y when you
turn on the ignition and one will stay on. If the lights
do not come on, you should take your vehicle to your
dealer for service. An indicator light will �ash while
shifting the transfer case. It will remain illuminated when
the shift is complete. If for some reason the transfer
case cannot make a requested shift, it will return to the
last chosen setting.
If the SERVICE 4WD message stays on, you should
take your vehicle to your dealer for service. See “Service
4WD message” underDriver Information Center (DIC)
on page 3-56.
Shifting Into Four-Wheel High or
AUTO 4WD (Automatic Four Wheel Drive)
Press and release the Four-Wheel High or AUTO
4WD button. This can be done at any speed, except
when shifting from Four Wheel-Low, and the indicator
light will �ash while shifting. It will remain on when
the shift is completed.
Shifting Into Two-Wheel High
Press and release the Two-Wheel High button.
This can be done at any speed, except when shifting
from Four-Wheel Low.
2-29
Page 123 of 536

{CAUTION:
Shifting the transfer case to NEUTRAL can
cause your vehicle to roll even if the
transmission is in PARK (P). You or someone
else could be seriously injured. Be sure to set
the parking brake before placing the transfer
case in NEUTRAL. SeeParking Brake on
page 2-35.
N (Neutral):Shift the vehicle’s transfer case to
NEUTRAL only when towing your vehicle. See
Recreational Vehicle Towing on page 4-62orTowing
Your Vehicle on page 4-62for more information.
Indicator lights in the buttons show which mode you are
in. The indicator lights will come on brie�y when you turn
on the ignition and one will stay on. If the lights do not
come on, you should take your vehicle to your dealer for
service. An indicator light will �ash while the transfer case
is shifting. It will remain on when the shift is complete.
If for some reason the transfer case cannot make a
requested shift, it will return to the last chosen setting.
If the SERVICE 4WD message stays on, you should
take your vehicle to your dealer for service. See
SERVICE 4WD underDriver Information Center (DIC)
on page 3-56.
Shifting Into Four Wheel Low
To shift to the Four-Wheel Low position, the ignition
must be in RUN and the vehicle must be stopped
or moving less than 3 mph (5 km/h) with the
transmission in NEUTRAL (N). Press and release the
Four-Wheel Low switch. You must wait for the
Four-Wheel Low indicator light to stop �ashing and
remain on before shifting your transmission in gear.
Notice:Shifting the transmission into gear before
the Four-Wheel Low indicator light has stopped
�ashing could damage the transfer case. To
help avoid damaging your vehicle, always wait for
the Four-Wheel Low indicator light to stop �ashing
before shifting the transmission into gear.
If the Four-Wheel Low button is pressed when your
vehicle is in gear and/or moving, the Four-Wheel Low
indicator light will �ash for 30 seconds and not complete
the shift unless your vehicle is moving less than
3 mph (5 km/h) and the transmission is in NEUTRAL (N).
After 30 seconds, the transfer case will return to the
setting last chosen.
When in Four-Wheel Low, StabiliTrak
®is automatically
disabled. For more information seeStabiliTrak®
System on page 4-11.
2-33
Page 131 of 536
Follow the proper steps to be sure your vehicle will
not move. SeeShifting Into Park (P) on page 2-36.
If you are pulling a trailer, seeTowing a Trailer
on page 4-67.
Mirrors
Manual Rearview Mirror
Pull the tab under the mirror toward you to reduce glare
from headlamps behind you after dark. Push the tab
away from you for normal daytime operation.
Automatic Dimming Rearview Mirror
with OnStar
®, Compass and
Temperature Display
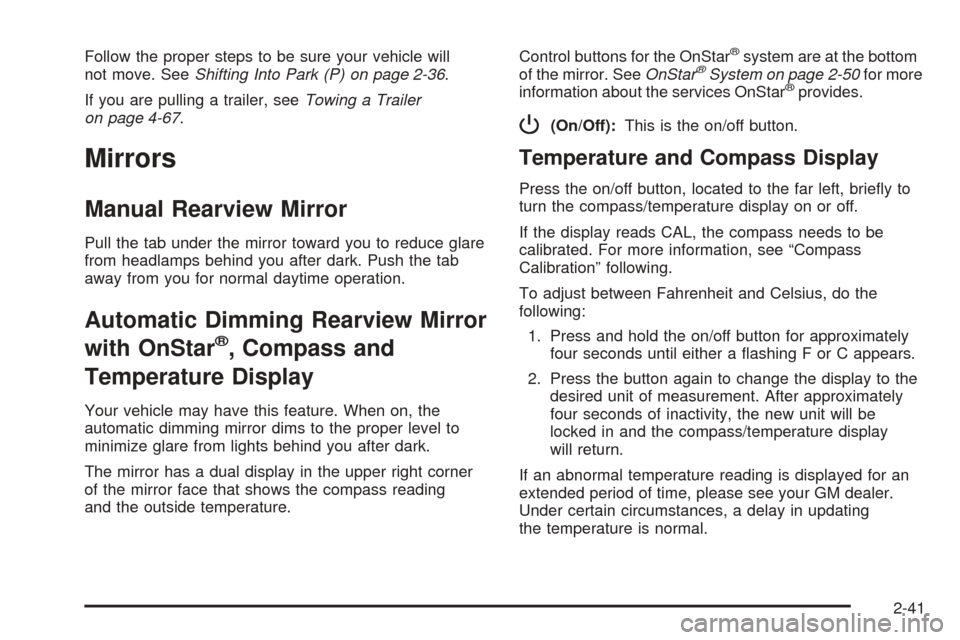
Your vehicle may have this feature. When on, the
automatic dimming mirror dims to the proper level to
minimize glare from lights behind you after dark.
The mirror has a dual display in the upper right corner
of the mirror face that shows the compass reading
and the outside temperature.Control buttons for the OnStar
®system are at the bottom
of the mirror. SeeOnStar®System on page 2-50for more
information about the services OnStar®provides.
P(On/Off):This is the on/off button.
Temperature and Compass Display
Press the on/off button, located to the far left, brie�y to
turn the compass/temperature display on or off.
If the display reads CAL, the compass needs to be
calibrated. For more information, see “Compass
Calibration” following.
To adjust between Fahrenheit and Celsius, do the
following:
1. Press and hold the on/off button for approximately
four seconds until either a �ashing F or C appears.
2. Press the button again to change the display to the
desired unit of measurement. After approximately
four seconds of inactivity, the new unit will be
locked in and the compass/temperature display
will return.
If an abnormal temperature reading is displayed for an
extended period of time, please see your GM dealer.
Under certain circumstances, a delay in updating
the temperature is normal.
2-41
Page 140 of 536
OnStar®System
OnStar®uses global positioning system (GPS) satellite
technology, wireless communications, and call centers
to provide you with a wide range of safety, security,
information, and convenience services.
A complete OnStar
®user’s guide and the terms and
conditions of the OnStar®Subscription Service
Agreement are included in the vehicle’s glove box
literature. For more information, visit www.onstar.com
or www.onstarcanada.com. Contact OnStar
®at
1-888-4-ONSTAR (1-888-466-7827), or press the
OnStar
®button to speak to an OnStar®advisor
24 hours a day, 7 days a week.
Terms and conditions of the Subscription Service
Agreement can be found at www.onstar.com or
www.onstarcanada.com.
OnStar®Services
For new vehicles equipped with OnStar®, the Safe
and Sound Plan is included for the �rst year. You can
extend this plan beyond the �rst year, or upgrade to the
Directions and Connections Plan to meet your needs.
For more information, press the OnStar
®button to speak
with an advisor.
Safe and Sound Plan
Automatic Noti�cation of Airbag Deployment
Emergency Services
Roadside Assistance
Stolen Vehicle Tracking
AccidentAssist
Remote Door Unlock/Vehicle Alert
Remote Diagnostics
Online Concierge
Directions and Connections Plan
All Safe and Sound Plan Services
Driving Directions
RideAssist
Information and Convenience Services
2-50
Page 142 of 536
HomeLink®Wireless Control
System
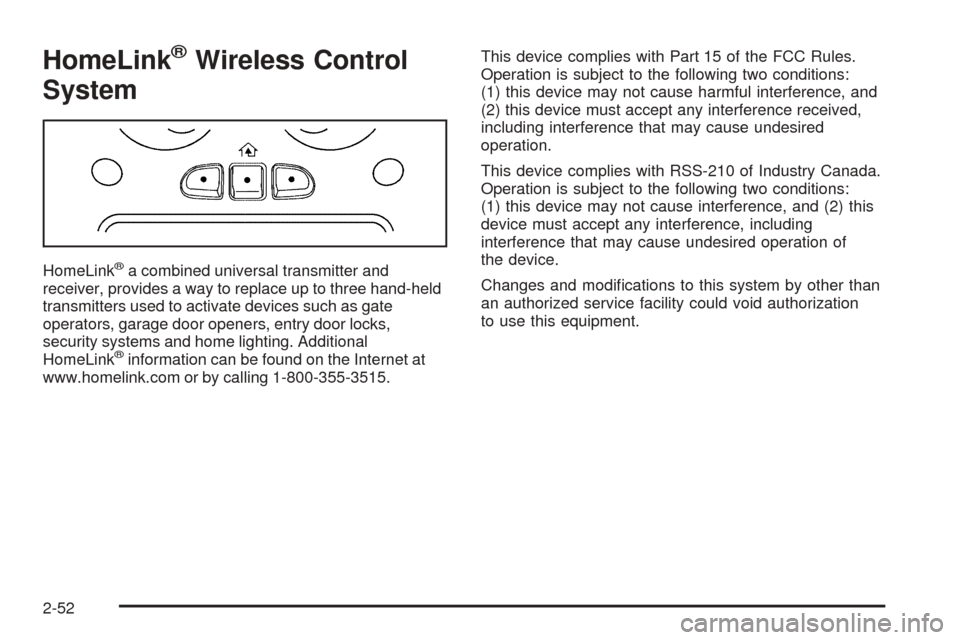
HomeLink®a combined universal transmitter and
receiver, provides a way to replace up to three hand-held
transmitters used to activate devices such as gate
operators, garage door openers, entry door locks,
security systems and home lighting. Additional
HomeLink
®information can be found on the Internet at
www.homelink.com or by calling 1-800-355-3515.This device complies with Part 15 of the FCC Rules.
Operation is subject to the following two conditions:
(1) this device may not cause harmful interference, and
(2) this device must accept any interference received,
including interference that may cause undesired
operation.
This device complies with RSS-210 of Industry Canada.
Operation is subject to the following two conditions:
(1) this device may not cause interference, and (2) this
device must accept any interference, including
interference that may cause undesired operation of
the device.
Changes and modi�cations to this system by other than
an authorized service facility could void authorization
to use this equipment.
2-52
Page 170 of 536

Auxiliary Roof Mounted Lamp
If your vehicle has this feature, this button includes
wiring provisions for a dealer or a quali�ed service
center to install an auxiliary roof lamp.
This button is located
on the center of the
instrument panel near
the climate controls.
When the wiring is connected to an auxiliary roof
mounted lamp, pressing the button will activate the
lamp and illuminate an indicator light near the button.
Pressing the button again will turn off the roof
mounted lamp.
If your vehicle has this button, your vehicle may have
the snow plow prep package. For further information
seeAdding a Snow Plow or Similar Equipment on
page 4-57.
Instrument Panel Brightness
D(Instrument Panel Brightness):This feature
controls the brightness of the instrument panel lights.
The thumbwheel for this feature is located next to
the headlamp control.
Turn the thumbwheel up to adjust the instrument panel
lights. Turn the thumbwheel up to return the radio
display to full brightness when the headlamps or parking
lamps are on. To turn on the dome lamps, turn the
thumbwheel all the way up.
Dome Lamps
The dome lamps will come on when you open a door.
You can also turn the dome lamps on by turning
the thumbwheel, located next to the exterior lamps
control, all the way up. In this position, the dome lamps
will remain on whether a door is opened or closed.
3-18
Page 191 of 536
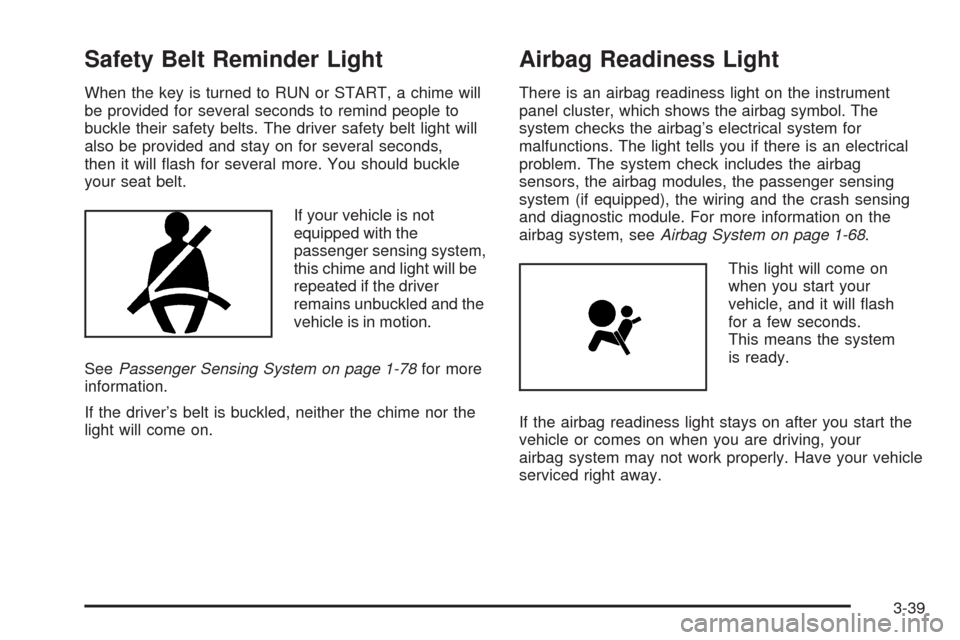
Safety Belt Reminder Light
When the key is turned to RUN or START, a chime will
be provided for several seconds to remind people to
buckle their safety belts. The driver safety belt light will
also be provided and stay on for several seconds,
then it will �ash for several more. You should buckle
your seat belt.
If your vehicle is not
equipped with the
passenger sensing system,
this chime and light will be
repeated if the driver
remains unbuckled and the
vehicle is in motion.
SeePassenger Sensing System on page 1-78for more
information.
If the driver’s belt is buckled, neither the chime nor the
light will come on.
Airbag Readiness Light
There is an airbag readiness light on the instrument
panel cluster, which shows the airbag symbol. The
system checks the airbag’s electrical system for
malfunctions. The light tells you if there is an electrical
problem. The system check includes the airbag
sensors, the airbag modules, the passenger sensing
system (if equipped), the wiring and the crash sensing
and diagnostic module. For more information on the
airbag system, seeAirbag System on page 1-68.
This light will come on
when you start your
vehicle, and it will �ash
for a few seconds.
This means the system
is ready.
If the airbag readiness light stays on after you start the
vehicle or comes on when you are driving, your
airbag system may not work properly. Have your vehicle
serviced right away.
3-39