2005 CHEVROLET OPTRA 5 bulb
[x] Cancel search: bulbPage 1 of 336

Seats and Restraint Systems........................... 1-1
Front Seats
............................................... 1-2
Rear Seats
............................................... 1-7
Safety Belts
.............................................. 1-8
Child Restraints
.......................................1-25
Airbag System
.........................................1-48
Restraint System Check
............................1-63
Features and Controls..................................... 2-1
Keys
........................................................ 2-2
Doors and Locks
....................................... 2-8
Windows
.................................................2-14
Theft-Deterrent Systems
............................2-16
Starting and Operating Your Vehicle
...........2-18
Mirrors
....................................................2-33
Storage Areas
.........................................2-35
Sunroof
..................................................2-38
Instrument Panel............................................. 3-1
Instrument Panel Overview
.......................... 3-4
Climate Controls
......................................3-21
Warning Lights, Gages, and Indicators
........3-26
Audio System(s)
.......................................3-42Driving Your Vehicle....................................... 4-1
Your Driving, the Road, and Your Vehicle
..... 4-2
Towing
...................................................4-33
Service and Appearance Care.......................... 5-1
Service
..................................................... 5-3
Fuel
......................................................... 5-5
Checking Things Under the Hood
...............5-10
Headlamp Aiming
.....................................5-37
Bulb Replacement
....................................5-38
Windshield Wiper Blade Replacement
.........5-44
Tires
......................................................5-45
Appearance Care
.....................................5-66
Vehicle Identification
.................................5-75
Electrical System
......................................5-75
Capacities and Specifications
.....................5-82
Normal Maintenance Replacement Parts
......5-83
Maintenance Schedule..................................... 6-1
Maintenance Schedule
................................ 6-2
Customer Assistance and Information.............. 7-1
Customer Assistance and Information
........... 7-2
Reporting Safety Defects
...........................7-10
Index................................................................ 1
2005 Chevrolet Optra Owner ManualM
Page 118 of 336

Turn and Lane-Change Signals
The turn signal has two upward (for right) and
two downward (for left) positions. These positions
allow you to signal a turn or a lane change.
To signal a turn, move the lever all the way up or down.
When the turn is finished, the lever will return
automatically.
An arrow on the instrument
panel cluster will flash in
the direction of the
turn or lane change.
To signal a lane change, just raise or lower the lever
until the arrow starts to flash. Hold it there until you
complete your lane change. The lever will return by itself
when you release it.
As you signal a turn or a lane change, if the arrows
flash rapidly, a signal bulb may be burned out and other
drivers will not see your turn signal.
If a bulb is burned out, replace it to help avoid an
accident. If the arrows do not go on at all when you
signal a turn, check for burned-out bulbs. If the arrow still
does not work, check the fuse. SeeFuses and Circuit
Breakers on page 5-76.
Headlamp High/Low-Beam Changer
To change the headlamps from low beam to high
beam, push the turn signal/multifunction lever away
from you.
When the high beams are
on, a light on the
instrument panel cluster
also will be on if the
ignition is turned to ON.
To change the headlamps from high beam to low beam,
pull the turn signal lever toward you.
Flash-to-Pass
This feature lets you use your high-beam headlamps to
signal a driver in front of you that you want to pass.
To use it, pull the turn signal/multifunction lever toward
you until the high-beam headlamps come on, then
release the lever to turn them off.
3-10
Page 146 of 336

Emissions Inspection and Maintenance
Programs
Some state/provincial and local governments have or
may begin programs to inspect the emission control
equipment on your vehicle. Failure to pass this
inspection could prevent you from getting a vehicle
registration.
Here are some things you need to know to help your
vehicle pass an inspection:
Your vehicle will not pass this inspection if the Check
Engine light is on or not working properly.
Your vehicle will not pass this inspection if the OBD
(on-board diagnostic) system determines that critical
emission control systems have not been completely
diagnosed by the system. The vehicle would be
considered not ready for inspection. This can happen if
you have recently replaced your battery or if your
battery has run down. The diagnostic system is
designed to evaluate critical emission control systems
during normal driving. This may take several days
of routine driving. If you have done this and your vehicle
still does not pass the inspection for lack of OBD
system readiness, your GM dealer can prepare the
vehicle for inspection.
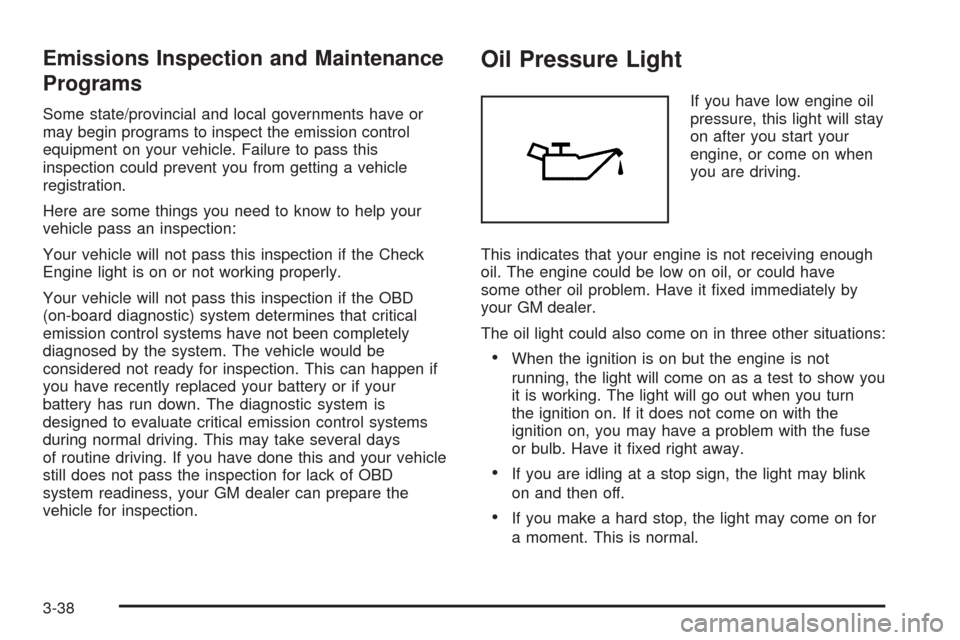
Oil Pressure Light
If you have low engine oil
pressure, this light will stay
on after you start your
engine, or come on when
you are driving.
This indicates that your engine is not receiving enough
oil. The engine could be low on oil, or could have
some other oil problem. Have it fixed immediately by
your GM dealer.
The oil light could also come on in three other situations:
•When the ignition is on but the engine is not
running, the light will come on as a test to show you
it is working. The light will go out when you turn
the ignition on. If it does not come on with the
ignition on, you may have a problem with the fuse
or bulb. Have it fixed right away.
•If you are idling at a stop sign, the light may blink
on and then off.
•If you make a hard stop, the light may come on for
a moment. This is normal.
3-38
Page 199 of 336

Service............................................................5-3
Doing Your Own Service Work.........................5-4
Adding Equipment to the Outside of
Your Vehicle..............................................5-5
Fuel................................................................5-5
Gasoline Octane............................................5-5
Gasoline Specifications....................................5-5
California Fuel...............................................5-5
Additives.......................................................5-6
Fuels in Foreign Countries...............................5-6
Filling Your Tank............................................5-7
Filling a Portable Fuel Container.......................5-9
Checking Things Under the Hood....................5-10
Hood Release..............................................5-10
Engine Compartment Overview.......................5-12
Engine Oil...................................................5-14
Engine Air Cleaner/Filter................................5-17
Automatic Transaxle Fluid..............................5-19
Manual Transaxle Fluid..................................5-19
Hydraulic Clutch...........................................5-19
Engine Coolant.............................................5-20
Coolant Surge Tank Pressure Cap..................5-23
Engine Overheating.......................................5-23
Cooling System............................................5-24
Power Steering Fluid.....................................5-28
Windshield Washer Fluid................................5-29Brakes........................................................5-30
Battery........................................................5-33
Jump Starting...............................................5-34
Headlamp Aiming...........................................5-37
Bulb Replacement..........................................5-38
Halogen Bulbs..............................................5-38
Headlamps..................................................5-38
Front Turn Signal and Parking Lamps..............5-39
Turn Signal Lamps (Side)..............................5-40
Fog Lamps..................................................5-40
Sidemarker Lamps (Front)..............................5-41
Sidemarker Lamps (Rear)..............................5-41
Center High-Mounted Stoplamp (CHMSL).........5-42
Taillamps, Turn Signal, Stoplamps and
Back-up Lamps.........................................5-42
Replacement Bulbs.......................................5-43
Windshield Wiper Blade Replacement..............5-44
Tires..............................................................5-45
Tire Sidewall Labelling...................................5-46
Tire Terminology and Definitions.....................5-48
Inflation - Tire Pressure.................................5-51
Tire Inspection and Rotation...........................5-52
When It Is Time for New Tires.......................5-53
Buying New Tires.........................................5-54
Uniform Tire Quality Grading..........................5-55
Section 5 Service and Appearance Care
5-1
Page 236 of 336

Bulb Replacement
For the proper type of replacement bulbs, see
Replacement Bulbs on page 5-43.
For any bulb changing procedures not listed in this
section, contact your dealer.
Halogen Bulbs
{CAUTION:
Halogen bulbs have pressurized gas inside and
can burst if you drop or scratch the bulb. You or
others could be injured. Be sure to read and
follow the instructions on the bulb package.
Headlamps
To replace a headlamp bulb, do the following:
1. Open the hood. SeeHood Release on page 5-10
for more information.
2. Remove the two bolts from the top of the headlamp
assembly and one nut on the inside that retains the
headlamp assembly.3. Disconnect the wiring harness connector from the
rear of the bulb.
4. Remove the headlamp cap by turning it
counterclockwise.
5. Release the spring that retains the bulb.
6. Remove the old bulb and install a new one.
7. Reverse Steps 1 through 5 to install the headlamp
assembly.
5-38
Page 237 of 336

Front Turn Signal and
Parking Lamps
To replace a front turn signal or parking lamp bulb, do
the following:
1. Open the hood. SeeHood Release on page 5-10
for more information.
2. Remove the two bolts from the top of the headlamp
assembly and one nut on the inside that retains the
headlamp assembly.
3. Turn the bulb socket counterclockwise.4. Pull the bulb socket out of the lamp housing.
5. Press the bulb inward and turn it counterclockwise
to remove it from the bulb socket.
6. Install the new bulb into the bulb socket by pressing
it in and turning it clockwise.
7. Reinstall the bulb socket into the lamp housing by
turning it clockwise.
8. Reverse Steps 1 through 2 to install the assembly.
5-39
Page 238 of 336

Turn Signal Lamps (Side)
Your vehicle may have this side turn signal lamp. To
replace this bulb, do the following:
1. Locate the bulb by reaching underneath the vehicle
where the side turn signal lamp is located.
2. Remove the side turn signal lamp assembly by
pulling it forward.
3. Turn the bulb socket counterclockwise.
4. Remove the bulb from the lamp housing by pulling
the bulb straight out of the socket.5. Install the new bulb into the bulb socket by pushing
in and turning it clockwise.
6. Push the side turn signal lamp assembly back into
its original position.
Fog Lamps
To replace a fog lamp bulb, do the following:
1. Access the fog lamp bulb by reaching under the
front bumper.
2. Disconnect the wiring
harness connector
from the fog lamp
bulb socket.
3. Turn the bulb socket counterclockwise to remove it.
4. Install the new bulb.
5. Connect the wiring harness connector to the fog
lamp bulb socket.
5-40
Page 239 of 336

Sidemarker Lamps (Front)
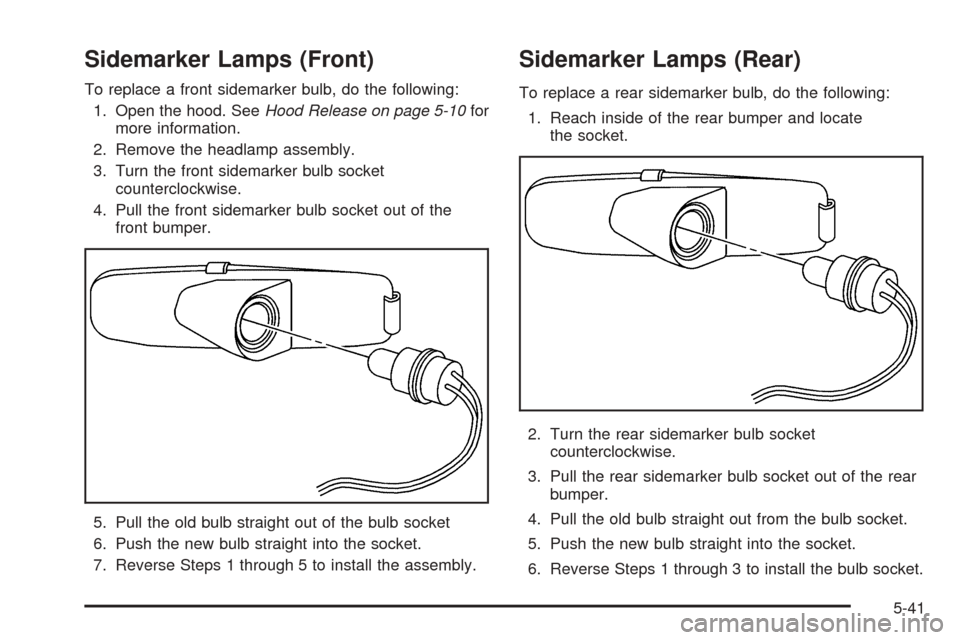
To replace a front sidemarker bulb, do the following:
1. Open the hood. SeeHood Release on page 5-10for
more information.
2. Remove the headlamp assembly.
3. Turn the front sidemarker bulb socket
counterclockwise.
4. Pull the front sidemarker bulb socket out of the
front bumper.
5. Pull the old bulb straight out of the bulb socket
6. Push the new bulb straight into the socket.
7. Reverse Steps 1 through 5 to install the assembly.
Sidemarker Lamps (Rear)
To replace a rear sidemarker bulb, do the following:
1. Reach inside of the rear bumper and locate
the socket.
2. Turn the rear sidemarker bulb socket
counterclockwise.
3. Pull the rear sidemarker bulb socket out of the rear
bumper.
4. Pull the old bulb straight out from the bulb socket.
5. Push the new bulb straight into the socket.
6. Reverse Steps 1 through 3 to install the bulb socket.
5-41