2005 CHEVROLET MALIBU heater
[x] Cancel search: heaterPage 79 of 434
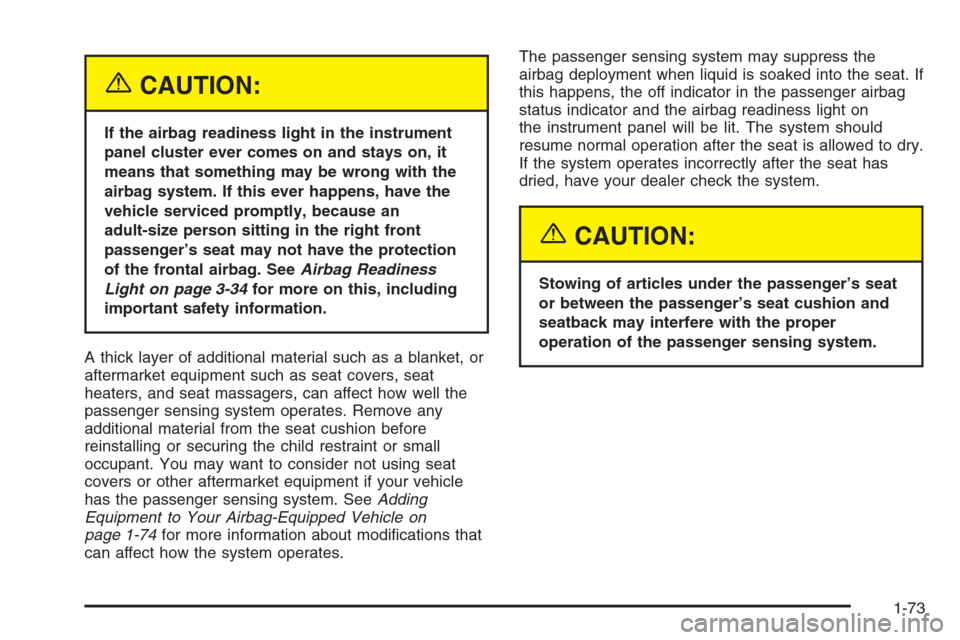
{CAUTION:
If the airbag readiness light in the instrument
panel cluster ever comes on and stays on, it
means that something may be wrong with the
airbag system. If this ever happens, have the
vehicle serviced promptly, because an
adult-size person sitting in the right front
passenger’s seat may not have the protection
of the frontal airbag. SeeAirbag Readiness
Light on page 3-34for more on this, including
important safety information.
A thick layer of additional material such as a blanket, or
aftermarket equipment such as seat covers, seat
heaters, and seat massagers, can affect how well the
passenger sensing system operates. Remove any
additional material from the seat cushion before
reinstalling or securing the child restraint or small
occupant. You may want to consider not using seat
covers or other aftermarket equipment if your vehicle
has the passenger sensing system. SeeAdding
Equipment to Your Airbag-Equipped Vehicle on
page 1-74for more information about modi�cations that
can affect how the system operates.The passenger sensing system may suppress the
airbag deployment when liquid is soaked into the seat. If
this happens, the off indicator in the passenger airbag
status indicator and the airbag readiness light on
the instrument panel will be lit. The system should
resume normal operation after the seat is allowed to dry.
If the system operates incorrectly after the seat has
dried, have your dealer check the system.
{CAUTION:
Stowing of articles under the passenger’s seat
or between the passenger’s seat cushion and
seatback may interfere with the proper
operation of the passenger sensing system.
1-73
Page 83 of 434
Keys...............................................................2-3
Remote Keyless Entry System.........................2-4
Remote Keyless Entry System Operation...........2-5
Doors and Locks............................................2-11
Door Locks..................................................2-11
Power Door Locks........................................2-12
Door Ajar Reminder......................................2-12
Delayed Locking...........................................2-12
Programmable Automatic Door Locks..............2-13
Lockout Protection........................................2-13
Trunk (Sedan)..............................................2-14
Liftgate (MAXX)............................................2-15
Windows........................................................2-16
Power Windows............................................2-17
Sun Visors...................................................2-17
Theft-Deterrent Systems..................................2-17
Content Theft-Deterrent.................................2-18
PASS-Key
®III+............................................2-19
PASS-Key®III+ Operation..............................2-20Starting and Operating Your Vehicle................2-21
New Vehicle Break-In....................................2-21
Ignition Positions..........................................2-22
Retained Accessory Power (RAP)...................2-22
Starting the Engine.......................................2-23
Adjustable Throttle and Brake Pedal................2-24
Engine Coolant Heater..................................2-24
Automatic Transaxle Operation (Base Model). . . .2-26
Parking Brake..............................................2-29
Shifting Into Park (P).....................................2-29
Shifting Out of Park (P).................................2-31
Parking Over Things That Burn.......................2-31
Engine Exhaust............................................2-32
Running the Engine While Parked...................2-32
Mirrors...........................................................2-33
Manual Rearview Mirror.................................2-33
Manual Rearview Mirror with OnStar
®..............2-33
Automatic Dimming Rearview Mirror with
OnStar
®and Compass...............................2-34
Automatic Dimming Rearview Mirror with
Compass.................................................2-35
Outside Power Mirrors...................................2-37
Outside Power Heated Mirrors........................2-38
Outside Convex Mirror...................................2-38
Section 2 Features and Controls
2-1
Page 106 of 434
Adjustable Throttle and Brake Pedal
If your vehicle has this feature, you can change the
position of the throttle and brake pedals. This feature is
designed for shorter drivers, since the pedals cannot
move farther away from the standard position, but can
move rearward for better pedal reach.
The vehicle must be in PARK (P) or have the ignition off
for this feature to operate. If the system senses unusually
high resistance while the pedals are being adjusted, such
as a driver’s foot pushing the brake pedal, it is designed
to disable the switch. Simply remove the obstruction and
try to adjust the pedals again.
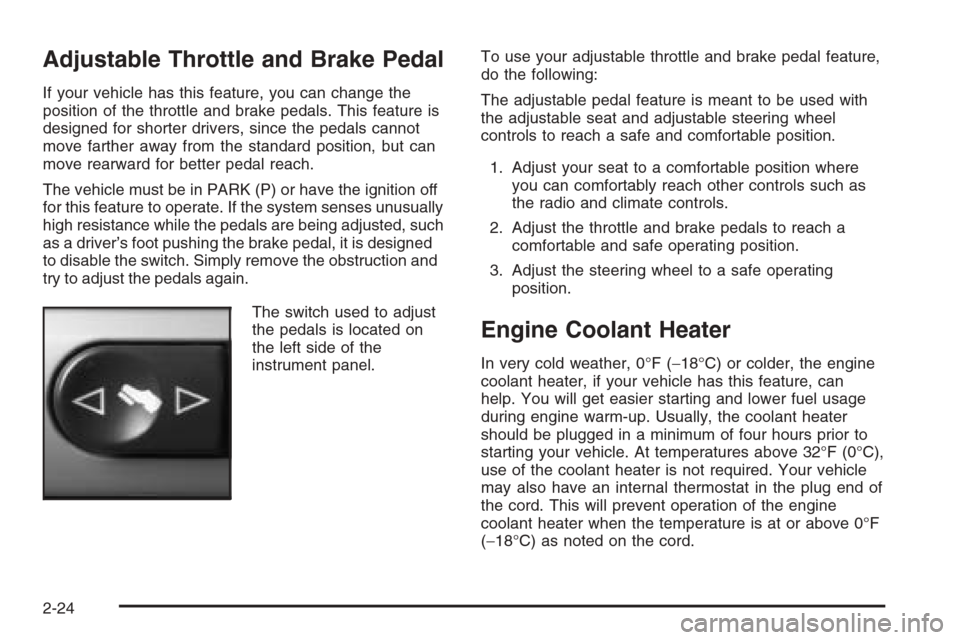
The switch used to adjust
the pedals is located on
the left side of the
instrument panel.To use your adjustable throttle and brake pedal feature,
do the following:
The adjustable pedal feature is meant to be used with
the adjustable seat and adjustable steering wheel
controls to reach a safe and comfortable position.
1. Adjust your seat to a comfortable position where
you can comfortably reach other controls such as
the radio and climate controls.
2. Adjust the throttle and brake pedals to reach a
comfortable and safe operating position.
3. Adjust the steering wheel to a safe operating
position.
Engine Coolant Heater
In very cold weather, 0°F (−18°C) or colder, the engine
coolant heater, if your vehicle has this feature, can
help. You will get easier starting and lower fuel usage
during engine warm-up. Usually, the coolant heater
should be plugged in a minimum of four hours prior to
starting your vehicle. At temperatures above 32°F (0°C),
use of the coolant heater is not required. Your vehicle
may also have an internal thermostat in the plug end of
the cord. This will prevent operation of the engine
coolant heater when the temperature is at or above 0°F
(−18°C) as noted on the cord.
2-24
Page 107 of 434
To Use the Engine Coolant Heater
1. Turn off the engine.
2. Open the hood and unwrap the electrical cord. On
the 2.2L engine, the engine coolant heater cord is
located near the air cleaner box on the passenger’s
side of the engine compartment. On the 3.5L and
3.9L V6 engines, the engine coolant heater
cord is located on the driver’s side around the
battery box. SeeEngine Compartment Overview on
page 5-12for more information on location.
{CAUTION:
Plugging the cord into an ungrounded outlet
could cause an electrical shock. Also, the
wrong kind of extension cord could overheat
and cause a �re. You could be seriously
injured. Plug the cord into a properly grounded
three-prong 110-volt AC outlet. If the cord will
not reach, use a heavy-duty three-prong
extension cord rated for at least 15 amps.3. Plug the cord into a normal, grounded 110-volt AC
outlet.
4. Before starting the engine, be sure to unplug and
store the cord as it was before to keep it away
from moving engine parts. If you do not, it could be
damaged.
How long should you keep the coolant heater plugged
in? The answer depends on the outside temperature, the
kind of oil you have, and some other things. Instead
of trying to list everything here, we ask that you contact
your dealer in the area where you will be parking
your vehicle. The dealer can give you the best advice
for that particular area.
2-25
Page 154 of 434
Temperature Control:Turn the center knob clockwise
or counterclockwise to increase or decrease the
temperature inside your vehicle.
When it’s cold outside 0°F (−18°C) or lower, use the
engine coolant heater, if equipped, to provide warmer air
faster to your vehicle. An engine coolant heater warms
the coolant that the engine uses to provide heat to
warm the inside of your vehicle. For more information,
seeEngine Coolant Heater on page 2-24.
#(Air Conditioning):Press this button to turn the air
conditioning system on or off. When the air conditioning
button is pressed, an indicator light will come on to
let you know that air conditioning is activated.
On hot days, open the windows to let hot inside air
escape; then close them. This helps to reduce the
time it takes for your vehicle to cool down. It also
helps the system to operate more efficiently.For quick cool down on hot days, do the following:
1. Select the vent mode.
2. Select the highest fan speed.
3. Select air conditioning.
4. Select the recirculation mode.
5. Select the coolest temperature.
Using these settings together for long periods of time
may cause the air inside of your vehicle to become too
dry. To prevent this from happening, after the air in
your vehicle has cooled, turn the recirculation mode off.
The air-conditioning system removes moisture from
the air, so you may sometimes notice a small amount
of water dripping underneath your vehicle while idling
or after turning off the engine. This is normal.
3-24
Page 160 of 434
On cool, but sunny days while using manual operation
of the automatic system, use bi-level to deliver
warm air to the �oor and cooler air to the instrument
panel outlets. To warm or cool the air delivered, press
the temperature buttons to the desired setting.
In AUTO mode the system will cool and dehumidify
the air inside the vehicle. Also while in AUTO mode,
the system will maximize its performance by using
recirculation as necessary.
Heating:On cold days when using manual operation
of the automatic system, choose �oor mode to deliver
air to the �oor outlets. To warm or cool the air delivered,
push the temperature buttons to the desired setting.
If you want to use the automatic mode, turn the knob
to AUTO and adjust the temperature by pressing
the temperature buttons.
The heater works best if you keep the windows closed
while using it.
Defogging and Defrosting
You can use either defog or front defrost to clear fog
or frost from your windshield. Use the defog mode
to clear the windows of fog or moisture. Use the front
defrost button to defrost the front windshield.
-(Defog):Use this setting to clear the windows of
fog or moisture. Turn the mode knob to this position to
select this setting. This setting will deliver air to the
�oor and windshield outlets.
0(Defrost):Turn the mode knob to this position to
defrost the windshield. The system will automatically
control the fan speed if you select defrost from
AUTO mode. If the outside temperature is 40°F (4°C)
or warmer, your air conditioning compressor will
automatically run to help dehumidify the air and dry
the windshield. The air conditioning indicator light will
blink three times if you try to turn off the compressor
while in this mode.
Rear Window Defogger
The rear window defogger uses a warming grid to
remove fog from the rear window.
<(Rear):Press this button to turn the rear window
defogger on or off. An indicator light above the button will
come on to let you know that the rear window defogger
is activated.
If driving below 50 mph (80 km/h), the rear window
defogger will turn off about 15 minutes after the button
is pressed. If you need additional warming time,
press the button again.
If your vehicle’s speed is maintained above 50 mph
(80 km/h), the rear window defogger will remain on
once the button is pressed.
If your vehicle has heated mirrors this button will also
activate that feature.
3-30
Page 283 of 434
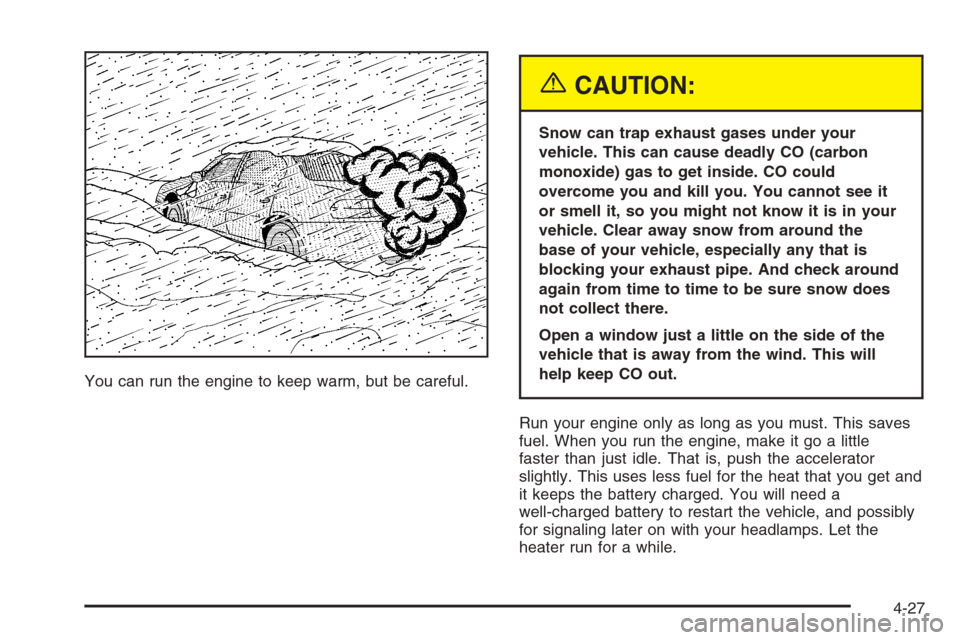
You can run the engine to keep warm, but be careful.
{CAUTION:
Snow can trap exhaust gases under your
vehicle. This can cause deadly CO (carbon
monoxide) gas to get inside. CO could
overcome you and kill you. You cannot see it
or smell it, so you might not know it is in your
vehicle. Clear away snow from around the
base of your vehicle, especially any that is
blocking your exhaust pipe. And check around
again from time to time to be sure snow does
not collect there.
Open a window just a little on the side of the
vehicle that is away from the wind. This will
help keep CO out.
Run your engine only as long as you must. This saves
fuel. When you run the engine, make it go a little
faster than just idle. That is, push the accelerator
slightly. This uses less fuel for the heat that you get and
it keeps the battery charged. You will need a
well-charged battery to restart the vehicle, and possibly
for signaling later on with your headlamps. Let the
heater run for a while.
4-27
Page 322 of 434
Engine Coolant
The cooling system in your vehicle is �lled with
DEX-COOL®engine coolant. This coolant is designed
to remain in your vehicle for �ve years or 150,000 miles
(240 000 km), whichever occurs �rst, if you add only
DEX-COOL
®extended life coolant.
The following explains your cooling system and how to
add coolant when it is low. If you have a problem
with engine overheating, seeEngine Overheating on
page 5-24.
A 50/50 mixture of clean, drinkable water and
DEX-COOL
®coolant will:
Give freezing protection down to−34°F (−37°C).
Give boiling protection up to 265°F (129°C).
Protect against rust and corrosion.
Help keep the proper engine temperature.
Let the warning lights and gages work as they
should.
Notice:Using coolant other than DEX-COOL
®may
cause premature engine, heater core or radiator
corrosion. In addition, the engine coolant may
require changing sooner, at 30,000 miles (50 000 km)
or 24 months, whichever occurs �rst. Any repairs
would not be covered by your warranty. Always use
DEX-COOL
®(silicate-free) coolant in your vehicle.
What to Use
Use a mixture of one-half clean, drinkable water and
one-half DEX-COOL®coolant which will not damage
aluminum parts. If you use this coolant mixture, you do
not need to add anything else.
{CAUTION:
Adding only plain water to your cooling
system can be dangerous. Plain water, or
some other liquid such as alcohol, can boil
before the proper coolant mixture will. Your
vehicle’s coolant warning system is set for the
proper coolant mixture. With plain water or the
wrong mixture, your engine could get too hot
but you would not get the overheat warning.
Your engine could catch �re and you or others
could be burned. Use a 50/50 mixture of clean,
drinkable water and DEX-COOL
®coolant.
5-22