2005 CHEVROLET KODIAK tow
[x] Cancel search: towPage 163 of 374

Setting Preset Stations
Up to 18 stations (six FM1, six FM2, and six AM) can be
programmed on the six numbered pushbuttons, by
performing the following steps:
1. Turn the radio on.
2. Press AM FM to select FM1, FM2, or AM.
3. Tune in the desired station.
4. Press and hold one of the six numbered
pushbuttons until you hear a beep. Whenever that
numbered pushbutton is pressed, the station
that was set will return.
5. Repeat the steps for each pushbutton.
Setting the Tone (Bass/Treble)
AUDIO:To adjust bass and treble, press and release
AUDIO until BAS or TRE appears on the display.
Then press and hold the up or the down arrow to
increase or to decrease. If a station is weak or noisy,
decrease the treble.
To adjust bass or treble to the middle position, select
BAS or TRE. Then press and hold AUDIO for more than
two seconds until you hear a beep. B and a zero or
T and a zero will appear on the display.
To adjust both tone controls and both speaker controls
to the middle position, end out of audio by waiting
for the display to change to the clock display. Then
press and hold AUDIO for more than two seconds until
you hear a beep. CEN will appear on the display.
Adjusting the Speakers (Balance/Fade)
AUDIO:To adjust the balance between the right
and the left speakers, press and release AUDIO until
BAL appears on the display. Then press and hold the up
or the down arrow to move the sound toward the right
or the left speakers.
To adjust the fade between the front and the rear
speakers, press and release AUDIO until FAD appears
on the display. Then press and hold the up or the
down arrow to move the sound toward the front or the
rear speakers.
To adjust balance or fade to the middle position, select
BAL or FAD. Then press and hold AUDIO for more
than two seconds until you hear a beep. L (balance) and
a zero or F and a zero will appear on the display.
To adjust both tone controls and both speaker controls
to the middle position, end out of audio by waiting
for the display to change to the time display. Then press
and hold AUDIO for more than two seconds until you
hear a beep. CEN will appear on the display.
Fade may not be available if the vehicle is a regular
cab model.
3-49
Page 168 of 374

Setting Preset Stations
Up to 18 stations (six FM1, six FM2, and six AM), can
be programmed on the six numbered pushbuttons,
by performing the following steps:
1. Turn the radio on.
2. Press AM FM to select FM1, FM2, or AM.
3. Tune in the desired station.
4. Press and hold one of the six numbered
pushbuttons until you hear a beep. Whenever that
numbered pushbutton is pressed, the station
that was set will return.
5. Repeat the steps for each pushbutton.
Setting the Tone (Bass/Treble)
AUDIO:To adjust the bass or the treble, press and
release the AUDIO button until BAS or TRE appears on
the display. Then press and hold the up or the down
arrow to increase or to decrease. If a station is weak or
noisy, decrease the treble.
To adjust bass or treble to the middle position, select
BAS or TRE. Then press and hold the AUDIO button for
more than two seconds until you hear a beep. B and
a zero or T and a zero will appear on the display.To adjust both tone controls and both speaker controls
to the middle position, first end out of audio mode
by pressing another button, causing the radio to perform
that function, or by waiting five seconds for the display
to return to the time of day. Then press and hold
the AUDIO button for more than two seconds until you
hear a beep. CEN will appear on the display.
Adjusting the Speakers (Balance/Fade)
AUDIO:To adjust the balance between the right
and the left speakers, press and release the AUDIO
button until BAL appears on the display. Then press and
hold the up or the down arrow to move the sound
toward the right or the left speakers.
To adjust the fade between the front and the rear
speakers, press and release the AUDIO button until
FAD appears on the display. Then press and hold the up
or the down arrow to move the sound toward the front
or the rear speakers.
To adjust balance or fade to the middle position, select
BAL or FAD. Then press and hold AUDIO for more
than two seconds until you hear a beep. L (balance) and
a zero or F and a zero will appear on the display.
3-54
Page 175 of 374

Your Driving, the Road, and Your Vehicle..........4-2
Defensive Driving...........................................4-2
Drunken Driving.............................................4-2
Control of a Vehicle........................................4-5
Braking.........................................................4-5
Hydraulic Brake Systems.................................4-6
Anti-Lock Brake System (ABS).........................4-6
Braking in Emergencies...................................4-8
Trailer Brake Hand Control Valve......................4-8
Rear Axle Differential Lock Control....................4-9
Traction Control System (TCS).......................4-10
Steering......................................................4-11
Off-Road Recovery.......................................4-13
Passing.......................................................4-13
Loss of Control.............................................4-15
Driving at Night............................................4-16Driving in Rain and on Wet Roads..................4-18
City Driving..................................................4-21
Freeway Driving...........................................4-22
Highway Hypnosis........................................4-23
Hill and Mountain Roads................................4-24
Winter Driving..............................................4-26
If Your Vehicle is Stuck in Sand, Mud,
Ice or Snow..............................................4-30
Rocking Your Vehicle to Get It Out.................4-30
Tow Hooks..................................................4-31
Loading Your Vehicle....................................4-32
Adding a Snow Plow or Similar Equipment.......4-34
Towing..........................................................4-35
Towing Your Vehicle.....................................4-35
Trailer Connections.......................................4-37
Power Take-Off (PTO)...................................4-38
Section 4 Driving Your Vehicle
4-1
Page 204 of 374

If Your Vehicle is Stuck in Sand,
Mud, Ice or Snow
In order to free your vehicle when it is stuck, you will
need to spin the wheels, but you do not want to
spin your wheels too fast. The method known as rocking
can help you get out when you are stuck, but you
must use caution.
{CAUTION:
If you let your tires spin at high speed, they can
explode, and you or others could be injured.
And, the transmission or other parts of the
vehicle can overheat. That could cause an
engine compartment �re or other damage.
When you are stuck, spin the wheels as little as
possible. Do not spin the wheels above 35 mph
(55 km/h) as shown on the speedometer.
Notice:Spinning your wheels can destroy parts of
your vehicle as well as the tires. If you spin the
wheels too fast while shifting your transmission
back and forth, you can destroy your transmission.
Rocking Your Vehicle to Get It Out
First, turn the steering wheel left and right. That will clear
the area around the front wheels. If you have a
four-wheel-drive vehicle, shift into 4HI. SeeFour-Wheel
Drive on page 2-33. If your vehicle has traction
control, you should turn the traction control system off.
SeeTraction Control System (TCS) on page 4-10.
Then shift back and forth between REVERSE (R) and a
forward gear, or with a manual transmission, between
FIRST (1) or SECOND (2) and REVERSE (R), spinning
the wheels as little as possible. Release the accelerator
pedal while you shift, and press lightly on the
accelerator pedal when the transmission is in gear. By
slowly spinning your wheels in the forward and
reverse directions, you will cause a rocking motion that
may free your vehicle. If that does not get you out
after a few tries, you may need to be towed out. If you
do need to be towed out, seeTowing Your Vehicle
on page 4-35.
4-30
Page 205 of 374

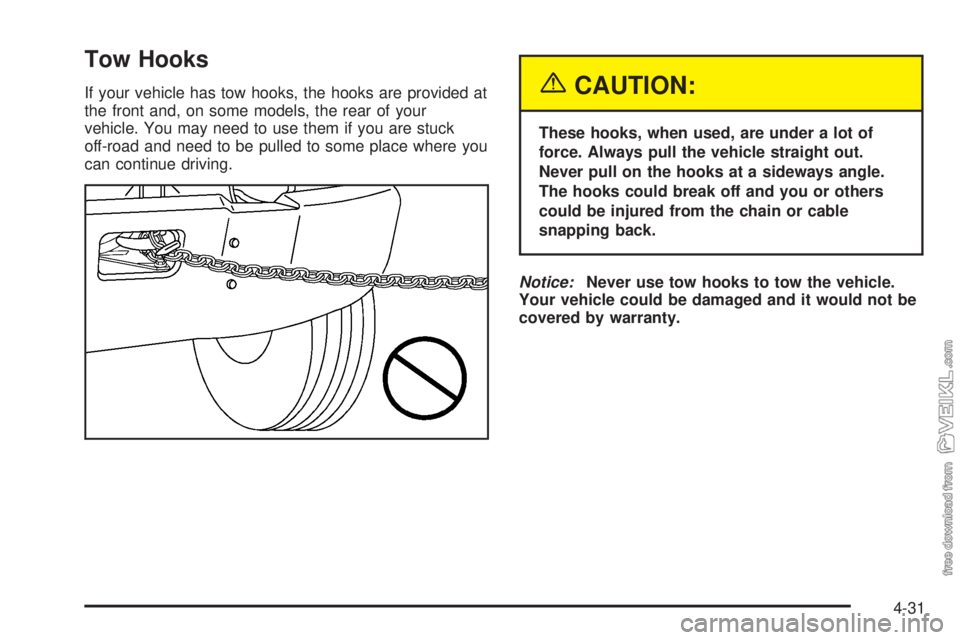
Tow Hooks
If your vehicle has tow hooks, the hooks are provided at
the front and, on some models, the rear of your
vehicle. You may need to use them if you are stuck
off-road and need to be pulled to some place where you
can continue driving.{CAUTION:
These hooks, when used, are under a lot of
force. Always pull the vehicle straight out.
Never pull on the hooks at a sideways angle.
The hooks could break off and you or others
could be injured from the chain or cable
snapping back.
Notice:Never use tow hooks to tow the vehicle.
Your vehicle could be damaged and it would not be
covered by warranty.
4-31
Page 209 of 374

Towing
Towing Your Vehicle
Consult your dealer or a professional towing service if
you need to have your disabled vehicle towed. See
Roadside Assistance Program on page 7-5.
Releasing Air-Operated Parking Brakes
If your vehicle has air brakes, you could have a
special towing problem. If your vehicle has to be towed
because of a complete loss of air pressure from
both systems, the parking brakes will have automatically
engaged. The tow operator can release the brakes
manually by using the following steps. Then your vehicle
can be towed with all wheels or only the rear wheels
on the ground.
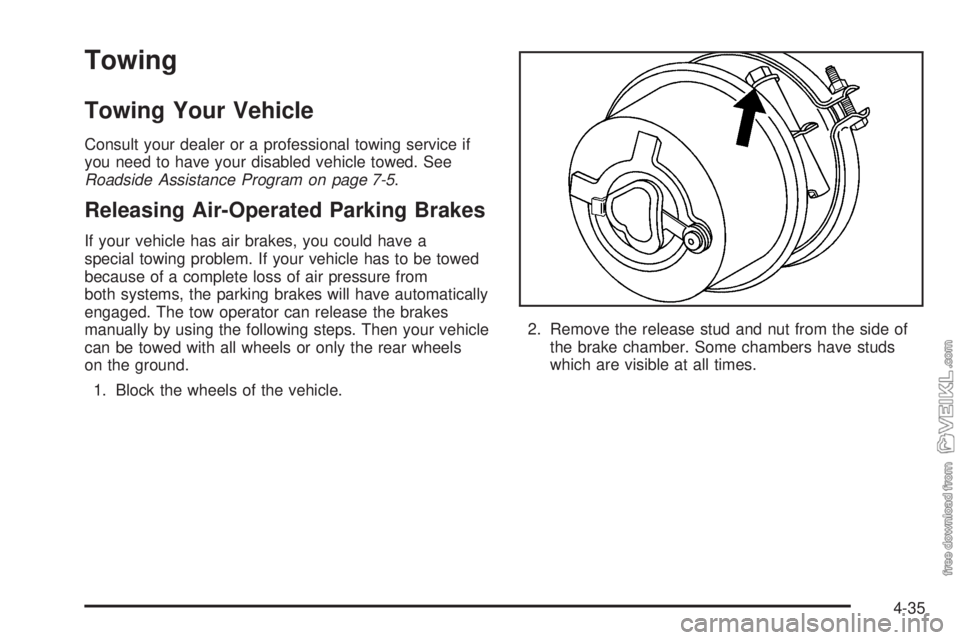
1. Block the wheels of the vehicle.2. Remove the release stud and nut from the side of
the brake chamber. Some chambers have studs
which are visible at all times.
4-35
Page 211 of 374

Trailer Connections
Heavy-Duty Trailer Wiring Package
Your vehicle may be equipped with an eight-wire trailer
towing harness. This harness, with a seven-pin
universal heavy-duty trailer connector, is attached to a
bracket on the platform hitch.
The Center High-Mounted Stoplamp (CHMSL) wire
is tied next to the trailer wiring harness for use with
a trailer.The eight-wire harness contains the following trailer
circuits:
•Yellow: Left Stop/Turn Signal
•Dark Green: Right Stop/Turn Signal
•Brown: Taillamps
•White: Ground
•Light Green: Back-up Lamps
•Light Blue: CHMSL
•Red: Battery Feed
•Dark Blue: Trailer Brake
4-37
Page 212 of 374

Trailer Connections
(C7/C8 Models Only)
If your vehicle has these trailer connections, they are
located at the rear of the cab for a tractor and at the rear
of the chassis when towing a trailer. There will be an
air connection and an electrical connection.
Be sure that the couplings to the trailer are
made correctly.
Air Connections
If you are not connecting the trailer air line connections
to another piece of equipment, be sure to replace
their protective caps.
Electrical Connections
This system is a seven-wire cable that will connect to
the trailer, supplying power to the trailer’s lighting
system. When not in use, it is stored in the trailer
air-hose storage bracket.
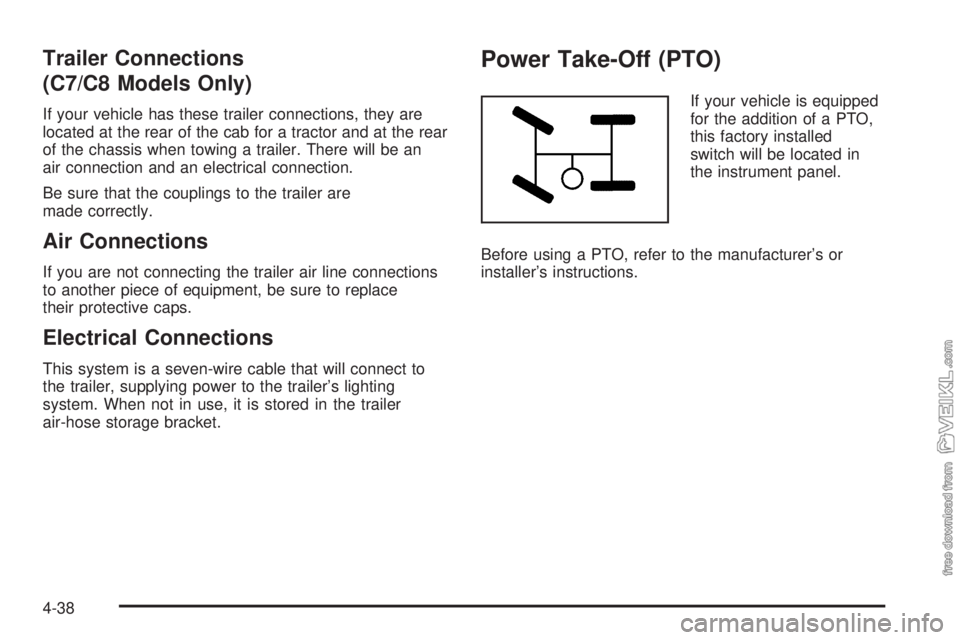
Power Take-Off (PTO)
If your vehicle is equipped
for the addition of a PTO,
this factory installed
switch will be located in
the instrument panel.
Before using a PTO, refer to the manufacturer’s or
installer’s instructions.
4-38