2005 CHEVROLET COLORADO manual transmission
[x] Cancel search: manual transmissionPage 114 of 414
Shifting Out of Park (P)
(Automatic Transmission)
Your vehicle has an automatic transmission shift lock
control system which locks the shift lever in PARK (P)
when the ignition is in the LOCK position. In addition, you
have to fully apply the regular brakes before you can shift
from PARK (P) when the ignition is in ON. SeeAutomatic
Transmission Operation on page 2-21.
If you cannot shift out of PARK (P), ease pressure on
the shift lever by pushing the shift lever all the way into
PARK (P) as you maintain brake application. Then,
move the shift lever into the gear you want.
If you ever hold the brake pedal down but still cannot
shift out of PARK (P), try this:
1. Turn the key to ACC. There is no shift interlock
in this key position.
2. Apply and hold the brake until the end of Step 4.
3. Shift the transmission to NEUTRAL (N).
4. Start the vehicle and then shift to the gear
you want.
5. Have the system �xed as soon as you can.
Parking Your Vehicle
(Manual Transmission)
Your vehicle has a manual transmission. Before you
get out of your vehicle, move the shift lever into
REVERSE (R), and �rmly apply the parking brake. Once
the shift lever has been placed into REVERSE (R)
with the clutch pedal pressed in, you can turn the ignition
key to LOCK, remove the key and release the clutch.
If you are parking on a hill, or if your vehicle is pulling a
trailer, seeTowing a Trailer on page 4-54.
2-32
Page 117 of 414
Follow the proper steps to be sure your vehicle will
not move. SeeShifting Into Park (P) (Automatic
Transmission) on page 2-30.
If you are pulling a trailer, seeTowing a Trailer
on page 4-54.
Mirrors
Manual Rearview Mirror
While sitting in a comfortable driving position, adjust the
outside rearview mirror so you can see clearly behind
your vehicle. Grip the mirror in the center to move it up
or down and side to side. The control at the bottom
of the mirror is the day/night feature that allows
adjustment to the mirror so that the glare of headlamps
from behind is reduced. Push the control for daytime
use; pull it for night use.
The mirror may have lamps. Press the button next to
each lamp to turn it on or off.
Manual Rearview Mirror with
OnStar
®
Mirror Operation
Your vehicle may have a manual rearview mirror with
the OnStar®System and map lamps.
You can adjust the mirror for day or night driving. Press
the tab forward (away from you) for day driving. Pull
the tab back (toward you) for night driving.
There are also three OnStar
®buttons located at the
bottom of the mirror. See your dealer for more
information on the system and how to subscribe to
OnStar
®. SeeOnStar®System on page 2-39for more
information about the services OnStar®provides.
Map Lamps
The mirror has map lamps located at the bottom of the
mirror. To manually turn the lamps on or off, press
the button next to each lamp.
Cleaning the Mirror
When cleaning the mirror, use a paper towel or similar
material dampened with glass cleaner. Do not spray
glass cleaner directly on the mirror housing.
2-35
Page 127 of 414

Instrument Panel Overview...............................3-4
Hazard Warning Flashers................................3-6
Other Warning Devices...................................3-6
Horn.............................................................3-6
Tilt Wheel.....................................................3-6
Turn Signal/Multifunction Lever.........................3-7
Turn and Lane-Change Signals........................3-8
Headlamp High/Low-Beam Changer..................3-8
Flash-to-Pass.................................................3-9
Windshield Wipers..........................................3-9
Windshield Washer.......................................3-10
Cruise Control..............................................3-10
Exterior Lamps.............................................3-13
Headlamps on Reminder................................3-14
Daytime Running Lamps (DRL).......................3-14
Automatic Headlamp System..........................3-15
Fog Lamps..................................................3-16
Exterior Cargo Lamps....................................3-16
Interior Lamps..............................................3-16
Instrument Panel Brightness...........................3-17
Dome Lamp.................................................3-17
Dome Lamp Override....................................3-17
Exit Lighting.................................................3-17
Battery Run-Down Protection..........................3-17
Accessory Power Outlets...............................3-17
Ashtrays and Cigarette Lighter........................3-18Climate Controls............................................3-19
Climate Control System.................................3-19
Outlet Adjustment.........................................3-21
Warning Lights, Gages, and Indicators............3-22
Instrument Panel Cluster................................3-23
Speedometer and Odometer...........................3-24
Trip Odometer..............................................3-24
Tachometer.................................................3-24
Safety Belt Reminder Light.............................3-24
Airbag Readiness Light..................................3-25
Airbag Off Light............................................3-26
Battery Warning Light....................................3-27
Up-Shift Light (Manual Transmission)...............3-28
Brake System Warning Light..........................3-28
Anti-Lock Brake System Warning Light.............3-29
Engine Coolant Temperature Gage..................3-30
Malfunction Indicator Lamp.............................3-30
Oil Pressure Light.........................................3-33
Security Light...............................................3-34
Cruise Control Light......................................3-34
Highbeam On Light.......................................3-34
Daytime Running Lamps (DRL)
Indicator Light...........................................3-35
Fuel Gage...................................................3-35
Section 3 Instrument Panel
3-1
Page 130 of 414
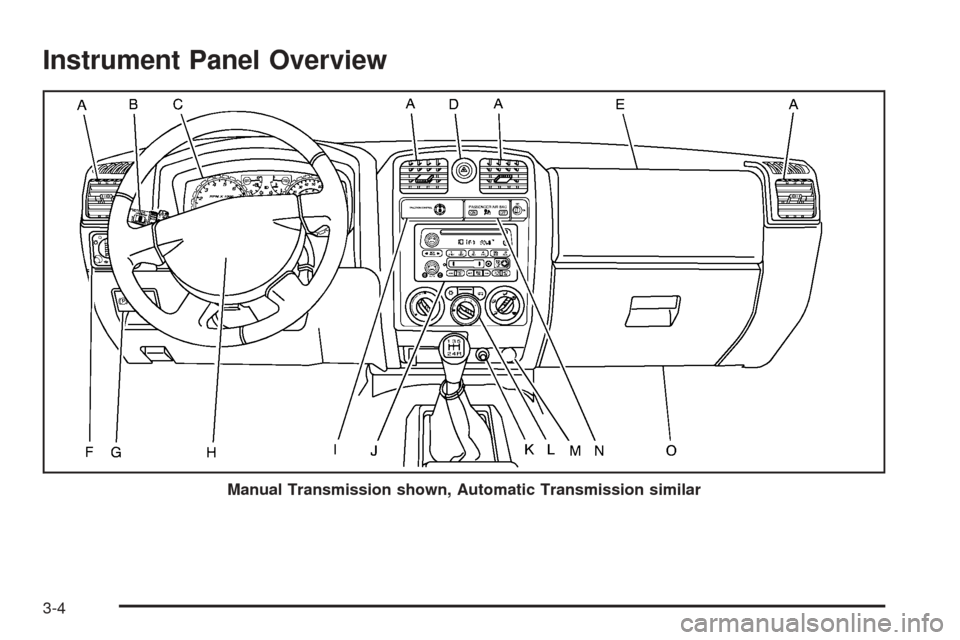
Instrument Panel Overview
Manual Transmission shown, Automatic Transmission similar
3-4
Page 139 of 414
Using Cruise Control on Hills
How well your cruise control will work on hills depends
upon your speed, load and the steepness of the
hills. When going up steep hills, you may want to step
on the accelerator pedal to maintain your speed.
When going downhill, you may have to brake or shift to
a lower gear to keep your speed down. Of course,
applying the brake takes you out of cruise control. Many
drivers �nd this to be too much trouble and don’t use
cruise control on steep hills.
Ending Cruise Control
To turn off the cruise control, do one of the following:
Step lightly on the brake pedal.
Move the cruise control switch to off.
Lightly tap or press the clutch, if you have a manual
transmission.
Erasing Speed Memory
When you turn off the cruise control or the ignition,
your cruise control set speed memory is erased.
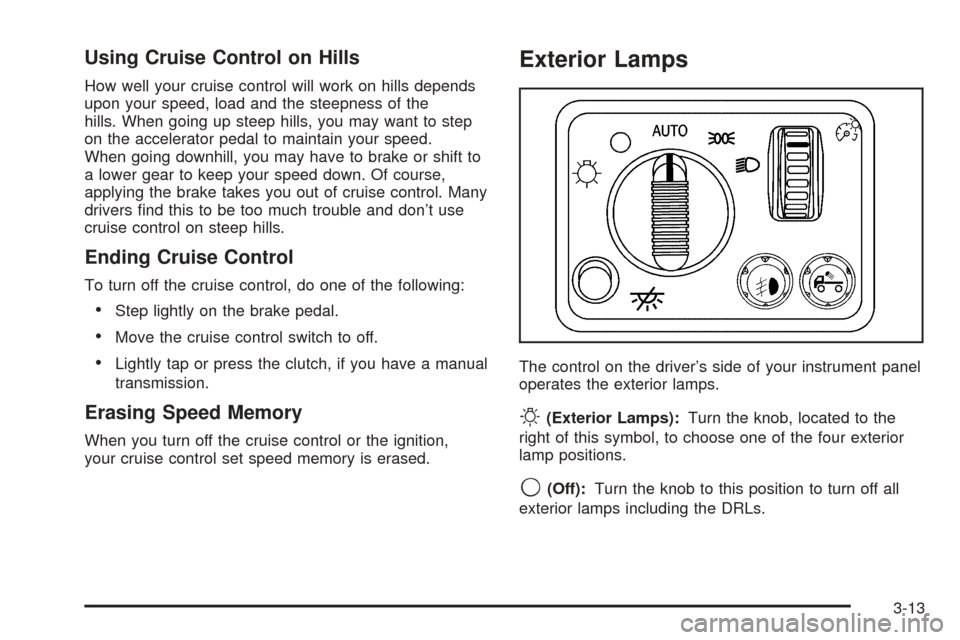
Exterior Lamps
The control on the driver’s side of your instrument panel
operates the exterior lamps.
O(Exterior Lamps):Turn the knob, located to the
right of this symbol, to choose one of the four exterior
lamp positions.
9(Off):Turn the knob to this position to turn off all
exterior lamps including the DRLs.
3-13
Page 140 of 414

AUTO:Turn the knob to this position to automatically
turn on the headlamps at normal brightness, together
with the following:
Sidemarker Lamps
Taillamps
Parking Lamps
Instrument Panel Lights
SeeAutomatic Headlamp System on page 3-15for
more information.
;(Parking Lamps):Turn the knob to this position to
turn on the parking lamps, together with the following:
Sidemarker Lamps
Taillamps
License Plate Lamps
Instrument Panel Lights
2(Headlamps):Turn the knob to this position to turn
on the headlamps, together with the previously listed
lamps and lights.
You can switch your headlamps from low to high beam
by pushing the turn signal/multifunction lever toward
the instrument panel.
Headlamps on Reminder
If a door is open, a reminder chime will sound when
your headlamps or parking lamps are manually turned
on and your key is out of the ignition. To turn off
the chime, turn the headlamp switch to off and then
back on. In the automatic mode, the headlamps turn off
once the ignition is in LOCK.
Daytime Running Lamps (DRL)
Daytime Running Lamps (DRL) can make it easier for
others to see the front of your vehicle during the
day. DRL can be helpful in many different driving
conditions, but they can be especially helpful in the short
periods after dawn and before sunset. Fully functional
daytime running lamps are required on all vehicles
�rst sold in Canada.
The DRL system will come on when the following
conditions are met:
The ignition is on.
The exterior lamps control is in AUTO.
The transmission is not in PARK (P) if you have an
automatic transmission or the parking brake is not
set if you have a manual transmission.
The light sensor determines it is daytime.
3-14
Page 154 of 414
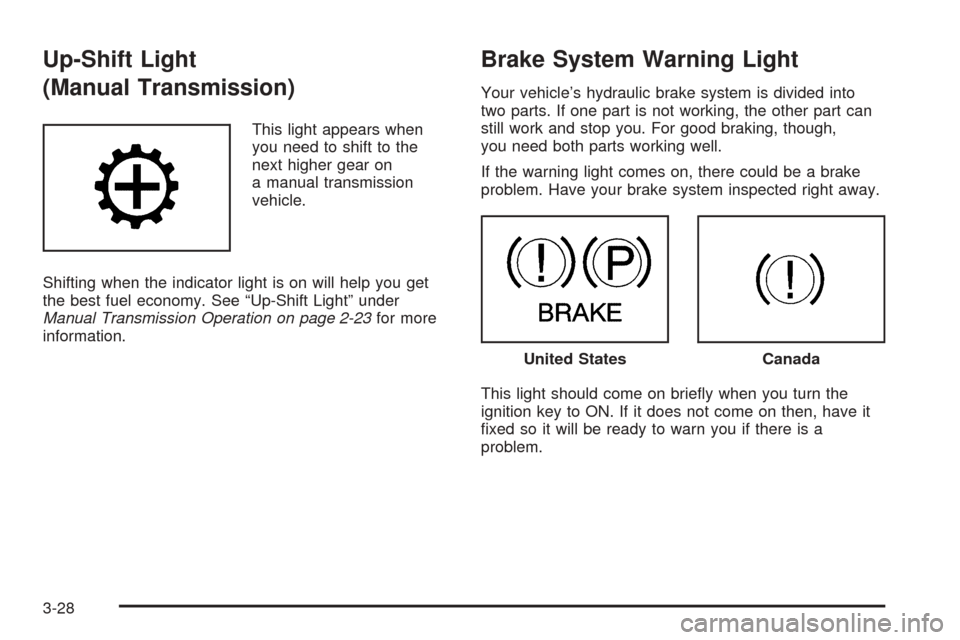
Up-Shift Light
(Manual Transmission)
This light appears when
you need to shift to the
next higher gear on
a manual transmission
vehicle.
Shifting when the indicator light is on will help you get
the best fuel economy. See “Up-Shift Light” under
Manual Transmission Operation on page 2-23for more
information.
Brake System Warning Light
Your vehicle’s hydraulic brake system is divided into
two parts. If one part is not working, the other part can
still work and stop you. For good braking, though,
you need both parts working well.
If the warning light comes on, there could be a brake
problem. Have your brake system inspected right away.
This light should come on brie�y when you turn the
ignition key to ON. If it does not come on then, have it
�xed so it will be ready to warn you if there is a
problem.
United StatesCanada
3-28
Page 163 of 414
In addition to the engine oil life system monitoring the
oil life, additional maintenance is recommended in
the Maintenance Schedule in this manual. SeeEngine
Oil on page 5-13andScheduled Maintenance on
page 6-4for more information.
Automatic Door Locks
This feature allows you to program your door locks to a
preferred setting.
To set your choice for this feature, perform the following
steps:
1. With the engine off, turn the key to LOCK. Do not
remove the key from the ignition.
2. Press and hold the power door lock button for
approximately three seconds until the DIC
display shows the current door lock mode.
3. To view the next available mode, press and hold
the reset stem for approximately two seconds.
Release the reset stem and press and hold again to
view each mode.
4. Once the desired mode is shown on the DIC
display, brie�y press the reset stem to set your
choice. The DIC display will then clear.The following are the available modes:
Lock 1 (default):On vehicles with an automatic
transmission, this mode locks all of the doors when the
vehicle is shifted out of PARK (P) and unlocks all of
the doors when the vehicle is shifted into PARK (P).
On vehicles with a manual transmission, this mode locks
all of the doors when the vehicle speed is greater
than 15 mph (24 km/h) and unlocks all of the doors
when the key is removed from the ignition.
Lock 2:On vehicles with an automatic transmission,
this mode locks all of the doors when the vehicle
is shifted out of PARK (P) and unlocks the driver’s door
when the vehicle is shifted into PARK (P).
On vehicles with a manual transmission, this mode
locks all of the doors when the vehicle speed is greater
than 15 mph (24 km/h) and unlocks the driver’s door
when the key is removed from the ignition.
Lock 3:On vehicles with an automatic transmission,
this mode locks all of the doors when the vehicle
is shifted out of PARK (P). The doors will not
automatically unlock.
On vehicles with a manual transmission, this mode
locks all of the doors when the vehicle speed is greater
than 15 mph (24 km/h). The doors will not automatically
unlock.
3-37