Page 205 of 316
{CAUTION:
Heater and radiator hoses, and other engine
parts, can be very hot. Do not touch them.
If you do, you can be burned.
Do not run the engine if there is a leak. If you
run the engine, it could lose all coolant. That
could cause an engine �re, and you could be
burned. Get any leak �xed before you drive
the vehicle.
If there seems to be no leak, with the engine on, check
to see if the electric engine cooling fan is running.
If the engine is overheating, the fan should be running.
If it is not, your vehicle needs service.
Notice:Engine damage from running your engine
without coolant is not covered by your warranty.
How to Add Coolant to the Coolant
Surge Tank
Notice:This vehicle has a speci�c coolant �ll
procedure. Failure to follow this procedure could
cause your engine to overheat and be severely
damaged.
If you have not found a problem yet, check to see if
coolant is visible in the surge tank. If coolant is visible
but the coolant level is not between the MIN and
MAX marks, add a 50/50 mixture ofclean, drinkable
waterand proper coolant at the coolant surge tank,
but be sure the cooling system, including the coolant
surge tank pressure cap, is cool before you do it.
SeeEngine Coolant on page 5-21for more information.
5-27
Page 208 of 316
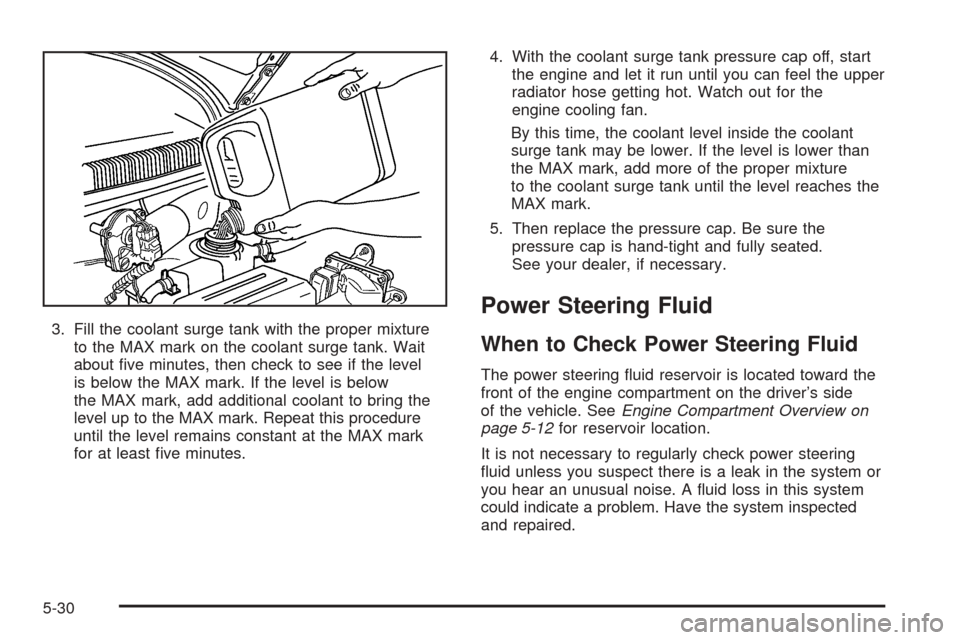
3. Fill the coolant surge tank with the proper mixture
to the MAX mark on the coolant surge tank. Wait
about five minutes, then check to see if the level
is below the MAX mark. If the level is below
the MAX mark, add additional coolant to bring the
level up to the MAX mark. Repeat this procedure
until the level remains constant at the MAX mark
for at least five minutes.4. With the coolant surge tank pressure cap off, start
the engine and let it run until you can feel the upper
radiator hose getting hot. Watch out for the
engine cooling fan.
By this time, the coolant level inside the coolant
surge tank may be lower. If the level is lower than
the MAX mark, add more of the proper mixture
to the coolant surge tank until the level reaches the
MAX mark.
5. Then replace the pressure cap. Be sure the
pressure cap is hand-tight and fully seated.
See your dealer, if necessary.
Power Steering Fluid
When to Check Power Steering Fluid
The power steering fluid reservoir is located toward the
front of the engine compartment on the driver’s side
of the vehicle. SeeEngine Compartment Overview on
page 5-12for reservoir location.
It is not necessary to regularly check power steering
fluid unless you suspect there is a leak in the system or
you hear an unusual noise. A fluid loss in this system
could indicate a problem. Have the system inspected
and repaired.
5-30
Page 209 of 316
How to Check Power Steering Fluid
Turn the key off and let the engine compartment
cool down.
The level should be between the MIN (B) and MAX (A)
marks on the reservoir. If the level drops below the
MIN (B) mark, add power steering fluid.
What to Use
To determine what kind of fluid to use, see
Part D: Recommended Fluids and Lubricants on
page 6-25. Always use the proper fluid. Failure to
use the proper fluid can cause leaks and damage
hoses and seals.
Windshield Washer Fluid
What to Use
When you need windshield washer fluid, be sure to
read the manufacturer’s instructions before use. If you
will be operating your vehicle in an area where the
temperature may fall below freezing, use a fluid that
has sufficient protection against freezing.
5-31
Page 216 of 316
{CAUTION:
Fans or other moving engine parts can injure
you badly. Keep your hands away from moving
parts once the engine is running.
5. Check that the jumper cables do not have loose or
missing insulation. If they do, you could get a
shock. The vehicles could be damaged too.
Before you connect the cables, here are some
things you should know. Positive (+) will go
to positive (+) or to a remote positive (+) terminal
if the vehicle has one. Negative (−) will go to a
heavy, unpainted metal engine part or to a remote
negative (−) terminal if the vehicle has one.
Do not connect positive (+) to negative (−)oryou
will get a short that would damage the battery
and maybe other parts too. And do not connect the
negative (−) cable to the negative (−) terminal on
the dead battery because this can cause sparks.
6. Connect the red positive (+) cable to the positive (+)
terminal of the dead battery. Use a remote
positive (+) terminal if the vehicle has one.
7. Do not let the other end touch metal. Connect it to
the positive (+) terminal of the good battery. Use a
remote positive (+) terminal if the vehicle has one.8. Now connect the black negative (−) cable to the
negative (−) terminal of the good battery. Use a
remote negative (−) terminal if the vehicle has one.
Do not let the other end touch anything until the
next step. The other end of the negative (−) cable
does notgo to the dead battery. It goes to a
heavy, unpainted metal engine part or to a remote
negative (−) terminal on the vehicle with the
dead battery.
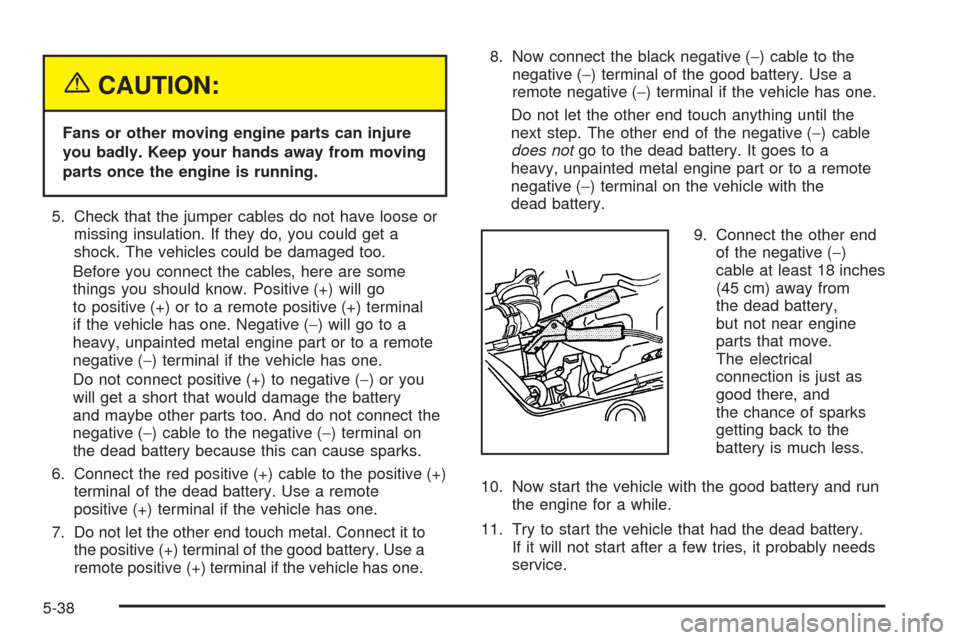
9. Connect the other end
of the negative (−)
cable at least 18 inches
(45 cm) away from
the dead battery,
but not near engine
parts that move.
The electrical
connection is just as
good there, and
the chance of sparks
getting back to the
battery is much less.
10. Now start the vehicle with the good battery and run
the engine for a while.
11. Try to start the vehicle that had the dead battery.
If it will not start after a few tries, it probably needs
service.
5-38
Page 254 of 316
Vehicle Identi�cation
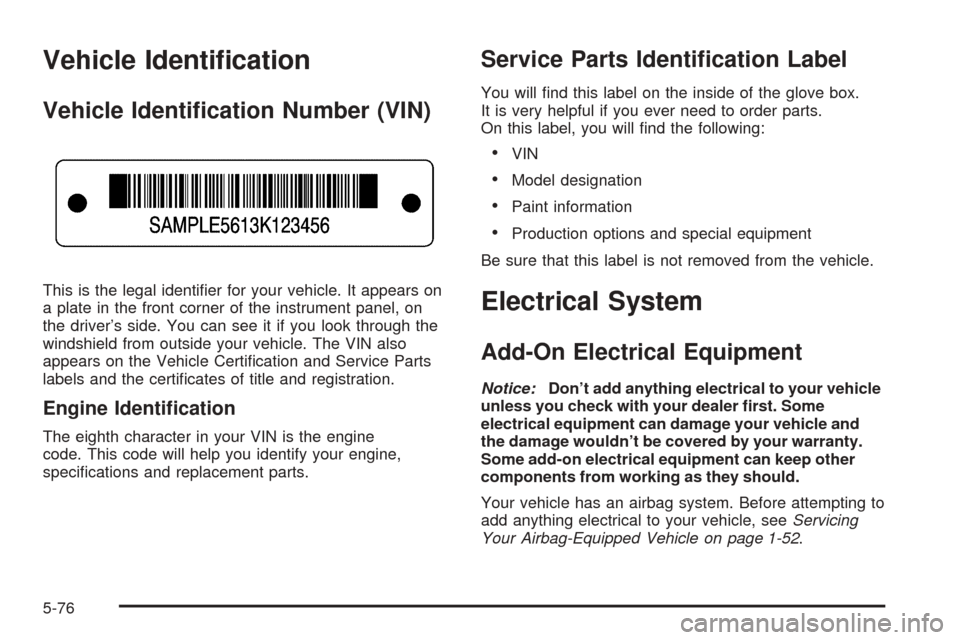
Vehicle Identi�cation Number (VIN)
This is the legal identifier for your vehicle. It appears on
a plate in the front corner of the instrument panel, on
the driver’s side. You can see it if you look through the
windshield from outside your vehicle. The VIN also
appears on the Vehicle Certification and Service Parts
labels and the certificates of title and registration.
Engine Identi�cation
The eighth character in your VIN is the engine
code. This code will help you identify your engine,
specifications and replacement parts.
Service Parts Identi�cation Label
You will find this label on the inside of the glove box.
It is very helpful if you ever need to order parts.
On this label, you will find the following:
•VIN
•Model designation
•Paint information
•Production options and special equipment
Be sure that this label is not removed from the vehicle.
Electrical System
Add-On Electrical Equipment
Notice:Don’t add anything electrical to your vehicle
unless you check with your dealer �rst. Some
electrical equipment can damage your vehicle and
the damage wouldn’t be covered by your warranty.
Some add-on electrical equipment can keep other
components from working as they should.
Your vehicle has an airbag system. Before attempting to
add anything electrical to your vehicle, seeServicing
Your Airbag-Equipped Vehicle on page 1-52.
5-76
Page 255 of 316
Headlamp Wiring
The headlamp wiring is protected by fuses, one for each
headlamp, in the fuse block. An electrical overload
will cause the lamps to turn off. If this happens, have
your headlamp wiring checked right away.
Windshield Wiper Fuses
The windshield wiper motor is protected by an internal
circuit breaker and a fuse. If the motor overheats due
to heavy snow, etc., the wiper will stop until the
motor cools. If the overload is caused by some electrical
problem and not snow, etc., be sure to get it fixed.
Power Windows and Other Power
Options
Circuit breakers in the fuse block protect the power
windows and other power accessories. When the
current load is too heavy, the circuit breaker opens and
closes, protecting the circuit until the problem is fixed
or goes away.
Fuses and Circuit Breakers
The wiring circuits in your vehicle are protected from
short circuits by a combination of fuses, circuit breakers
and fusible thermal links in the wiring itself.
Look at the silver-colored band inside the fuse. If the
band is broken or melted, replace the fuse. Be sure you
replace a bad fuse with a new one of the identical
size and rating.
There are spare fuses provided in the engine
compartment fuse block. If you ever have a problem
on the road and do not have a spare fuse, you
can borrow one that has the same amperage. Just
pick a feature of your vehicle that you can get along
without — like the radio or cigarette lighter — and use
its fuse, if it is the correct amperage. Replace it as
soon as you can.
There are two fuse blocks in your vehicle: the instrument
panel fuse block and the engine compartment fuse
block.
There is a fuse puller located on the engine
compartment fuse block. It can be used to easily
remove fuses from the fuse block.
5-77
Page 260 of 316
Capacities and Speci�cations
The following approximate capacities are given in English and metric conversions. SeePart D: Recommended Fluids
and Lubricants on page 6-25for more information.
ApplicationCapacities
English Metric
Air Conditioning Refrigerant R134a 1.48 lbs 0.67 kg
Cooling System 6.3 qt 6.0 L
Engine Oil with Filter 3.96 qt 3.75 L
Fuel Tank 11.9 gal 45.0 L
Transaxle, Automatic 6.2 qt 5.87 L
Transaxle, Manual 1.9 qt 1.8 L
Wheel Nut Torque 81 ft lb 110Y
All capacities are approximate. When adding, be sure to fill to the appropriate level, as recommended in this
manual. Recheck fluid level after filling.
Engine Speci�cations
Engine VIN Code Transaxle Spark Plug Gap
1.6L L4 (L91) 6Automatic and
Manual0.039-0.043 inch (1.0-1.1 mm)
5-82
Page 263 of 316
Maintenance Schedule......................................6-2
Introduction...................................................6-2
Maintenance Requirements..............................6-2
Your Vehicle and the Environment....................6-2
How This Section is Organized.........................6-3
Part A: Scheduled Maintenance Services...........6-4
Using the Maintenance Schedule......................6-4
Selecting the Right Schedule...........................6-5
Short Trip/City Scheduled Maintenance..............6-6
Long Trip/Highway Scheduled Maintenance......6-13
Part B: Owner Checks and Services................6-18
At Each Fuel Fill..........................................6-18
At Least Once a Month.................................6-18At Least Twice a Year...................................6-19
At Least Once a Year...................................6-20
Part C: Periodic Maintenance Inspections.........6-23
Steering, Suspension and Front Drive Axle
Boot and Seal Inspection............................6-23
Exhaust System Inspection............................6-23
Fuel System Inspection..................................6-23
Engine Cooling System Inspection...................6-24
Throttle System Inspection.............................6-24
Brake System Inspection................................6-24
Part D: Recommended Fluids and Lubricants. . . .6-25
Part E: Maintenance Record...........................6-27
Section 6 Maintenance Schedule
6-1