2005 CHEVROLET AVEO door lock
[x] Cancel search: door lockPage 69 of 316
Lockout Protection
This feature helps prevent locking your key in the car.
The driver’s door can only be locked with the door
closed. From the outside of the vehicle, close the
driver’s door and lock it using the key or the remote
keyless entry transmitter, if equipped.
This feature cannot guarantee that you will never be
locked out of your vehicle. Always remember to
take your key with you.
Trunk (Sedan)
{CAUTION:
It can be dangerous to drive with the trunk lid
open because carbon monoxide (CO) gas can
come into your vehicle. You cannot see or
smell CO. It can cause unconsciousness and
even death. If you must drive with the trunk lid
CAUTION: (Continued)
CAUTION: (Continued)
open or if electrical wiring or other cable
connections must pass through the seal
between the body and the trunk lid:
Make sure all other windows are shut.
Turn the fan on your heating or cooling
system to its highest speed and select the
control setting that will force outside air
into your vehicle. See Climate Control
System in the Index.
If you have air outlets on or under the
instrument panel, open them all the way.
SeeEngine Exhaust on page 2-30.
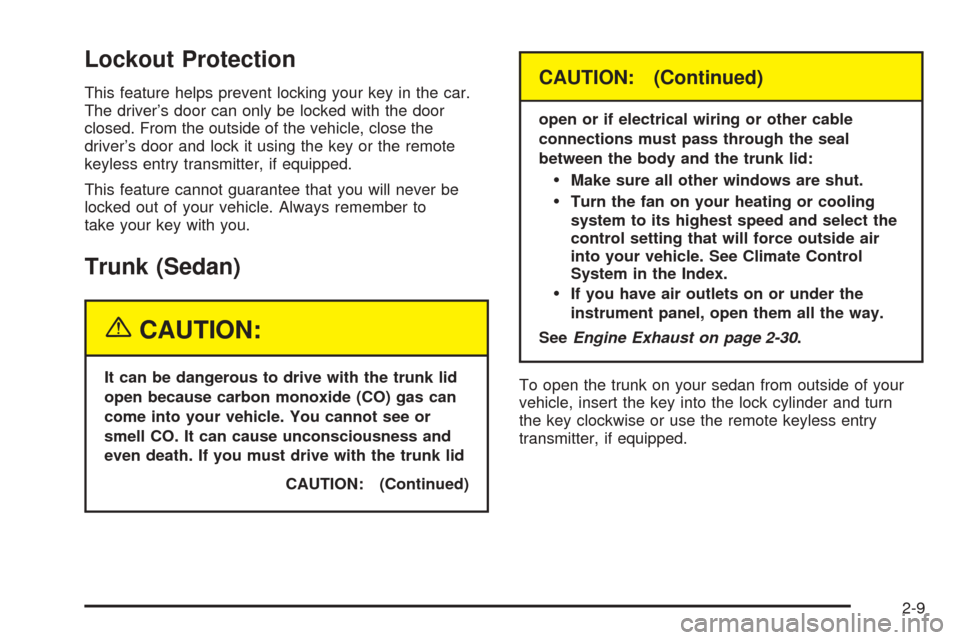
To open the trunk on your sedan from outside of your
vehicle, insert the key into the lock cylinder and turn
the key clockwise or use the remote keyless entry
transmitter, if equipped.
2-9
Page 71 of 316
Liftgate (Hatchback)
{CAUTION:
It can be dangerous to drive with the liftgate
open because carbon monoxide (CO) gas can
come into your vehicle. You cannot see or
smell CO. It can cause unconsciousness and
even death. If you must drive with the liftgate
open or if electrical wiring or other cable
connections must pass through the seal
between the body and the liftgate:
Make sure all other windows are shut.
Turn the fan on your heating or cooling
system to its highest speed and select the
control setting that will force outside air
into your vehicle. SeeClimate Control
System on page 3-14.
If you have air outlets on or under the
instrument panel, open them all the way.
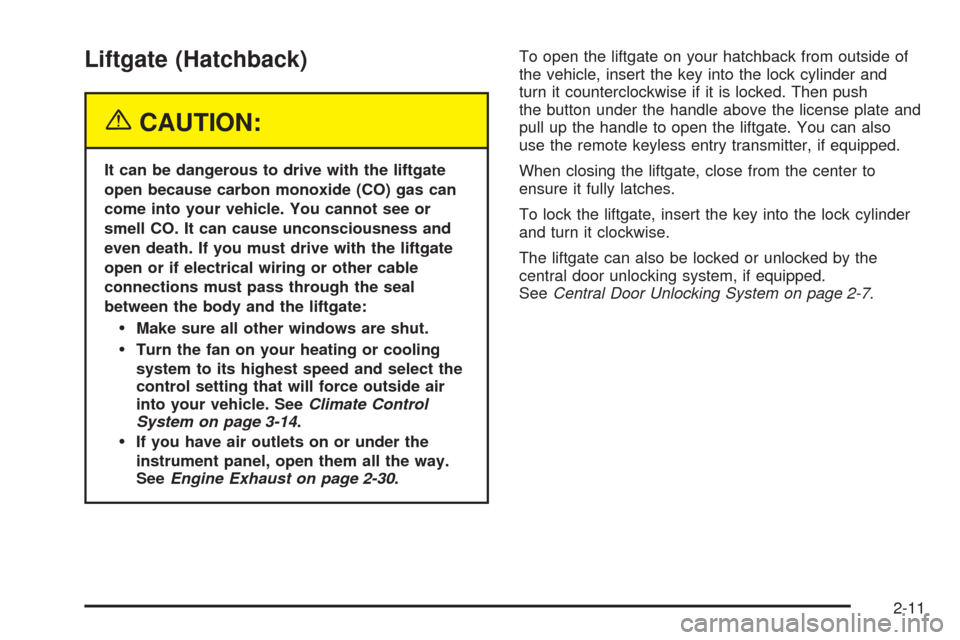
SeeEngine Exhaust on page 2-30.To open the liftgate on your hatchback from outside of
the vehicle, insert the key into the lock cylinder and
turn it counterclockwise if it is locked. Then push
the button under the handle above the license plate and
pull up the handle to open the liftgate. You can also
use the remote keyless entry transmitter, if equipped.
When closing the liftgate, close from the center to
ensure it fully latches.
To lock the liftgate, insert the key into the lock cylinder
and turn it clockwise.
The liftgate can also be locked or unlocked by the
central door unlocking system, if equipped.
SeeCentral Door Unlocking System on page 2-7.
2-11
Page 73 of 316
Manual Windows
Use the window crank to open and close each window.
The rear windows do not open fully.
Power Windows
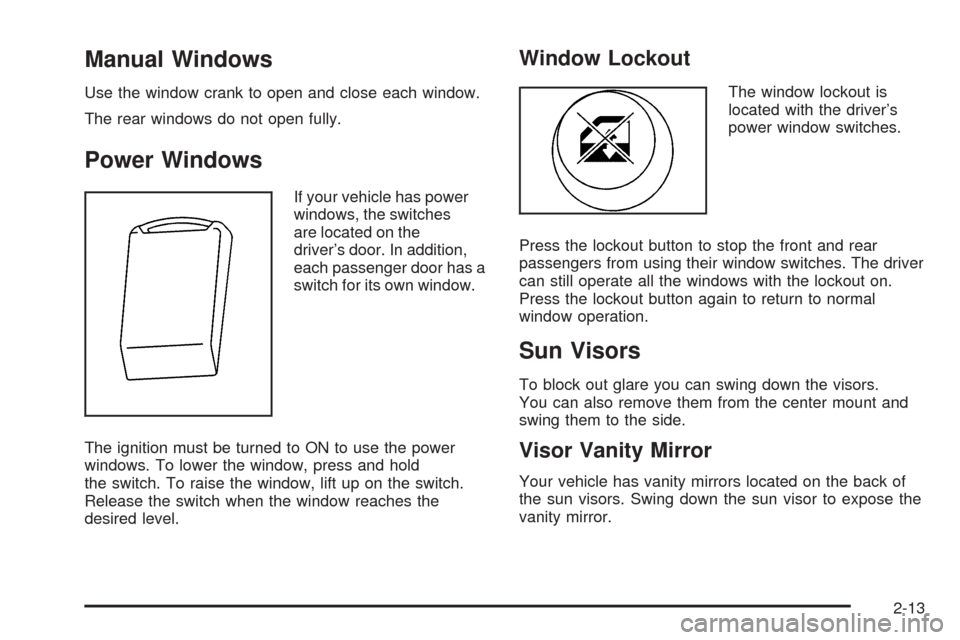
If your vehicle has power
windows, the switches
are located on the
driver’s door. In addition,
each passenger door has a
switch for its own window.
The ignition must be turned to ON to use the power
windows. To lower the window, press and hold
the switch. To raise the window, lift up on the switch.
Release the switch when the window reaches the
desired level.
Window Lockout
The window lockout is
located with the driver’s
power window switches.
Press the lockout button to stop the front and rear
passengers from using their window switches. The driver
can still operate all the windows with the lockout on.
Press the lockout button again to return to normal
window operation.
Sun Visors
To block out glare you can swing down the visors.
You can also remove them from the center mount and
swing them to the side.
Visor Vanity Mirror
Your vehicle has vanity mirrors located on the back of
the sun visors. Swing down the sun visor to expose the
vanity mirror.
2-13
Page 74 of 316
Theft-Deterrent Systems
Vehicle theft is big business, especially in some cities.
Although your vehicle has a number of theft-deterrent
features, we know that nothing we put on it can make it
impossible to steal.
Theft-Deterrent System
Your vehicle may have a theft-deterrent system.
The theft-deterrent system will not arm when you lock
the doors using the key or the manual door lock. It arms
only when you use the remote keyless entry transmitter.
Arming the System
To arm the system, do the following:
1. Close the doors, the windows, the hood, and the
trunk or liftgate.
Ensure that the windows are closed, as the system
can be armed even if the windows are open.
2. Turn the key to LOCK and remove the key from the
ignition.
If the key is inserted in the ignition, the transmitter
will not arm the theft-deterrent system.3. Lock the doors by pressing the lock button on the
remote keyless entry transmitter.
•The LED light on the transmitter will flash once.
•All of the doors will lock.
•The hazard warning lamps will flash once and
the horn will chirp.
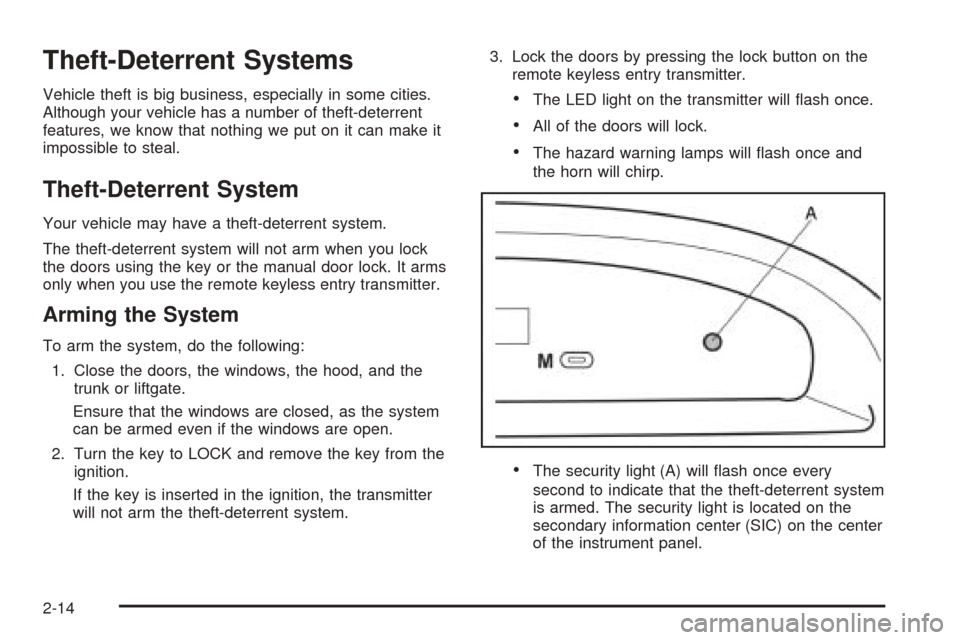
•The security light (A) will flash once every
second to indicate that the theft-deterrent system
is armed. The security light is located on the
secondary information center (SIC) on the center
of the instrument panel.
2-14
Page 75 of 316

To avoid activating the alarm by accident, do one of the
following:
•Unlock the driver’s or passenger’s front door
using the key.
•Press the unlock button on the remote keyless
entry transmitter.
Unlocking a door any other way will activate the alarm
when a door or the trunk or liftgate is opened.
If you do not want to arm the theft-deterrent system,
lock the vehicle using the key or the manual door locks.
Disarming the System
To disarm the system, do one of the following:
•Unlock the driver’s or passenger’s front door using
the key.
•Press the unlock button on the remote keyless
entry transmitter.
- The LED light on the transmitter will flash once.
- All of the doors will unlock.
- The hazard warning lamps will flash twice.
If the door is not opened or if the engine is not started
within 30 seconds after disarming the system using
the transmitter, all of the doors will automatically lock
and the theft-deterrent mode will rearm.
How the System Alarm is Activated
If a door or the trunk or liftgate is opened without using
the key or the remote keyless entry transmitter, the
horn will sound and the lamps will flash for up to
30 seconds.
How to Turn Off the System Alarm
If the system alarm is active, it can be deactivated using
one of the following methods:
•Press the lock or unlock buttons on the remote
keyless entry transmitter.
•Unlock the driver’s or passenger’s front door
using the key.
Otherwise, the alarm will automatically stop after
30 seconds. The system will then lock the doors and
rearm the theft-deterrent system.
How to Detect a Tamper Condition
If the hazard warning lamps flash once when you press
the lock or unlock buttons on the remote keyless
entry transmitter, the theft-deterrent system alarm was
activated while you were away.
2-15
Page 97 of 316
Instrument Panel Overview...............................3-4
Hazard Warning Flashers................................3-5
Other Warning Devices...................................3-5
Horn.............................................................3-6
Tilt Wheel.....................................................3-6
Turn Signal/Multifunction Lever.........................3-6
Turn and Lane-Change Signals........................3-7
Headlamp High/Low-Beam Changer..................3-7
Flash-to-Pass.................................................3-7
Windshield Wipers..........................................3-8
Windshield Washer.........................................3-9
Exterior Lamps...............................................3-9
Headlamps on Reminder................................3-10
Daytime Running Lamps (DRL).......................3-10
Fog Lamps..................................................3-11
Instrument Panel Brightness...........................3-11
Dome Lamp.................................................3-12
Accessory Power Outlets...............................3-12
Ashtrays and Cigarette Lighter........................3-13
Climate Controls............................................3-14
Climate Control System.................................3-14
Outlet Adjustment.........................................3-17
Passenger Compartment Air Filter...................3-18Warning Lights, Gages, and Indicators............3-19
Instrument Panel Cluster................................3-20
Speedometer and Odometer...........................3-21
Trip Odometer..............................................3-21
Tachometer.................................................3-21
Safety Belt Reminder Tone............................3-21
Brake System Warning Light..........................3-22
Engine Coolant Temperature Gage..................3-23
Highbeam On Light.......................................3-23
Fuel Gage...................................................3-23
Low Fuel Warning Light.................................3-24
Secondary Information Center (SIC).................3-25
Clock..........................................................3-26
Safety Belt Reminder Light.............................3-26
Airbag Readiness Light..................................3-26
Charging System Light..................................3-27
Anti-Lock Brake System Warning Light.............3-28
Hold Mode Light...........................................3-28
Malfunction Indicator Lamp.............................3-28
Oil Pressure Light.........................................3-31
Fog Lamp Light............................................3-32
Daytime Running Lamps (DRL)
Indicator Light...........................................3-32
Door Ajar Light.............................................3-32
Section 3 Instrument Panel
3-1
Page 106 of 316
;(Parking Lamps):Turn the band to this position to
turn on the parking lamps, together with the previously
listed lamps and lights.
If your parking lamps are on and you remove the
ignition key and open the door, they will automatically
turn off to prevent the battery from being discharged.
OFF:Turn the band to this position to turn all lamps off,
except the Daytime Running Lamps (DRL).
Headlamps on Reminder
If you open the driver’s door with the ignition turned
to LOCK or ACC while leaving the lamps on, you
will hear a warning chime.
Daytime Running Lamps (DRL)
Daytime Running Lamps (DRL) can make it easier for
others to see the front of your vehicle during the
day. DRL can be helpful in many different driving
conditions, but they can be especially helpful in the short
periods after dawn and before sunset. Fully functional
daytime running lamps are required on all vehicles
first sold in Canada.The DRL system will make your low-beam headlamps
come on when the following conditions are met:
•The ignition is on.
•The exterior lamp band is in OFF or in the parking
lamp position.
•The parking brake is released.
An indicator light on the secondary information center
will come on when the DRL system is on. SeeDaytime
Running Lamps (DRL) Indicator Light on page 3-32.
When the DRL system is on, the taillamps, sidemarker
lamps, parking lamps and instrument panel lights
will not be illuminated unless you have turned the
exterior lamps control to the parking lamp or headlamp
position.
The DRL system will turn off when one of the following
conditions are met:
•The ignition is off.
•The parking brake is on.
•The high-beam headlamps are on.
•The low-beam headlamps are on.
•The flash-to-pass feature is used.
As with any vehicle, you should turn on the regular
headlamp system when you need it.
3-10
Page 186 of 316
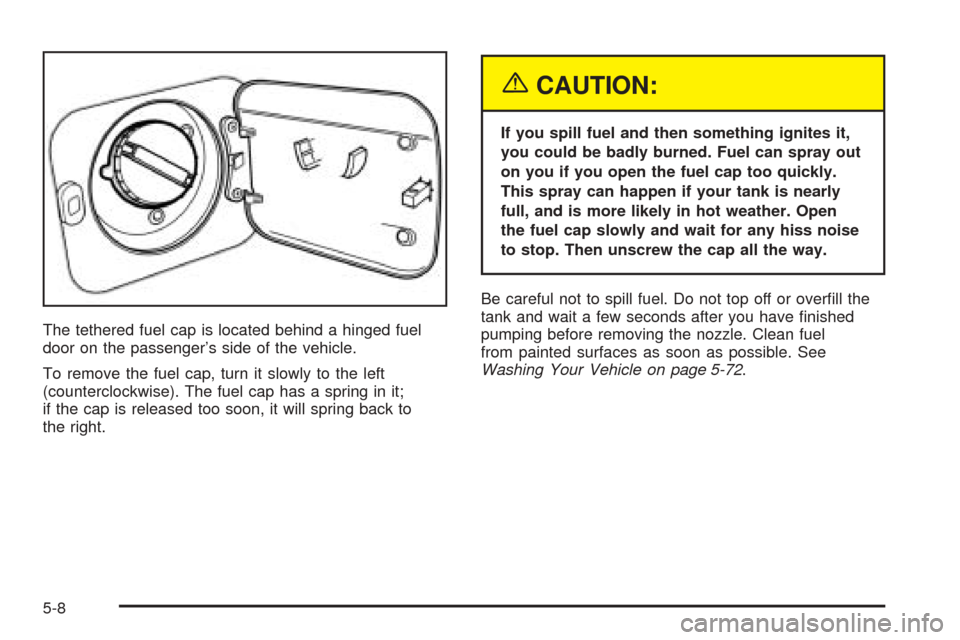
The tethered fuel cap is located behind a hinged fuel
door on the passenger’s side of the vehicle.
To remove the fuel cap, turn it slowly to the left
(counterclockwise). The fuel cap has a spring in it;
if the cap is released too soon, it will spring back to
the right.
{CAUTION:
If you spill fuel and then something ignites it,
you could be badly burned. Fuel can spray out
on you if you open the fuel cap too quickly.
This spray can happen if your tank is nearly
full, and is more likely in hot weather. Open
the fuel cap slowly and wait for any hiss noise
to stop. Then unscrew the cap all the way.
Be careful not to spill fuel. Do not top off or overfill the
tank and wait a few seconds after you have finished
pumping before removing the nozzle. Clean fuel
from painted surfaces as soon as possible. See
Washing Your Vehicle on page 5-72.
5-8