Page 111 of 376
Reprogramming a Single HomeLink®
Button
To program a device to HomeLink®using a HomeLink®
button previously trained, follow these steps:
1. Press and hold the desired HomeLink
®button.
Do not release the button.
2. The indicator light will begin to �ash after
20 seconds. While still holding the HomeLink
®
button, proceed with Step 2 under “Programming
HomeLink®” shown earlier in this section.
Resetting Defaults
To reset HomeLink®to default settings do the following:
1. Hold down the two outside buttons for about
20 seconds until the indicator light begins to �ash.
2. Continue to hold both buttons until the HomeLink
®
indicator light turns off.
3. Release both buttons.
For questions or comments, contact HomeLink
®
at 1-800-355-3515, or on the internet at
www.homelink.com.
Storage Areas
Your front storage compartment/glove box is at the
center of the engine cover. To open the compartment,
press the two tabs together and pull.
2-33
Page 167 of 376

Your Driving, the Road, and Your Vehicle..........4-2
Defensive Driving...........................................4-2
Drunken Driving.............................................4-3
Control of a Vehicle........................................4-5
Braking.........................................................4-6
Anti-Lock Brake System (ABS).........................4-7
Braking in Emergencies...................................4-8
Locking Rear Axle..........................................4-8
Steering........................................................4-9
Off-Road Recovery.......................................4-11
Passing.......................................................4-11
Loss of Control.............................................4-12
Driving at Night............................................4-14
Driving in Rain and on Wet Roads..................4-15City Driving..................................................4-18
Freeway Driving...........................................4-19
Before Leaving on a Long Trip.......................4-20
Highway Hypnosis........................................4-21
Hill and Mountain Roads................................4-21
Winter Driving..............................................4-23
If You Are Stuck: In Sand, Mud, Ice or Snow........4-27
Rocking Your Vehicle to Get It Out.................4-28
Loading Your Vehicle....................................4-28
Towing..........................................................4-33
Towing Your Vehicle.....................................4-33
Recreational Vehicle Towing...........................4-34
Towing a Trailer...........................................4-34
Section 4 Driving Your Vehicle
4-1
Page 173 of 376
Anti-Lock Brake System (ABS)
Your vehicle has anti-lock brakes. ABS is an advanced
electronic braking system that will help prevent a
braking skid.
When you start your engine and begin to drive away,
your anti-lock brake system will check itself. You
may hear a momentary motor or clicking noise while
this test is going on. This is normal.
If there is a problem with
the anti-lock brake system,
this warning light will
stay on. SeeAnti-Lock
Brake System Warning
Light on page 3-29.
Let us say the road is wet and you are driving safely.
Suddenly, an animal jumps out in front of you. You
slam on the brakes and continue braking. Here is what
happens with ABS:
A computer senses that wheels are slowing down.
If one of the wheels is about to stop rolling, the computer
will separately work the brakes at each front wheel
and at both rear wheels.
4-7
Page 179 of 376

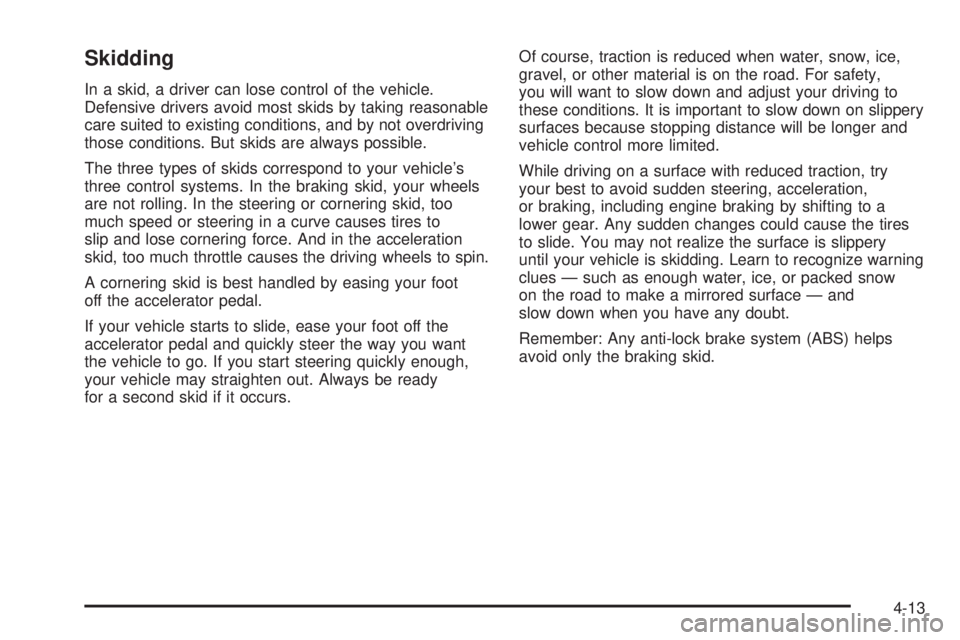
Skidding
In a skid, a driver can lose control of the vehicle.
Defensive drivers avoid most skids by taking reasonable
care suited to existing conditions, and by not overdriving
those conditions. But skids are always possible.
The three types of skids correspond to your vehicle’s
three control systems. In the braking skid, your wheels
are not rolling. In the steering or cornering skid, too
much speed or steering in a curve causes tires to
slip and lose cornering force. And in the acceleration
skid, too much throttle causes the driving wheels to spin.
A cornering skid is best handled by easing your foot
off the accelerator pedal.
If your vehicle starts to slide, ease your foot off the
accelerator pedal and quickly steer the way you want
the vehicle to go. If you start steering quickly enough,
your vehicle may straighten out. Always be ready
for a second skid if it occurs.Of course, traction is reduced when water, snow, ice,
gravel, or other material is on the road. For safety,
you will want to slow down and adjust your driving to
these conditions. It is important to slow down on slippery
surfaces because stopping distance will be longer and
vehicle control more limited.
While driving on a surface with reduced traction, try
your best to avoid sudden steering, acceleration,
or braking, including engine braking by shifting to a
lower gear. Any sudden changes could cause the tires
to slide. You may not realize the surface is slippery
until your vehicle is skidding. Learn to recognize warning
clues — such as enough water, ice, or packed snow
on the road to make a mirrored surface — and
slow down when you have any doubt.
Remember: Any anti-lock brake system (ABS) helps
avoid only the braking skid.
4-13
Page 191 of 376

Accelerate gently. Try not to break the fragile traction.
If you accelerate too fast, the drive wheels will spin and
polish the surface under the tires even more.
Your anti-lock brakes improve your vehicle’s stability
when you make a hard stop on a slippery road.
Even though you have an anti-lock braking system, you
will want to begin stopping sooner than you would on
dry pavement. SeeAnti-Lock Brake System (ABS)
on page 4-7.
Allow greater following distance on any
slippery road.
Watch for slippery spots. The road might be �ne
until you hit a spot that is covered with ice. On
an otherwise clear road, ice patches may appear
in shaded areas where the sun cannot reach:
around clumps of trees, behind buildings, or under
bridges. Sometimes the surface of a curve or
an overpass may remain icy when the surrounding
roads are clear. If you see a patch of ice ahead
of you, brake before you are on it. Try not to brake
while you are actually on the ice, and avoid
sudden steering maneuvers.
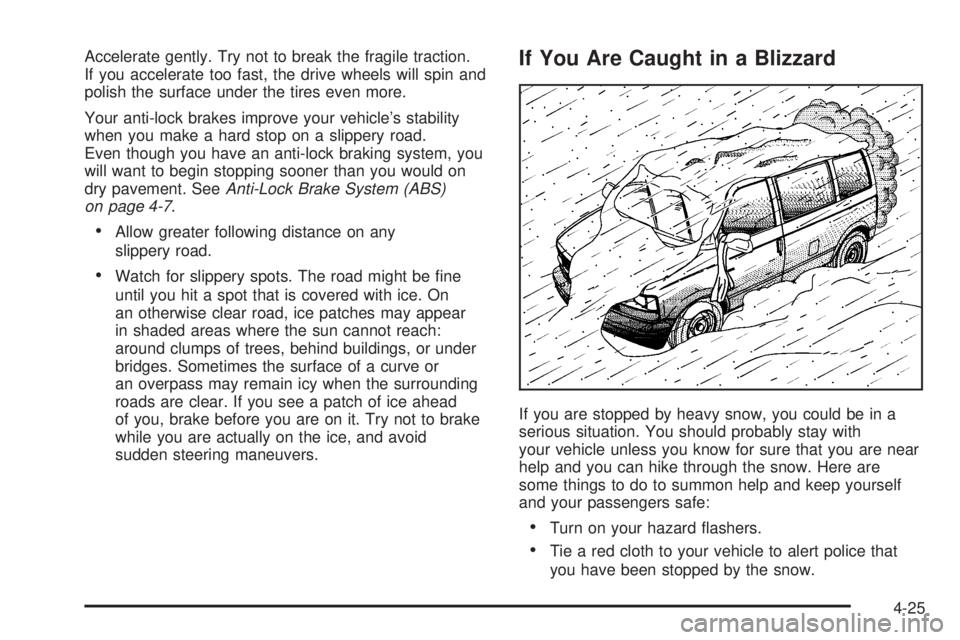
If You Are Caught in a Blizzard
If you are stopped by heavy snow, you could be in a
serious situation. You should probably stay with
your vehicle unless you know for sure that you are near
help and you can hike through the snow. Here are
some things to do to summon help and keep yourself
and your passengers safe:
Turn on your hazard �ashers.
Tie a red cloth to your vehicle to alert police that
you have been stopped by the snow.
4-25
Page 209 of 376

Driving On Grades
Reduce speed and shift to a lower gearbeforeyou
start down a long or steep downgrade. If you don’t shift
down, you might have to use your brakes so much
that they would get hot and no longer work well.
You can tow in DRIVE (D). You may want to shift the
transmission to THIRD (3) or, if necessary, a lower
gear selection if the transmission shifts too often
(e.g., under heavy loads and/or hilly conditions).
When towing at high altitude on steep uphill grades,
consider the following: Engine coolant will boil at a lower
temperature than at normal altitudes. If you turn your
engine off immediately after towing at high altitude
on steep uphill grades, your vehicle may show signs
similar to engine overheating. To avoid this, let the
engine run while parked (preferably on level ground)
with the transmission in PARK (P) for a few minutes
before turning the engine off. If you do get the overheat
warning, seeEngine Overheating on page 5-28.
Parking on Hills
{CAUTION:
You really should not park your vehicle, with
a trailer attached, on a hill. If something goes
wrong, your rig could start to move. People
can be injured, and both your vehicle and the
trailer can be damaged.
But if you ever have to park your rig on a hill, here’s
how to do it:
1. Apply your regular brakes, but don’t shift into
PARK (P) yet.
2. Have someone place chocks under the trailer
wheels.
3. When the wheel chocks are in place, release the
regular brakes until the chocks absorb the load.
4. Reapply the regular brakes. Then apply your
parking brake, and shift to PARK (P).
5. Release the regular brakes.
4-43
Page 269 of 376
Windshield Wiper Blade
Replacement
Windshield wiper blades should be inspected at least
twice a year for wear and cracking. See “Wiper
Blade Check” inAt Least Twice a Year on page 6-24
for more information.
To replace your windshield
wiper blade inserts, do the
following:
1. Lift the wiper arm away from the windshield.
2. Pinch the two tabs on the wiper arm and slide
the insert out of the blade.
3. Slide the new one in place.Make sure the tabs are locked into position. SeeNormal
Maintenance Replacement Parts on page 5-102for
the proper type of replacement blade.Rear Window Wiper Blade Replacement
If your vehicle is equipped with a rear window wiper
blade, follow the procedure above to replace the
wiper blade.
5-57
Page 285 of 376
CAUTION: (Continued)
To be even more certain the vehicle will not
move, you should put blocks at the front and
rear of the tire farthest away from the one
being changed. That would be the tire, on the
other side, at the opposite end of the vehicle.
When you have a �at tire, use the following example as a
guide to assist you in the placement of wheel blocks.
The following information will tell you next how to use
the jack and change a tire.
Removing the Spare Tire and Tools
The jacking equipment you’ll need is stored by your
vehicle’s rear doors, along the passenger’s side wall.
1. Remove the jack cover by pulling it away from
the side wall and down to release the tabs
securing the top of the cover.
5-73