2005 BUICK PARK AVENUE ECU
[x] Cancel search: ECUPage 110 of 388

4. Use the hook and loop fastener found in the
storage area and attach the garage door opener
securely inside the console. Line up the transmitter
button with the height adapters.
5. Close the cover and test the GARAGE button.
If your garage door opener doesn’t work after it
is installed, try another combination.
Center Console Storage Area
Your vehicle has a center console with two storage
compartments and cupholders. The cupholders have
removable liners to hold beverage containers of different
sizes. To access the cupholders and the front storage
area, push the doors covering them back into the
console. In the front storage area you will �nd a place to
store a cellular phone, as well as a built-in writing
surface. Underneath this tray is a CD storage area and
another door which can be opened to retrieve items
which may fall into the space between the console and
the sliding door. To access the CD storage area,
place your �nger in the oval in the top tray and lift up.
To access the rear storage area, press the lift latch
at the front edge of the armrest and pull up. Inside are
areas which can be used to store a variety of items.
The back of the console may contain either additional
cupholders or air vents for the rear seat passengers.
You will also �nd two accessory power outlets located
inside the rear storage area. These outlets can be used
for accessories requiring power, such as a cellular
phone. SeeAccessory Power Outlets on page 3-24.
2-46
Page 116 of 388

Anti-Lock Brake System Warning Light.............3-39
Traction Control System (TCS) Warning Light......3-39
Engine Coolant Temperature Gage..................3-40
Malfunction Indicator Lamp.............................3-40
Oil Pressure Light.........................................3-43
Security Light...............................................3-44
Cruise Control Light......................................3-44
Service Vehicle Soon Light............................3-44
Fuel Gage...................................................3-45
Driver Information Center (DIC).......................3-46
DIC Controls and Displays.............................3-46
DIC Warnings and Messages.........................3-49
DIC Vehicle Personalization............................3-50Audio System(s).............................................3-55
Setting the Time...........................................3-55
Radio with Cassette......................................3-56
Radio with Cassette and CD..........................3-60
Trunk-Mounted CD Changer...........................3-66
Personal Choice Radio Controls......................3-69
Theft-Deterrent Feature..................................3-70
Audio Steering Wheel Controls.......................3-72
Radio Reception...........................................3-72
Care of Your Cassette Tape Player.................3-73
Care of Your CDs.........................................3-74
Care of Your CD Player................................3-74
Heated Backlite Antenna................................3-74
Section 3 Instrument Panel
3-2
Page 131 of 388

Delayed Entry Lighting
When you open the door, the interior lamps will come
on. When you close the door with the ignition off,
the interior lamps will stay on for 25 seconds or until the
ignition is turned to an on position. Locking the doors
with the power door lock switch will override the
delayed entry lighting feature and the lamps will turn off
right away.
Using the remote keyless entry transmitter to lock the
door will not cancel delayed lighting.
Theater Dimming
This feature allows for a three to �ve-second fade out of
the courtesy lamps instead of immediate turn off.
Delayed Exit Lighting
With this feature, the interior lamps will come on for
25 seconds after you remove the key from the ignition.
This will give you time to �nd the door handle or
lock switches.
Perimeter Lighting
When the unlock button on the remote keyless entry
transmitter is pressed, the DRL, parking lamps and
back-up lamps will come on if it is dark enough outside.
This feature will only be activated when the security
feedback feature is programmed to be in Modes 1, 3
or 5 on the transmitter. Modes 0, 2 and 4 do not respond
with exterior lights �ashing when unlocking the vehicle
so perimeter lighting will not be active.
This feature can be programmed on or off for
each transmitter.
To turn the feature off do the following:
1. Press and hold LOCK on the driver’s door
lock switch throughout this procedure. All doors
will lock.
2. Press the remote alarm button on the transmitter to
enter the programming mode. Perimeter lighting
remains on at this time and the horn will chirp
two times.
3. Press the remote alarm button on the transmitter
again. Perimeter lighting is disabled and the horn
will chirp one time.
4. Release the door lock switch. The perimeter lighting
feature is now off.
3-17
Page 158 of 388

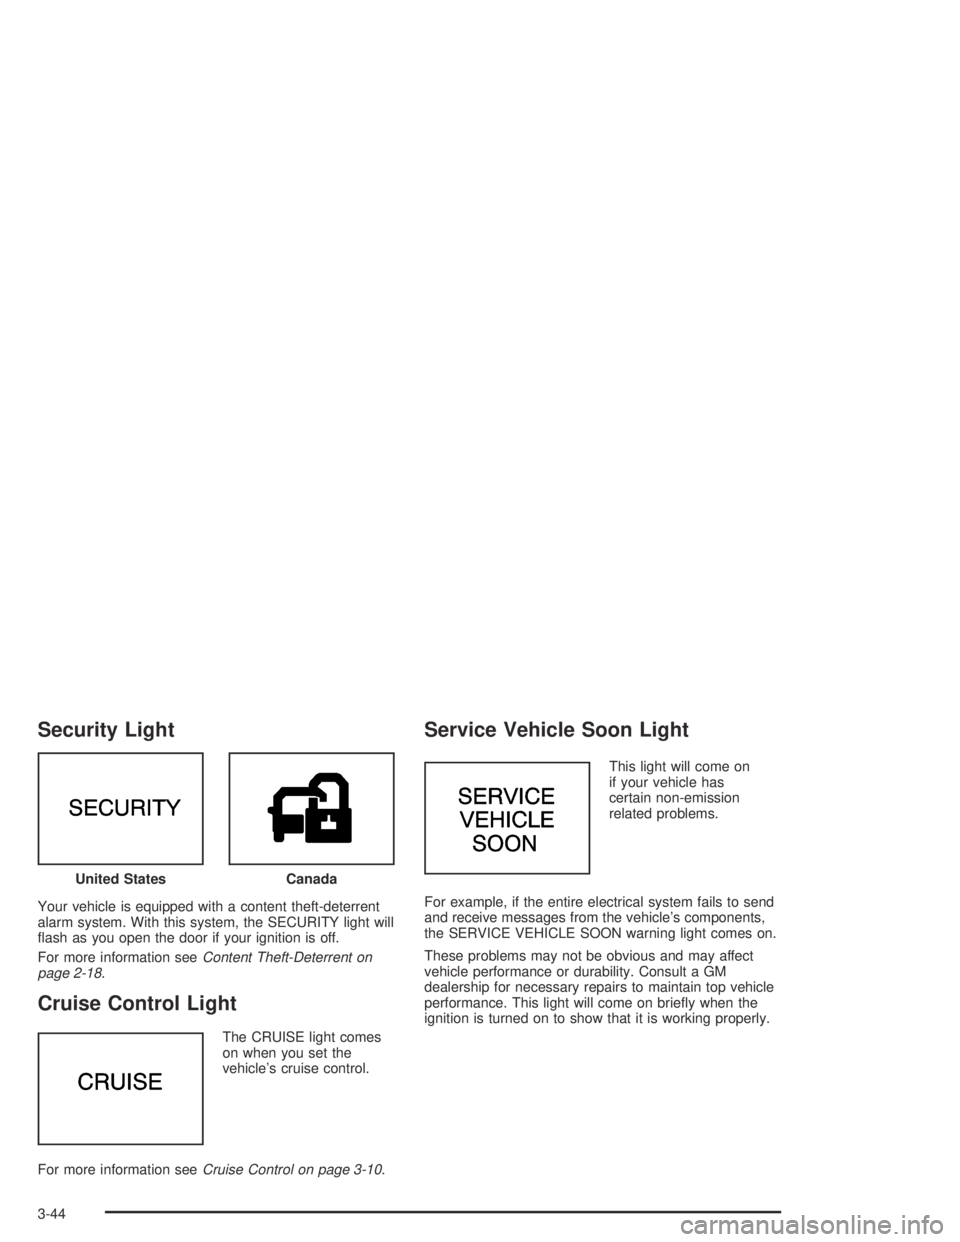
Security Light
Your vehicle is equipped with a content theft-deterrent
alarm system. With this system, the SECURITY light will
�ash as you open the door if your ignition is off.
For more information seeContent Theft-Deterrent on
page 2-18.
Cruise Control Light
The CRUISE light comes
on when you set the
vehicle’s cruise control.
For more information seeCruise Control on page 3-10.
Service Vehicle Soon Light
This light will come on
if your vehicle has
certain non-emission
related problems.
For example, if the entire electrical system fails to send
and receive messages from the vehicle’s components,
the SERVICE VEHICLE SOON warning light comes on.
These problems may not be obvious and may affect
vehicle performance or durability. Consult a GM
dealership for necessary repairs to maintain top vehicle
performance. This light will come on brie�y when the
ignition is turned on to show that it is working properly. United States
Canada
3-44
Page 164 of 388

Tire Pressure Status – 140:If you see the TIRE
PRESSURE LOW message, you should stop as soon
as you can and check all your tires for damage. If a tire
is �at, seeIf a Tire Goes Flat on page 5-73. Also
check the tire pressure in all four tires as soon as you
can. SeeIn�ation - Tire Pressure on page 5-64and
Check Tire Pressure System on page 5-65.
There are times when you will have to reset (calibrate)
the Check Tire Pressure System. SeeCheck Tire
Pressure System on page 5-65.
DIC Vehicle Personalization
The DIC is used to program personal choices for up to
two drivers. The drivers are recognized as DRIVER #1
and DRIVER #2. The DIC will identify a person as
UNKNOWN DRIVER if neither DRIVER #1 nor
DRIVER #2 is identi�ed by the system. You will let the
DIC know which driver you are by using your remote
keyless entry transmitter or by pressing one of the
MEMORY buttons located on the driver’s door. Each
remote keyless entry transmitter was pre-programmed
to belong to DRIVER #1 or DRIVER #2 and is
numbered on the back. Each transmitter may be
programmed differently.After you press the unlock button on your transmitter
with the ignition to RUN, the DIC will display the
identi�ed driver number. The vehicle will recall the
personal choice settings that were last made to
correspond to your transmitter, including your radio and
climate control settings. SeeClimate Controls
Personalization on page 3-31.
If you unlock the vehicle using the key instead of your
transmitter, the DIC will not identify the driver and
will recall the information from the last transmitter used
or the last driver using one of the MEMORY buttons.
If this happens and you were not the last driver of
the vehicle, press your correct driver number on the
appropriate MEMORY button or press the unlock button
on your transmitter.
The DIC can be used to program the following personal
choice features available with your vehicle:
Outside Curb View Assist Mirror
Programmable Automatic Door Locks
Delayed Locking
Security Feedback
Perimeter Lighting
Memory Seat Recall
Window Lock Out
3-50
Page 167 of 388

Delayed Locking
The delayed locking feature, which delays the actual
locking of the vehicle, can be made active or inactive
through the DIC. When DELAYED LOCKING-OFF-ON
appears on the display, use the ENG/MET button to
toggle the arrow between OFF and ON. When you have
made your choice, press the RESET button to record
your selection.
For more information on this feature, seeDelayed
Locking on page 2-11.
Security Feedback
By choosing different combinations of these selections,
you can choose the type of transmitter activated
feedback you receive when locking and unlocking your
vehicle with your transmitter. Each time you make a
selection by pressing the ENG/MET button, press
the RESET button to record your choice.
LOCK FEEDBACK – OFF/ON
LOCK FEEDBACK – LIGHTS/LIGHTS + HORN
UNLOCK FEEDBACK – OFF/LIGHTS
If you choose ON for LOCK FEEDBACK you will also
need to choose LIGHTS or LIGHTS + HORN.You can select the following modes:
If you choose OFF for LOCK FEEDBACK and
OFF for UNLOCK FEEDBACK, you will receive
no security feedback when locking or unlocking
your vehicle.
If you choose OFF for LOCK FEEDBACK and
LIGHTS for UNLOCK FEEDBACK, you will receive
no security feedback when locking your vehicle
and the exterior lamps will �ash when unlocking
your vehicle.
If you choose LIGHTS for LOCK FEEDBACK and
OFF for UNLOCK FEEDBACK, your exterior lamps
will �ash when locking your vehicle and you will
receive no security feedback when unlocking
your vehicle.
If you choose LIGHTS for LOCK FEEDBACK and
LIGHTS for UNLOCK FEEDBACK, your exterior
lamps will �ash when locking and unlocking
your vehicle.
If you choose LIGHTS + HORN for LOCK
FEEDBACK and OFF for UNLOCK FEEDBACK,
your exterior lamps will �ash and the horn will chirp
when locking your vehicle and you will receive no
security feedback when unlocking your vehicle.
3-53
Page 168 of 388

If you choose LIGHTS + HORN for LOCK
FEEDBACK and LIGHTS for UNLOCK FEEDBACK,
your exterior lamps will �ash and the horn will chirp
when locking your vehicle and your exterior lamps
will �ash when unlocking your vehicle.
For more information on this feature, see “Security
Feedback” underRemote Keyless Entry System
Operation on page 2-6.
Perimeter Lighting
When the unlock button on the transmitter is pressed,
the DRL lamps (high-beams at reduced intensity),
parking lamps and back-up lamps will turn on, if it is
dark enough according to the Twilight Sentinel
®.
You can control activation of this feature by choosing
OFF or ON when the PERIMETER LIGHTS choice
is displayed on the DIC. Make your choice by pressing
the ENG/MET button and record your choice by
pressing the RESET button.
If you want to choose PERIMETER LIGHTS ON, you
must also choose LIGHTS for UNLOCK FEEDBACK
while making the security feedback choices.
For more information on this feature, seePerimeter
Lighting on page 3-17.
Memory Seat Recall
This feature recalls the position of your seat. When this
feature is active, the memory seat and mirror positions
will be recalled for the identi�ed driver when the remote
keyless entry transmitter is used to enter the vehicle.
You can program this feature to be active by choosing
ON when the SEAT RECALL choice appears, or
inactive by choosing OFF when the SEAT RECALL
choice appears on the DIC.
You can also program this feature to recall your
memory seat position or the exit seat position.
Memory Position: Choose ON when the SEAT
RECALL choice appears, and then choose
MEMORY when the RECALL POSITION
choice appears.
Exit Position: Choose ON when the SEAT RECALL
choice appears, then choose EXIT when the
RECALL POSITION choice appears and your seat
will move to the stored exit position. The seat
will also move when you enter the vehicle after
unlocking it with a remote keyless entry transmitter.
This will allow for easy entry as well.
For more information on this feature, seeMemory Seat
and Mirrors on page 2-48.
3-54
Page 184 of 388

Theft-Deterrent Feature
THEFTLOCK®is designed to discourage theft of your
vehicle’s radio. It works by using a secret code to
disable all radio functions whenever battery power
is interrupted.
If THEFTLOCK
®is active, the THEFTLOCK®indicator
will �ash when the ignition is off.
The THEFTLOCK
®feature for the radio may be used or
ignored. If ignored, the radio plays normally and the
radio is not protected by the feature. If THEFTLOCK
®is
activated, the radio will not operate if stolen.
When THEFTLOCK
®is activated, LOC will appear on
the radio display to indicate a locked condition anytime
battery power has been interrupted. If the battery
loses power for any reason, you must unlock the radio
with the secret code before it will operate.
Activating the Theft-Deterrent Feature
The instructions which follow explain how to enter
your secret code to activate the THEFTLOCK®
system. Read through all nine steps before starting
the procedure.If you allow more than 15 seconds to elapse between
any steps, the radio automatically reverts to time
and you must start the procedure over at Step 4.
1. Write down any three or four-digit number from
000 to 1999 and keep it in a safe place separate
from the vehicle.
2. Turn the ignition on.
3. Turn the radio off.
4. Press the 1 and 4 pushbuttons at the same time.
Hold them down until --- appears on the display.
Next you will use the secret code number which you
have written down.
5. Press MIN and 000 will appear on the display.
6. Press MIN again to make the last two digits agree
with your code.
7. Press HRS to make the �rst one or two digits agree
with your code.
8. Press AM-FM after you have con�rmed that the
code matches the secret code you have written
down. REP will appear on the display to indicate
that Steps 5 through 7 need to be repeated to
con�rm your secret code.
9. Press AM-FM again, SEC will appear on the display
to indicate that the radio is secure.
3-70