2005 BUICK LACROSSE fuel
[x] Cancel search: fuelPage 1 of 410

Seats and Restraint Systems........................... 1-1
Front Seats
............................................... 1-3
Rear Seats
............................................... 1-8
Safety Belts
.............................................1-10
Child Restraints
.......................................1-31
Airbag System
.........................................1-51
Restraint System Check
............................1-65
Features and Controls..................................... 2-1
Keys
........................................................ 2-2
Doors and Locks
......................................2-10
Windows
.................................................2-15
Theft-Deterrent Systems
............................2-17
Starting and Operating Your Vehicle
...........2-21
Mirrors
....................................................2-32
OnStar
®System
......................................2-34
HomeLink®Transmitter
.............................2-36
Storage Areas
.........................................2-40
Sunroof
..................................................2-42
Instrument Panel............................................. 3-1
Instrument Panel Overview
.......................... 3-4
Climate Controls
......................................3-21
Warning Lights, Gages, and Indicators
........3-30
Driver Information Center (DIC)
..................3-47
Audio System(s)
.......................................3-79Driving Your Vehicle....................................... 4-1
Your Driving, the Road, and Your Vehicle
..... 4-2
Towing
...................................................4-34
Service and Appearance Care.......................... 5-1
Service
..................................................... 5-3
Fuel
......................................................... 5-5
Checking Things Under the Hood
...............5-10
Headlamp Aiming
.....................................5-43
Bulb Replacement
....................................5-45
Windshield Wiper Blade Replacement
.........5-51
Tires
......................................................5-52
Appearance Care
.....................................5-78
Vehicle Identi�cation
.................................5-86
Electrical System
......................................5-87
Capacities and Speci�cations
.....................5-92
Maintenance Schedule..................................... 6-1
Maintenance Schedule
................................ 6-2
Customer Assistance and Information.............. 7-1
Customer Assistance and Information
........... 7-2
Reporting Safety Defects
...........................7-10
Index................................................................ 1
2005 Buick LaCrosse Owner ManualM
Page 80 of 410

Do not use the remote start feature if your vehicle is low
on fuel. Your vehicle may run out of fuel.
Your vehicle’s remote keyless entry transmitter, with the
remote start button, provides an increased range of
operation. However, the range may be less while
the vehicle is running and as a result, you may need to
be closer to your vehicle to turn it off, than you were
to turn it on.
There are other conditions which can affect the
performance of the transmitter, seeRemote Keyless
Entry System on page 2-3for additional information.
The remote vehicle start feature needs to be reset after
your vehicle’s engine is started two times using the
transmitter’s remote start button. The remote start
system is reset by Inserting the vehicle’s key into the
ignition lock cylinder and turning it to RUN and then to
OFF. SeeIgnition Positions on page 2-21for
information regarding the ignition positions on
your vehicle.
/(Remote Start):If your vehicle has the remote start
feature, the keyless entry transmitter will have a
button with this symbol on it.To start the vehicle using the remote start feature, do
the following:
1. Aim the transmitter at the vehicle.
2. Press and release the transmitter’s lock button,
then immediately press and hold the transmitter’s
remote start button until the turn signal lamps �ash
or for four seconds, if the vehicle’s lights are not
visible. The vehicle’s doors will lock.
3. When the vehicle starts, the parking lamps will turn
on and remain on while the engine is running.
The engine will shut off automatically after
10 minutes, unless a time extension has been done
or the vehicle’s key is inserted into the ignition
lock cylinder and turned to RUN.
4. To manually shut off a remote start, do any of the
following:
Aim the remote keyless entry transmitter at the
vehicle and press the remote start button until
the parking lamps turn off.
Turn on the hazard warning �ashers.
Turn the ignition switch to RUN and then to OFF.
2-8
Page 89 of 410

Sun Visors
To block out glare, you can swing down the visors and
slide them along the rod to cover different areas of
the front window. You can also move them to cover the
side windows.
Visor Vanity Mirror
Swing down the sun visors and lift the cover to expose
the vanity mirror. If your vehicle has lighted vanity
mirrors, the light will come on when you lift the cover.
Theft-Deterrent Systems
Vehicle theft is big business, especially in some cities.
Although your vehicle has a number of theft-deterrent
features, we know that nothing we put on it can make it
impossible to steal.
Content Theft-Deterrent
Your vehicle may have a content theft-deterrent
alarm system.
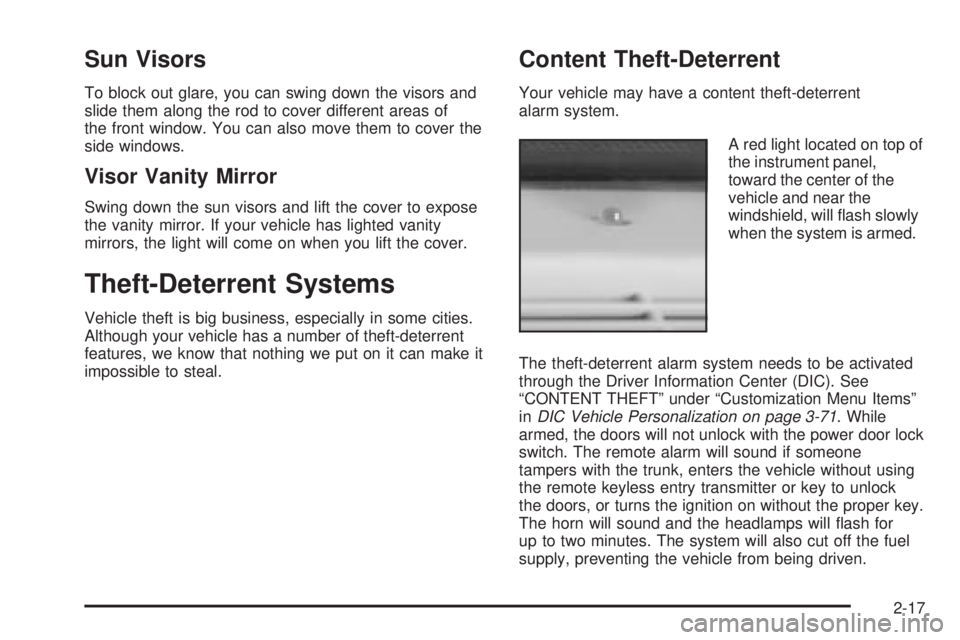
A red light located on top of
the instrument panel,
toward the center of the
vehicle and near the
windshield, will �ash slowly
when the system is armed.
The theft-deterrent alarm system needs to be activated
through the Driver Information Center (DIC). See
“CONTENT THEFT” under “Customization Menu Items”
inDIC Vehicle Personalization on page 3-71. While
armed, the doors will not unlock with the power door lock
switch. The remote alarm will sound if someone
tampers with the trunk, enters the vehicle without using
the remote keyless entry transmitter or key to unlock
the doors, or turns the ignition on without the proper key.
The horn will sound and the headlamps will �ash for
up to two minutes. The system will also cut off the fuel
supply, preventing the vehicle from being driven.
2-17
Page 91 of 410

PASS-Key®III
Your PASS-Key®III system operates on a radio
frequency subject to Federal Communications
Commission (FCC) Rules and with Industry Canada.
This device complies with Part 15 of the FCC Rules.
Operation is subject to the following two conditions:
1. This device may not cause harmful interference.
2. This device must accept any interference received,
including interference that may cause undesired
operation.
This device complies with RSS-210 of Industry Canada.
Operation is subject to the following two conditions:
1. This device may not cause interference.
2. This device must accept any interference received,
including interference that may cause undesired
operation of the device.
Changes or modi�cations to this system by other than
an authorized service facility could void authorization to
use this equipment.
PASS-Key
®III uses a radio frequency transponder in
the key that matches a decoder in your vehicle.
PASS-Key®III Operation
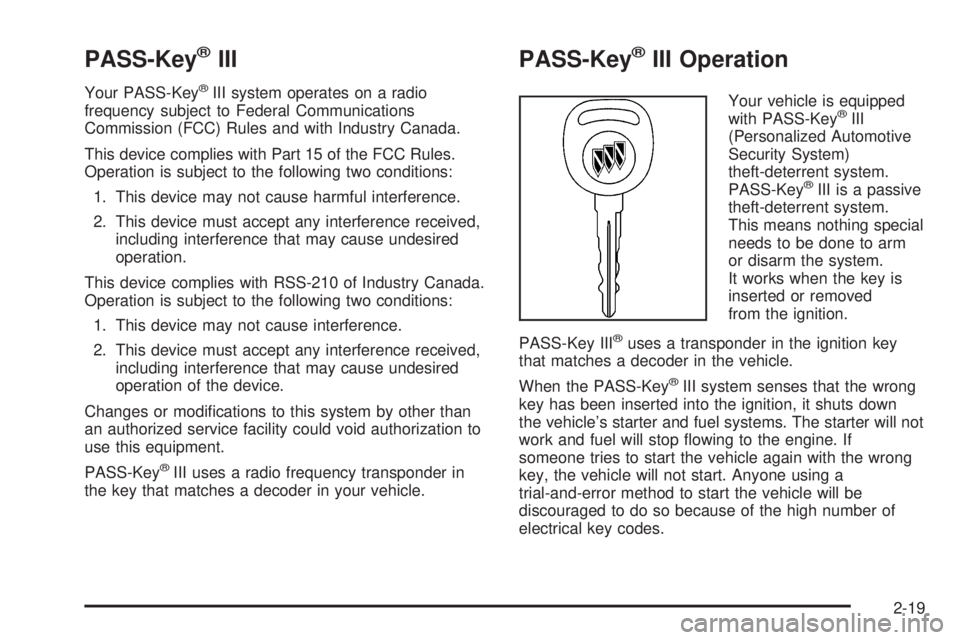
Your vehicle is equipped
with PASS-Key®III
(Personalized Automotive
Security System)
theft-deterrent system.
PASS-Key
®III is a passive
theft-deterrent system.
This means nothing special
needs to be done to arm
or disarm the system.
It works when the key is
inserted or removed
from the ignition.
PASS-Key III
®uses a transponder in the ignition key
that matches a decoder in the vehicle.
When the PASS-Key
®III system senses that the wrong
key has been inserted into the ignition, it shuts down
the vehicle’s starter and fuel systems. The starter will not
work and fuel will stop �owing to the engine. If
someone tries to start the vehicle again with the wrong
key, the vehicle will not start. Anyone using a
trial-and-error method to start the vehicle will be
discouraged to do so because of the high number of
electrical key codes.
2-19
Page 95 of 410

2. If the engine does not start within 10 seconds, hold
your key in START for about 10 seconds at a time
until the engine starts. Wait about 15 seconds
between each try.
When your engine has run for about 10 seconds to
warm up, your vehicle is ready to be driven. Do
not race your engine when it is cold.
If the weather is below freezing (32°F or 0°C), let
the engine run for a few minutes to warm up.
3. If your engine still will not start, or starts but then
stops, it could be �ooded with too much gasoline.
Try pushing your accelerator pedal all the way to the
�oor and holding it there as you hold the key in
START for about three seconds. If the vehicle starts
brie�y but then stops again, do the same thing.
This time keep the pedal down for �ve or
six seconds to clear the extra gasoline from the
engine. After waiting about 15 seconds, repeat the
normal starting procedure.
Notice:Your engine is designed to work with the
electronics in your vehicle. If you add electrical
parts or accessories, you could change the way the
engine operates. Before adding electrical equipment,
check with your dealer. If you do not, your engine
might not perform properly.Engine Coolant Heater
Your vehicle may be equipped with this feature. In very
cold weather, 0°F (−18°C) or colder, the engine
coolant heater can help. You will get easier starting and
better fuel economy during engine warm-up. Usually,
the coolant heater should be plugged in a minimum
of four hours prior to starting your vehicle. At
temperatures above 32°F (0°C), use of the coolant
heater is not required. Your vehicle may also have an
internal thermostat in the plug end of the cord. This will
prevent operation of the engine coolant heater when
the temperature is at or above 0°F (−18°C) as noted on
the cord.
To Use the Engine Coolant Heater
1. Turn off the engine.
2. Open the hood and unwrap the electrical cord. The
cord is attached to the underside of the diagonal
brace, which is located above the engine air
cleaner/�lter assembly.
2-23
Page 98 of 410

NEUTRAL (N):In this position, the engine does not
connect with the wheels. To restart when you are
already moving, use NEUTRAL (N) only. Also, use
NEUTRAL (N) when the vehicle is being towed.
{CAUTION:
Shifting into a drive gear while your engine is
running at high speed is dangerous. Unless
your foot is �rmly on the brake pedal, your
vehicle could move very rapidly. You could
lose control and hit people or objects. Do not
shift into a drive gear while your engine is
running at high speed.
Notice:Shifting out of PARK (P) or NEUTRAL (N)
with the engine racing may damage the transaxle.
The repairs would not be covered by your warranty.
Be sure the engine is not racing when shifting
your vehicle.
Notice:Driving your vehicle if you notice that it is
moving slowly or not shifting gears as you
increase speed may damage the transaxle. Have
your vehicle serviced right away. You can drive in
SECOND (2) when you are driving less than 35 mph
(55 km/h) and AUTOMATIC OVERDRIVE (D) for
higher speeds until then.AUTOMATIC OVERDRIVE (D): This position is for
normal driving. If more power is needed for passing, and
the vehicle is:
Going less than 35 mph (55 km/h), push the
accelerator pedal about halfway down.
Going about 35 mph (55 km/h) or more, push the
accelerator pedal all the way down.
By doing this the vehicle will automatically shift down to
the next gear and have more power.
THIRD (3):This position is also used for normal driving,
but it offers more power and lower fuel economy than
AUTOMATIC OVERDRIVE (D).
Here are some times you might choose THIRD (3)
instead of AUTOMATIC OVERDRIVE (D):
When driving on hilly, winding roads.
When towing a trailer, so there is less shifting
between gears.
When going down a steep hill.
When driving in no-highway scenarios such as
city streets.
2-26
Page 99 of 410

Notice:Driving in SECOND (2) for more than
25 miles (40 km) or at speeds over 55 mph (90 km/h)
may damage the transaxle. Also, shifting into
SECOND (2) at speeds above 65 mph (105 km/h) can
cause damage. Drive in THIRD (3) or AUTOMATIC
OVERDRIVE (D) instead of SECOND (2).
SECOND (2): This position gives the vehicle more
power but lower fuel economy than THIRD (3). You can
use SECOND (2) on hills. It can help control the
speed going down steep mountain roads, but then you
would also want to use the brakes off and on.
FIRST (1): This position gives the vehicle even more
power but lower fuel economy than SECOND (2).
You can use it on very steep hills, or in deep snow or
mud. If the shift lever is put in FIRST (1), the transaxle
will not shift into �rst gear until the vehicle is going
slowly enough.
Notice:Spinning the tires or holding the vehicle in
one place on a hill using only the accelerator
pedal may damage the transaxle. If you are stuck,
do not spin the tires. When stopping on a hill,
use the brakes to hold the vehicle in place.Parking Brake
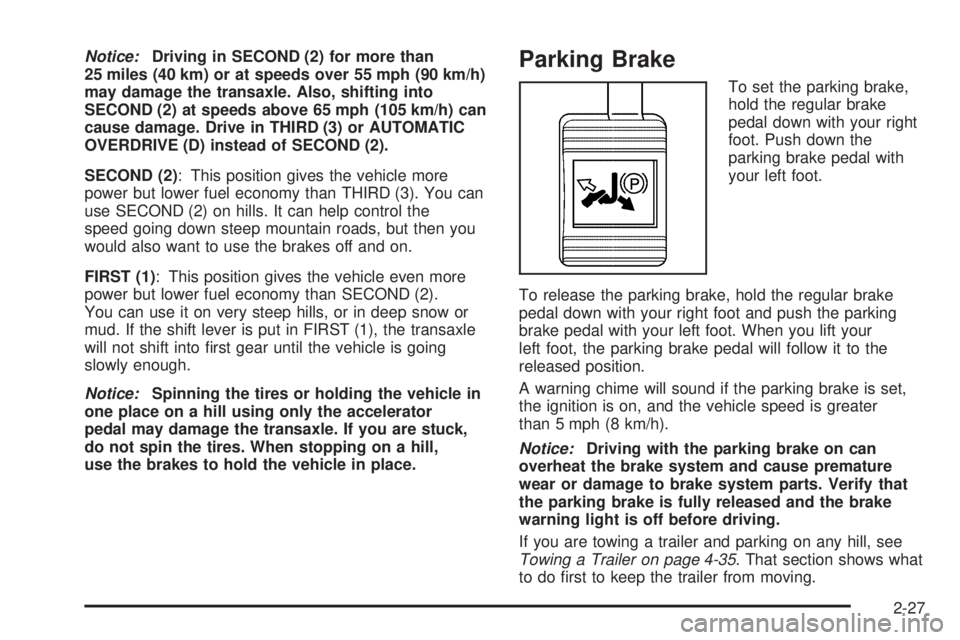
To set the parking brake,
hold the regular brake
pedal down with your right
foot. Push down the
parking brake pedal with
your left foot.
To release the parking brake, hold the regular brake
pedal down with your right foot and push the parking
brake pedal with your left foot. When you lift your
left foot, the parking brake pedal will follow it to the
released position.
A warning chime will sound if the parking brake is set,
the ignition is on, and the vehicle speed is greater
than 5 mph (8 km/h).
Notice:Driving with the parking brake on can
overheat the brake system and cause premature
wear or damage to brake system parts. Verify that
the parking brake is fully released and the brake
warning light is off before driving.
If you are towing a trailer and parking on any hill, see
Towing a Trailer on page 4-35. That section shows what
to do �rst to keep the trailer from moving.
2-27
Page 116 of 410

Engine Coolant Temperature Gage..................3-38
Low Coolant Warning Light............................3-39
Malfunction Indicator Lamp.............................3-39
Oil Pressure Light.........................................3-42
Change Engine Oil Light................................3-43
Security Light...............................................3-43
Cruise Control Light......................................3-43
Reduced Engine Power Light.........................3-44
Highbeam On Light.......................................3-44
Headlamps Suggested Light...........................3-44
Low Washer Fluid Warning Light.....................3-45
Door Ajar Light.............................................3-45
Trunk Ajar Light............................................3-45
Service Vehicle Soon Light............................3-45
Fuel Gage...................................................3-46
Low Fuel Warning Light.................................3-46
Check Gas Cap Light....................................3-46Driver Information Center (DIC).......................3-47
DIC Operation and Displays...........................3-47
DIC Warnings and Messages.........................3-53
DIC Vehicle Personalization............................3-71
Audio System(s).............................................3-79
Setting the Time...........................................3-79
Radio with CD (Base)...................................3-79
Radio with CD (UpLevel)...............................3-84
Radio with CD (MP3)....................................3-92
Radio with Six-Disc CD................................3-105
Theft-Deterrent Feature................................3-117
Audio Steering Wheel Controls......................3-118
Radio Reception.........................................3-119
Care of Your CDs.......................................3-119
Care of Your CD Player...............................3-119
Backglass Antenna......................................3-120
Chime Level Adjustment...............................3-120
Section 3 Instrument Panel
3-2