2005 BMW Z4 ROADSTER 3.0I display
[x] Cancel search: displayPage 42 of 120
Driving
40
Sequential manual gearbox
SMG*
The concept
The sequential manual gearbox SMG is an
automated manual gearbox with which clutch-
ing and shifting is assumed by an electro-
hydraulic system.
The SMG is operated via two shift paddles on
the steering wheel and the selector lever in the
center console.
It offers the following functions:
>Optionally manual or automatic operation:
sequential mode or drive mode
>Ability to choose between two different
driving programs: standard or Sport, refer to
page41
>Protection against misshifting, and auto-
matic downshifting at minimum engine rpm
even in sequential mode
>Kickdown function in the drive mode
>Acceleration assistant, refer to page42.
The SMG is ready for operation when the igni-
tion key is in position 2.
Selector lever positions
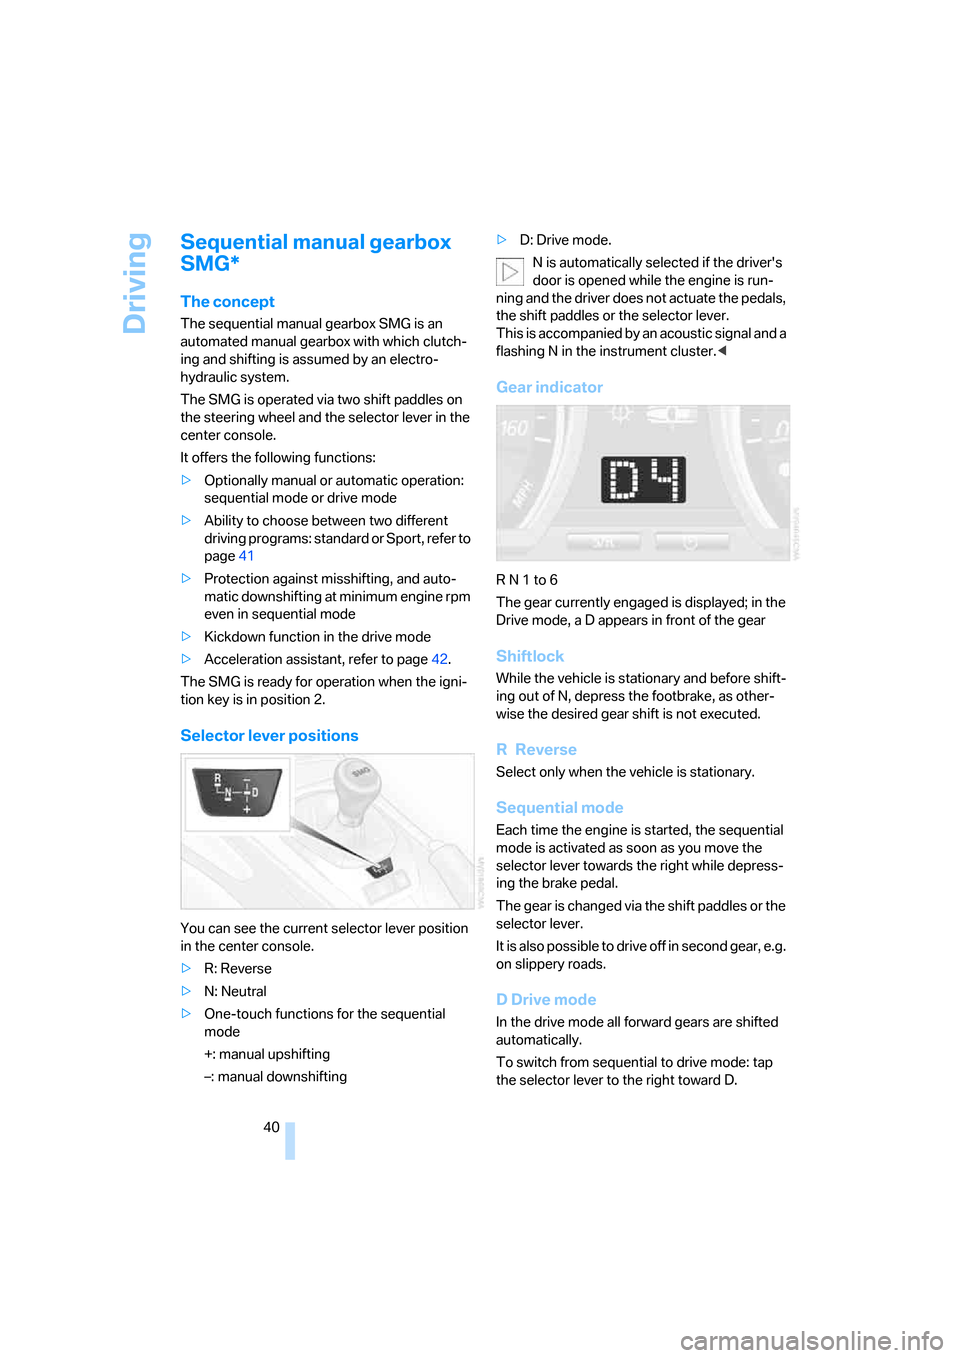
You can see the current selector lever position
in the center console.
>R: Reverse
>N: Neutral
>One-touch functions for the sequential
mode
+: manual upshifting
–: manual downshifting>D: Drive mode.
N is automatically selected if the driver's
door is opened while the engine is run-
ning and the driver does not actuate the pedals,
the shift paddles or the selector lever.
This is accompanied by an acoustic signal and a
flashing N in the instrument cluster.<
Gear indicator
R N 1 to 6
The gear currently engaged is displayed; in the
Drive mode, a D appears in front of the gear
Shiftlock
While the vehicle is stationary and before shift-
ing out of N, depress the footbrake, as other-
wise the desired gear shift is not executed.
R Reverse
Select only when the vehicle is stationary.
Sequential mode
Each time the engine is started, the sequential
mode is activated as soon as you move the
selector lever towards the right while depress-
ing the brake pedal.
The gear is changed via the shift paddles or the
selector lever.
It is also possible to drive off in second gear, e.g.
on slippery roads.
D Drive mode
In the drive mode all forward gears are shifted
automatically.
To switch from sequential to drive mode: tap
the selector lever to the right toward D.
Page 48 of 120

Everything under control
46
Everything under control
Odometer
1Odometer
2Trip odometer
Odometer
With the ignition key in position 0, you can acti-
vate the displays shown in the illustration by
pressing the button – see arrow – in the instru-
ment cluster.
Trip odometer
To set to zero
Ignition key position 1
Keep the button pressed until the trip odometer
counter is set to zero.
Tachometer
Never allow the engine to operate with the nee-
dle in the red overspeed sector of the gauge.
To protect the engine, the fuel supply is inter-
rupted when you approach this sector.
Fuel gauge
When indicator lamp1 begins to stay on contin-
uously, there are still approx. 2.1 gallons/8 liters
of fuel in the fuel tank.
Tank capacity: approx. 14.5 gallons/55 liters.
If the tilt of the vehicle varies, for example when
you are driving in mountainous areas, the nee-
dle may fluctuate slightly.
Fill the fuel tank well before it is empty.
Driving to the last drop of fuel can prevent
the engine from operating properly and result in
damage.<
When you switch on the ignition, the indicator
lamp comes on briefly to indicate an operational
check.
Engine coolant temperature
gauge
Blue
The engine is still cold. Drive at moderate
engine and vehicle speeds.
Page 49 of 120

Reference
At a glance
Controls
Driving tips
Mobility
47
Between the blue and red zones
Normal operating range. The needle may rise as
far as the edge of the red sector during normal
operation.
Red
When you switch on the ignition, warning
lamp1 comes on briefly to indicate an opera-
tional check.
Comes on while driving:
The engine has overheated. Stop and switch
the engine off immediately and allow it to cool
down.
For checking the coolant level, refer to page87.
Service interval display
Remaining distance to next service
The displays shown in the illustration appear for
a few seconds when the ignition key is in
position 1 or after the engine is started.
The next service due appears with the message
OIL SERVICE or INSPECTION, together with
the distance remaining in miles – in kilometers
in Canada – before the next scheduled service.
The computer bases its calculations of the
remaining distance on the preceding driving
style.
A flashing message and a minus sign in front of
the number mean that the service interval has
already been exceeded by the distance shown
on the display. Please contact your BMW center
for an appointment.
Outside temperature
If the vehicle is not equipped with a computer,
the display in the instrument cluster always
shows the outside temperature.
Clock
If you wish to have a permanent time display,
you can have it appear in the car radio display,
refer to the Owner's Manual for Radio.
You can set the clock and the time display in the
car radio as follows.
To set
Ignition key in position 1 or higher:
Hours
1.Keep button2 pressed for several seconds
until the hours are displayed and the colon
flashes
2.Press button1 repeatedly until the required
hour is set
Minutes
3.Press button2 to switch to the minutes dis-
play
Page 50 of 120
Everything under control
48 4.Press button1 repeatedly until the required
minutes are set
5.Press button2 to confirm the settings.
The set time of day is transferred to the car
radio display or appears in the instrument clus-
ter display.
Display mode
In ignition key position 0:
Press button1.
The time of day is displayed for several sec-
onds.
Computer*
Mode selection
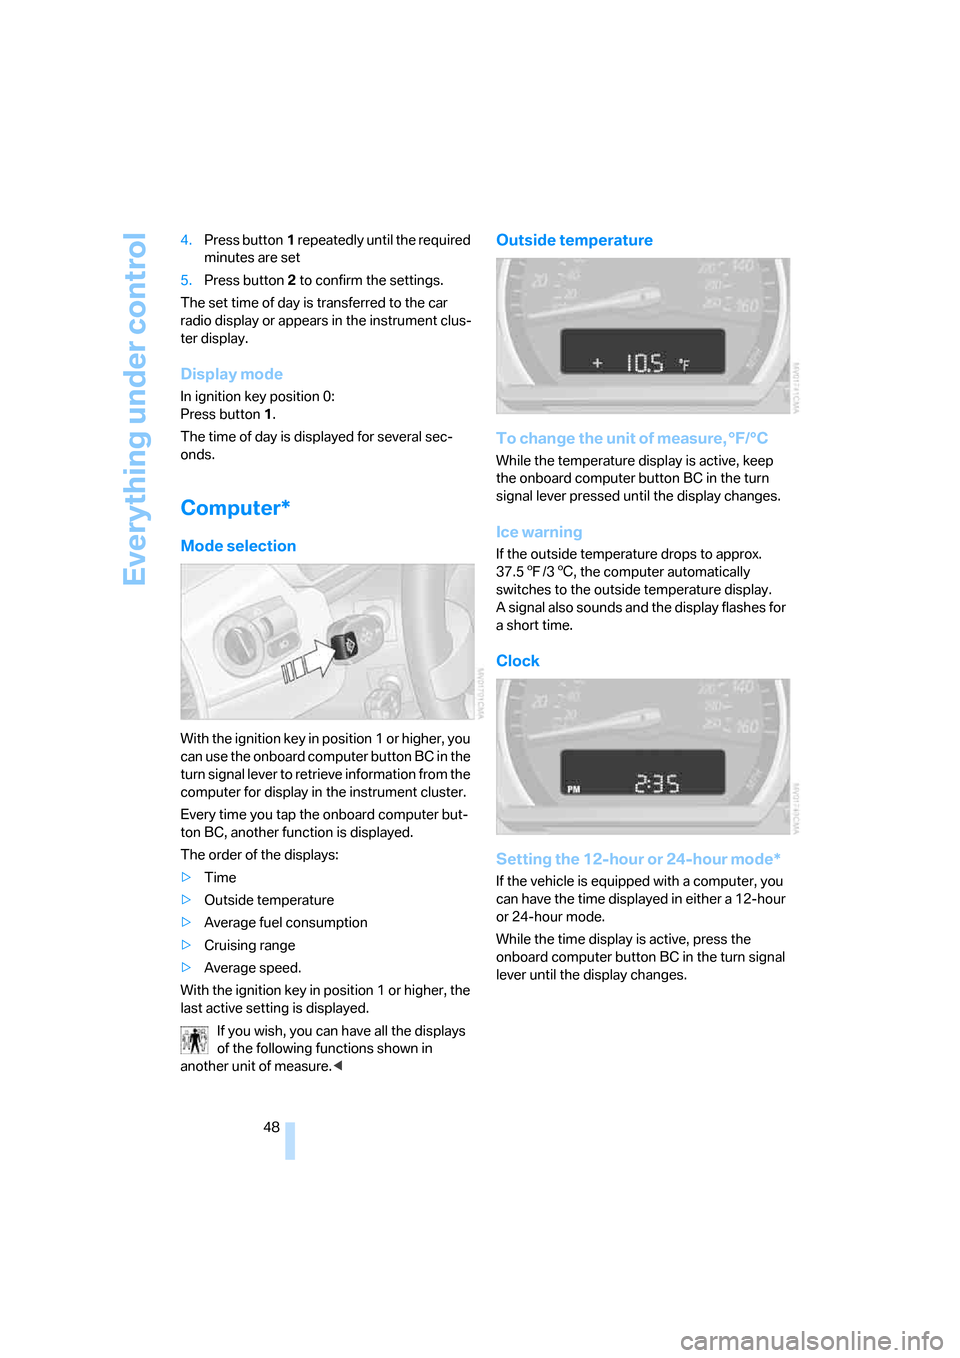
With the ignition key in position 1 or higher, you
can use the onboard computer button BC in the
turn signal lever to retrieve information from the
computer for display in the instrument cluster.
Every time you tap the onboard computer but-
ton BC, another function is displayed.
The order of the displays:
>Time
>Outside temperature
>Average fuel consumption
>Cruising range
>Average speed.
With the ignition key in position 1 or higher, the
last active setting is displayed.
If you wish, you can have all the displays
of the following functions shown in
another unit of measure.<
Outside temperature
To change the unit of measure, °F/°C
While the temperature display is active, keep
the onboard computer button BC in the turn
signal lever pressed until the display changes.
Ice warning
If the outside temperature drops to approx.
37.57/36, the computer automatically
switches to the outside temperature display.
A signal also sounds and the display flashes for
a short time.
Clock
Setting the 12-hour or 24-hour mode*
If the vehicle is equipped with a computer, you
can have the time displayed in either a 12-hour
or 24-hour mode.
While the time display is active, press the
onboard computer button BC in the turn signal
lever until the display changes.
Page 51 of 120
Reference
At a glance
Controls
Driving tips
Mobility
49
Average fuel consumption
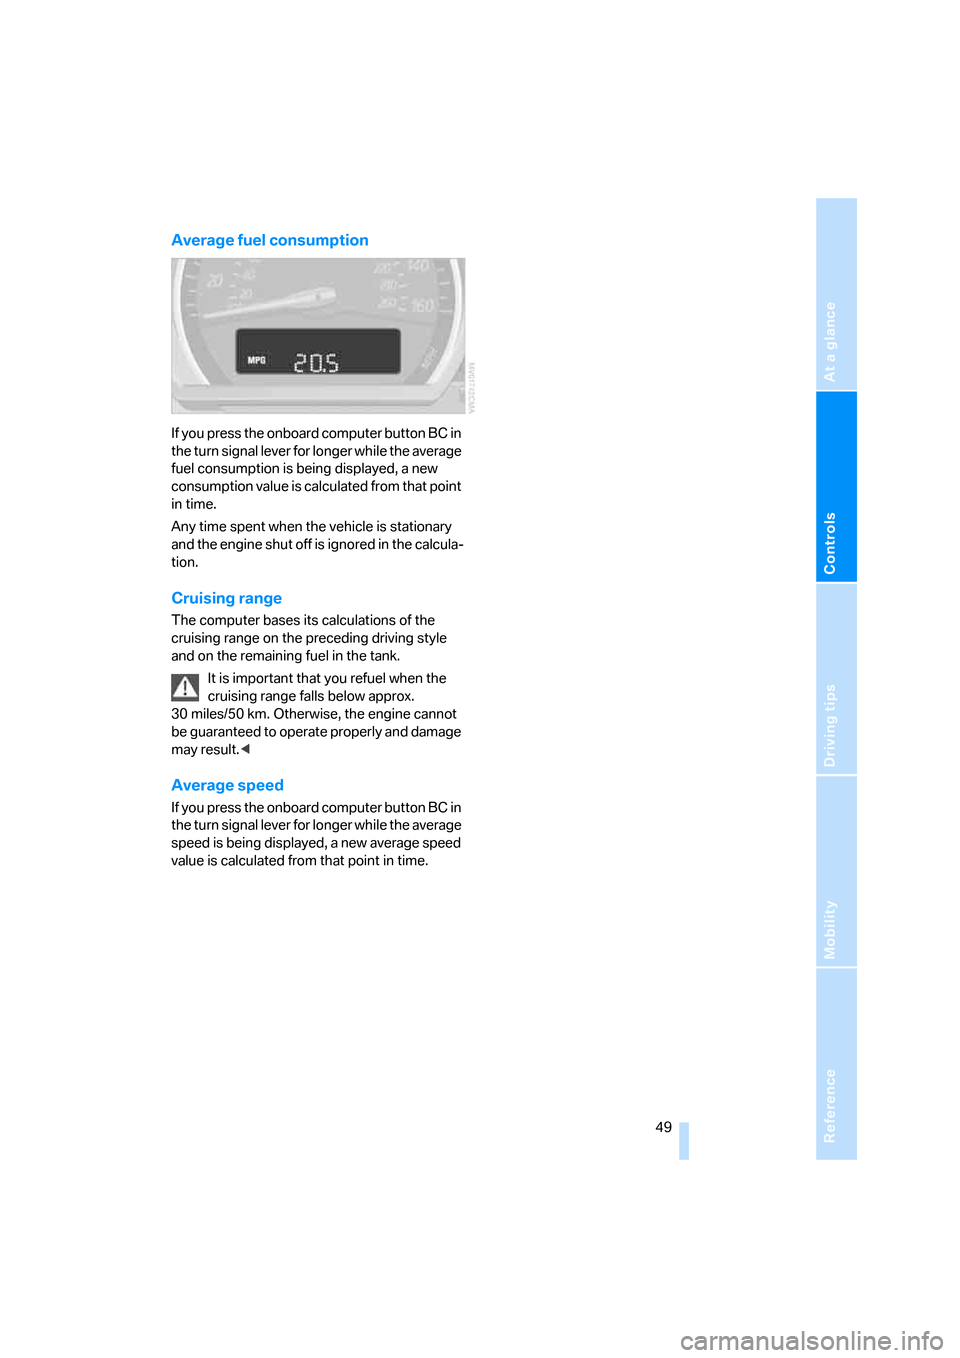
If you press the onboard computer button BC in
the turn signal lever for longer while the average
fuel consumption is being displayed, a new
consumption value is calculated from that point
in time.
Any time spent when the vehicle is stationary
and the engine shut off is ignored in the calcula-
tion.
Cruising range
The computer bases its calculations of the
cruising range on the preceding driving style
and on the remaining fuel in the tank.
It is important that you refuel when the
cruising range falls below approx.
30 miles/50 km. Otherwise, the engine cannot
be guaranteed to operate properly and damage
may result.<
Average speed
If you press the onboard computer button BC in
the turn signal lever for longer while the average
speed is being displayed, a new average speed
value is calculated from that point in time.
Page 54 of 120
Technology for safety and driving convenience
52
Brake force display
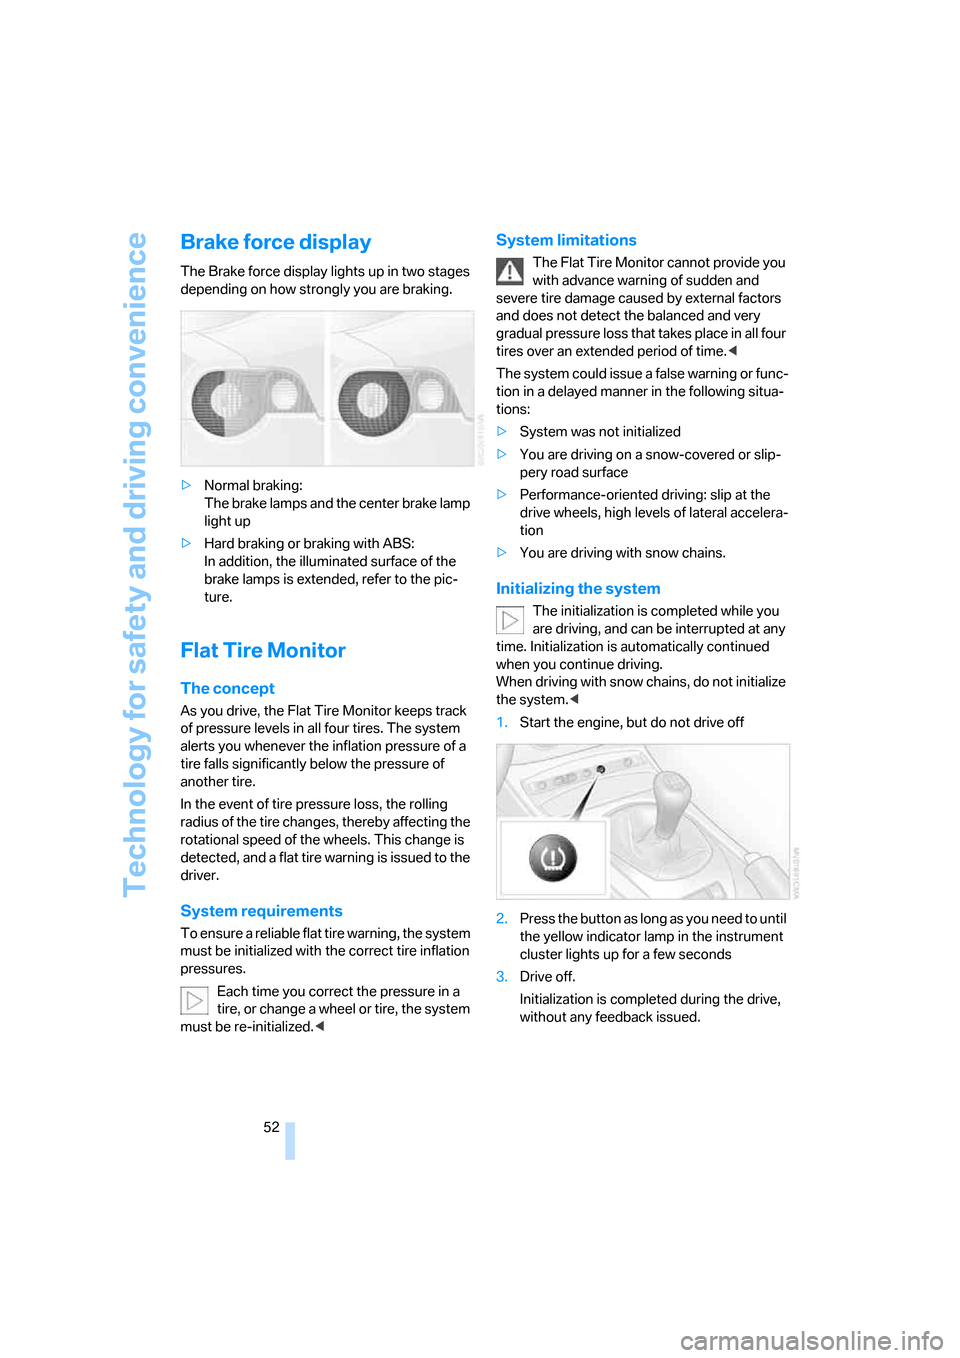
The Brake force display lights up in two stages
depending on how strongly you are braking.
>Normal braking:
The brake lamps and the center brake lamp
light up
>Hard braking or braking with ABS:
In addition, the illuminated surface of the
brake lamps is extended, refer to the pic-
ture.
Flat Tire Monitor
The concept
As you drive, the Flat Tire Monitor keeps track
of pressure levels in all four tires. The system
alerts you whenever the inflation pressure of a
tire falls significantly below the pressure of
another tire.
In the event of tire pressure loss, the rolling
radius of the tire changes, thereby affecting the
rotational speed of the wheels. This change is
detected, and a flat tire warning is issued to the
driver.
System requirements
To ensure a reliable flat tire warning, the system
must be initialized with the correct tire inflation
pressures.
Each time you correct the pressure in a
tire, or change a wheel or tire, the system
must be re-initialized.<
System limitations
The Flat Tire Monitor cannot provide you
with advance warning of sudden and
severe tire damage caused by external factors
and does not detect the balanced and very
gradual pressure loss that takes place in all four
tires over an extended period of time.<
The system could issue a false warning or func-
tion in a delayed manner in the following situa-
tions:
>System was not initialized
>You are driving on a snow-covered or slip-
pery road surface
>Performance-oriented driving: slip at the
drive wheels, high levels of lateral accelera-
tion
>You are driving with snow chains.
Initializing the system
The initialization is completed while you
are driving, and can be interrupted at any
time. Initialization is automatically continued
when you continue driving.
When driving with snow chains, do not initialize
the system.<
1.Start the engine, but do not drive off
2.Press the button as long as you need to until
the yellow indicator lamp in the instrument
cluster lights up for a few seconds
3.Drive off.
Initialization is completed during the drive,
without any feedback issued.
Page 64 of 120
Controlling the climate for pleasant driving
62
Tips for pleasant driving
Use the automatic system – switch on with
AUTO button 6. Select the desired interior tem-
perature.
Detailed setting options are described for you
below.
Automatic air distribution and supply
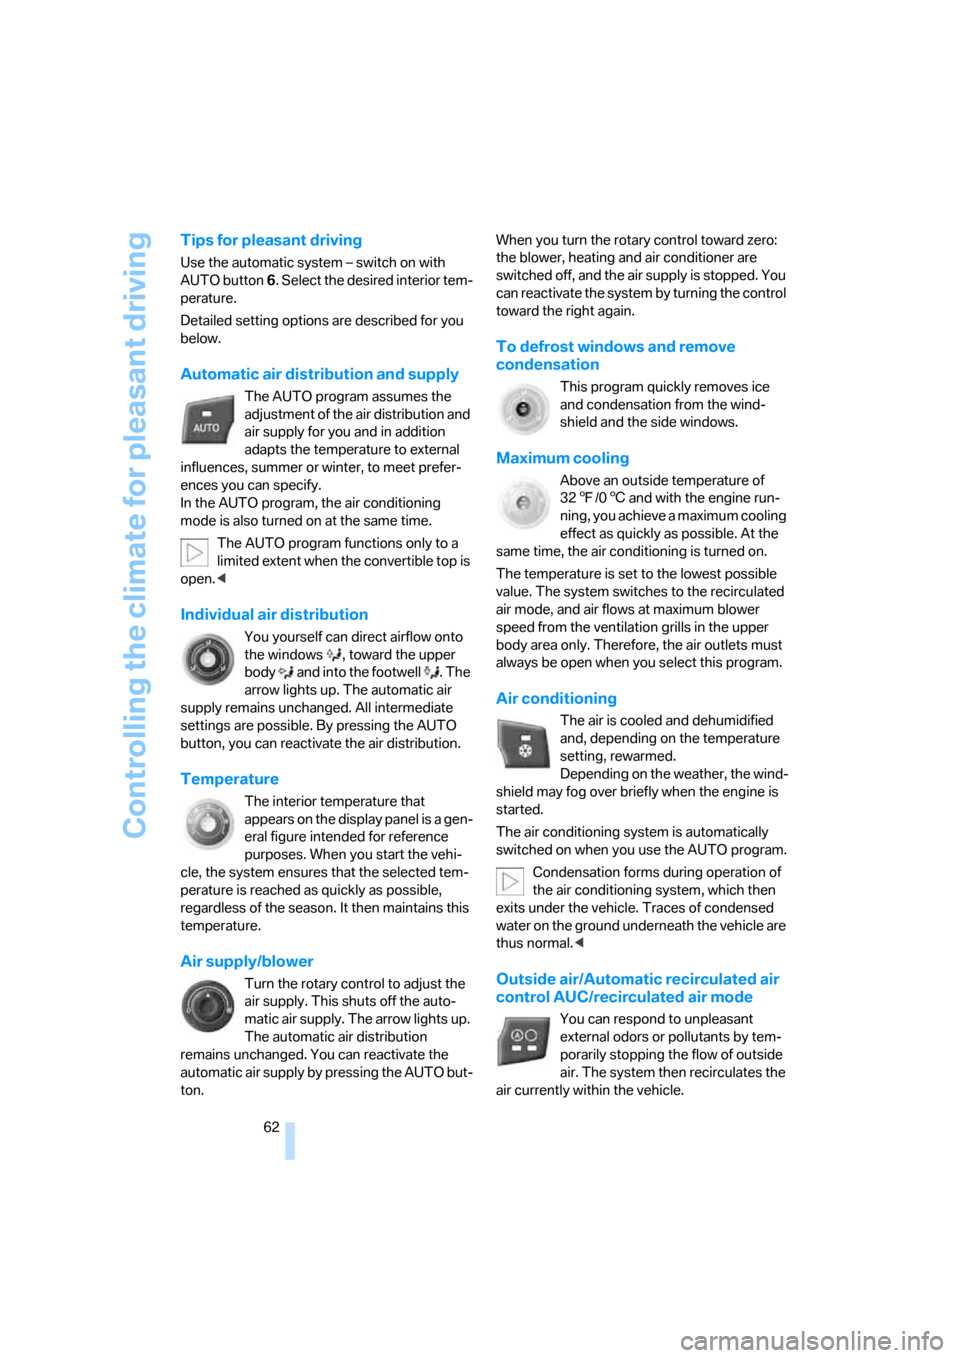
The AUTO program assumes the
adjustment of the air distribution and
air supply for you and in addition
adapts the temperature to external
influences, summer or winter, to meet prefer-
ences you can specify.
In the AUTO program, the air conditioning
mode is also turned on at the same time.
The AUTO program functions only to a
limited extent when the convertible top is
open.<
Individual air distribution
You yourself can direct airflow onto
the windows , toward the upper
body and into the footwell . The
arrow lights up. The automatic air
supply remains unchanged. All intermediate
settings are possible. By pressing the AUTO
button, you can reactivate the air distribution.
Temperature
The interior temperature that
appears on the display panel is a gen-
eral figure intended for reference
purposes. When you start the vehi-
cle, the system ensures that the selected tem-
perature is reached as quickly as possible,
regardless of the season. It then maintains this
temperature.
Air supply/blower
Turn the rotary control to adjust the
air supply. This shuts off the auto-
matic air supply. The arrow lights up.
The automatic air distribution
remains unchanged. You can reactivate the
automatic air supply by pressing the AUTO but-
ton.When you turn the rotary control toward zero:
the blower, heating and air conditioner are
switched off, and the air supply is stopped. You
can reactivate the system by turning the control
toward the right again.
To defrost windows and remove
condensation
This program quickly removes ice
and condensation from the wind-
shield and the side windows.
Maximum cooling
Above an outside temperature of
327/06 and with the engine run-
ning, you achieve a maximum cooling
effect as quickly as possible. At the
same time, the air conditioning is turned on.
The temperature is set to the lowest possible
value. The system switches to the recirculated
air mode, and air flows at maximum blower
speed from the ventilation grills in the upper
body area only. Therefore, the air outlets must
always be open when you select this program.
Air conditioning
The air is cooled and dehumidified
and, depending on the temperature
setting, rewarmed.
Depending on the weather, the wind-
shield may fog over briefly when the engine is
started.
The air conditioning system is automatically
switched on when you use the AUTO program.
Condensation forms during operation of
the air conditioning system, which then
exits under the vehicle. Traces of condensed
water on the ground underneath the vehicle are
thus normal.<
Outside air/Automatic recirculated air
control AUC/recirculated air mode
You can respond to unpleasant
external odors or pollutants by tem-
porarily stopping the flow of outside
air. The system then recirculates the
air currently within the vehicle.
Page 83 of 120
Reference
At a glance
Controls
Driving tips
Mobility
81
Temperature
The temperature grades are A, the highest, B
and C, representing the tire’s resistance to the
generation of heat and its ability to dissipate
heat when tested under controlled conditions
on a specified indoor laboratory test wheel.
Sustained high temperature can cause the
material of the tire to degenerate and reduce
tire life, and excessive temperature can lead to
sudden tire failure. The grade C corresponds to
a level of performance which all passenger car
tires must meet under the Federal Motor Vehi-
cle Safety Standard No. 109. Grades B and A
represent higher levels of performance on the
laboratory test wheel than the minimum
required by law.
The temperature grade for this tire is
established for a tire that is properly
inflated and not overloaded. Excessive speed,
under-inflation, or excessive loading, either
separately or in combination, can cause heat
buildup and possible tire failure.<
RSC: Run Flat tires
Run Flat tires are labeled on the sidewall with a
circular symbol containing the letters RSC.
Refer to page82.
M+S
Winter and all-season tires.
These have better winter performance proper-
ties than summer tires.
Tire condition
Inspect your tires frequently for tread wear,
signs of damage and for foreign objects lodged
in the tread. Check the tread depth.
Tire tread
Tread depth should not be allowed to go below
1/8 in / 3 mm even though in Europe, for exam-
ple, the legally specified minimum tread depth
is only 1/16 in / 1.6 mm. Below 1/8 in / 3 mm
tread depth, there is a very high risk of hydro-
planing, even with only small amounts of water
on the road and at relatively moderate speeds.At tread depths below approx. 1/6in/ 4mm,
winter tires display a perceptible decrease in
their ability to cope with winter driving condi-
tions, and should be replaced in the interest of
safety.
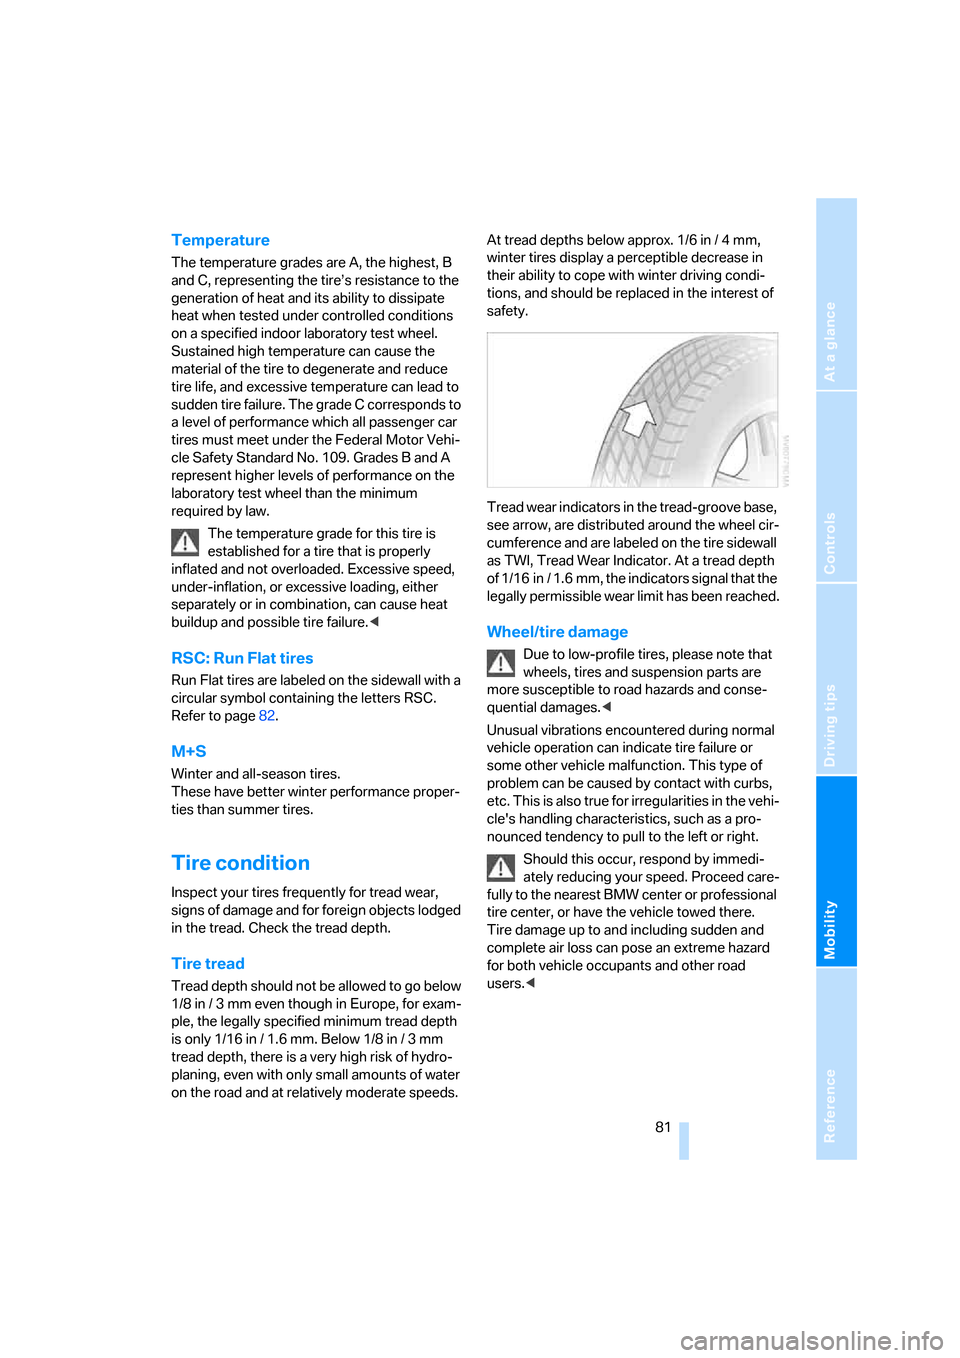
Tread wear indicators in the tread-groove base,
see arrow, are distributed around the wheel cir-
cumference and are labeled on the tire sidewall
as TWI, Tread Wear Indicator. At a tread depth
of 1/16 in / 1.6 mm, the indicators signal that the
legally permissible wear limit has been reached.
Wheel/tire damage
Due to low-profile tires, please note that
wheels, tires and suspension parts are
more susceptible to road hazards and conse-
quential damages.<
Unusual vibrations encountered during normal
vehicle operation can indicate tire failure or
some other vehicle malfunction. This type of
problem can be caused by contact with curbs,
etc. This is also true for irregularities in the vehi-
cle's handling characteristics, such as a pro-
nounced tendency to pull to the left or right.
Should this occur, respond by immedi-
ately reducing your speed. Proceed care-
fully to the nearest BMW center or professional
tire center, or have the vehicle towed there.
Tire damage up to and including sudden and
complete air loss can pose an extreme hazard
for both vehicle occupants and other road
users.<