2005 BMW Z4 ROADSTER 2.5I service
[x] Cancel search: servicePage 78 of 120

Refueling
76
Refueling
Fuel filler door
1.Open fuel filler door
2.Turn the gas cap in a counter-clockwise
direction
3.Place the cap in the bracket on the filler
door.
Releasing manually
If an electrical malfunction occurs, you can
unlock the fuel filler door manually:
1.Remove the covers of the tail lamps by turn-
ing the lock to the right; refer also to
page93
2.Pull the luggage compartment trim panel
slightly toward the interior.
The green button with the fuel pump sym-
bol becomes visible
3.Undo the adhesive strip and pull off
4.Pull the button
The fuel filler door is released.
Pull on the button slowly and carefully
as it could otherwise be torn off.<
Note when refueling
When handling fuels, comply with all of
the applicable safety precautions posted
at the service station.<
When refueling, insert the filler nozzle com-
pletely into the filler pipe. Lifting the nozzle dur-
ing refueling
>results in premature shutoff
>and will reduce the effect of the vapor
recovery system on the pump.
The fuel tank is full when the filler nozzle shuts
off the first time.
Closing the fuel filler cap
Place the cap in position and turn it clockweise
until a clearly audible click is heard.
Close the filler cap carefully after refueling
until a click is heard. While closing, be
sure not to squeeze the strap which is fastened
to the cap. A loose or missing cap will activate
the Check gas cap lamp
*.<
Warning lamp
* lights up.
The gas cap is not properly closed or is
missing. Check if the gas cap is prop-
erly closed.
Contents of the fuel tank
Approx. 14.5 gallons/55 liters, of which approx.
2.1 gallons/8 liters are reserve capacity.
Fill the fuel tank before it is completely
empty. Driving to the last drop of fuel can
prevent the engine from operating properly and
result in damage.<
Fuel specifications
The engine uses lead-free gasoline only.
Required fuel
Premium Unleaded Gasoline, Minimum Octane
Rating: 91.
Page 80 of 120
Wheels and tires
78
Wheels and tires
Tire inflation pressure
Information for your safety
It is not merely the tire's service life, but also
driving safety and driving comfort that largely
depend on the condition of the tires and the
maintenance of the specified tire pressure.
Checking tire pressures
Check the tire inflation pressures only when the
tires are cold. This means after a maximum driv-
ing distance of 1.25 miles/2 km or if the vehicle
has been parked for at least 2 hours. Warm tires
have higher inflation pressures.
Check tire inflation pressures regularly
and correct them if necessary: at least
every two weeks and before every extended
journey. Otherwise, incorrect tire pressures can
cause driving instability or tire damage, ulti-
mately resulting in accidents.<
Reinitialize the Flat Tire Monitor after cor-
recting the tire inflation pressure. Refer to
page52.<
Inflation pressures for original tires
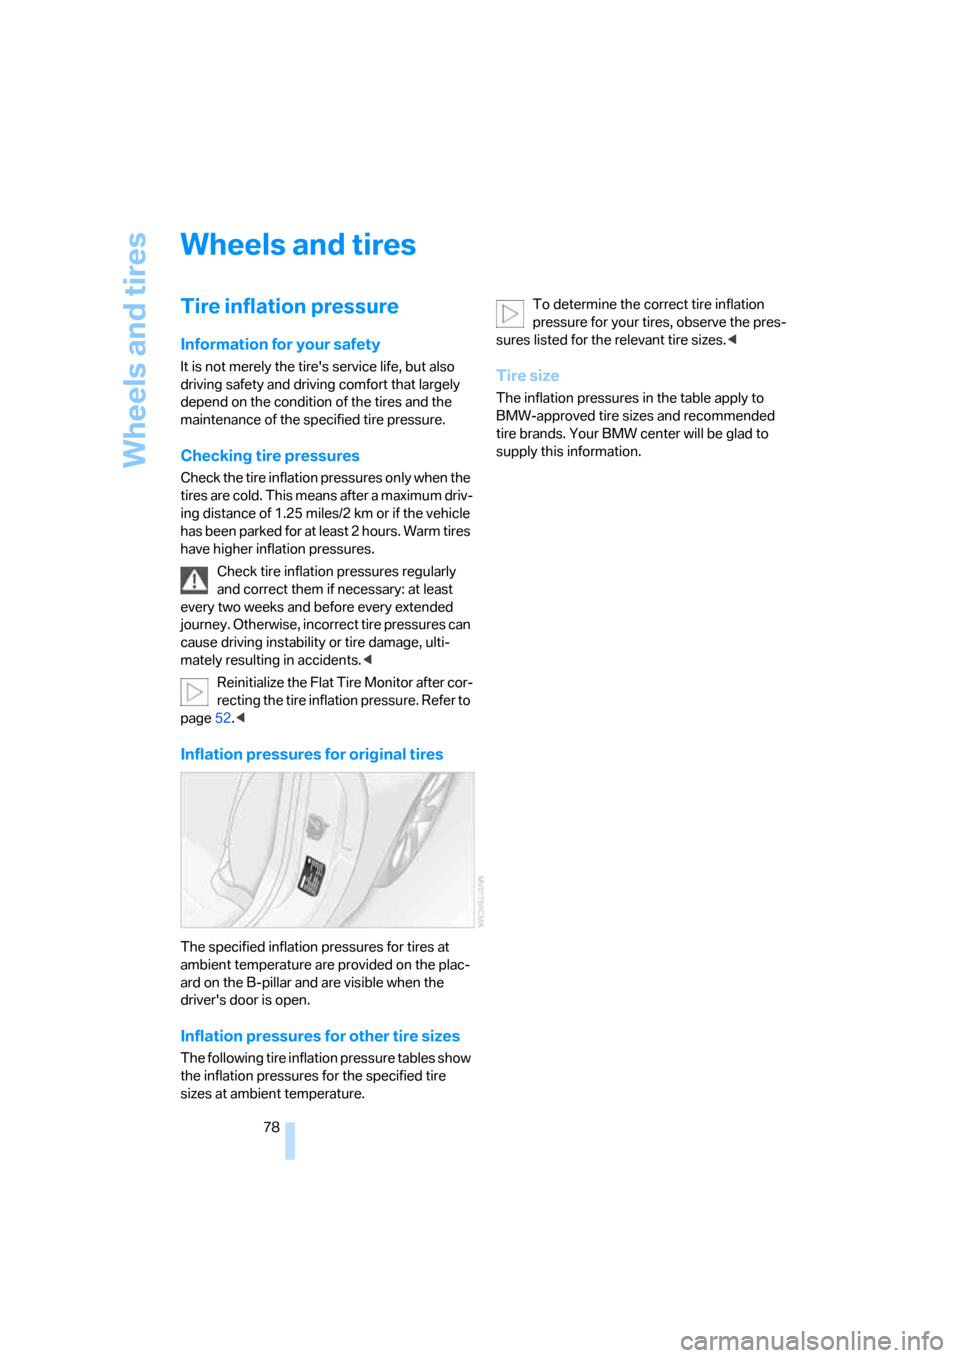
The specified inflation pressures for tires at
ambient temperature are provided on the plac-
ard on the B-pillar and are visible when the
driver's door is open.
Inflation pressures for other tire sizes
The following tire inflation pressure tables show
the inflation pressures for the specified tire
sizes at ambient temperature.To determine the correct tire inflation
pressure for your tires, observe the pres-
sures listed for the relevant tire sizes.<
Tire size
The inflation pressures in the table apply to
BMW-approved tire sizes and recommended
tire brands. Your BMW center will be glad to
supply this information.
Page 82 of 120
Wheels and tires
80
Tire coding
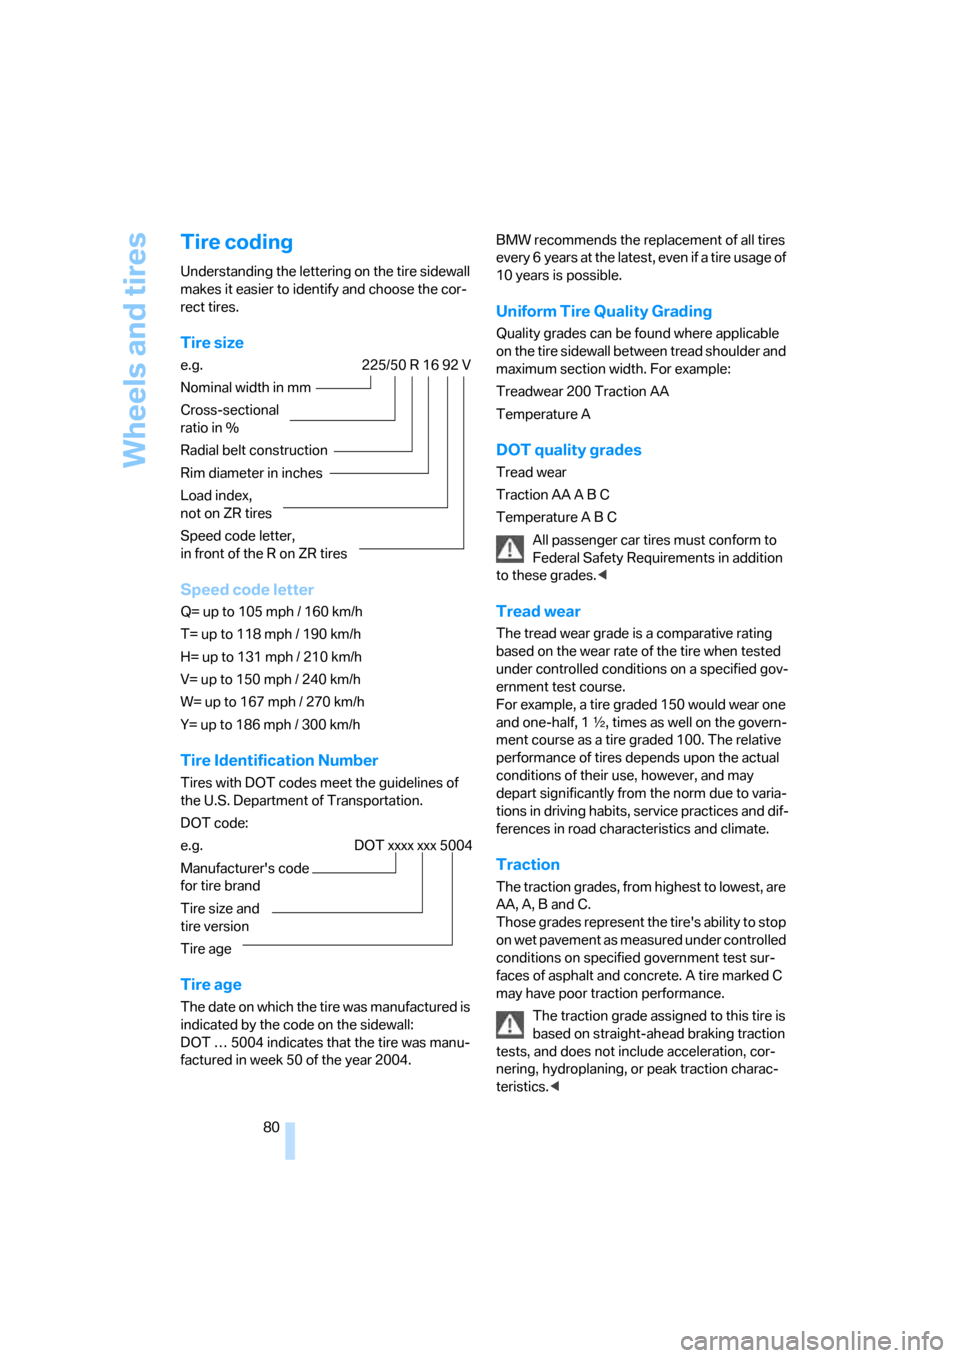
Understanding the lettering on the tire sidewall
makes it easier to identify and choose the cor-
rect tires.
Tire size
e.g. 225/50 R 16 92 V
Nominal width in mm
Cross-sectional
ratio in %
Radial belt construction
Rim diameter in inches
Load index,
not on ZR tires
Speed code letter,
in front of the R on ZR tires
Speed code letter
Q= up to 105 mph / 160 km/h
T= up to 118 mph / 190 km/h
H= up to 131 mph / 210 km/h
V= up to 150 mph / 240 km/h
W= up to 167 mph / 270 km/h
Y= up to 186 mph / 300 km/h
Tire Identification Number
Tires with DOT codes meet the guidelines of
the U.S. Department of Transportation.
DOT code:
e.g. DOT xxxx xxx 5004
Manufacturer's code
for tire brand
Tire size and
tire version
Tire age
Tire age
The date on which the tire was manufactured is
indicated by the code on the sidewall:
DOT … 5004 indicates that the tire was manu-
factured in week 50 of the year 2004.BMW recommends the replacement of all tires
every 6 years at the latest, even if a tire usage of
10 years is possible.
Uniform Tire Quality Grading
Quality grades can be found where applicable
on the tire sidewall between tread shoulder and
maximum section width. For example:
Treadwear 200 Traction AA
Temperature A
DOT quality grades
Tread wear
Traction AA A B C
Temperature A B C
All passenger car tires must conform to
Federal Safety Requirements in addition
to these grades.<
Tread wear
The tread wear grade is a comparative rating
based on the wear rate of the tire when tested
under controlled conditions on a specified gov-
ernment test course.
For example, a tire graded 150 would wear one
and one-half, 1 γ, times as well on the govern-
ment course as a tire graded 100. The relative
performance of tires depends upon the actual
conditions of their use, however, and may
depart significantly from the norm due to varia-
tions in driving habits, service practices and dif-
ferences in road characteristics and climate.
Traction
The traction grades, from highest to lowest, are
AA, A, B and C.
Those grades represent the tire's ability to stop
on wet pavement as measured under controlled
conditions on specified government test sur-
faces of asphalt and concrete. A tire marked C
may have poor traction performance.
The traction grade assigned to this tire is
based on straight-ahead braking traction
tests, and does not include acceleration, cor-
nering, hydroplaning, or peak traction charac-
teristics.<
Page 84 of 120
Wheels and tires
82
Run Flat tires fitted
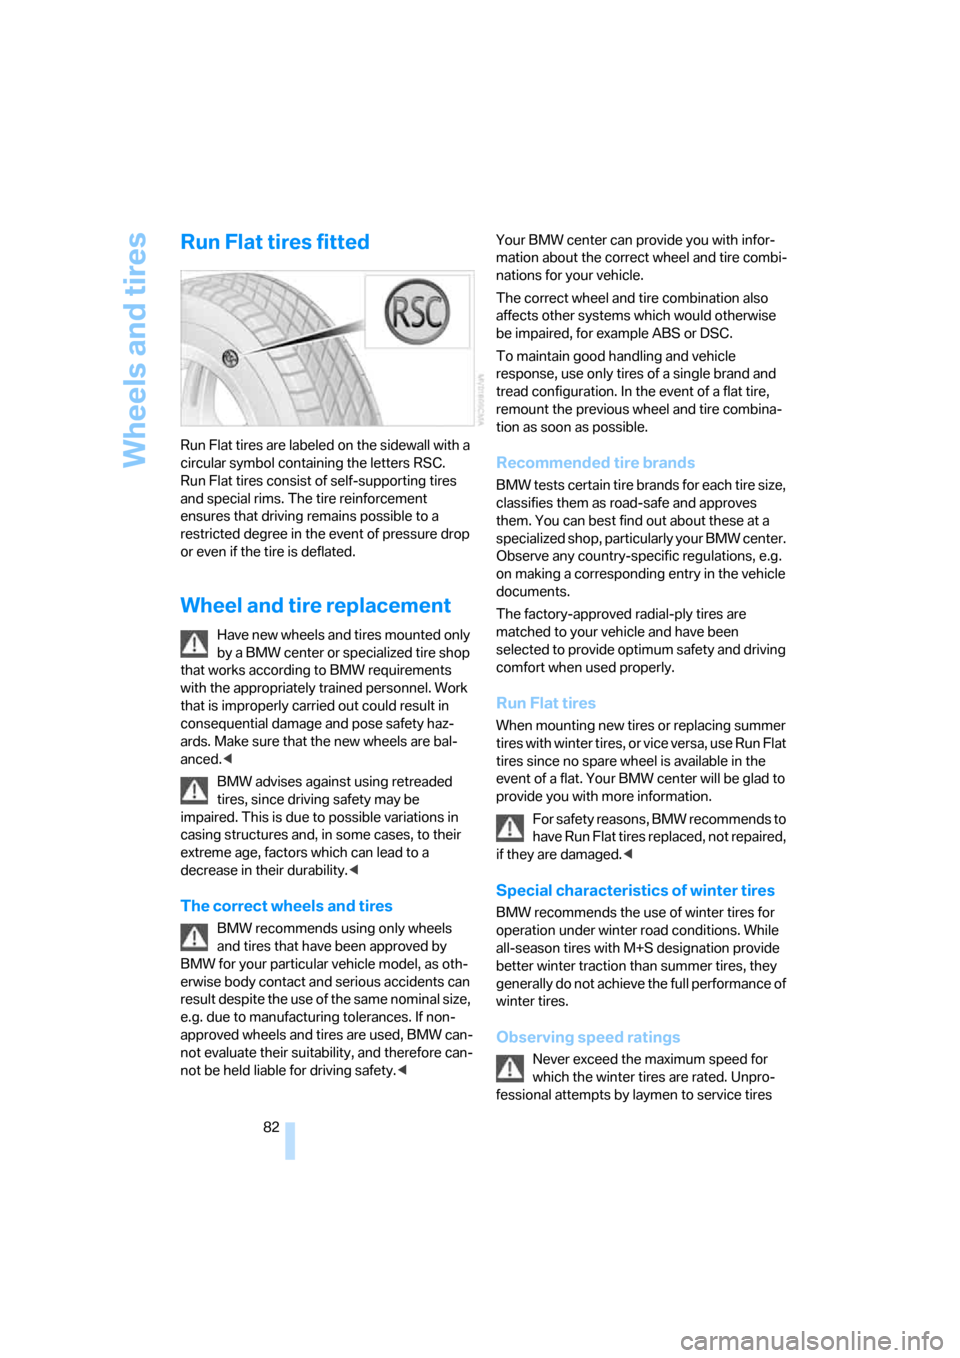
Run Flat tires are labeled on the sidewall with a
circular symbol containing the letters RSC.
Run Flat tires consist of self-supporting tires
and special rims. The tire reinforcement
ensures that driving remains possible to a
restricted degree in the event of pressure drop
or even if the tire is deflated.
Wheel and tire replacement
Have new wheels and tires mounted only
by a BMW center or specialized tire shop
that works according to BMW requirements
with the appropriately trained personnel. Work
that is improperly carried out could result in
consequential damage and pose safety haz-
ards. Make sure that the new wheels are bal-
anced.<
BMW advises against using retreaded
tires, since driving safety may be
impaired. This is due to possible variations in
casing structures and, in some cases, to their
extreme age, factors which can lead to a
decrease in their durability.<
The correct wheels and tires
BMW recommends using only wheels
and tires that have been approved by
BMW for your particular vehicle model, as oth-
erwise body contact and serious accidents can
result despite the use of the same nominal size,
e.g. due to manufacturing tolerances. If non-
approved wheels and tires are used, BMW can-
not evaluate their suitability, and therefore can-
not be held liable for driving safety.
nations for your vehicle.
The correct wheel and tire combination also
affects other systems which would otherwise
be impaired, for example ABS or DSC.
To maintain good handling and vehicle
response, use only tires of a single brand and
tread configuration. In the event of a flat tire,
remount the previous wheel and tire combina-
tion as soon as possible.
Recommended tire brands
BMW tests certain tire brands for each tire size,
classifies them as road-safe and approves
them. You can best find out about these at a
specialized shop, particularly your BMW center.
Observe any country-specific regulations, e.g.
on making a corresponding entry in the vehicle
documents.
The factory-approved radial-ply tires are
matched to your vehicle and have been
selected to provide optimum safety and driving
comfort when used properly.
Run Flat tires
When mounting new tires or replacing summer
tires with winter tires, or vice versa, use Run Flat
tires since no spare wheel is available in the
event of a flat. Your BMW center will be glad to
provide you with more information.
For safety reasons, BMW recommends to
have Run Flat tires replaced, not repaired,
if they are damaged.<
Special characteristics of winter tires
BMW recommends the use of winter tires for
operation under winter road conditions. While
all-season tires with M+S designation provide
better winter traction than summer tires, they
generally do not achieve the full performance of
winter tires.
Observing speed ratings
Never exceed the maximum speed for
which the winter tires are rated. Unpro-
fessional attempts by laymen to service tires
Page 86 of 120
In the engine compartment
84
In the engine compartment
Do not attempt to service your vehicle if
you do not have the required technical
background. If you are not familiar with the reg-
ulations to be observed, have your vehicle ser-
viced only by a BMW center or a workshop that
works according to BMW requirements with the
appropriately trained personnel. Work that is
improperly carried out could result in conse-
quential damage and pose safety hazards.<
Hood
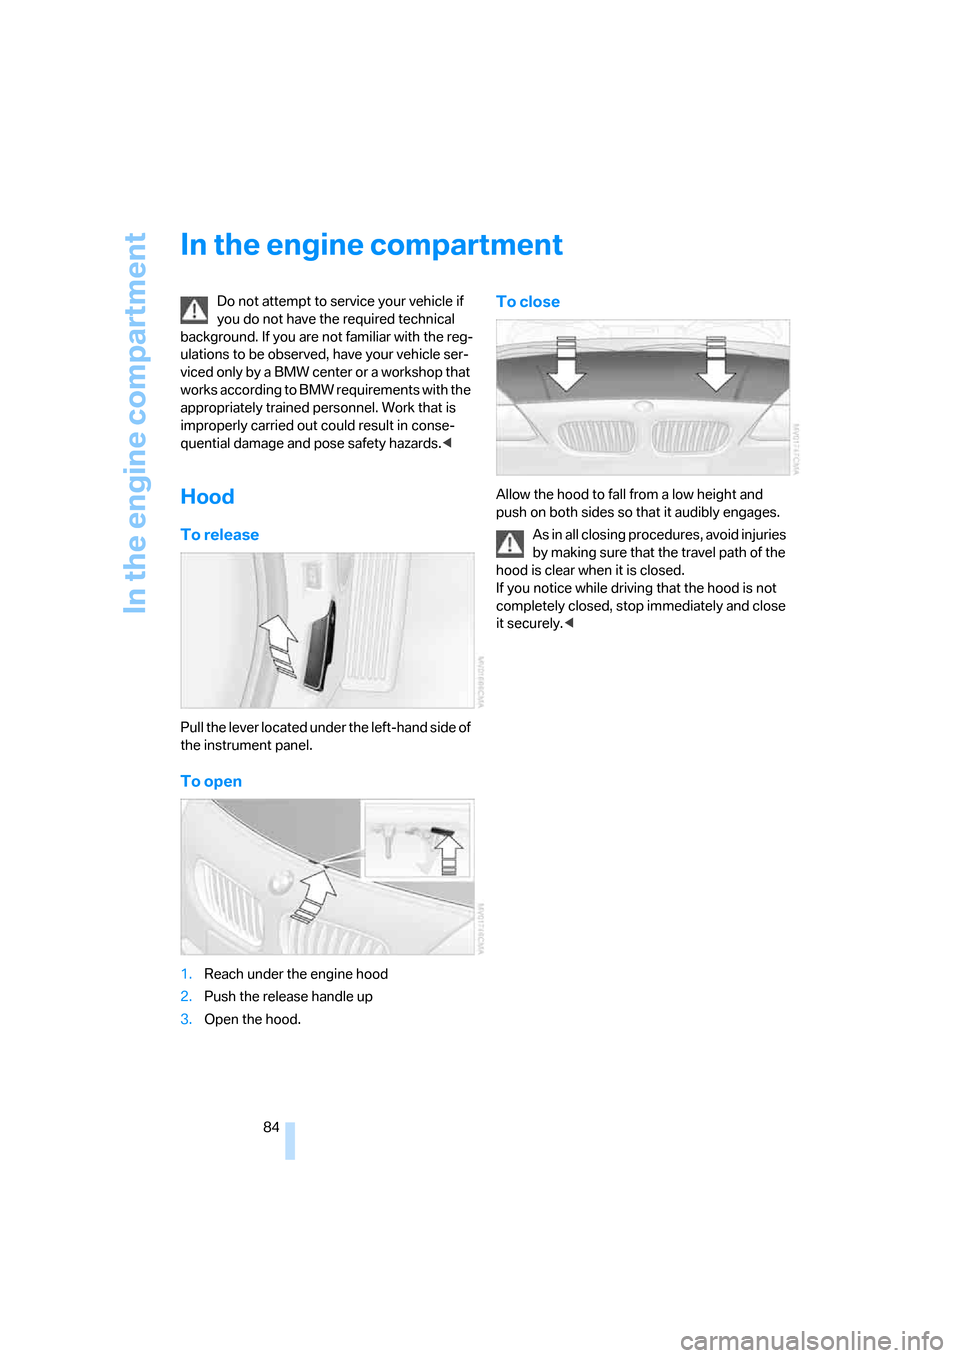
To release
Pull the lever located under the left-hand side of
the instrument panel.
To open
1.Reach under the engine hood
2.Push the release handle up
3.Open the hood.
To close
Allow the hood to fall from a low height and
push on both sides so that it audibly engages.
As in all closing procedures, avoid injuries
by making sure that the travel path of the
hood is clear when it is closed.
If you notice while driving that the hood is not
completely closed, stop immediately and close
it securely.<
Page 91 of 120
Reference
At a glance
Controls
Driving tips
Mobility
89
Maintenance
The BMW Maintenance
System
The BMW Maintenance System helps maintain
the road safety and operating reliability of your
BMW.
Please keep in mind that regular maintenance is
not only necessary for the safety of your vehi-
cle, but also plays a significant role in maintain-
ing the resale value of your vehicle.
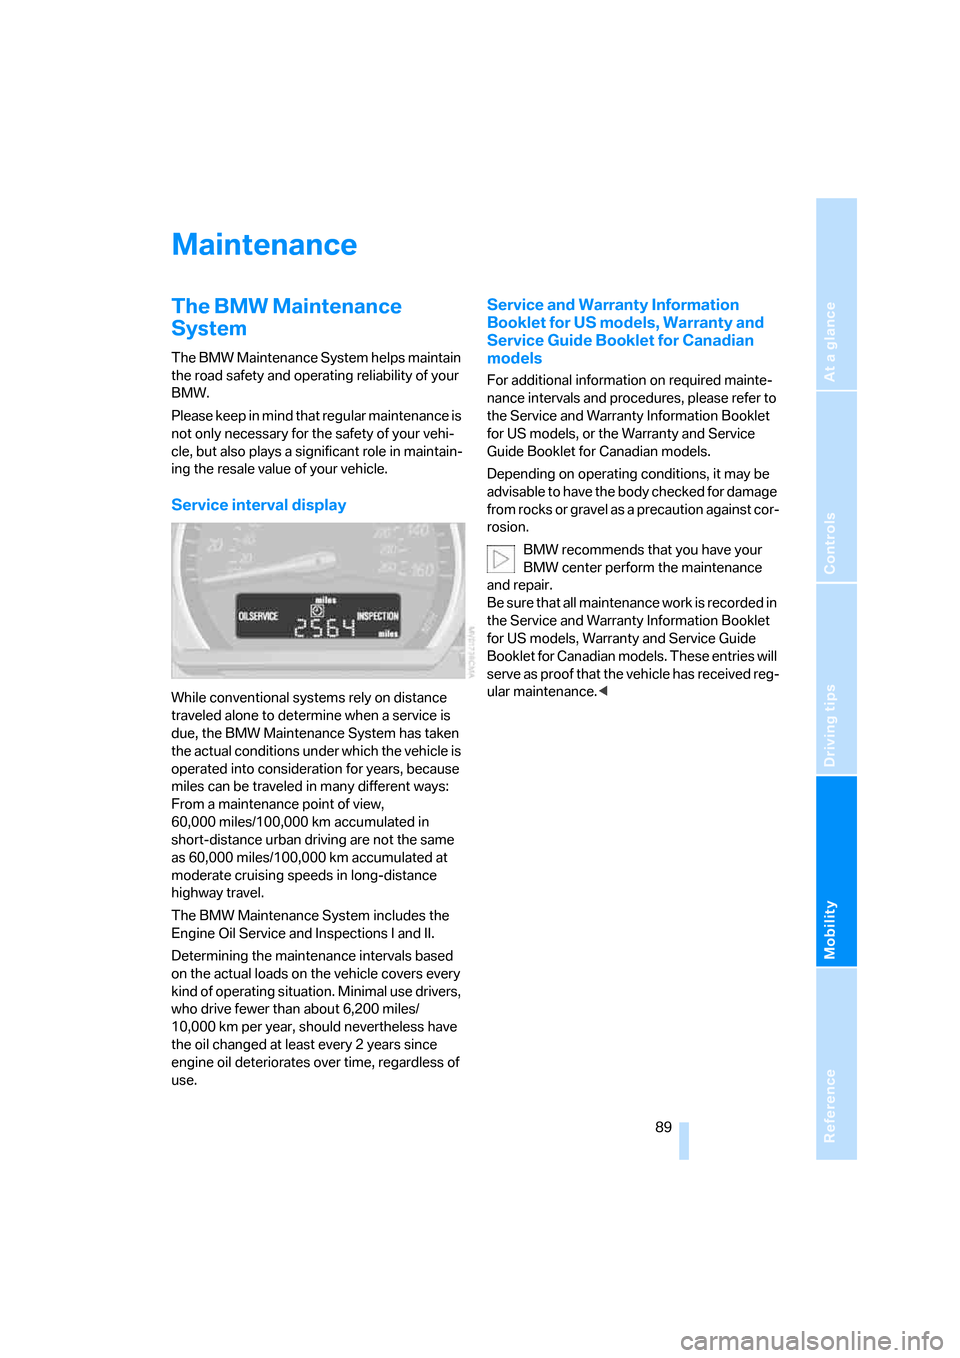
Service interval display
While conventional systems rely on distance
traveled alone to determine when a service is
due, the BMW Maintenance System has taken
the actual conditions under which the vehicle is
operated into consideration for years, because
miles can be traveled in many different ways:
From a maintenance point of view,
60,000 miles/100,000 km accumulated in
short-distance urban driving are not the same
as 60,000 miles/100,000 km accumulated at
moderate cruising speeds in long-distance
highway travel.
The BMW Maintenance System includes the
Engine Oil Service and Inspections I and II.
Determining the maintenance intervals based
on the actual loads on the vehicle covers every
kind of operating situation. Minimal use drivers,
who drive fewer than about 6,200 miles/
10,000 km per year, should nevertheless have
the oil changed at least every 2 years since
engine oil deteriorates over time, regardless of
use.
Service and Warranty Information
Booklet for US models, Warranty and
Service Guide Booklet for Canadian
models
For additional information on required mainte-
nance intervals and procedures, please refer to
the Service and Warranty Information Booklet
for US models, or the Warranty and Service
Guide Booklet for Canadian models.
Depending on operating conditions, it may be
advisable to have the body checked for damage
from rocks or gravel as a precaution against cor-
rosion.
BMW recommends that you have your
BMW center perform the maintenance
and repair.
Be sure that all maintenance work is recorded in
the Service and Warranty Information Booklet
for US models, Warranty and Service Guide
Booklet for Canadian models. These entries will
serve as proof that the vehicle has received reg-
ular maintenance.<
Page 92 of 120

Maintenance
90
OBD interface socket
The Onboard Diagnostic OBD interface socket
is located on the left of the driver's side under
the instrument panel and under a cover.
The cover has the letters OBD on it.
The purpose of the OBD system is to ensure
proper operation of the emission control sys-
tem for the vehicle's lifetime.
The system monitors emission-related compo-
nents and systems for deterioration and mal-
function.
If the Service engine soon indicator
lamp comes on either continuously or
intermittently, this indicates a fault in
the emission-related electronic systems.
Although the vehicle remains operational, you
should have the systems checked by your
BMW center at the earliest possible opportu-
nity.
The illuminated indicator informs you of the
need for service, not that you need to stop the
vehicle. However, the systems should be
checked by your BMW cente r a t t h e n e x t o p p o r -
tunity.
If the indicator blinks or flashes, this indicates a
high level of engine misfire. Reduce speed and
contact the nearest BMW center immediately.
Severe engine misfiring over even a short
period of time can seriously damage emission
control system components, especially the cat-
alytic converter.Indication of the above-described mal-
function in Canadian models.
If the gas cap is not on tight enough, the
OBD system can detect leaking vapor
and the indicator will light up. If the gas cap is
then tightened, the indicator will usually go out
after a short period of time.<
Event Data Recorders
Your vehicle may be equipped with one or more
sensing and diagnostic modules or a recording
device capable of recording or transmitting cer-
tain vehicle data or information. In addition, if
you have a Subscription Service Agreement for
the BMW Assist system, certain vehicle infor-
mation may be transmitted or recorded in order
to provide such services.
Care
Interesting facts about the care of your vehicle
are found in the Caring for your vehicle bro-
chure.
Page 93 of 120
Reference
At a glance
Controls
Driving tips
Mobility
91
Replacement procedures
Onboard tool kit
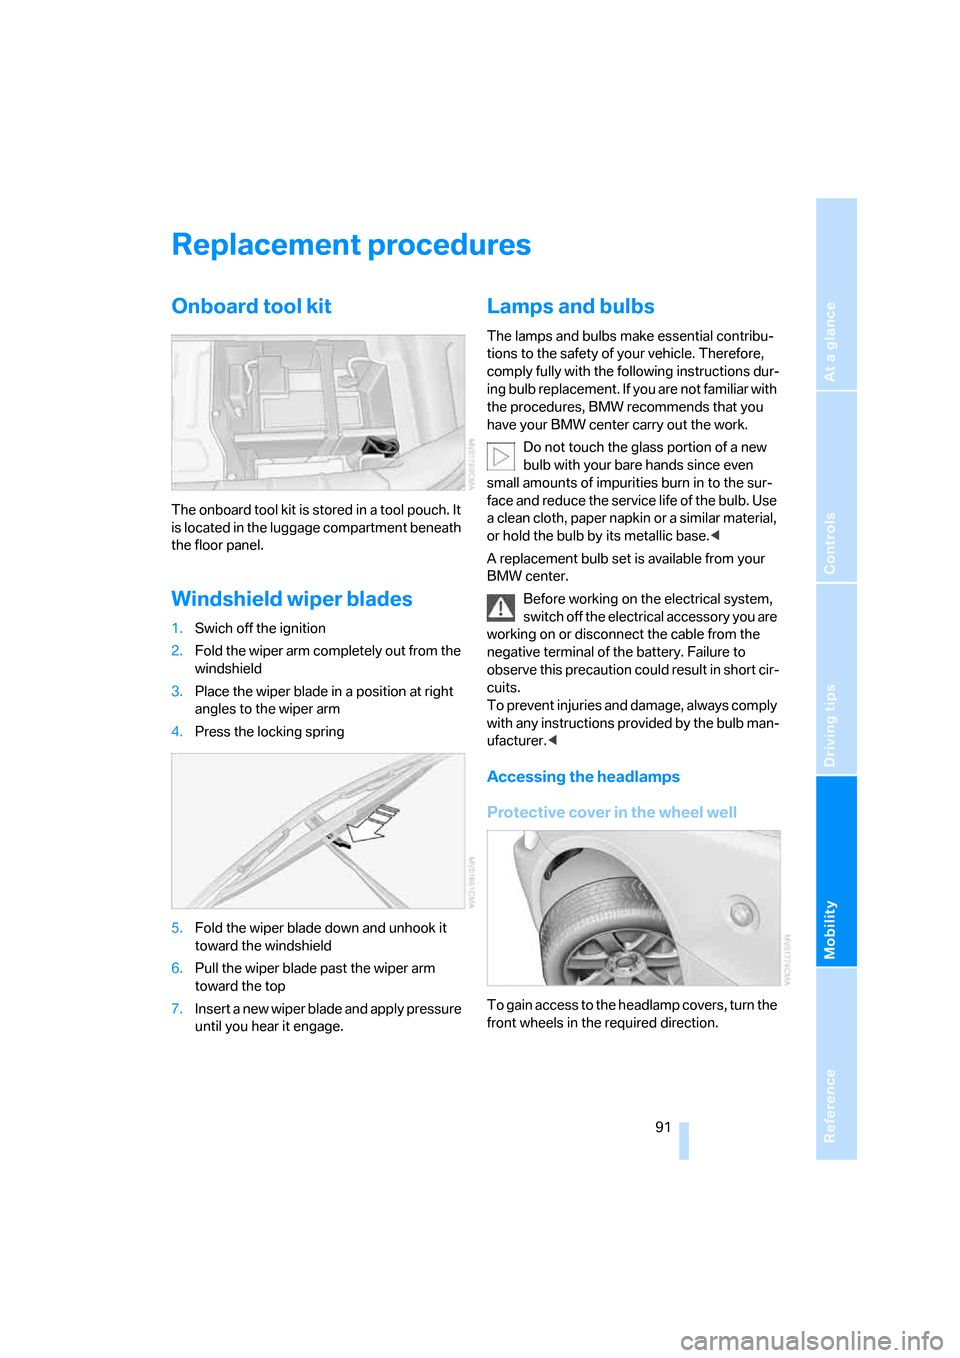
The onboard tool kit is stored in a tool pouch. It
is located in the luggage compartment beneath
the floor panel.
Windshield wiper blades
1.Swich off the ignition
2.Fold the wiper arm completely out from the
windshield
3.Place the wiper blade in a position at right
angles to the wiper arm
4.Press the locking spring
5.Fold the wiper blade down and unhook it
toward the windshield
6.Pull the wiper blade past the wiper arm
toward the top
7.Insert a new wiper blade and apply pressure
until you hear it engage.
Lamps and bulbs
The lamps and bulbs make essential contribu-
tions to the safety of your vehicle. Therefore,
comply fully with the following instructions dur-
ing bulb replacement. If you are not familiar with
the procedures, BMW recommends that you
have your BMW center carry out the work.
Do not touch the glass portion of a new
bulb with your bare hands since even
small amounts of impurities burn in to the sur-
face and reduce the service life of the bulb. Use
a clean cloth, paper napkin or a similar material,
or hold the bulb by its metallic base.<
A replacement bulb set is available from your
BMW center.
Before working on the electrical system,
switch off the electrical accessory you are
working on or disconnect the cable from the
negative terminal of the battery. Failure to
observe this precaution could result in short cir-
cuits.
To prevent injuries and damage, always comply
with any instructions provided by the bulb man-
ufacturer.<
Accessing the headlamps
Protective cover in the wheel well
To gain access to the headlamp covers, turn the
front wheels in the required direction.