2005 BMW 645CI COUPE&CONVERTIBLE remote control
[x] Cancel search: remote controlPage 38 of 217
Controls
37Reference
At a glance
Driving tips
Communications
Navigation
Entertainment
Mobility
Rear window
Ignition key in position 1 or greater, refer to
page54:
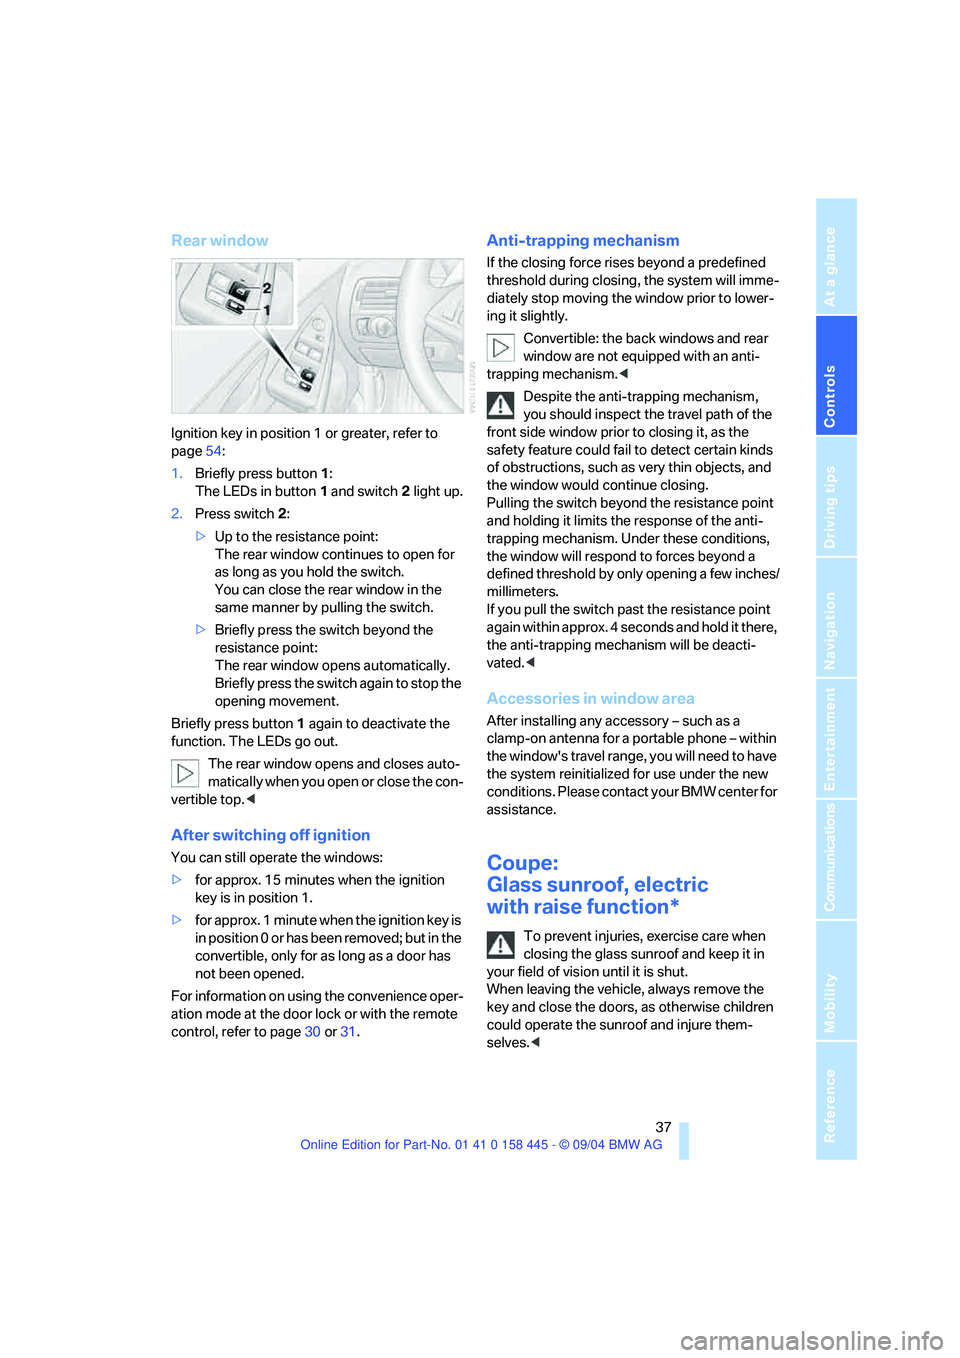
1.Briefly press button1:
The LEDs in button 1 and switch 2 light up.
2.Press switch 2:
>Up to the resistance point:
The rear window continues to open for
as long as you hold the switch.
You can close the rear window in the
same manner by pulling the switch.
>Briefly press the switch beyond the
resistance point:
The rear window opens automatically.
Briefly press the switch again to stop the
opening movement.
Briefly press button 1 again to deactivate the
function. The LEDs go out.
The rear window opens and closes auto-
matically when you open or close the con-
vertible top.<
After switching off ignition
You can still operate the windows:
>for approx. 15 minutes when the ignition
key is in position 1.
>for approx. 1 minute when the ignition key is
in position 0 or has been removed; but in the
convertible, only for as long as a door has
not been opened.
For information on using the convenience oper-
ation mode at the door lock or with the remote
control, refer to page30 or31.
Anti-trapping mechanism
If the closing force rises beyond a predefined
threshold during closing, the system will imme-
diately stop moving the window prior to lower-
ing it slightly.
Convertible: the back windows and rear
window are not equipped with an anti-
trapping mechanism.<
Despite the anti-trapping mechanism,
you should inspect the travel path of the
front side window prior to closing it, as the
safety feature could fail to detect certain kinds
of obstructions, such as very thin objects, and
the window would continue closing.
Pulling the switch beyond the resistance point
and holding it limits the response of the anti-
trapping mechanism. Under these conditions,
the window will respond to forces beyond a
defined threshold by only opening a few inches/
millimeters.
If you pull the switch past the resistance point
again within approx. 4 seconds and hold it there,
the anti-trapping mechanism will be deacti-
vated.<
Accessories in window area
After installing any accessory – such as a
clamp-on antenna for a portable phone – within
the window's travel range, you will need to have
the system reinitialized for use under the new
conditions. Please contact your BMW center for
assistance.
Coupe:
Glass sunroof, electric
with raise function*
To prevent injuries, exercise care when
closing the glass sunroof and keep it in
your field of vision until it is shut.
When leaving the vehicle, always remove the
key and close the doors, as otherwise children
could operate the sunroof and injure them-
selves.<
Page 39 of 217
Opening and closing
38
Raising and closing glass sunroof
Ignition key in position 1 or greater, refer to
page54:
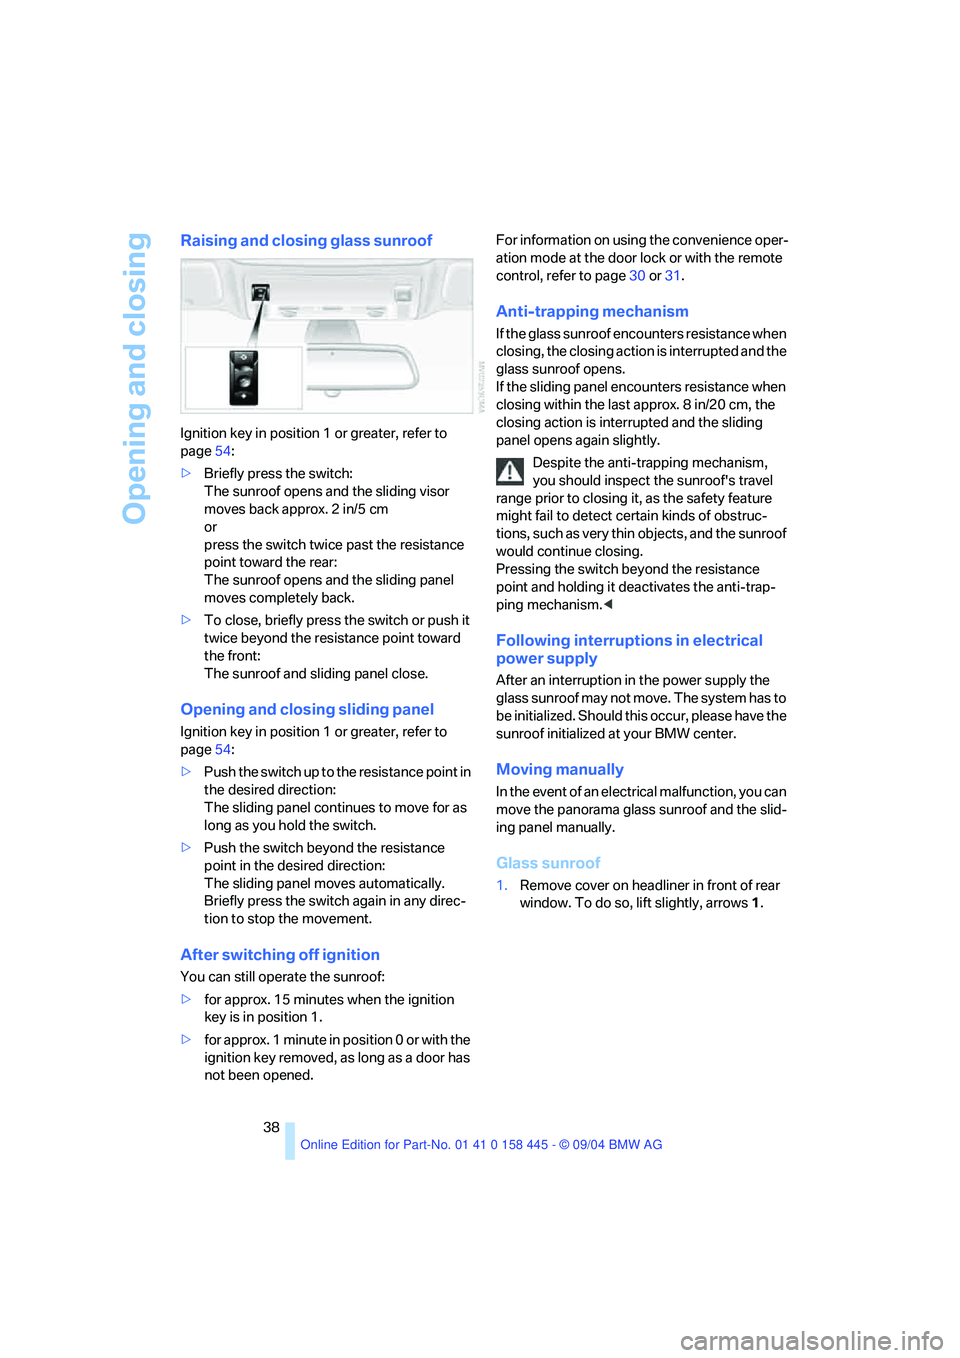
>Briefly press the switch:
The sunroof opens and the sliding visor
moves back approx. 2 in/5 cm
or
press the switch twice past the resistance
point toward the rear:
The sunroof opens and the sliding panel
moves completely back.
>To close, briefly press the switch or push it
twice beyond the resistance point toward
the front:
The sunroof and sliding panel close.
Opening and closing sliding panel
Ignition key in position 1 or greater, refer to
page54:
>Push the switch up to the resistance point in
the desired direction:
The sliding panel continues to move for as
long as you hold the switch.
>Push the switch beyond the resistance
point in the desired direction:
The sliding panel moves automatically.
Briefly press the switch again in any direc-
tion to stop the movement.
After switching off ignition
You can still operate the sunroof:
>for approx. 15 minutes when the ignition
key is in position 1.
>for approx. 1 minute in position 0 or with the
ignition key removed, as long as a door has
not been opened.For information on using the convenience oper-
ation mode at the door lock or with the remote
control, refer to page30 or31.
Anti-trapping mechanism
If the glass sunroof encounters resistance when
closing, the closing action is interrupted and the
glass sunroof opens.
If the sliding panel encounters resistance when
closing within the last approx. 8 in/20 cm, the
closing action is interrupted and the sliding
panel opens again slightly.
Despite the anti-trapping mechanism,
you should inspect the sunroof's travel
range prior to closing it, as the safety feature
might fail to detect certain kinds of obstruc-
tions, such as very thin objects, and the sunroof
would continue closing.
Pressing the switch beyond the resistance
point and holding it deactivates the anti-trap-
ping mechanism.<
Following interruptions in electrical
power supply
After an interruption in the power supply the
glass sunroof may not move. The system has to
b e i n i t i a l i z e d . S h o u l d t h i s o c c u r , p l e a s e h a v e t h e
sunroof initialized at your BMW center.
Moving manually
In the event of an electrical malfunction, you can
move the panorama glass sunroof and the slid-
ing panel manually.
Glass sunroof
1.Remove cover on headliner in front of rear
window. To do so, lift slightly, arrows1.
Page 42 of 217
Controls
41Reference
At a glance
Driving tips
Communications
Navigation
Entertainment
Mobility
If the opening or closing action is not
completed, the luggage compartment lid
cannot be opened.<
Convenience operation with the
remote control and via the door lock
Refer to pages30 and31.
Manual closing in the event of an
electrical malfunction
Only close the convertible top manually if
absolutely necessary; never open it man-
ually. The convertible top compartment lid can-
not be locked in the event of an electrical mal-
function and would open while the vehicle is
being driven.
Improper handling can lead to damage.<
Before closing
1.Open the luggage compartment lid.
2.Take the Allen wrench and the screwdriver
from the on-board tool kit, refer to
page180.
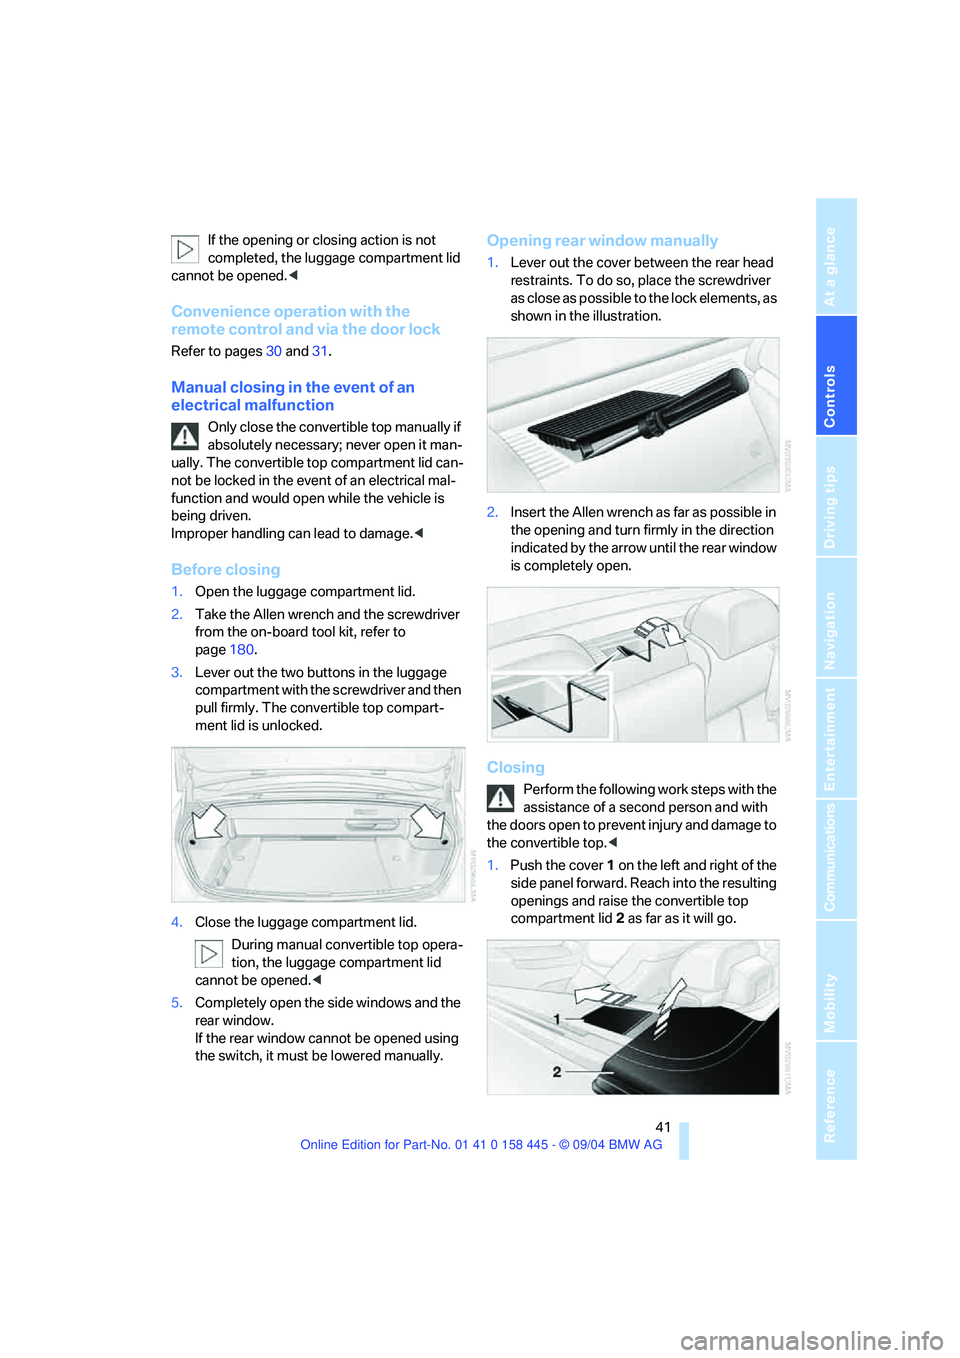
3.Lever out the two buttons in the luggage
compartment with the screwdriver and then
pull firmly. The convertible top compart-
ment lid is unlocked.
4.Close the luggage compartment lid.
During manual convertible top opera-
tion, the luggage compartment lid
cannot be opened.<
5.Completely open the side windows and the
rear window.
If the rear window cannot be opened using
the switch, it must be lowered manually.
Opening rear window manually
1.Lever out the cover between the rear head
restraints. To do so, place the screwdriver
as close as possible to the lock elements, as
shown in the illustration.
2.Insert the Allen wrench as far as possible in
the opening and turn firmly in the direction
indicated by the arrow until the rear window
is completely open.
Closing
Perform the following work steps with the
assistance of a second person and with
the doors open to prevent injury and damage to
the convertible top.<
1.Push the cover 1 on the left and right of the
side panel forward. Reach into the resulting
openings and raise the convertible top
compartment lid2 as far as it will go.
Page 47 of 217
Adjustments
46
Seat, mirror and steering
wheel memory
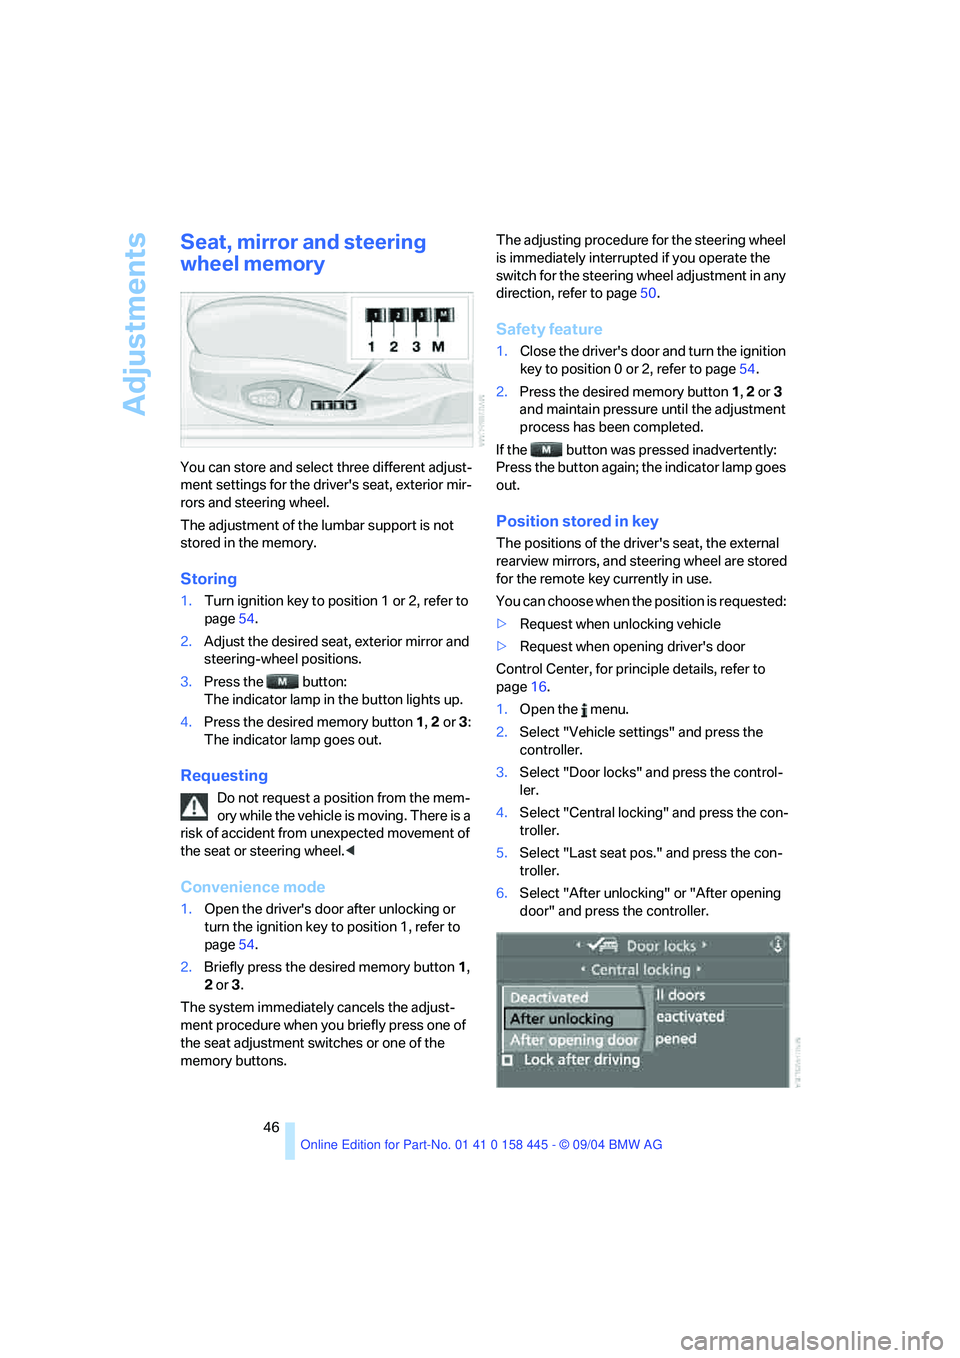
You can store and select three different adjust-
ment settings for the driver's seat, exterior mir-
rors and steering wheel.
The adjustment of the lumbar support is not
stored in the memory.
Storing
1.Turn ignition key to position 1 or 2, refer to
page54.
2.Adjust the desired seat, exterior mirror and
steering-wheel positions.
3.Press the button:
The indicator lamp in the button lights up.
4.Press the desired memory button 1, 2 or3:
The indicator lamp goes out.
Requesting
Do not request a position from the mem-
ory while the vehicle is moving. There is a
risk of accident from unexpected movement of
the seat or steering wheel.<
Convenience mode
1.Open the driver's door after unlocking or
turn the ignition key to position 1, refer to
page54.
2.Briefly press the desired memory button 1,
2 or3.
The system immediately cancels the adjust-
ment procedure when you briefly press one of
the seat adjustment switches or one of the
memory buttons.The adjusting procedure for the steering wheel
is immediately interrupted if you operate the
switch for the steering wheel adjustment in any
direction, refer to page50.
Safety feature
1.Close the driver's door and turn the ignition
key to position 0 or 2, refer to page54.
2.Press the desired memory button 1, 2 or3
and maintain pressure until the adjustment
process has been completed.
If the button was pressed inadvertently:
Press the button again; the indicator lamp goes
out.
Position stored in key
The positions of the driver's seat, the external
rearview mirrors, and steering wheel are stored
for the remote key currently in use.
You can choose when the position is requested:
>Request when unlocking vehicle
>Request when opening driver's door
Control Center, for principle details, refer to
page16.
1.Open the menu.
2.Select "Vehicle settings" and press the
controller.
3.Select "Door locks" and press the control-
ler.
4.Select "Central locking" and press the con-
troller.
5.Select "Last seat pos." and press the con-
troller.
6.Select "After unlocking" or "After opening
door" and press the controller.
Page 52 of 217
Controls
51Reference
At a glance
Driving tips
Communications
Navigation
Entertainment
Mobility
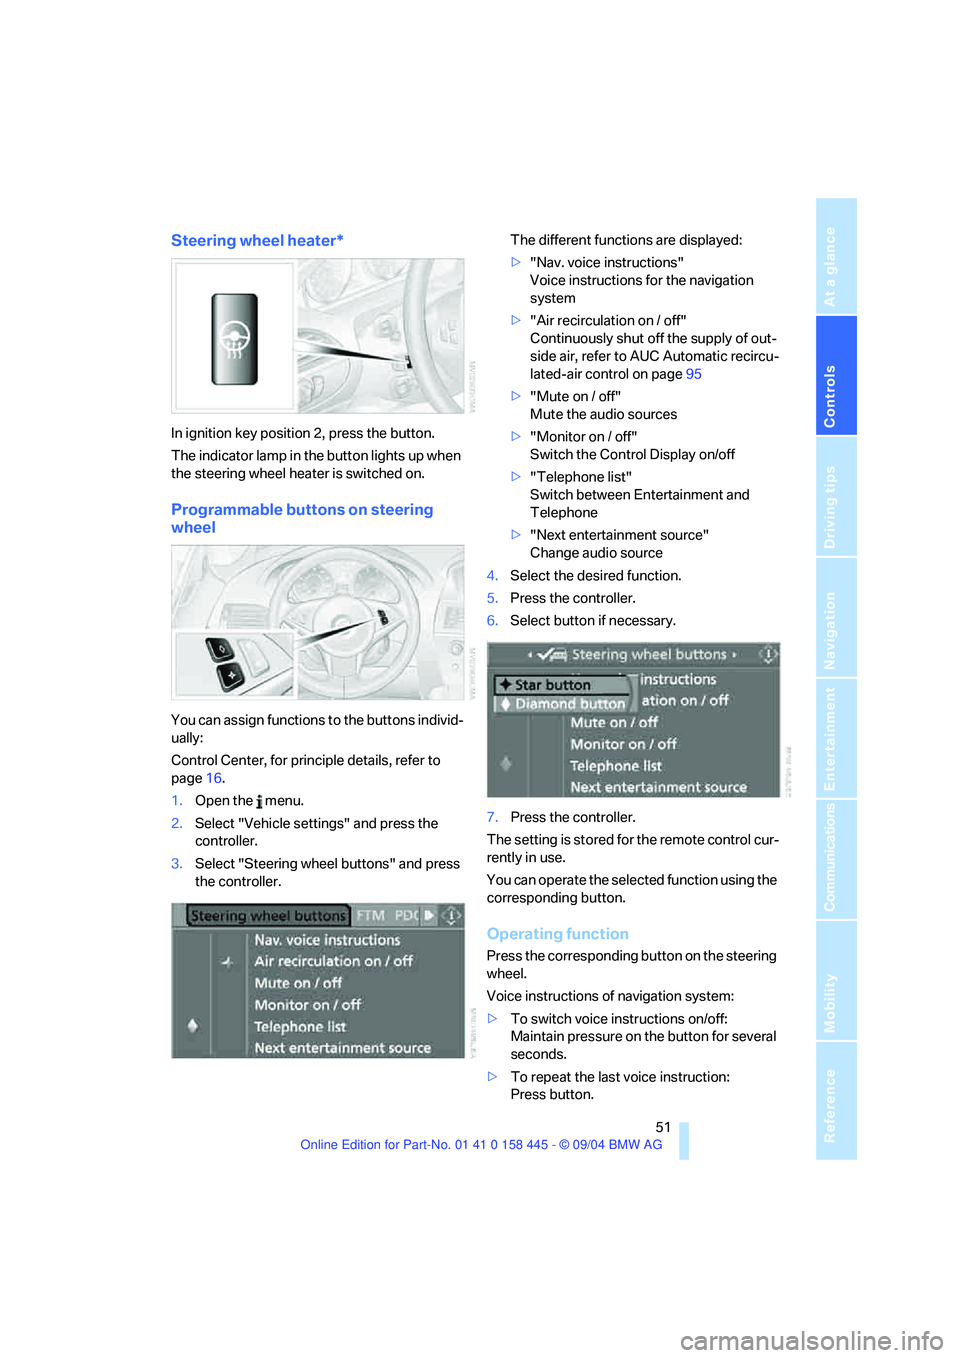
Steering wheel heater*
In ignition key position 2, press the button.
The indicator lamp in the button lights up when
the steering wheel heater is switched on.
Programmable buttons on steering
wheel
You can assign functions to the buttons individ-
ually:
Control Center, for principle details, refer to
page16.
1.Open the menu.
2.Select "Vehicle settings" and press the
controller.
3.Select "Steering wheel buttons" and press
the controller.The different functions are displayed:
>"Nav. voice instructions"
Voice instructions for the navigation
system
>"Air recirculation on / off"
Continuously shut off the supply of out-
side air, refer to AUC Automatic recircu-
lated-air control on page95
>"Mute on / off"
Mute the audio sources
>"Monitor on / off"
Switch the Control Display on/off
>"Telephone list"
Switch between Entertainment and
Telephone
>"Next entertainment source"
Change audio source
4.Select the desired function.
5.Press the controller.
6.Select button if necessary.
.
7.Press the controller.
The setting is stored for the remote control cur-
rently in use.
You can operate the selected function using the
corresponding button.
Operating function
Press the corresponding button on the steering
wheel.
Voice instructions of navigation system:
>To switch voice instructions on/off:
Maintain pressure on the button for several
seconds.
>To repeat the last voice instruction:
Press button.
Page 78 of 217

Controls
77Reference
At a glance
Driving tips
Communications
Navigation
Entertainment
Mobility
Stopwatch
Control Center, for principle details, refer to
page16.
1.Open "Navigation".
On vehicles without navigation system:
Open "Car Data".
2.Select "Car Data" and press the controller.
3.Select "Stopwatch" and press the control-
ler.
Starting and stopping
>Select "Start" and press the controller.
The stopwatch starts at the displayed time.
>Select "Reset" and press the controller.
The stopwatch is reset and it restarts if it
was running beforehand.
>Select "Stop" and press the controller.
This stops the timer.
Taking an intermediate time reading
Select "Interim time" and press the controller.
The interim time appears below the ongoing
primary stopwatch count.
All of the remaining functions remain
available at all times while the stopwatch
is running. The stopwatch continues operation
in the background.<
Settings on Control Display
Brightness of Control Display
The brightness is automatically adapted to the
ambient lighting conditions. However, you can
change the base setting.Control Center, for principle details, refer to
page16.
1.Press the button.
This opens the start menu.
2.Press the controller to open the menu.
3.Select "Display settings" and press the
controller.
4.Select "Brightness" and press the control-
ler.
5.If necessary, move the controller to the right
to select "Display Offset".
6.Turn the controller until the desired setting
is selected.
The setting is stored for the remote control cur-
rently in use.
Measurement units
You can change the measurement units for
consumption, distances, temperature and
pressure.
1.Open the menu.
2.Select "Display settings" and press the
controller.
Page 79 of 217

Everything under control
78 3.Select "Units" and press the controller.
4.Select the menu item to be set.
5.Press the controller.
6.Select the desired measurement unit and
press the controller.
The settings are stored for the remote control
currently in use.
Language on Control Display
Control Center, for principle details, refer to
page16.
1.Open the menu.
2.Select "Display settings" and press the
controller.
3.Select "Languages" and press the control-
ler.
4.Select "Text language" and press the con-
troller. You can select a different language
for the text displays.
5.Select the desired language and press the
controller.
The setting is stored for the remote control cur-
rently in use.
Setting time
Control Center, for principle details, refer to
page16.
1.Open the menu.
2.Select "Display settings" and press the
controller.
3.Select "Time" and press the controller.
4.Select "Set time" and press the controller.
The hours are selected.
5.Turn the controller to set the hours.
6.Press the controller to apply the setting.
The next adjustment is highlighted.
7.Make the remaining adjustments. After the
last adjustment, the time is stored.
12h/24h mode
1.Select "Time format" and press the control-
ler.
2.Select the desired mode and press the con-
troller.
The setting is stored for the remote control cur-
rently in use.
Switching on hour signal*
You will hear three tones just before each full
hour.
Select "Hour memo" and press the controller.
The hour signal is activated.
Setting date
Control Center, for principle details, refer to
page16.
1.Open the menu.
2.Select "Display settings" and press the
controller.
Page 80 of 217
Controls
79Reference
At a glance
Driving tips
Communications
Navigation
Entertainment
Mobility
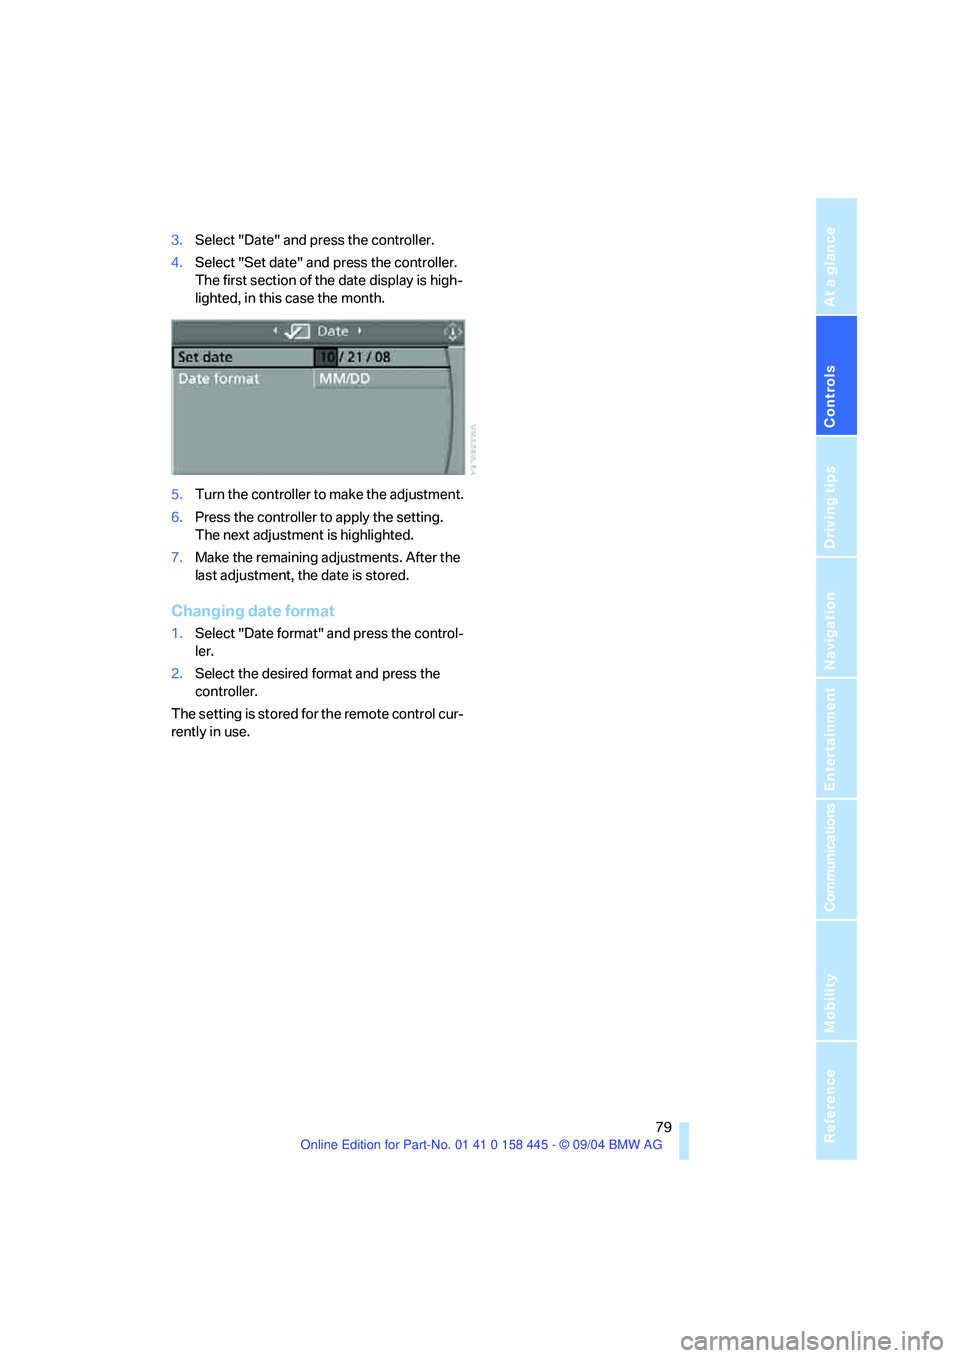
3.Select "Date" and press the controller.
4.Select "Set date" and press the controller.
The first section of the date display is high-
lighted, in this case the month.
5.Turn the controller to make the adjustment.
6.Press the controller to apply the setting.
The next adjustment is highlighted.
7.Make the remaining adjustments. After the
last adjustment, the date is stored.
Changing date format
1.Select "Date format" and press the control-
ler.
2.Select the desired format and press the
controller.
The setting is stored for the remote control cur-
rently in use.