2005 BMW 530I SEDAN check engine
[x] Cancel search: check enginePage 181 of 221

Maintenance
180
Maintenance
The BMW maintenance
system
The BMW maintenance system supports the
preservation of the traffic and operating safety
of your BMW. The service schedule also
includes operations related to the vehicle's
comfort and convenience features, such as
replacement of the filters for the inside air. The
ultimate objective is to ensure economical
maintenance by providing the ideal service for
your vehicle.
Should the day come when you decide to sell
your BMW, you will find that a complete dealer
service history is an asset of inestimable value.
CBS Condition Based Service
Sensors and special algorithms take the differ-
ent driving conditions of your BMW into
account. Condition Based Service uses this to
determine the current and future service
requirements. By letting you define a service
and maintenance regimen that reflects your
own individual requirements, the system builds
the basis for trouble-free driving.
You can set the Control Display to show
remaining times or distances of selected main-
tenance intervals and legally mandated dead-
lines, refer to page66:
>Engine oil
>Brakes, front and rear separately
>Microfilter/activated-charcoal filter
>Brake fluid>Spark plugs
>Vehicle check
>Legally mandated inspections depending
on local regulations
Your vehicle stores this information continu-
ously in the master key while the vehicle is
being driven. After accessing the data stored in
the master key, your BMW Service Advisor can
suggest precisely the right array of service pro-
cedures for your own individual vehicle. You
should therefore hand over to the BMW Service
Advisor the key you last used to drive when you
take your vehicle in for service.
Make sure the date in the Control Center
is always set correctly, refer to page74,
as otherwise the effectiveness of CBS Condi-
tion Based Service is not ensured.<
Service and Warranty Information
Booklet for US models and Warranty
and Service Guide Booklet for
Canadian models
Please consult your Service and Warranty Infor-
mation Booklet for US models and Warranty
and Service Guide Booklet for Canadian models
for additional information on service require-
ments.
BMW recommends that you have service
and repair operations performed at your
BMW center.
Take the time to ensure that these service pro-
cedures are confirmed by entries in your vehi-
cle's Service and Warranty Information Booklet
for US models and Warranty and Service Guide
Booklet for Canadian models. These entries
verify that your vehicle has received the speci-
fied regular maintenance.<
Page 182 of 221
Mobility
181Reference
At a glance
Controls
Driving tips
Communication
Navigation
Entertainment
OBD Socket
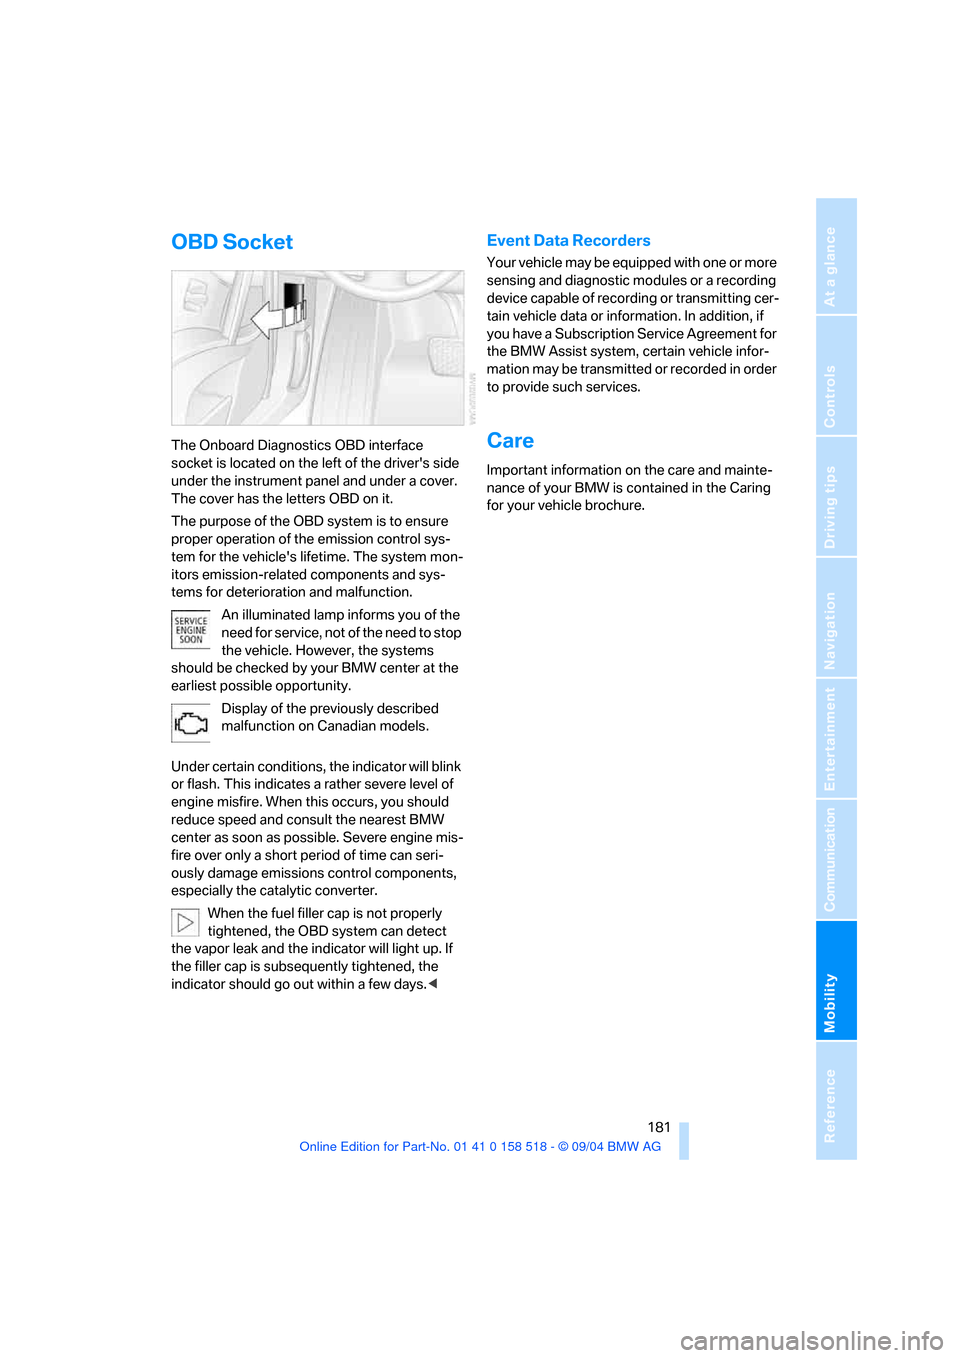
The Onboard Diagnostics OBD interface
socket is located on the left of the driver's side
under the instrument panel and under a cover.
The cover has the letters OBD on it.
The purpose of the OBD system is to ensure
proper operation of the emission control sys-
tem for the vehicle's lifetime. The system mon-
itors emission-related components and sys-
tems for deterioration and malfunction.
An illuminated lamp informs you of the
need for service, not of the need to stop
the vehicle. However, the systems
should be checked by your BMW center at the
earliest possible opportunity.
Display of the previously described
malfunction on Canadian models.
Under certain conditions, the indicator will blink
or flash. This indicates a rather severe level of
engine misfire. When this occurs, you should
reduce speed and consult the nearest BMW
center as soon as possible. Severe engine mis-
fire over only a short period of time can seri-
ously damage emissions control components,
especially the catalytic converter.
When the fuel filler cap is not properly
tightened, the OBD system can detect
the vapor leak and the indicator will light up. If
the filler cap is subsequently tightened, the
indicator should go out within a few days.<
Event Data Recorders
Your vehicle may be equipped with one or more
sensing and diagnostic modules or a recording
device capable of recording or transmitting cer-
tain vehicle data or information. In addition, if
you have a Subscription Service Agreement for
the BMW Assist system, certain vehicle infor-
mation may be transmitted or recorded in order
to provide such services.
Care
Important information on the care and mainte-
nance of your BMW is contained in the Caring
for your vehicle brochure.
Page 183 of 221
Replacing components
182
Replacing components
Onboard tool kit
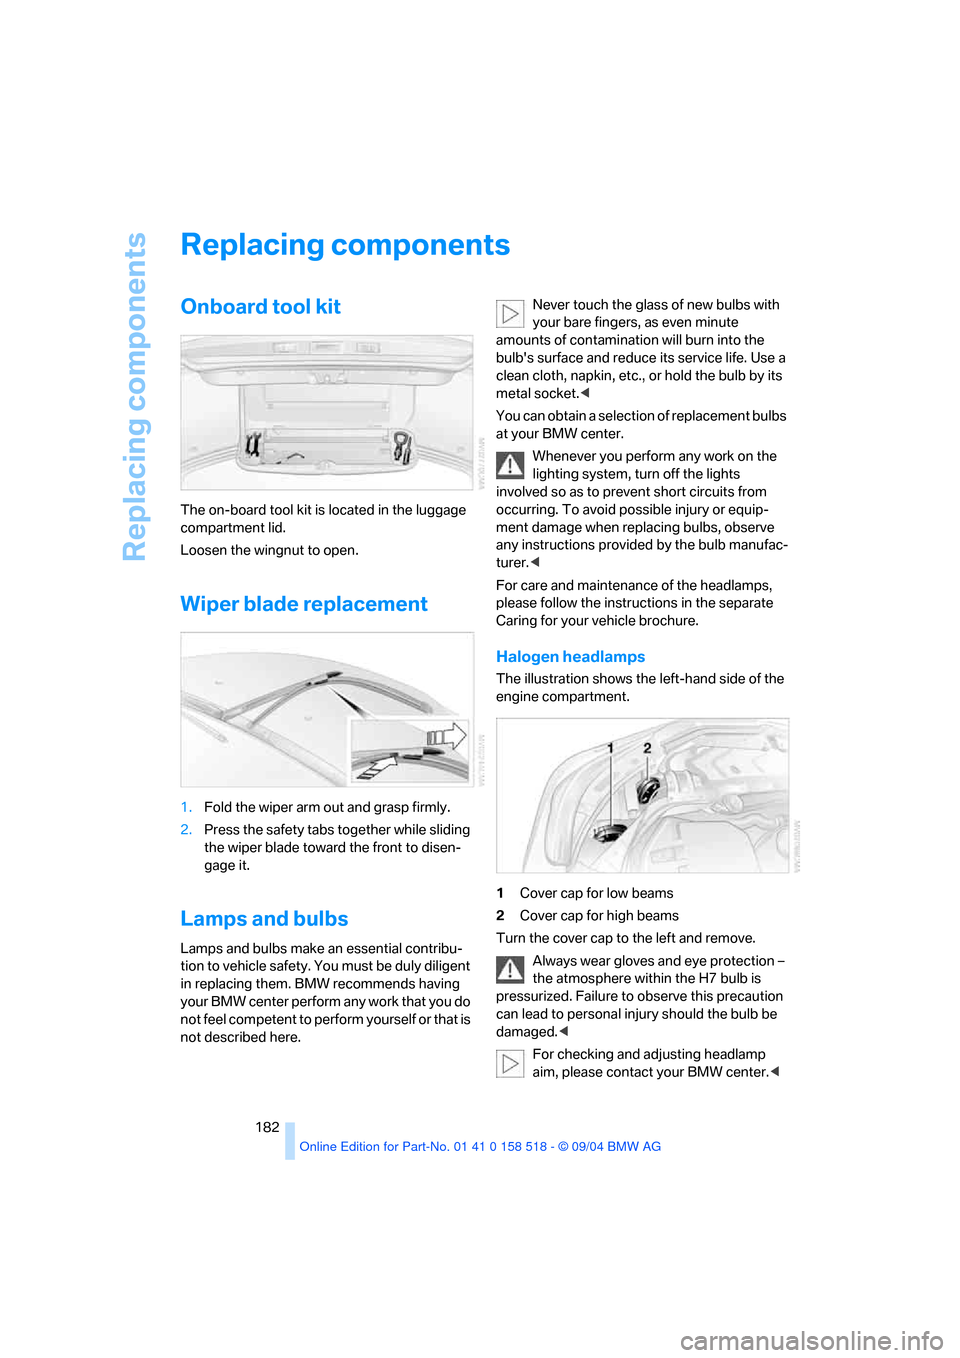
The on-board tool kit is located in the luggage
compartment lid.
Loosen the wingnut to open.
Wiper blade replacement
1.Fold the wiper arm out and grasp firmly.
2.Press the safety tabs together while sliding
the wiper blade toward the front to disen-
gage it.
Lamps and bulbs
Lamps and bulbs make an essential contribu-
tion to vehicle safety. You must be duly diligent
in replacing them. BMW recommends having
your BMW center perform any work that you do
not feel competent to perform yourself or that is
not described here.Never touch the glass of new bulbs with
your bare fingers, as even minute
amounts of contamination will burn into the
bulb's surface and reduce its service life. Use a
clean cloth, napkin, etc., or hold the bulb by its
metal socket.<
You can obtain a selection of replacement bulbs
at your BMW center.
Whenever you perform any work on the
lighting system, turn off the lights
involved so as to prevent short circuits from
occurring. To avoid possible injury or equip-
ment damage when replacing bulbs, observe
any instructions provided by the bulb manufac-
turer.<
For care and maintenance of the headlamps,
please follow the instructions in the separate
Caring for your vehicle brochure.
Halogen headlamps
The illustration shows the left-hand side of the
engine compartment.
1Cover cap for low beams
2Cover cap for high beams
Turn the cover cap to the left and remove.
Always wear gloves and eye protection –
the atmosphere within the H7 bulb is
pressurized. Failure to observe this precaution
can lead to personal injury should the bulb be
damaged.<
For checking and adjusting headlamp
aim, please contact your BMW center.<
Page 188 of 221
Mobility
187Reference
At a glance
Controls
Driving tips
Communication
Navigation
Entertainment
3.Check and correct the tire inflation pressure
at the earliest opportunity.
Protect valve stems and valve stem
seal caps against dirt and contamina-
tion. Dirt in valve stems is a frequent source
of gradual air loss.<
4.Reinitialize the Flat Tire Monitor, refer to
page80.
5.Replace the damaged tire with a new one as
soon as possible and have the new wheel
balanced.
Driving with compact wheel
Drive reservedly and do not exceed a speed of
50 mph/80 km/h.
The driving characteristics change, for example
reduced track stability on braking, extended
braking distance, and altered self-steering
characteristics in the limit range. In conjunction
with winter tires, these characteristics are more
pronounced.
Only one compact wheel may be
mounted. You should re-equip with
wheels and tires of the original size as quickly as
possible.<
Vehicle battery
Battery care
The battery is 100 % maintenance-free, i.e., the
electrolyte will last for the life of the battery
when the vehicle is operated in a temperate cli-
mate . Your BMW center will be glad to advise in
all matters concerning the battery.
Charging battery
Only charge the battery in the vehicle via the
terminals in the engine compartment with the
engine off. Connections, refer to Jump starting
on page190.
Disposal
Have old batteries disposed of by your
BMW center or hand them in to a recy-
cling center. Maintain the battery in an upright
position for transport and storage. Always
restrain the battery to prevent it from tipping
over during transport.<
Power failure
After a temporary power loss, the functioning of
some equipment may be limited and require
reinitialization. Individual settings are also lost
and must be updated again:
>Active steering
The system is deactivated and must be ini-
tialized, refer to page81. Until then, the
steering will react differently than usual.
>Seat, mirror and steering wheel memory
The positions must be stored again, refer to
page40.
>Time and Date
The settings must be updated, refer to
page74.
>Radio
Stations must be stored again, refer to
page140.
>Navigation system
You must wait until it becomes operational
again, refer to page128.
Fuses
Never attempt to repair a blown fuse and
do not replace a defective fuse with a sub-
stitute of another color or amperage rating, as
this could lead to a circuit overload, ultimately
resulting in a fire in the vehicle.<
Spare fuses, plastic tweezers and fuse alloca-
tion diagram are located in the compartment for
the onboard tool kit, refer to page182.
Page 191 of 221
Giving and receiving assistance
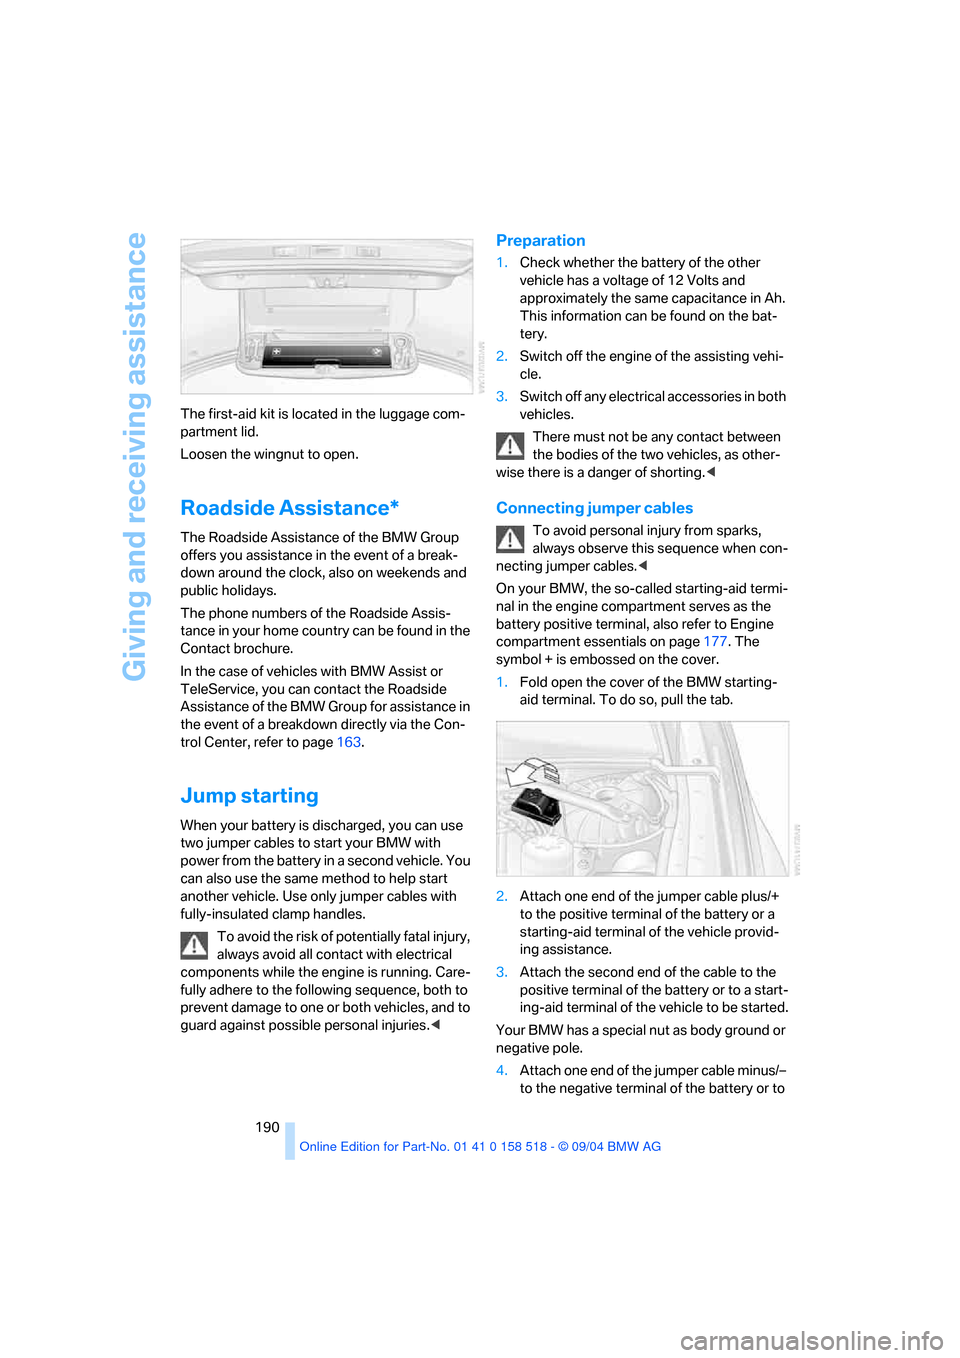
190 The first-aid kit is located in the luggage com-
partment lid.
Loosen the wingnut to open.
Roadside Assistance*
The Roadside Assistance of the BMW Group
offers you assistance in the event of a break-
down around the clock, also on weekends and
public holidays.
The phone numbers of the Roadside Assis-
tance in your home country can be found in the
Contact brochure.
In the case of vehicles with BMW Assist or
TeleService, you can contact the Roadside
Assistance of the BMW Group for assistance in
the event of a breakdown directly via the Con-
trol Center, refer to page163.
Jump starting
When your battery is discharged, you can use
two jumper cables to start your BMW with
power from the battery in a second vehicle. You
can also use the same method to help start
another vehicle. Use only jumper cables with
fully-insulated clamp handles.
To avoid the risk of potentially fatal injury,
always avoid all contact with electrical
components while the engine is running. Care-
fully adhere to the following sequence, both to
prevent damage to one or both vehicles, and to
guard against possible personal injuries.<
Preparation
1.Check whether the battery of the other
vehicle has a voltage of 12 Volts and
approximately the same capacitance in Ah.
This information can be found on the bat-
tery.
2.Switch off the engine of the assisting vehi-
cle.
3.Switch off any electrical accessories in both
vehicles.
There must not be any contact between
the bodies of the two vehicles, as other-
wise there is a danger of shorting.<
Connecting jumper cables
To avoid personal injury from sparks,
always observe this sequence when con-
necting jumper cables.<
On your BMW, the so-called starting-aid termi-
nal in the engine compartment serves as the
battery positive terminal, also refer to Engine
compartment essentials on page177. The
symbol + is embossed on the cover.
1.Fold open the cover of the BMW starting-
aid terminal. To do so, pull the tab.
2.Attach one end of the jumper cable plus/+
to the positive terminal of the battery or a
starting-aid terminal of the vehicle provid-
ing assistance.
3.Attach the second end of the cable to the
positive terminal of the battery or to a start-
ing-aid terminal of the vehicle to be started.
Your BMW has a special nut as body ground or
negative pole.
4.Attach one end of the jumper cable minus/–
to the negative terminal of the battery or to
Page 192 of 221
Mobility
191Reference
At a glance
Controls
Driving tips
Communication
Navigation
Entertainment
an engine or body ground of the assisting
vehicle.
5.Attach the second end of the cable to the
negative terminal of the battery or to the
engine or body ground of the vehicle to be
started.
Starting engine
1.Start the engine on the assisting vehicle
and allow it to run for several minutes at
increased speed.
2.Start the engine on the other vehicle in the
usual way. If the first start attempt is not
successful, wait a few minutes before
another attempt in order to allow the dis-
charged battery to recharge.
3.Let the engines run for a few minutes.
4.Disconnect the jumper cables by reversing
the connection sequence.
Check the battery and recharge if necessary.
Never use spray fluids to start the
engine.<
Towing and tow-starting
Always observe all applicable towing laws
and regulations.<
Never allow passengers to ride in a towed
vehicle for any reason.<
Using tow fitting
The threaded tow fitting is stored in the
onboard tool kit and must always remain in the
vehicle. It can be screwed in at the front or rear
of the BMW.In order to avoid damaging the tow fitting
and the vehicle, please follow these
instructions: use only the tow fitting provided
with the vehicle and screw it all the way in. Use
the tow fitting for towing only on roads. Avoid
lateral loading of the tow fitting, e.g. do not lift
the vehicle by the tow fitting.<
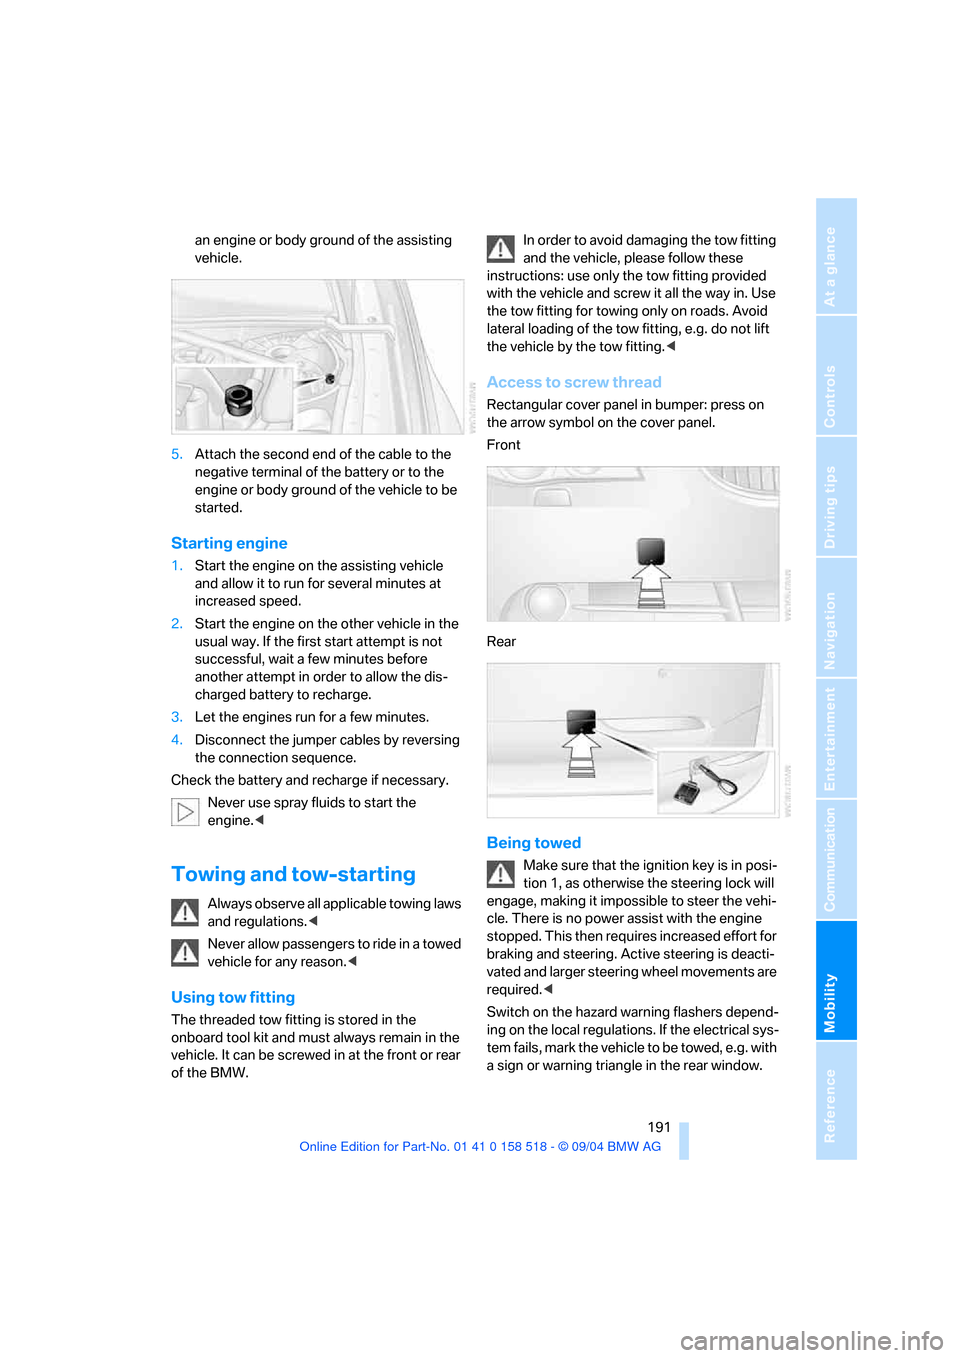
Access to screw thread
Rectangular cover panel in bumper: press on
the arrow symbol on the cover panel.
Front
Rear
Being towed
Make sure that the ignition key is in posi-
tion 1, as otherwise the steering lock will
engage, making it impossible to steer the vehi-
cle. There is no power assist with the engine
stopped. This then requires increased effort for
braking and steering. Active steering is deacti-
vated and larger steering wheel movements are
required.<
Switch on the hazard warning flashers depend-
ing on the local regulations. If the electrical sys-
tem fails, mark the vehicle to be towed, e.g. with
a sign or warning triangle in the rear window.
Page 193 of 221
Giving and receiving assistance
192
Vehicles with manual transmission
Gearshift lever in neutral position.
Vehicles with automatic transmission
Selector lever in position N.
Do not exceed a towing speed of 45 mph/
70 km/h and a towing distance of
90 miles/150 km, as otherwise the automatic
transmission may be damaged.<
Vehicles with SMG Sequential manual
transmission
With the ignition switched on, engage the
selector lever position N, then switch off the
ignition again.
Towing methods
In some countries, towing with tow bars or
ropes in public traffic is not permitted. Familiar-
ize yourself with the regulations on towing in the
respective country.
With tow bar
The towing vehicle may not be lighter
than the vehicle to be towed, as otherwise
it will not be possible to control vehicle
response.<
The tow fittings used should be on the same
side on both vehicles. Should it prove impossi-
ble to avoid mounting the tow bar at an offset
angle, please observe the following:
>Clearance and maneuvering capability will
be sharply limited during cornering.
>When mounted at an angle, the tow bar will
exert lateral forces, tending to push the
vehicle sideways.
Secure the tow bar to the tow fitting only.
Otherwise damage to other vehicle parts
could result.<
With tow rope
When starting off in the towing vehicle, make
sure that the tow rope is taut.To avoid jerking and the associated
stresses on vehicle components when
towing, always use nylon ropes or nylon straps.
Secure the tow rope to the tow fitting only.
Otherwise damage to other vehicle parts could
result.<
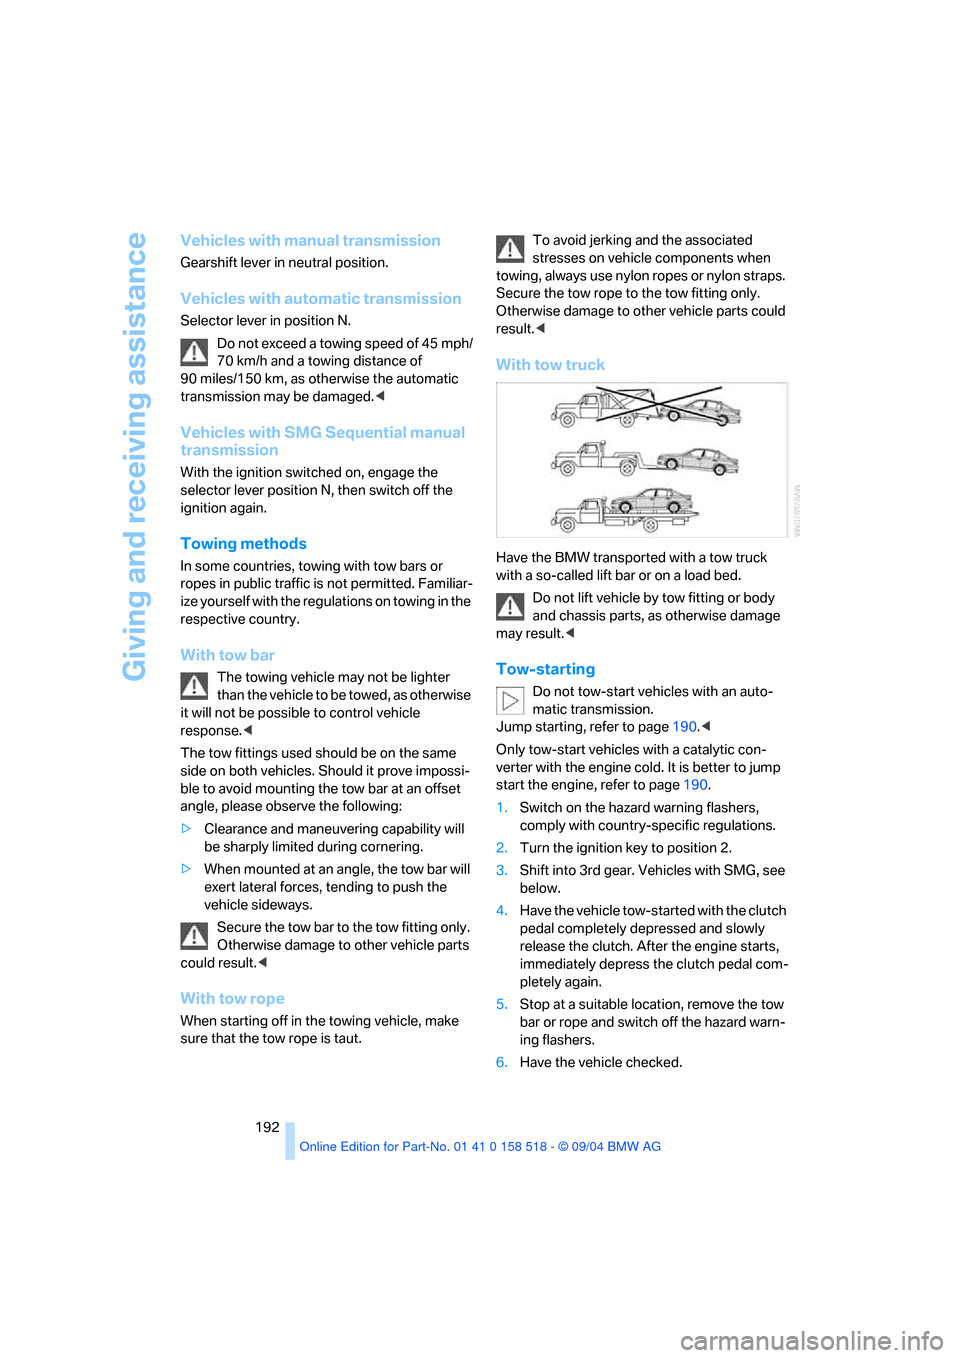
With tow truck
Have the BMW transported with a tow truck
with a so-called lift bar or on a load bed.
Do not lift vehicle by tow fitting or body
and chassis parts, as otherwise damage
may result.<
Tow-starting
Do not tow-start vehicles with an auto-
matic transmission.
Jump starting, refer to page190.<
Only tow-start vehicles with a catalytic con-
verter with the engine cold. It is better to jump
start the engine, refer to page190.
1.Switch on the hazard warning flashers,
comply with country-specific regulations.
2.Turn the ignition key to position 2.
3.Shift into 3rd gear. Vehicles with SMG, see
below.
4.Have the vehicle tow-started with the clutch
pedal completely depressed and slowly
release the clutch. After the engine starts,
immediately depress the clutch pedal com-
pletely again.
5.Stop at a suitable location, remove the tow
bar or rope and switch off the hazard warn-
ing flashers.
6.Have the vehicle checked.
Page 206 of 221

Reference 205
At a glance
Controls
Driving tips
Communica-
Navigation
Entertainment
Mobility
"Check Control
messages"69
Check Gas Cap168
Checking the air pressure,
refer to Tire inflation
pressure170
Child-restraint fixing system
LATCH49
Child restraints47
Child restraint systems47
Child-safety lock50
Child seats47
Chime, refer to Check
Control67
Chock185
Chrome parts, care, refer to
Caring for your vehicle
brochure
Cigarette lighter99
Cleaning, refer to Caring for
your vehicle brochure
Cleaning the windshield, refer
to Wiper system57
"Climate"44
Clock65
– 12h/24h mode74
– time setting74
Closing
– from inside31
– from outside29
Clothes hooks99
Cockpit10
Cold start, refer to Starting
engine51
"Comfort", active backrest
width adjustment40
Comfort area, refer to All
about the center console14
Comfort seat39
"Communication"154
"Communication
settings"161
Compact Disc
– refer to CD changer145
– refer to CD player145
Compact wheel
– changing wheels186
– inflation pressure171Computer69
– clock, 12h/24h mode74
– displays on Control
Display70
– hour signal74
"Concert hall"135
Condition Based Service
CBS180
"Confirmation"30
Confirmation signals for
locking and unlocking30
Consumption, refer to
Average consumption70
Consumption indicator
– Energy Control66
"Continue guidance to
destination?"125
Control Center16
– adjusting brightness73
– assistance window20
– automatic climate control92
– changing settings19,73
– changing the menu page19
– confirming selection or
entry19
– controller16
– displays, menus16
– language selection74
– lists19
– menu item selection19
– menu navigation17
– operating elements16
– selecting units of
measurement and display
format73
– setting time and date74
– start menu17
– status information20
– symbols17
Control Display, refer to
Control Center16
Controller, refer to Control
Center16
Controls, refer to Cockpit10
Convenience operation
– glass sunroof30
– windows30
Convenience start, refer to
Starting engine51Coolant178
– level178
Cooling, maximum91
Cornering Brake Control
CBC77
Country of destination for
navigation116
Courtesy lamps89
Cradle for telephone or
portable phone98
Cruise control58,59
– active cruise control59
Cruising range70
Cup holders99
Curb weight, refer to
Weights198
Current fuel consumption66
"Current position"125
Current position
– displaying125
– entering120
– storing120
"Customer Relations"164
Cylinders, refer to Engine
data196
D
Dashboard, refer to
Cockpit10
Data196
– capacities198
– dimensions197
– engine196
– technical data196
– weights198
"Date"74
Date65
– display format75
– retrieval65
– setting74
"Date format"75
Daytime driving lamps87
DBC Dynamic Brake
Control77
– warning lamp79
"Deactivated"41
Deactivating front passenger
airbags47,83