2005 BMW 330XI SEDAN navigation
[x] Cancel search: navigationPage 67 of 223
Everything under control
66
Average fuel consumption
The average fuel consumption is calculated for
the time during which the engine is running.
With the trip computer, refer to page66, you
can have the average consumption for another
trip displayed.
To reset average fuel consumption: press the
button in the turn indicator stalk for approx.
2seconds.
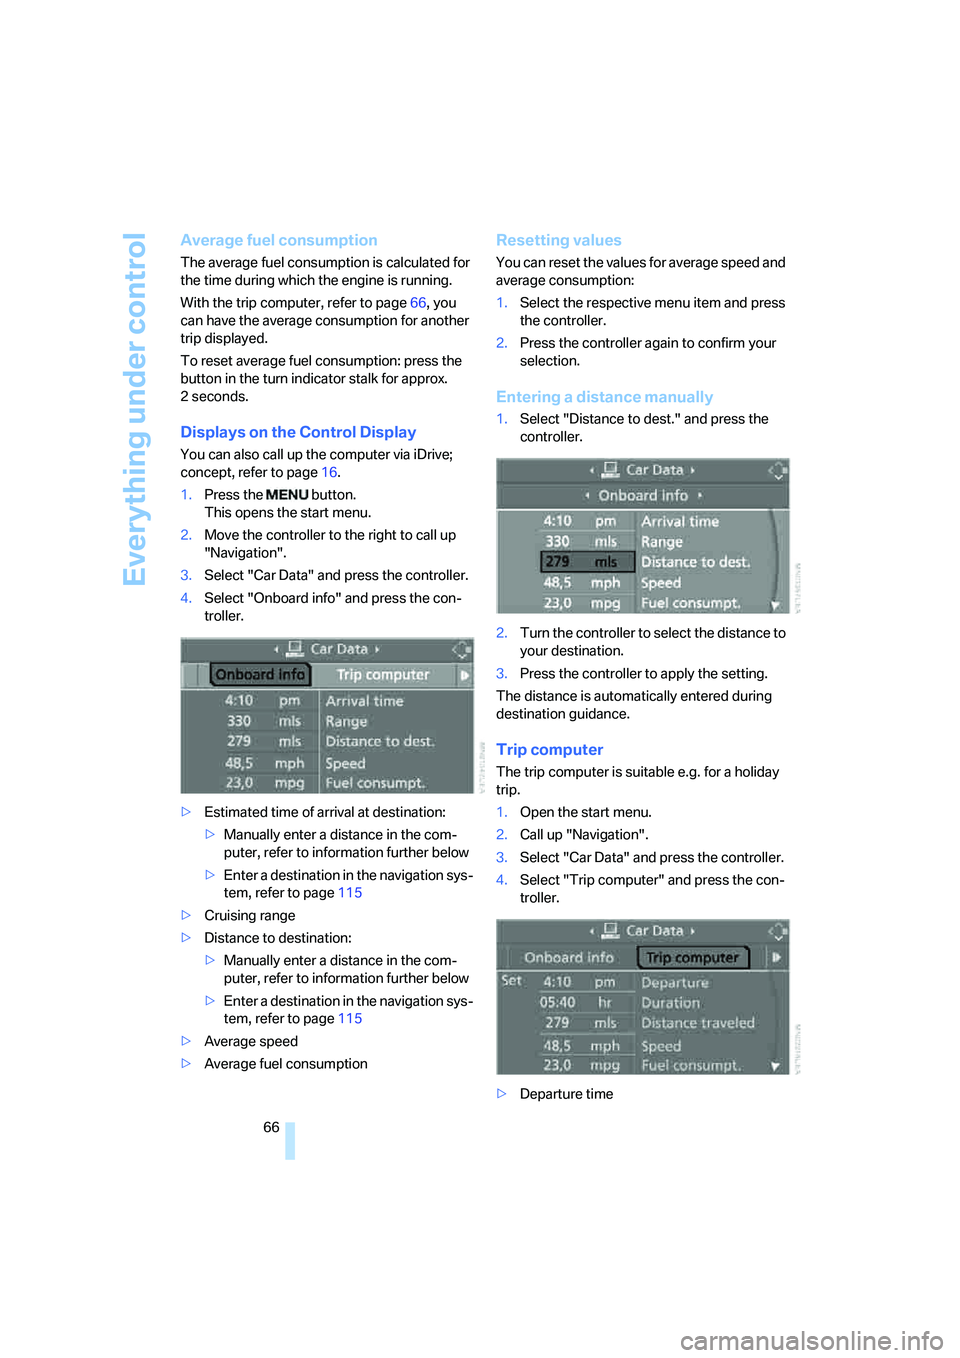
Displays on the Control Display
You can also call up the computer via iDrive;
concept, refer to page16.
1.Press the button.
This opens the start menu.
2.Move the controller to the right to call up
"Navigation".
3.Select "Car Data" and press the controller.
4.Select "Onboard info" and press the con-
troller.
>Estimated time of arrival at destination:
>Manually enter a distance in the com-
puter, refer to information further below
>Enter a destination in the navigation sys-
tem, refer to page115
>Cruising range
>Distance to destination:
>Manually enter a distance in the com-
puter, refer to information further below
>Enter a destination in the navigation sys-
tem, refer to page115
>Average speed
>Average fuel consumption
Resetting values
You can reset the values for average speed and
average consumption:
1.Select the respective menu item and press
the controller.
2.Press the controller again to confirm your
selection.
Entering a distance manually
1.Select "Distance to dest." and press the
controller.
2.Turn the controller to select the distance to
your destination.
3.Press the controller to apply the setting.
The distance is automatically entered during
destination guidance.
Trip computer
The trip computer is suitable e.g. for a holiday
trip.
1.Open the start menu.
2.Call up "Navigation".
3.Select "Car Data" and press the controller.
4.Select "Trip computer" and press the con-
troller.
>Departure time
Page 68 of 223
Controls
67Reference
At a glance
Driving tips
Communications
Navigation
Entertainment
Mobility
>Driving time
>Distance traveled
>Average speed
>Average fuel consumption
Switching trip computer on/off and resetting all
values to zero:
1.Select "Set" and press the controller.
2.Select the desired menu item and press the
controller.
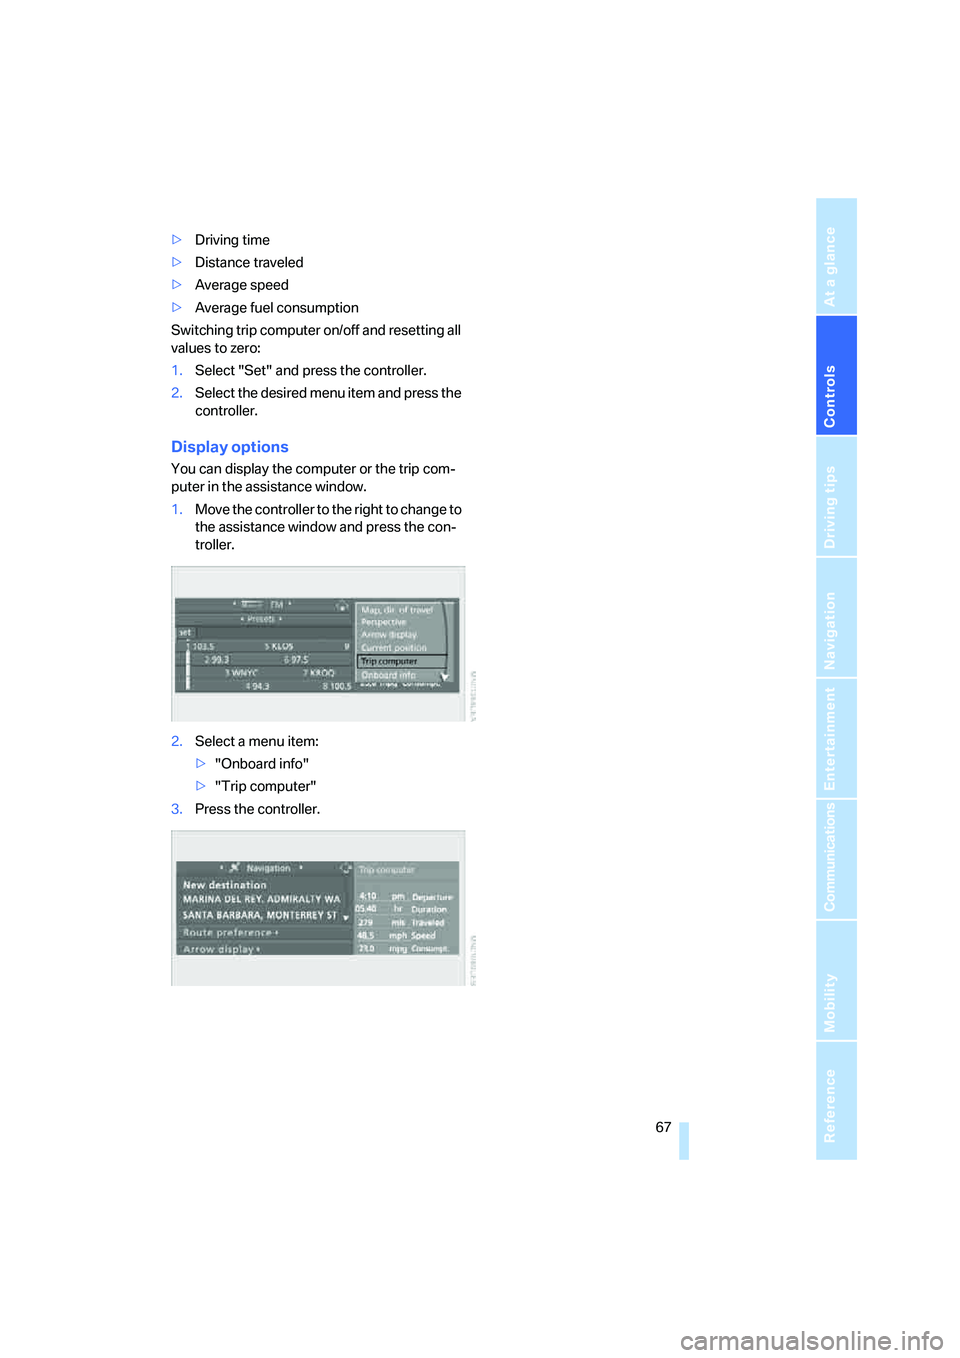
Display options
You can display the computer or the trip com-
puter in the assistance window.
1.Move the controller to the right to change to
the assistance window and press the con-
troller.
2.Select a menu item:
>"Onboard info"
>"Trip computer"
3.Press the controller.
Page 70 of 223
Controls
69Reference
At a glance
Driving tips
Communications
Navigation
Entertainment
Mobility
5.Select the desired menu item and press the
controller.
6.Select the desired measurement unit and
press the controller.
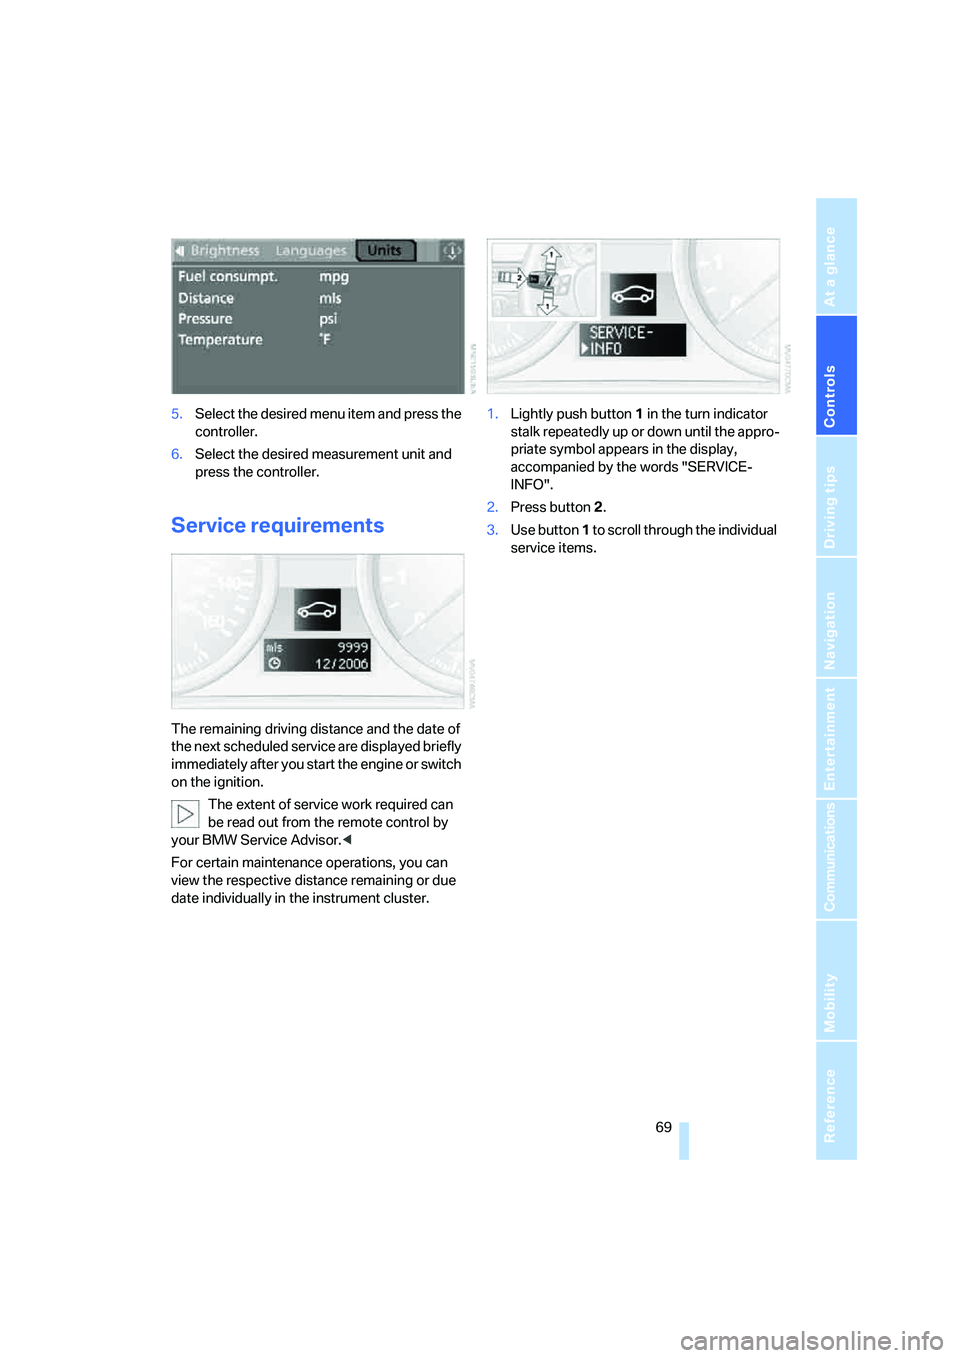
Service requirements
The remaining driving distance and the date of
the next scheduled service are displayed briefly
immediately after you start the engine or switch
on the ignition.
The extent of service work required can
be read out from the remote control by
your BMW Service Advisor.<
For certain maintenance operations, you can
view the respective distance remaining or due
date individually in the instrument cluster.1.Lightly push button 1 in the turn indicator
stalk repeatedly up or down until the appro-
priate symbol appears in the display,
accompanied by the words "SERVICE-
INFO".
2.Press button 2.
3.Use button 1 to scroll through the individual
service items.
Page 72 of 223

Controls
71Reference
At a glance
Driving tips
Communications
Navigation
Entertainment
Mobility
Select the entry and press the controller.
To exit from the menu:
Select the arrow and press the controller.
Symbols
No service is currently required.
The deadline for service or a legally man-
dated inspection is approaching. Please
arrange an appointment with your BMW center.
The service deadline has already passed.
Entering dates of statutory emissions
tests and vehicle inspections*
Make sure the date on the Control Display is
always set correctly, refer to page72, as other-
wise the effectiveness of CBS Condition Based
Service is not ensured.
1.Open the start menu.
2.Press the controller to open the menu.
3.Select "Service" and press the controller.
4.Select "Service requirements" and press
the controller.
5.Select "Status" and press the controller.
6.Select "Emission inspect." or "State
inspection" and press the controller.7.Select "Set service date" and press the
controller. The month is highlighted.
8.Turn the controller to make the adjustment.
9.Press the controller to apply the setting.
The year is highlighted.
10.Turn the controller to make the adjustment.
11.Press the controller to apply the setting.
The date entry is stored.
To exit from the menu:
Select and press the controller.
More information on the BMW Maintenance
System can be found on page185.
Clock
Setting the time
In the instrument cluster
To set the 12h/24h mode, refer to Setting the
time format below.
Page 74 of 223
Controls
73Reference
At a glance
Driving tips
Communications
Navigation
Entertainment
Mobility
4.Press button 2.
5.Set the month and the yea r i n t h e s a m e w a y .
6.Press button 2.
The system accepts the new date.
Via iDrive
iDrive concept, refer to page16.
1.Open the start menu.
2.Press the controller to open the menu.
3.Select "Display settings" and press the
controller.
4.Select "Date" and press the controller.
5.Select "Set date" and press the controller.
The first section of the date display is high-
lighted, in this case the month.
6.Turn the controller to make the adjustment.
7.Press the controller to apply the setting.
The next setting is highlighted.
8.Make the remaining adjustments. After the
last adjustment, the date is stored.
Setting the date format
1.Open the start menu.
2.Press the controller to open the menu.
3.Select "Display settings" and press the
controller.
4.Select "Date" and press the controller.
5.Select "Date format" and press the control-
ler.
6.Select the desired format and press the
controller.
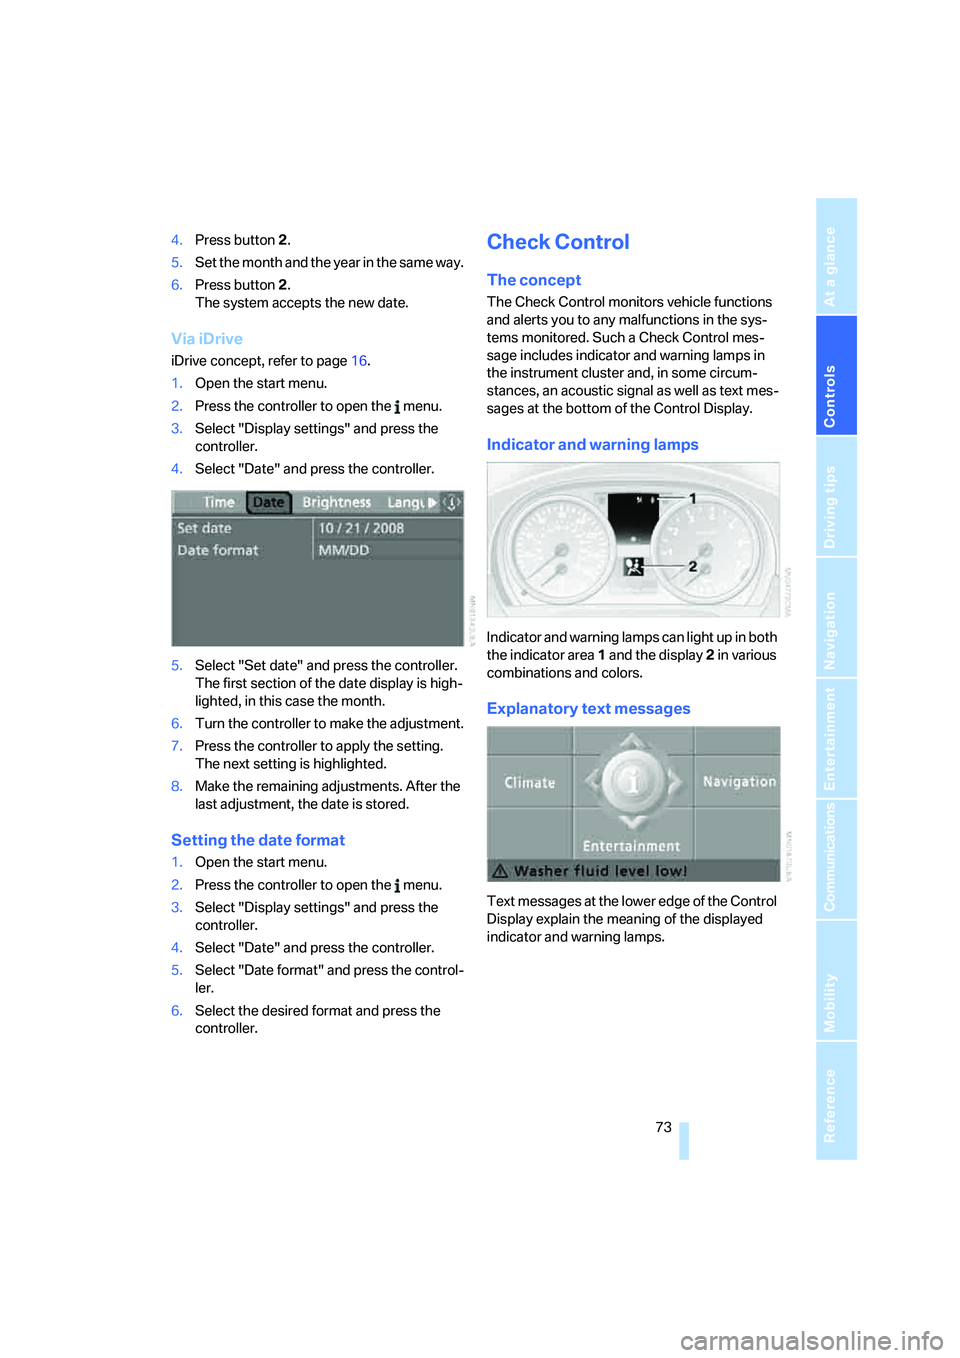
Check Control
The concept
The Check Control monitors vehicle functions
and alerts you to any malfunctions in the sys-
tems monitored. Such a Check Control mes-
sage includes indicator and warning lamps in
the instrument cluster and, in some circum-
stances, an acoustic signal as well as text mes-
sages at the bottom of the Control Display.
Indicator and warning lamps
Indicator and warning lamps can light up in both
the indicator area 1 and the display 2 in various
combinations and colors.
Explanatory text messages
Text messages at the lower edge of the Control
Display explain the meaning of the displayed
indicator and warning lamps.
Page 76 of 223
Controls
75Reference
At a glance
Driving tips
Communications
Navigation
Entertainment
Mobility
3.Lightly push button 1 to check for other
messages.
4.Press button 2.
The display again shows the outside tem-
perature and the time.
Viewing more information later
iDrive concept, refer to page16.
1.Press the button.
This opens the start menu.
2.Press the controller to open the menu.
3.Select "Service" and press the controller.
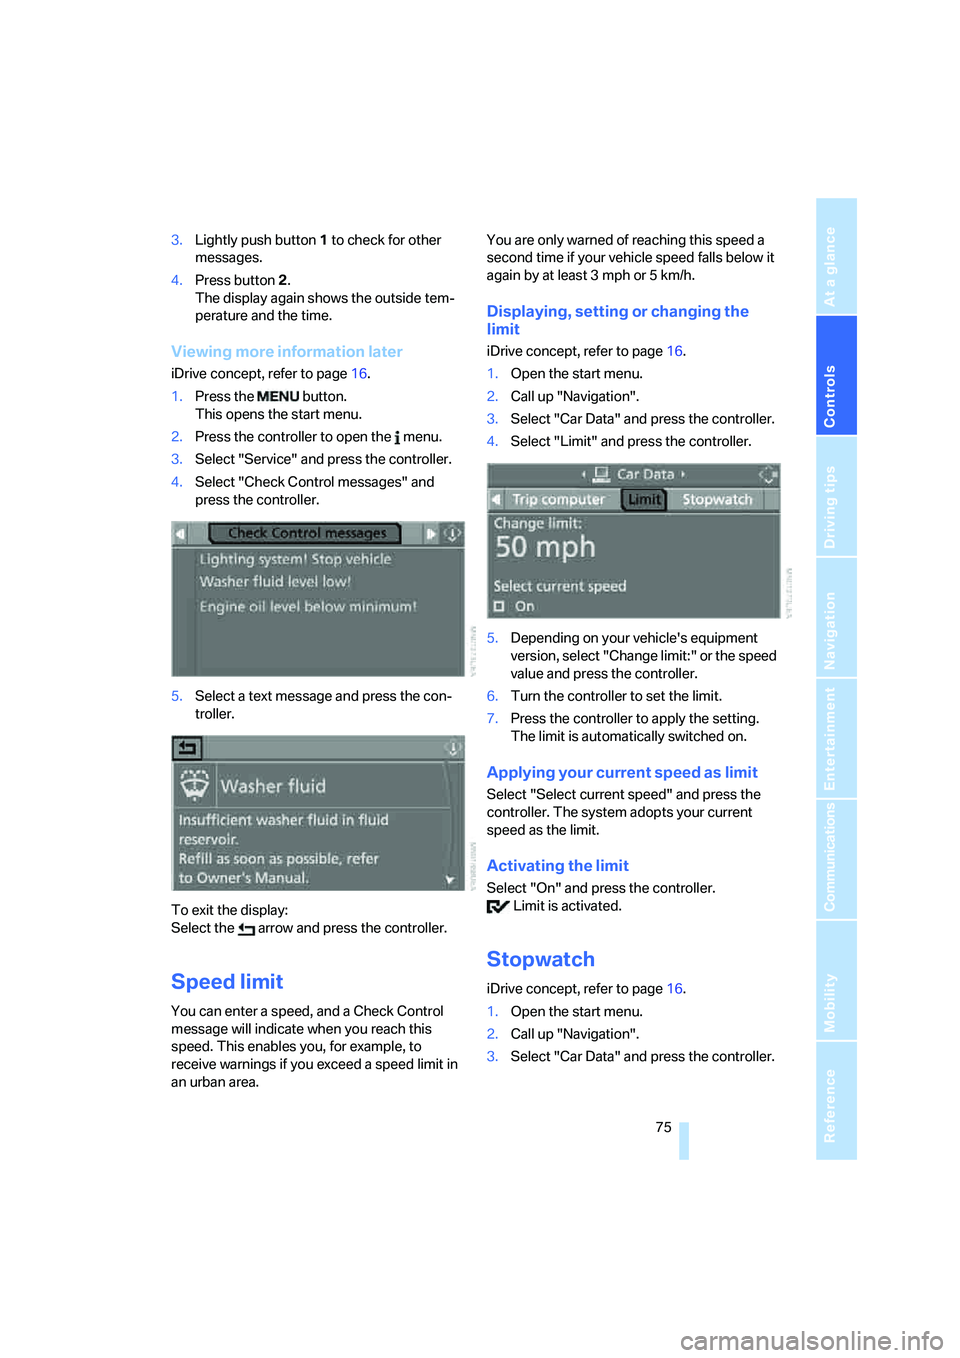
4.Select "Check Control messages" and
press the controller.
5.Select a text message and press the con-
troller.
To exit the display:
Select the arrow and press the controller.
Speed limit
You can enter a speed, and a Check Control
message will indicate when you reach this
speed. This enables you, for example, to
receive warnings if you exceed a speed limit in
an urban area. You are only warned of reaching this speed a
second time if your vehicle speed falls below it
again by at least 3 mph or 5 km/h.
Displaying, setting or changing the
limit
iDrive concept, refer to page16.
1.Open the start menu.
2.Call up "Navigation".
3.Select "Car Data" and press the controller.
4.Select "Limit" and press the controller.
5.Depending on your vehicle's equipment
version, select "Change limit:" or the speed
value and press the controller.
6.Turn the controller to set the limit.
7.Press the controller to apply the setting.
The limit is automatically switched on.
Applying your current speed as limit
Select "Select current speed" and press the
controller. The system adopts your current
speed as the limit.
Activating the limit
Select "On" and press the controller.
Limit is activated.
Stopwatch
iDrive concept, refer to page16.
1.Open the start menu.
2.Call up "Navigation".
3.Select "Car Data" and press the controller.
Page 77 of 223
Everything under control
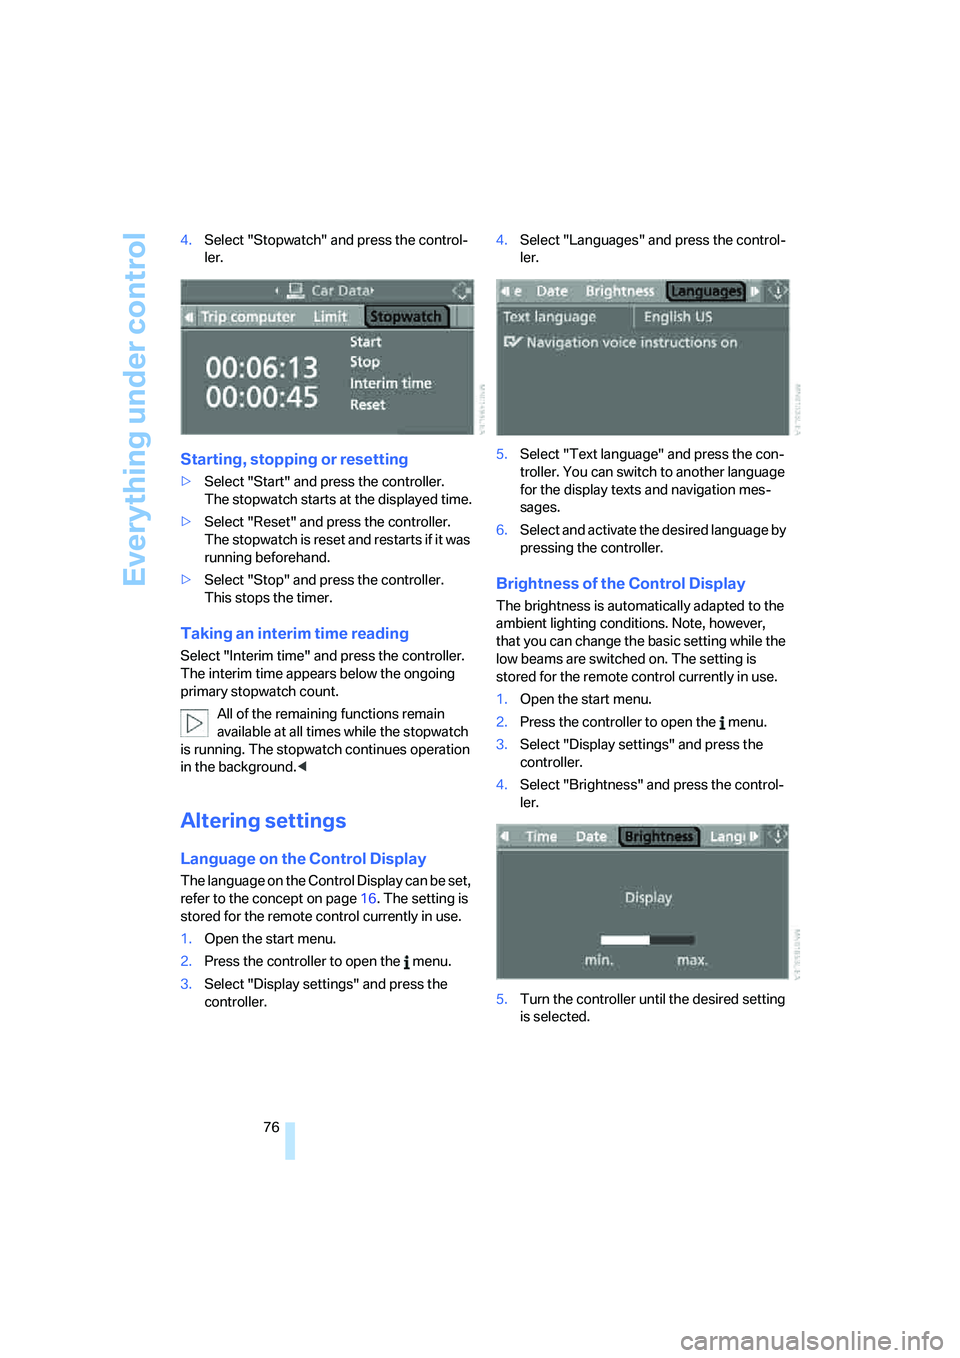
76 4.Select "Stopwatch" and press the control-
ler.
Starting, stopping or resetting
>Select "Start" and press the controller.
The stopwatch starts at the displayed time.
>Select "Reset" and press the controller.
The stopwatch is reset and restarts if it was
running beforehand.
>Select "Stop" and press the controller.
This stops the timer.
Taking an interim time reading
Select "Interim time" and press the controller.
The interim time appears below the ongoing
primary stopwatch count.
All of the remaining functions remain
available at all times while the stopwatch
is running. The stopwatch continues operation
in the background.<
Altering settings
Language on the Control Display
The language on the Control Display can be set,
refer to the concept on page16. The setting is
stored for the remote control currently in use.
1.Open the start menu.
2.Press the controller to open the menu.
3.Select "Display settings" and press the
controller.4.Select "Languages" and press the control-
ler.
5.Select "Text language" and press the con-
troller. You can switch to another language
for the display texts and navigation mes-
sages.
6.Select and activate the desired language by
pressing the controller.
Brightness of the Control Display
The brightness is automatically adapted to the
ambient lighting conditions. Note, however,
that you can change the basic setting while the
low beams are switched on. The setting is
stored for the remote control currently in use.
1.Open the start menu.
2.Press the controller to open the menu.
3.Select "Display settings" and press the
controller.
4.Select "Brightness" and press the control-
ler.
5.Turn the controller until the desired setting
is selected.
Page 78 of 223

Controls
77Reference
At a glance
Driving tips
Communications
Navigation
Entertainment
Mobility
Technology for driving comfort and safety
PDC Park Distance Control*
The concept
The PDC assists you with maneuvering in tight
parking spaces. Acoustic signals and a visual
indicator
warn you of the presence of an object
in front of
* or behind your car. To measure the
distance, there are four ultrasonic sensors in
each bumper. The sensors at the front
* and at
the two rear corners have a range of approx.
24 in/60 cm; the rear middle sensors have
approx. 5 ft/1.50 m.
PDC is a parking aid that can indicate
objects when they are approached
slowly, as is usually the case when parking.
Avoid approaching an object at high speed, as
otherwise physical circumstances may lead to
the system warning being issued too late.<
Automatic mode
With the engine running or the ignition switched
on, the system is activated automatically after
approx. 1 second when you engage reverse
gear or move the automatic transmission selec-
tor lever to position R. Wait this short period
before driving.
Manual operation*
Press the button, the LED lights up.
Deactivating manual mode
Press the button again; the LED goes out.
The system is automatically deactivated once
the vehicle travels approx. 165 ft/50 m or exceeds a speed of roughly 20 mph or 30 km/h;
the LED goes out. You can reactivate the sys-
tem manually as needed.
Signal tones
When nearing an object, its position is indicated
correspondingly by an interval tone. For exam-
ple, the tone sounds at the rear if the system
detects an object behind the car. As the dis-
tance between vehicle and object decreases,
the intervals between the tones become
shorter. If the distance to the nearest object
falls to below roughly 1 ft/30 cm, then a contin-
uous tone sounds.
The warning signal is canceled after approx.
3 seconds, if you are moving parallel to a wall.
Malfunction
The indicator lamp in the instrument
cluster comes on. PDC is malfunc-
tioning. A message appears on the
Control Display. Have the system checked.
To avoid this problem, keep the sensors clean
and free of ice or snow in order to ensure that
they will continue to operate effectively.
Manual mode
The LED above the button flashes in addition.
PDC with optical warning
You can also have the system show distances
to objects on the Control Display. The contours
of distant objects are shown on the Control Dis-
play even before the acoustic signal sounds.
The setting is stored for the remote control cur-
rently in use.
iDrive concept, refer to page16.
1.Open the start menu.
2.Press the controller to open the menu.
3.Select "Vehicle settings" and press the
controller.