2005 BMW 325I SPORT WAGON change time
[x] Cancel search: change timePage 61 of 178
61
Vehicle Memory, Key MemoryHow the system functionsNo doubt you have often reflected on
how great it would be if you could per-
manently configure your vehicle's vari-
ous features and adjustments to mirror
your own personal preferences. In engi-
neering your vehicle, BMW has
included a number of options for stor-
ing personal adjustment data. These
can be programmed at your BMW cen-
ter.
The available configuration data fall into
two categories, according to whether
their primary orientation is the vehicle –
Vehicle Memory – or the individual –
Key Memory. Provided that each per-
son has a separate remote-control key,
you can have your BMW center enter
basic adjustment data for up to four
individuals in the system.
The system relies on a bilateral data
exchange to identify the individual user
and executes the selected settings
whenever the remote control unit is
used to disengage the locks.
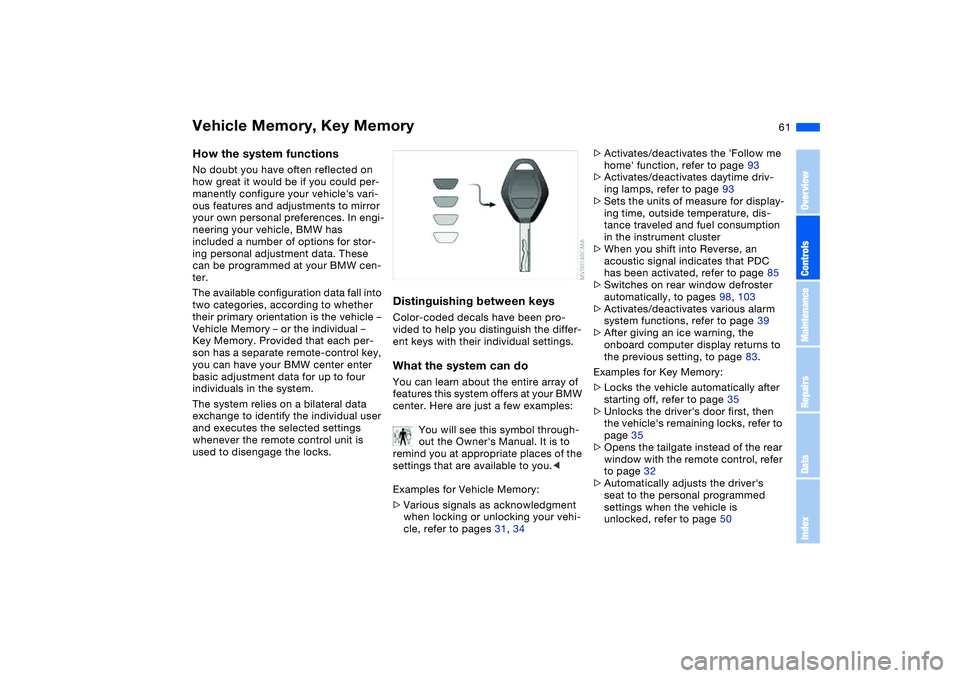
Distinguishing between keysColor-coded decals have been pro-
vided to help you distinguish the differ-
ent keys with their individual settings.What the system can doYou can learn about the entire array of
features this system offers at your BMW
center. Here are just a few examples:
You will see this symbol through-
out the Owner's Manual. It is to
remind you at appropriate places of the
settings that are available to you.<
Examples for Vehicle Memory:
>Various signals as acknowledgment
when locking or unlocking your vehi-
cle, refer to pages 31, 34
>Activates/deactivates the 'Follow me
home' function, refer to page 93
>Activates/deactivates daytime driv-
ing lamps, refer to page 93
>Sets the units of measure for display-
ing time, outside temperature, dis-
tance traveled and fuel consumption
in the instrument cluster
>When you shift into Reverse, an
acoustic signal indicates that PDC
has been activated, refer to page 85
>Switches on rear window defroster
automatically, to pages 98, 103
>Activates/deactivates various alarm
system functions, refer to page 39
>After giving an ice warning, the
onboard computer display returns to
the previous setting, to page 83.
Examples for Key Memory:
>Locks the vehicle automatically after
starting off, refer to page 35
>Unlocks the driver's door first, then
the vehicle's remaining locks, refer to
page 35
>Opens the tailgate instead of the rear
window with the remote control, refer
to page 32
>Automatically adjusts the driver's
seat to the personal programmed
settings when the vehicle is
unlocked, refer to page 50
OverviewControlsMaintenanceRepairsDataIndex
Page 68 of 178
68
RReverseSelect only when the vehicle is station-
ary.NNeutralAlways engage before starting the
engine, refer to Starting the engine on
page 64.Sequential modeEach time the engine is started, the
sequential mode is activated as soon as
you move the selector lever into the for-
ward driving position while the brake is
depressed.
The gears are shifted via the shift pad-
dles or the selector lever.
It is also possible to drive off in second
gear, e.g. on snow-covered roads.DDrive modeIn the drive mode all forward gears are
shifted automatically.
To switch from sequential to drive
mode: tap the selector lever to the right
toward D.
For rapid acceleration, e.g. during
passing, depress the accelerator pedal
completely: kickdown.To switch back to sequential mode: tap
the selector lever again to the right
toward D or change the current gear via
the shift paddles or the selector lever.
KickdownYou can achieve maximum acceleration
using kickdown.
Depress the accelerator pedal past the
increased resistance point at the full-
throttle position.
Shifting gearsWith selector lever:
>To upshift, tap the selector lever
toward +
>To downshift, tap the lever toward —.
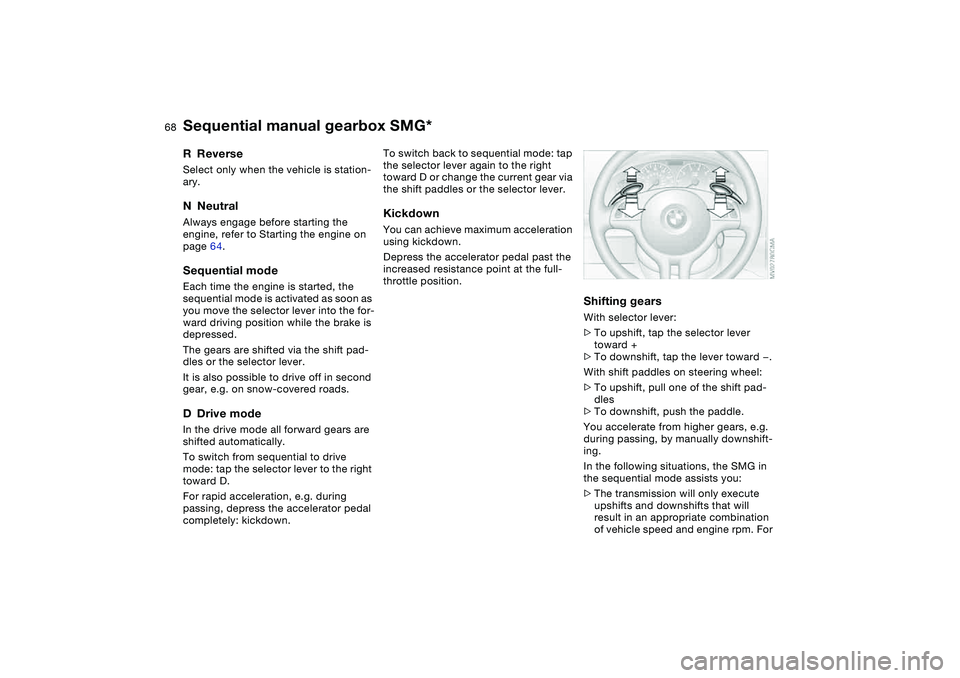
With shift paddles on steering wheel:
>To upshift, pull one of the shift pad-
dles
>To downshift, push the paddle.
You accelerate from higher gears, e.g.
during passing, by manually downshift-
ing.
In the following situations, the SMG in
the sequential mode assists you:
>The transmission will only execute
upshifts and downshifts that will
result in an appropriate combination
of vehicle speed and engine rpm. For
Sequential manual gearbox SMG*
Page 82 of 178
82
ClockIf you wish to have a permanent time
display, you can make this setting in the
radio display, refer to the Owner's Man-
ual for Radio.
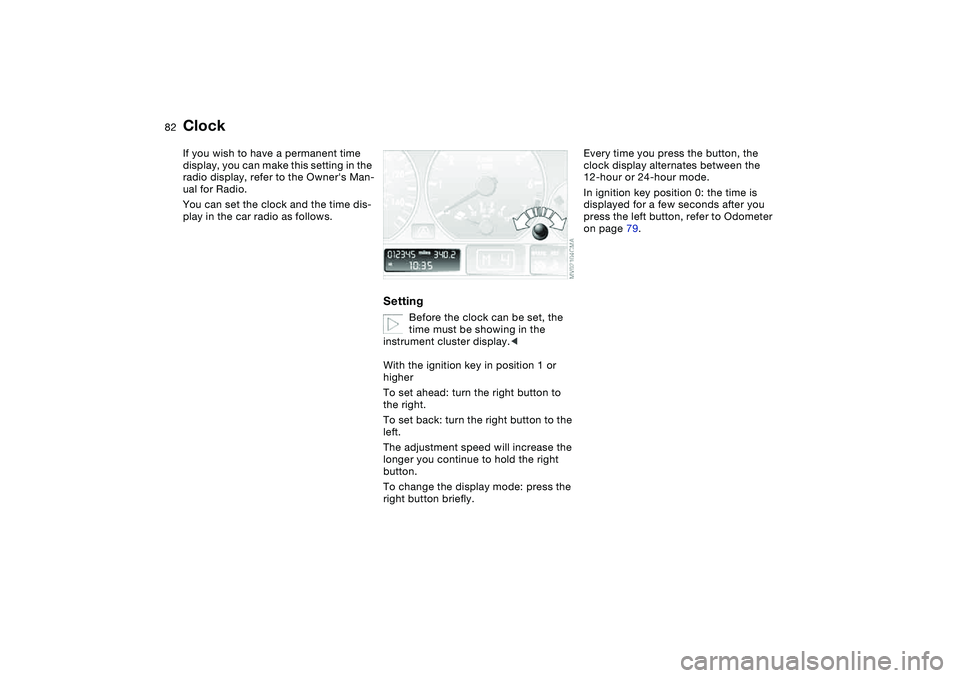
You can set the clock and the time dis-
play in the car radio as follows.
Setting
Before the clock can be set, the
time must be showing in the
instrument cluster display.<
With the ignition key in position 1 or
higher
To set ahead: turn the right button to
the right.
To set back: turn the right button to the
left.
The adjustment speed will increase the
longer you continue to hold the right
button.
To change the display mode: press the
right button briefly.
Every time you press the button, the
clock display alternates between the
12-hour or 24-hour mode.
In ignition key position 0: the time is
displayed for a few seconds after you
press the left button, refer to Odometer
on page 79.
Page 83 of 178
83
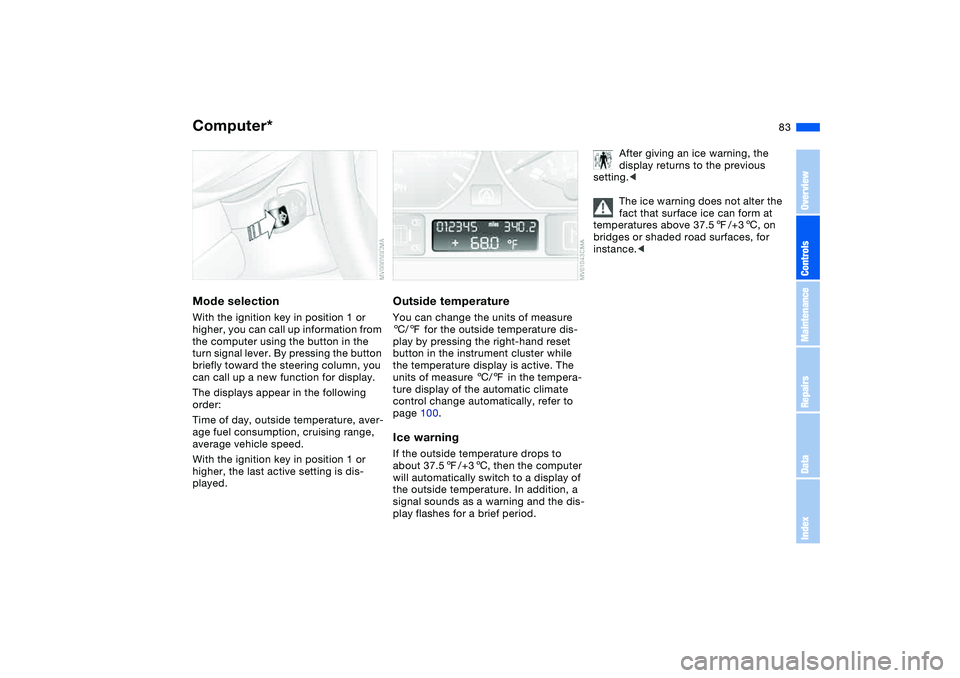
Computer*Mode selectionWith the ignition key in position 1 or
higher, you can call up information from
the computer using the button in the
turn signal lever. By pressing the button
briefly toward the steering column, you
can call up a new function for display.
The displays appear in the following
order:
Time of day, outside temperature, aver-
age fuel consumption, cruising range,
average vehicle speed.
With the ignition key in position 1 or
higher, the last active setting is dis-
played.
Outside temperatureYou can change the units of measure
6/7 for the outside temperature dis-
play by pressing the right-hand reset
button in the instrument cluster while
the temperature display is active. The
units of measure 6/7 in the tempera-
ture display of the automatic climate
control change automatically, refer to
page 100.Ice warningIf the outside temperature drops to
about 37.57/+36, then the computer
will automatically switch to a display of
the outside temperature. In addition, a
signal sounds as a warning and the dis-
play flashes for a brief period.
After giving an ice warning, the
display returns to the previous
setting.<
The ice warning does not alter the
fact that surface ice can form at
temperatures above 37.57/+36, on
bridges or shaded road surfaces, for
instance.<
OverviewControlsMaintenanceRepairsDataIndex
Page 91 of 178
91
Flat Tire Monitor*The conceptAs you drive, the Flat Tire Monitor
keeps track of pressure levels in all four
tires. The system alerts you whenever
the inflation pressure of a tire falls sig-
nificantly below the pressure of another
tire.
The system actually detects pressure
loss by monitoring differences in the
relative speeds of the four wheels. It
interprets variations outside specified
limits as severe pressure loss, and then
responds by generating a warning.Functional requirementsIn order for the Flat Tire Monitor to learn
the correct tire inflation pressure,
please do the following:
1. Check the tire inflation pressures in
all tires
2. Compare them with the tire inflation
pressure table on page 26 and cor-
rect them, if necessary
3. Initialize the system.
System limitations
The Flat Tire Monitor cannot pro-
vide you with advance warning of
sudden and severe tire damage caused
by external factors and does not detect
the balanced and very gradual pressure
loss that takes place in all four tires
over an extended period of time.<
On the other hand, the following situa-
tions can lead to a delayed detection of
pressure loss and even to the system
not functioning:
>Driving on snow-covered or slippery
roads
>Performance-oriented driving: slip at
the drive wheels, high levels of lateral
acceleration
>When driving with snow chains, false
warnings and undetected pressure
losses may occur
>When driving with a space-saver
spare tire, the Flat Tire Monitor can-
not function.
Initializing the system
Each time you correct the pres-
sure in a tire, or change a wheel or
tire, reinitialize the system immediately
afterwards. This requires a bit of driv-
ing.<
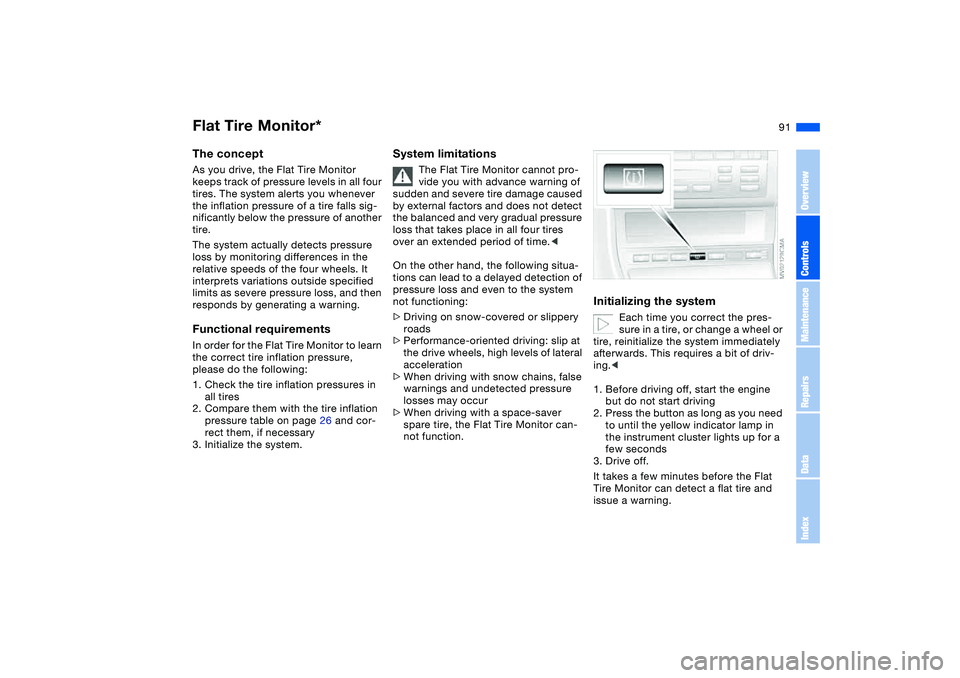
1. Before driving off, start the engine
but do not start driving
2. Press the button as long as you need
to until the yellow indicator lamp in
the instrument cluster lights up for a
few seconds
3. Drive off.
It takes a few minutes before the Flat
Tire Monitor can detect a flat tire and
issue a warning.
OverviewControlsMaintenanceRepairsDataIndex
Page 93 of 178
93 Lamps
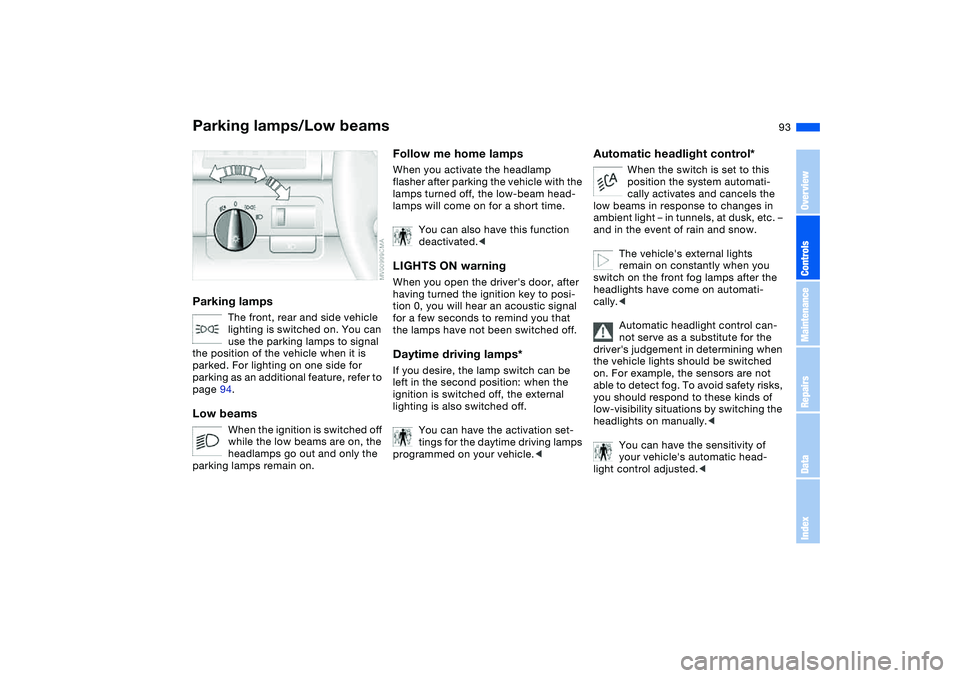
Parking lamps/Low beamsParking lamps
The front, rear and side vehicle
lighting is switched on. You can
use the parking lamps to signal
the position of the vehicle when it is
parked. For lighting on one side for
parking as an additional feature, refer to
page 94.
Low beams
When the ignition is switched off
while the low beams are on, the
headlamps go out and only the
parking lamps remain on.
Follow me home lampsWhen you activate the headlamp
flasher after parking the vehicle with the
lamps turned off, the low-beam head-
lamps will come on for a short time.
You can also have this function
deactivated.
tion 0, you will hear an acoustic signal
for a few seconds to remind you that
the lamps have not been switched off.Daytime driving lamps*If you desire, the lamp switch can be
left in the second position: when the
ignition is switched off, the external
lighting is also switched off.
You can have the activation set-
tings for the daytime driving lamps
programmed on your vehicle.<
Automatic headlight control*
When the switch is set to this
position the system automati-
cally activates and cancels the
low beams in response to changes in
ambient light – in tunnels, at dusk, etc. –
and in the event of rain and snow.
The vehicle's external lights
remain on constantly when you
switch on the front fog lamps after the
headlights have come on automati-
cally.<
Automatic headlight control can-
not serve as a substitute for the
driver's judgement in determining when
the vehicle lights should be switched
on. For example, the sensors are not
able to detect fog. To avoid safety risks,
you should respond to these kinds of
low-visibility situations by switching the
headlights on manually.<
You can have the sensitivity of
your vehicle's automatic head-
light control adjusted.<
OverviewControlsMaintenanceRepairsDataIndex
Page 125 of 178
125
Do not drive on a deflated – flat –
tire unless your vehicle is
equipped with Run Flat tires. A flat tire
greatly impairs steering and braking
response, and can lead to complete
loss of control over the vehicle.
Avoid overloading the vehicle so that
the permitted load on the tires is not
exceeded. Overloading can lead to
overheating and internal tire damage.
The ultimate result can assume the
form of a sudden air loss.
Unusual vibrations encountered during
normal vehicle operation can indicate a
damaged tire or some other vehicle
malfunction. This type of problem can
be caused by contact with curbs, etc.
This is also true for irregularities in the
vehicle's handling characteristics, such
as a pronounced tendency to pull to the
left or right. Should this occur, respond
by immediately reducing your speed.
Proceed carefully to the nearest BMW
center or professional tire center, or
have the vehicle towed in to have it, its
wheels or its tires inspected.
Tire damage, up to and including sud-
den and complete air loss, can endan-
ger the lives of both the vehicle occu-
pants and other road users.<
Tire replacementTo maintain good handling and vehicle
response, use only tires of a single
tread configuration from a single manu-
facturer.
Comply with the specified tire inflation
pressures — and be sure to have the
wheel and tire assembly balanced
every time you change a tire or wheel.DOT quality gradesTread wear
Traction AA A B C
Temperature A B C
All passenger car tires must con-
form to Federal Safety Require-
ments in addition to these grades.
when tested under controlled condi-
tions on a specified government test
course.
For example, a tire graded 150 would
wear one and one-half – 1
1/2 – times as
well on the government course as a tire
graded 100. The relative performance
of tires depends upon the actual condi-
tions of their use, however, and may
depart significantly from the norm due
to variations in driving habits, service
practices and differences in road char-
acteristics and climate.TractionThe traction grades, from highest to
lowest, are AA, A, B, and C.
Those grades represent the tire's ability
to stop on wet pavement as measured
under controlled conditions on speci-
fied government test surfaces of
asphalt and concrete. A tire marked C
may have poor traction performance.
The traction grade assigned to
this tire is based on straight-
ahead braking traction tests, and does
not include acceleration, cornering,
hydroplaning, or peak traction charac-
teristics.
tire's resistance to the generation of
heat and its ability to dissipate heat
when tested under controlled condi-
tions on a specified indoor laboratory
test wheel.
Tire condition
OverviewControlsMaintenanceRepairsDataIndex
Page 128 of 178
128
the tire sidewall, refer to Changing a
wheel. In this case, use only Run Flat
winter tires, since no spare tire is pro-
vided in the event of a flat tire.Tire condition, tire pressureAt tread depths below approx. 3/16 in /
4 mm, winter tires display a perceptible
decrease in their ability to cope with
winter driving conditions, and should be
replaced in the interest of safety.
Comply with the specified tire inflation
pressures — and be sure to have the
wheel and tire assembly balanced
every time you change a tire or wheel.Snow chains*Only certain snow chains have been
tested by BMW and determined and
approved as roadworthy. Consult any
BMW center for details. BMW recom-
mends using only these approved fine-
link snow chains. Use them in pairs on
either summer or winter tires, but only
on both rear wheels.325xi: in an extreme emergency – for
instance, with the vehicle stuck on one
side, or when obstructions make it
impossible to reach one tire – a chain
may also be mounted on just one tire
for the limited period needed to resolve
the problem.
Comply with all manufacturer's safety
precautions when mounting the chains.
Do not exceed a speed of 30 mph /
50 km/h when using snow chains.
You cannot mount snow chains on the
following tires:
225/50 R 16
225/45 R 17
245/40 R 17
225/40 R 18
255/35 R 18
Do not initialize the Flat Tire Moni-
tor after mounting snow chains to
the tires.
When driving with snow chains, it may
be useful to turn off the DSC for a short
time, refer to page 87 or 88.