2005 BMW 325I display
[x] Cancel search: displayPage 25 of 166
Reference
At a glance
Controls
Driving tips
Mobility
23
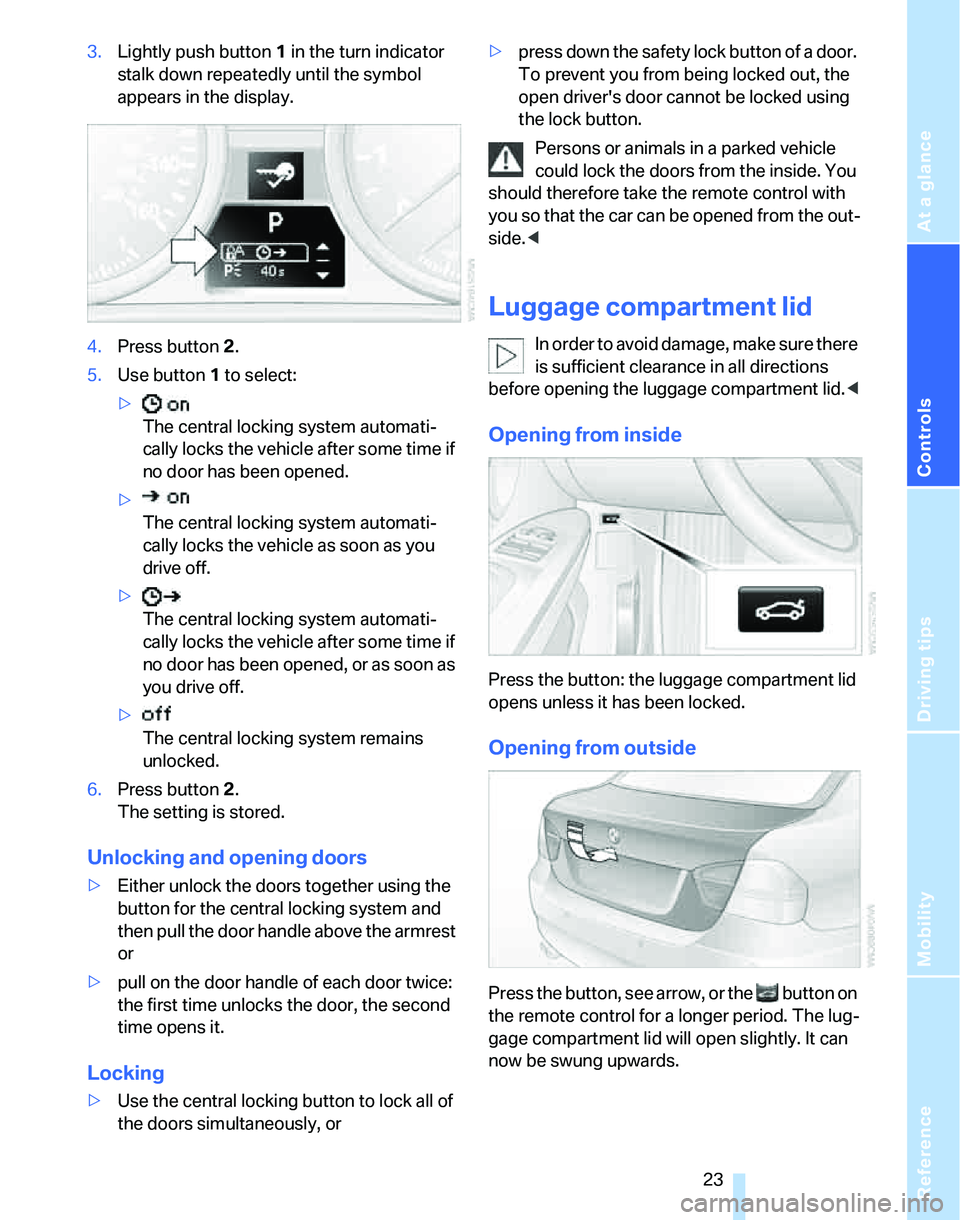
3.Lightly push button1 in the turn indicator
stalk down repeatedly until the symbol
appears in the display.
4.Press button 2.
5.Use button 1 to select:
>
The central locking system automati-
cally locks the vehicle after some time if
no door has been opened.
>
The central locking system automati-
cally locks the vehicle as soon as you
drive off.
>
The central locking system automati-
cally locks the vehicle after some time if
no door has been opened, or as soon as
you drive off.
>
The central locking system remains
unlocked.
6.Press button 2.
The setting is stored.
Unlocking and opening doors
>Either unlock the doors together using the
button for the central locking system and
then pull the door handle above the armrest
or
>pull on the door handle of each door twice:
the first time unlocks the door, the second
time opens it.
Locking
>Use the central locking button to lock all of
the doors simultaneously, or>press down the safety lock button of a door.
To prevent you from being locked out, the
open driver's door cannot be locked using
the lock button.
Persons or animals in a parked vehicle
could lock the doors from the inside. You
should therefore take the remote control with
you so that the car can be opened from the out-
side.<
Luggage compartment lid
In order to avoid damage, make sure there
is sufficient clearance in all directions
before opening the luggage compartment lid.<
Opening from inside
Press the button: the luggage compartment lid
opens unless it has been locked.
Opening from outside
Press the button, see arrow, or the button on
the remote control for a longer period. The lug-
gage compartment lid will open slightly. It can
now be swung upwards.
Page 27 of 166

Reference
At a glance
Controls
Driving tips
Mobility
25
and steal the wheels or to raise it prior to
towing away
>When there is an interruption in the power
supply from the battery
The alarm system signals unauthorized entry
attempts for a short time by means of:
>An acoustic alarm
>Switching on the hazard warning flashers
>Flashing the high beams
Arming and disarming
When you lock or unlock the vehicle, either with
the remote control or at the door lock, the alarm
system is armed or disarmed at the same time.
Even when the alarm system is armed, you can
open the luggage compartment lid by means of
the button on the remote control, refer to
page21. When you subsequently close the lug-
gage compartment lid, it is again locked and
monitored.
Switching off an alarm
>Unlock the car with the remote control, refer
to page20, or
>insert the remote control all the way into the
ignition lock.
Indicator lamp displays
>The indicator lamp under the inside rear-
view mirror flashes continuously: the sys-
tem is armed.
>The indicator lamp flashes after locking:
doors, hood or luggage compartment lid are
not properly closed. Even if you do not close
the alerted area, the system begins to mon-
itor the remaining areas, and the indicator lamp flashes continuously after approx. 10
seconds. However, the interior motion sen-
sor is not activated.
>The indicator lamp goes out after unlocking:
your vehicle has not been disturbed while
you were away.
>If the indicator lamp flashes after unlocking
until the remote control is inserted in the
ignition, but for no longer than approx.
5 minutes: your vehicle has been disturbed
while you were away.
Tilt alarm sensor
The tilt of the vehicle is monitored. The alarm
system reacts, e.g. to attempts to steal a wheel
or tow the vehicle.
Interior motion sensor
In order for the interior motion sensor to func-
tion properly, the windows and glass sunroof
must be completely closed.
Avoiding unintentional alarms
The tilt alarm sensor and interior motion sensor
may be switched off at the same time. This pre-
vents unintentional alarms, e.g. in the following
situations:
>In duplex garages
>When transporting on car-carrying trains
>When animals are to remain in the vehicle
Switching off tilt alarm sensor and
interior motion sensor
Press the button on the remote control
twice in a row.
The indicator lamp comes on for approx. two
seconds, then begins to flash steadily. The tilt
alarm sensor and the interior motion sensor are
switched off until the next time the vehicle is
unlocked and subsequently locked again.
Convenient access*
Convenient access enables you to enter your
vehicle without needing to hold the remote con-
Page 37 of 166
Reference
At a glance
Controls
Driving tips
Mobility
35
Seat and mirror memory*
You can store and call up two different combi-
nations of driver's-seat and exterior-mirror
positions.
Settings for the seat back width and lumbar
support are not stored in memory.
Storing
1.Switch on radio readiness or the ignition,
refer to page42.
2.Adjust the seat and exterior mirrors to the
desired positions.
3.Press the button.
The LED in the button lights up.
4.Press the desired memory key 1 or 2.
The LED goes out.
The driver's seat and exterior mirror posi-
tions are stored for the remote control cur-
rently in use.
Automatic call-up
You can select at what occasion the stored
positions of the driver's seat and exterior mir-
rors are to be called up.
>Call-up when the vehicle is unlocked
>Call-up when the driver's door is opened.
When this Personal Profile function is
used, first ensure that the footwell behind
the driver's seat is free of obstacles. Failure to
do so could cause injury to persons or damage
to objects as a result of a rearward movement of
the seat.<
The adjusting procedure is immediately halted
when you press a seat adjustment switch or one
of the MEMORY buttons.
Activating/deactivating automatic call-
up
Operating principle, refer to page61.
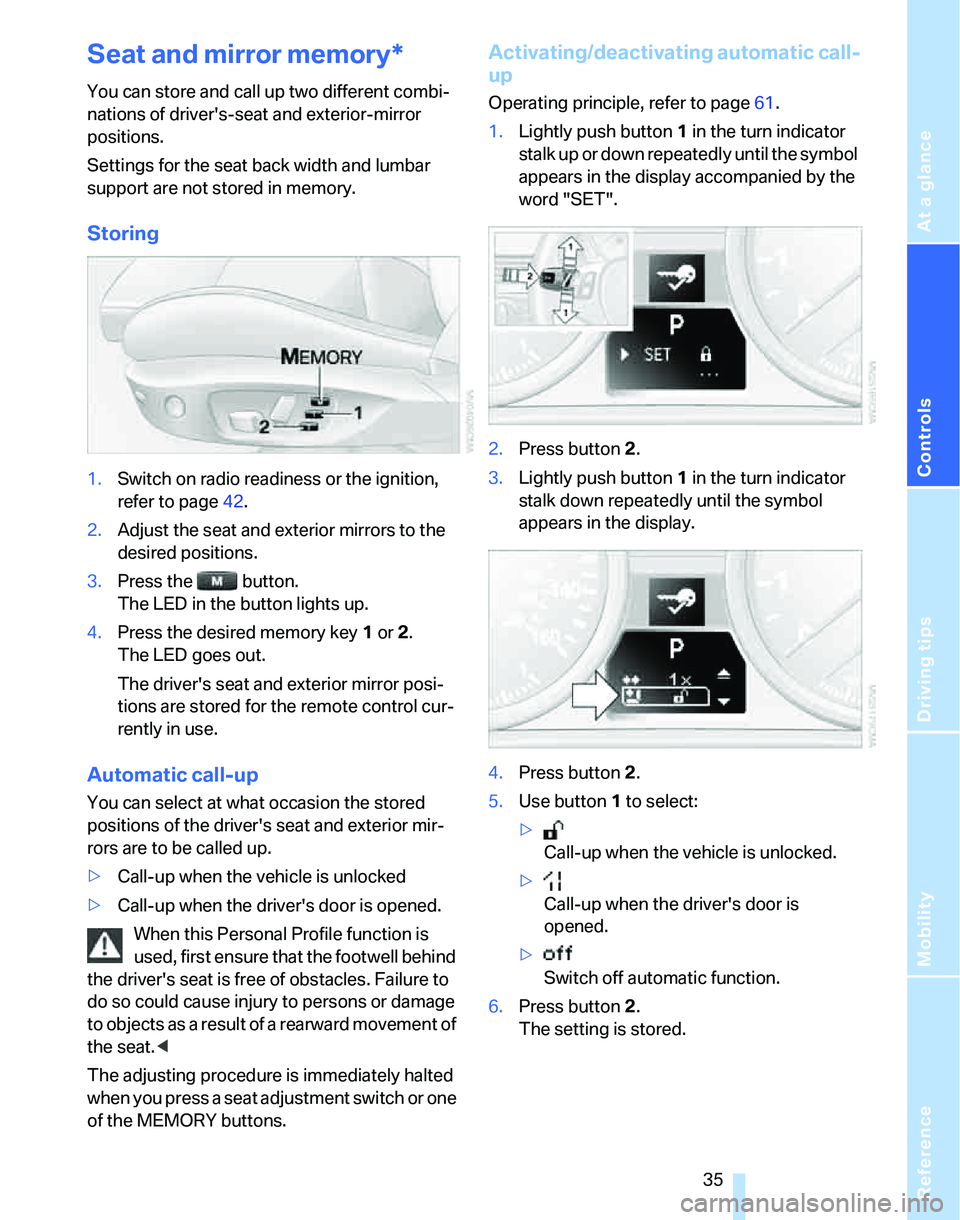
1.Lightly push button1 in the turn indicator
stalk up or down repeatedly until the symbol
appears in the display accompanied by the
word "SET".
2.Press button 2.
3.Lightly push button1 in the turn indicator
stalk down repeatedly until the symbol
appears in the display.
4.Press button 2.
5.Use button 1 to select:
>
Call-up when the vehicle is unlocked.
>
Call-up when the driver's door is
opened.
>
Switch off automatic function.
6.Press button 2.
The setting is stored.
Page 45 of 166

Reference
At a glance
Controls
Driving tips
Mobility
43
Starting the engine
Do not run the engine in closed rooms,
otherwise the inhaling of toxic exhaust
gases can cause unconsciousness and death.
The exhaust gases contain carbon monoxide,
an odorless and colorless, but highly toxic gas.
Never leave an unattended vehicle with the
engine running, otherwise such a vehicle repre-
sents a potential safety hazard.
Before leaving the car with the engine running,
place the transmission in idle or move the
selector lever to position P and apply the hand-
brake to prevent the car from moving.<
When starting the engine, do not press the
accelerator pedal.
Do not allow the engine to warm up by leaving it
running while the vehicle remains stationary.
Instead, begin to drive immediately at a moder-
ate engine speed.
Do not depress either the brake or the
clutch until you are ready to start the
engine. The engine is started immediately
when you briefly touch the start/stop button
and depress the brake if the car has automatic
transmission, or the clutch if the car has manual
transmission.<
Manual transmission
1.Apply the handbrake.
2.Depress the clutch and shift to idle position.
3.Briefly press the start/stop button.
The starter operates automatically for a certain
time, and stops automatically as soon as the
engine has started.
Automatic transmission
1.Depress the brake.
2.Move the selector lever to position P.
3.Briefly press the start/stop button.
The starter operates automatically for a certain
time, and stops automatically as soon as the
engine has started.
Sequential manual gearbox SMG*
1.Depress the brake.
2.Engage selector lever position N and make
sure that this position is displayed in the
instrument cluster.
3.Start the engine.
The starter operates automatically for a certain
time, and stops automatically as soon as the
engine has started.
If the engine does not start, depress the
brake and push the selector lever to the
right, then engage position N. Observe the dis-
play in the instrument cluster while doing so.<
Special starting conditions
In the following situations, press the accelerator
pedal halfway down when starting the engine:
>If the engine does not start on the first
attempt, for instance when it is extremely
hot or cold.
>If the engine is started at very low tempera-
tures, below approx. + 57/–156, at high
altitudes above approx. 3,300 ft/1,000 m.
Avoid frequent starting in quick succes-
sion or repeated start attempts in which
the engine does not start. Otherwise, the fuel is
not burned or inadequately burned and there is
a danger of overheating and damaging the cat-
alytic converter.<
Switching off the engine
Always take the remote control with you
when you leave the vehicle.
When parking on a downhill incline, apply the
Page 47 of 166
Reference
At a glance
Controls
Driving tips
Mobility
45
Reverse gear
Select only when the vehicle is stationary.
When the gearshift lever is pressed to the left, a
slight resistance has to be overcome.
Sequential manual gearbox
SMG*
The concept
The sequential manual gearbox SMG is an
automated transmission in which operation of
the clutch and gearshifts are performed by an
electro-hydraulic system.
SMG is operated via the selector lever in the
center console and two shift paddles on the
steering wheel.
It offers you the following functions:
>Choice of manual or automatic operation:
sequential mode or Drive mode
>Choice of two driving programs: Normal or
Sport, refer to Dynamic Driving Control,
page46
>Automatic downshifting and prevention of
misshifting in sequential mode as well
>Acceleration assistant, refer to page47
Selector lever positions
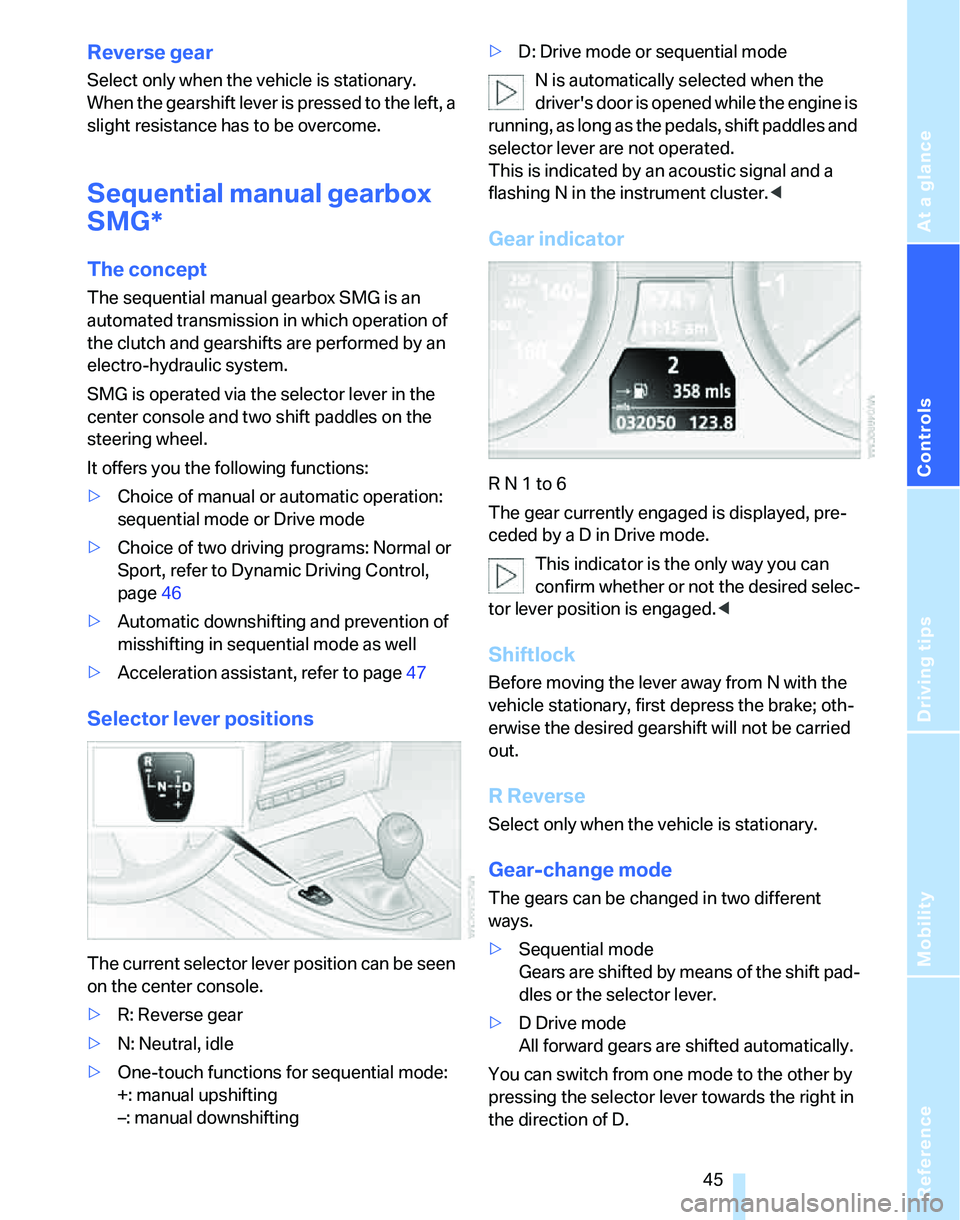
The current selector lever position can be seen
on the center console.
>R: Reverse gear
>N: Neutral, idle
>One-touch functions for sequential mode:
+: manual upshifting
–: manual downshifting>D: Drive mode or sequential mode
N is automatically selected when the
driver's door is opened while the engine is
running, as long as the pedals, shift paddles and
selector lever are not operated.
This is indicated by an acoustic signal and a
flashing N in the instrument cluster.<
Gear indicator
R N 1 to 6
The gear currently engaged is displayed, pre-
ceded by a D in Drive mode.
This indicator is the only way you can
confirm whether or not the desired selec-
tor lever position is engaged.<
Shiftlock
Before moving the lever away from N with the
vehicle stationary, first depress the brake; oth-
erwise the desired gearshift will not be carried
out.
R Reverse
Select only when the vehicle is stationary.
Gear-change mode
The gears can be changed in two different
ways.
>Sequential mode
Gears are shifted by means of the shift pad-
dles or the selector lever.
>D Drive mode
All forward gears are shifted automatically.
You can switch from one mode to the other by
pressing the selector lever towards the right in
the direction of D.
Page 49 of 166
Reference
At a glance
Controls
Driving tips
Mobility
47
Acceleration assistant
The acceleration assistant provides for optimal,
racing-style acceleration when starting off on a
non-slippery surface.
Do not use the acceleration assistant too
frequently, otherwise components could
wear prematurely.<
1.Activate Dynamic Driving Control.
2.Deactivate DSC, refer to page68.
3.Quickly depress the accelerator pedal all
the way: kick-down. The optimal engine
speed for pulling away is achieved.
To maintain driving stability, reactivate
DSC afterward.<
Automatic transmission with
Steptronic*
In addition to fully automatic operation, you can
also manually shift with the Steptronic, refer to
page48.
Vehicle parking
To prevent the vehicle from rolling,
always select position P and apply the
handbrake before leaving the vehicle with the
engine running.<
Disengaging the remote control
In order to remove the remote control from the
ignition lock, you must first move the selector
lever to position P and switch off the engine:
interlock.
Selector lever positions
P R N D M/S + –
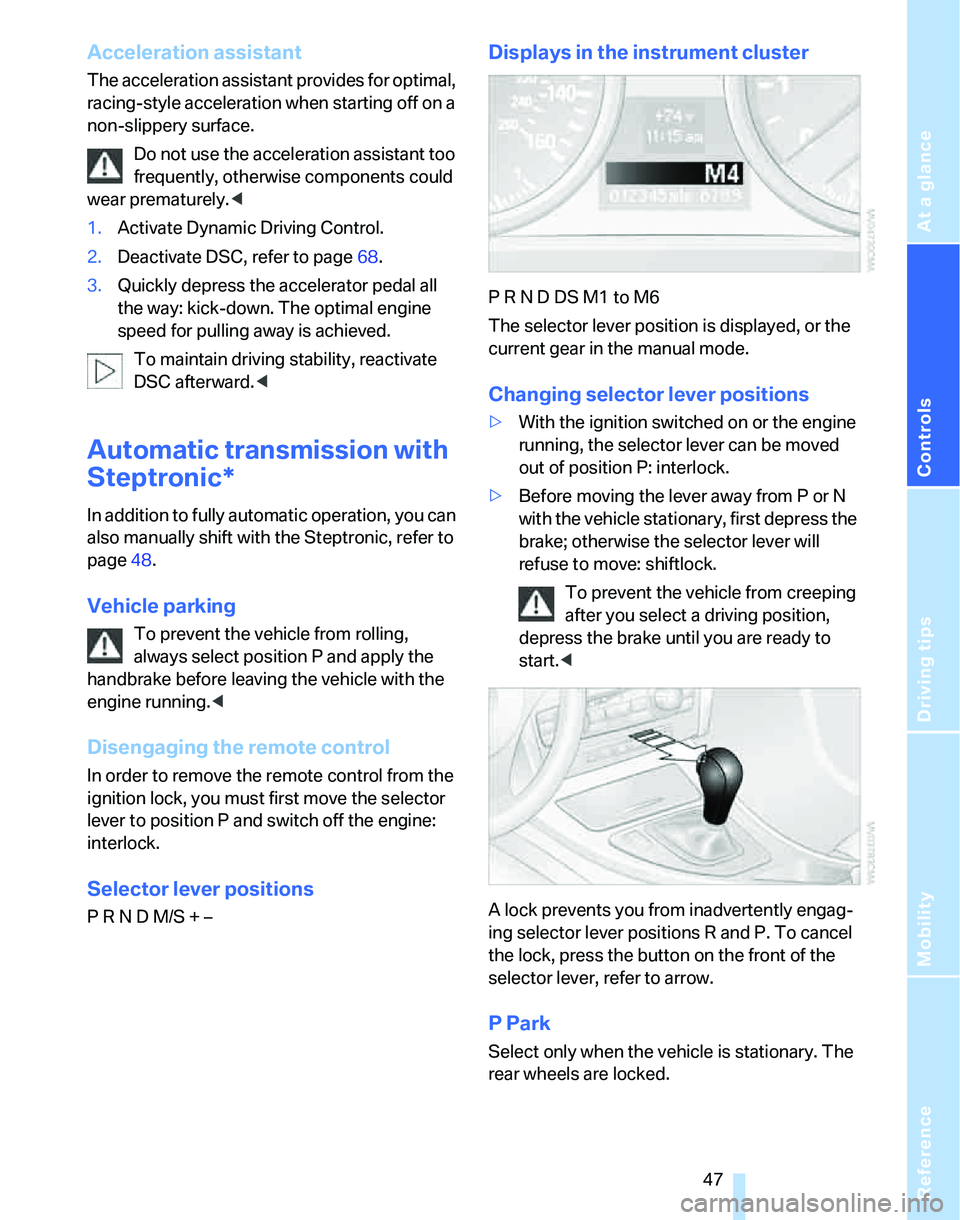
Displays in the instrument cluster
P R N D DS M1 to M6
The selector lever position is displayed, or the
current gear in the manual mode.
Changing selector lever positions
>With the ignition switched on or the engine
running, the selector lever can be moved
out of position P: interlock.
>Before moving the lever away from P or N
with the vehicle stationary, first depress the
brake; otherwise the selector lever will
refuse to move: shiftlock.
To prevent the vehicle from creeping
after you select a driving position,
depress the brake until you are ready to
start.<
A lock prevents you from inadvertently engag-
ing selector lever positions R and P. To cancel
the lock, press the button on the front of the
selector lever, refer to arrow.
P Park
Select only when the vehicle is stationary. The
rear wheels are locked.
Page 51 of 166

Reference
At a glance
Controls
Driving tips
Mobility
49
Using turn signals
Press the lever beyond the resistance point.
To turn off manually, press the lever to the
resistance point.
Unusually rapid flashing of the indicator
lamp indicates that a turn signal indicator
has failed.
After switching off the ignition, make sure that
the roadside parking lamps are not switched
on.<
Indicating a turn briefly
Press the lever as far as the resistance point for
as long as you wish to indicate a turn.
Triple turn signal activation
Press the lever as far as the resistance point.
The turn signals flash three times.
You can activate or deactivate this function.
Operating principle, refer to page61.
1.Lightly push button1 in the turn indicator
stalk up or down repeatedly until the symbol
appears in the display accompanied by the
word "SET".
2.Press button 2.3.Lightly push button1 in the turn indicator
stalk down repeatedly until the symbol
appears in the display.
4.Press button 2.
5.Use button 1 to select:
>
Brief indication of a turn.
>
Triple turn signal.
6.Press button 2.
The setting is stored.
Wiper system
1Switching on wipers
2Switching off wipers or brief wipe
3Activating/deactivating intermittent wipe or
rain sensor
*
4Cleaning windshield and headlamps*
5Setting speed for intermittent wipe, or sen-
sitivity of the rain sensor
Switching on wipers
The lever automatically returns to its initial posi-
tion when released.
Page 53 of 166
Reference
At a glance
Controls
Driving tips
Mobility
51
Mix the water and antifreeze before filling
the washer fluid reservoir to make sure
the correct concentration is maintained.<
Capacity
Approx. 6.3 US quarts/6 liters.
Cruise control*
The concept
Cruise control is available for use at speeds of
approx. 20 mph or 30 km/h. The car then stores
and maintains the speed that you specify using
the lever on the steering column. In order to
maintain the specified speed, the system
brakes the vehicle when the engine braking
effect is insufficient on downhill gradients.
Do not use cruise control when driving
conditions are unfavorable for driving at a
constant speed. Otherwise you could lose con-
trol of the vehicle and cause an accident as a
result. Unfavorable driving conditions include,
for example, winding roads, heavy traffic or a
poor road surface, e.g. snow, rain, ice or loose
material.<
Manual transmission/SMG
You can shift gears while cruise control is acti-
vated. An indicator lamp notifies you that you
should shift gears when you drive for an
extended period at very high or very low engine
speeds, or the system is deactivated.
In Drive mode, the SMG acts similarly to an
automatic transmission in position D.
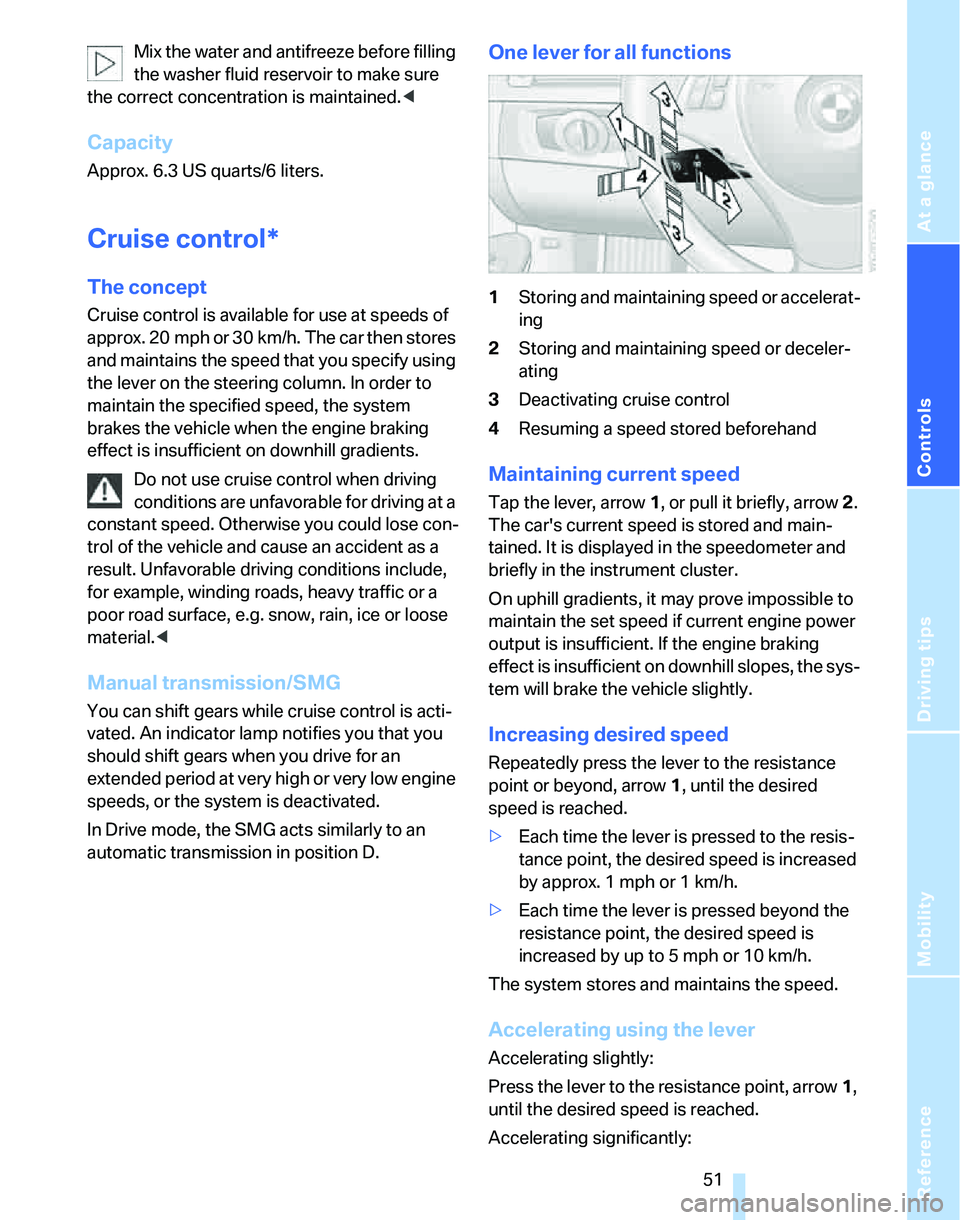
One lever for all functions
1Storing and maintaining speed or accelerat-
ing
2Storing and maintaining speed or deceler-
ating
3Deactivating cruise control
4Resuming a speed stored beforehand
Maintaining current speed
Tap the lever, arrow 1, or pull it briefly, arrow 2.
The car's current speed is stored and main-
tained. It is displayed in the speedometer and
briefly in the instrument cluster.
On uphill gradients, it may prove impossible to
maintain the set speed if current engine power
output is insufficient. If the engine braking
effect is insufficient on downhill slopes, the sys-
tem will brake the vehicle slightly.
Increasing desired speed
Repeatedly press the lever to the resistance
point or beyond, arrow1, until the desired
speed is reached.
>Each time the lever is pressed to the resis-
tance point, the desired speed is increased
by approx. 1 mph or 1 km/h.
>Each time the lever is pressed beyond the
resistance point, the desired speed is
increased by up to 5 mph or 10 km/h.
The system stores and maintains the speed.
Accelerating using the lever
Accelerating slightly:
Press the lever to the resistance point, arrow 1,
until the desired speed is reached.
Accelerating significantly: