Page 48 of 120

3-5
E
EJU01346
Pre-operation checks
EJU01347
Pre-operation check list
Before operating this watercraft, perform the checks in the following check list. See the
accompanying text in this chapter for details on how to perform the checks.
WARNING@ If any item in the pre-operation check list is not working properly, have it inspected
and repaired before operating the watercraft, otherwise an accident could occur.
@
NOTE:@ Pre-operation checks should be made thoroughly each time the watercraft is used. This pro-
cedure can be completed in a short time. It is worth the time spent to assure safety and reli-
ability.
@
ITEM ROUTINE PAGE
Engine compartment Remove all seats and the front storage compart-
ment to ventilate the engine compartment.
Check for fuel vapors and loose electrical con-
nections.3-6
Bilge Check for water and fuel and remove if neces-
sary.3-8
Stern drain plugs Check for proper installation. 3-8
Throttle lever Check that the throttle lever springs back
smoothly.3-11
Steering system Check for proper operation. 3-11
Fuel and oil Check fuel and oil levels and add if necessary.
Check the hoses and tanks for leakage.3-7
Water separator Check for water and drain if necessary. 3-7
Battery Check electrolyte level and battery condition. 3-9
Hood Check that the hood is properly secured. 2-6
Front and rear seats Check that the seats are properly secured. 2-4–2-5
Hull and deck Check the hull and deck for cracks or other dam-
age.3-6
Jet unit Check for debris and remove if necessary. 3-12
Fire extinguisher Check condition and replace if necessary. 3-10
Engine shut-off cord Check condition and replace if frayed or broken. 3-12
Switches Check the start switch, engine stop switch, and
engine shut-off switch for proper operation.3-13
Cooling water pilot outlet Check that water is discharged while the engine
is running and the watercraft is in the water.3-12
UF0M75.book Page 5 Thursday, May 29, 2003 9:53 AM
Page 51 of 120
3-8
E
EJU10531
Bilge
Check for moisture and fuel residue in the
bilge.
Excessive water in the bilge can splash
into the carburetor and engine which could
cause engine damage.
To remove water from the bilge:
1. Remove the stern drain plugs.
2. Raise the bow of the watercraft until the
water drains.
3. After the water has drained, wipe the
bilge with dry rags to make sure that the
bilge is thoroughly dry.
4. Install the drain plugs.
EJU20581
Stern drain plug
Check the stern drain plugs for proper
installation.
CAUTION:@ �Make sure that the stern drain plugs
are tightened securely before launch-
ing the watercraft. Otherwise, water
may flood the engine compartment
and cause the watercraft to submerge.
�Clean any foreign materials, such as
dirt or sand, from the drain plug
threads before installing the drain
plugs. Otherwise, the drain plugs may
be damaged and water may enter the
engine compartment.
@
UF0M75.book Page 8 Thursday, May 29, 2003 9:53 AM
Page 52 of 120
3-9
E
EJU01969
Battery
Check the battery condition and the elec-
trolyte level.
Check that the battery leads are tightened
securely and there is no corrosion on the
battery terminals.
WARNING@ �The battery must always be fully
charged and in good condition. Loss
of battery power may leave you
stranded. Never operate the watercraft
if the battery does not have sufficient
power to start the engine or if it shows
any other signs of decreased power.
�Be sure to connect the breather hose
to the battery. Fire or explosion could
result if the breather hose is damaged,
obstructed, or not connected properly.
@
Make sure that the battery is securely
held in place.
1
Positive (+): Red lead
2
Negative (–): Black lead
3
Breather hose
UF0M75.book Page 9 Thursday, May 29, 2003 9:53 AM
Page 53 of 120
3-10
E
EJU01136
Fire extinguisher
Check that there is a full fire extinguisher
on board. The fire extinguisher container 1
is located on the underside of the rear seat.
(See page 2-4 for rear seat removal proce-
dures.)
To open the fire extinguisher container
cap 2, turn it counterclockwise.
After inserting the fire extinguisher, make
sure that the container cap is tightened
securely.
Install the fire extinguisher container on
the seat and secure it with the bands 3.
NOTE:@ �See the instructions supplied by the fire
extinguisher manufacturer for checking
the fire extinguisher. Always keep the
extinguisher in the fire extinguisher con-
tainer.
�Always carry a fire extinguisher on board.
A fire extinguisher is not standard equip-
ment with this watercraft. If you do not
have one, contact a Yamaha dealer or a
fire extinguisher dealer to obtain one
meeting the proper specifications.
@
UF0M75.book Page 10 Thursday, May 29, 2003 9:53 AM
Page 57 of 120

3-14
E
EJU01836
Operation
WARNING@ Before operating your watercraft,
become familiar with all controls. Con-
sult your Yamaha dealer about any con-
trol or function you do not fully
understand. Failure to understand how
controls work could cause an accident or
prevent you from avoiding an accident.
@
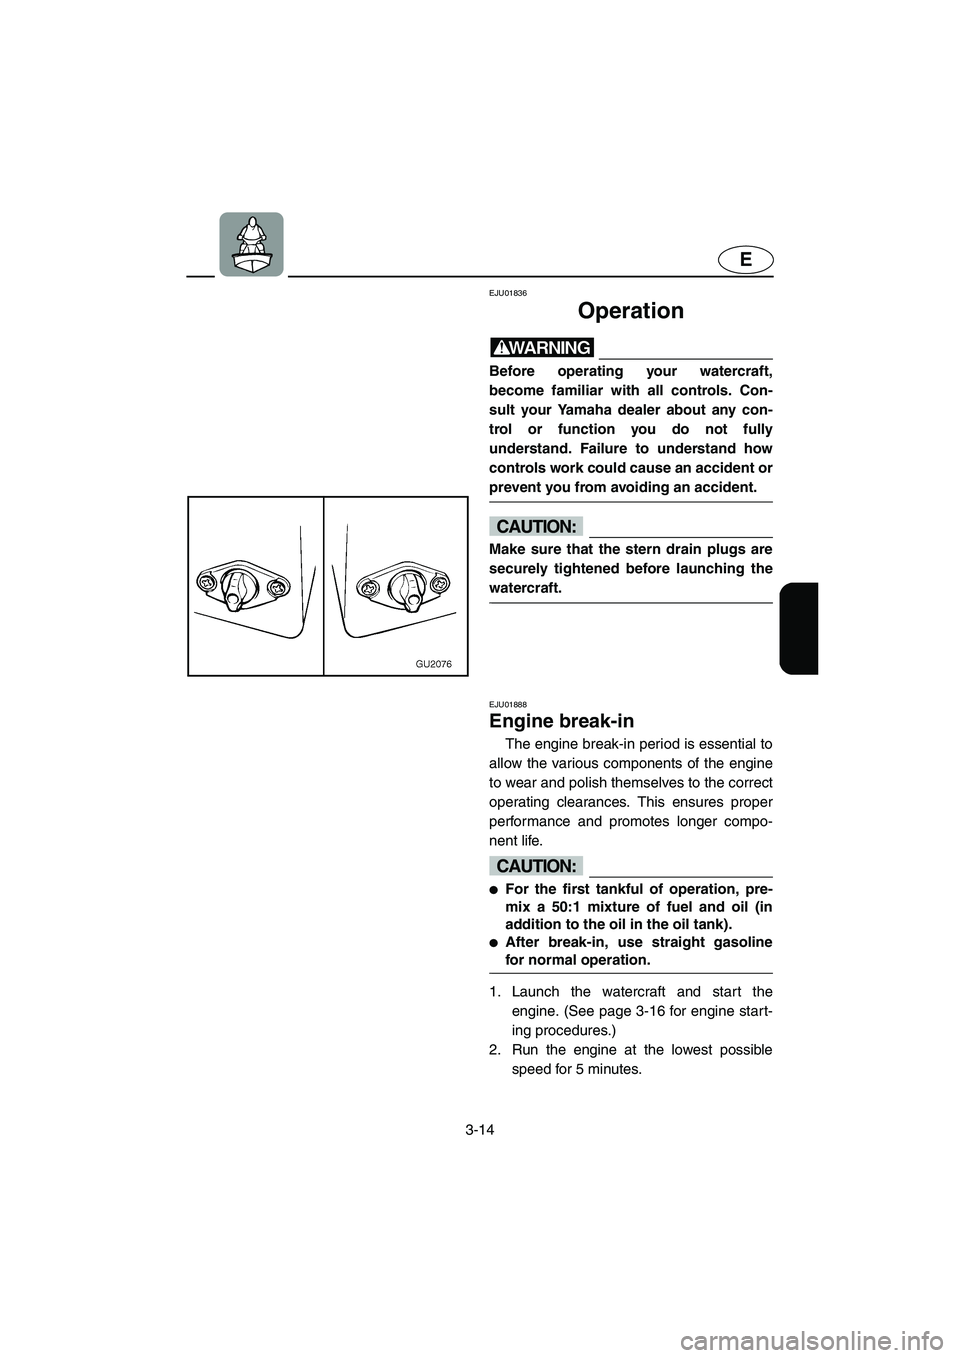
CAUTION:@ Make sure that the stern drain plugs are
securely tightened before launching the
watercraft.
@
EJU01888
Engine break-in
The engine break-in period is essential to
allow the various components of the engine
to wear and polish themselves to the correct
operating clearances. This ensures proper
performance and promotes longer compo-
nent life.
CAUTION:@ �For the first tankful of operation, pre-
mix a 50:1 mixture of fuel and oil (in
addition to the oil in the oil tank).
�After break-in, use straight gasoline
for normal operation.
@
1. Launch the watercraft and start the
engine. (See page 3-16 for engine start-
ing procedures.)
2. Run the engine at the lowest possible
speed for 5 minutes.
UF0M75.book Page 14 Thursday, May 29, 2003 9:53 AM
Page 68 of 120

3-25
E
EJU01849
Boarding with passengers
WARNING@ Severe internal injuries can occur if
water is forced into body cavities as a
result of being near the jet thrust nozzle.
Do not apply throttle until each passen-
ger is seated with his or her feet on the
floor of the footwell and is holding on to
the person in front of him or her.
@
1. Climb on board as noted in the previous
section, and sit astride the seat. Attach
the engine shut-off cord to your left wrist,
and then install the clip to the engine
shut-off switch.
2. Have the passenger move to the rear of
the watercraft.
3. Have the passenger get on board and sit
on the seat. If a second passenger is
getting on, have him or her follow the
same procedure.
NOTE:@ When a passenger is getting on board, both
he and the operator should try to balance
the watercraft.
@
4. The operator should check to see that
the passengers have their feet on the
floor of the footwell and that they are
securely holding on to the person in front
of them.
5. Start the engine, look in all directions,
and then accelerate to planing speed.
WARNING@ Before starting off, make sure that there
are no boats, obstructions, or swimmers
around you.
@
UF0M75.book Page 25 Thursday, May 29, 2003 9:53 AM
Page 79 of 120
3-36
E
EJU01085
Transporting
WARNING@ Always place the fuel cock knob in the
“OFF” position when transporting the
watercraft, otherwise fuel could leak out
into the engine or engine compartment,
which would create a fire hazard.
@
When transporting the watercraft on a
trailer, secure the tie downs to the trailer
through the bow eye and stern rope holes.
CAUTION:@ Do not route ropes or tie downs over the
seat, as they may leave permanent marks
on the seat’s surface. Also, wrap the
ropes or tie downs with towels or rags
where they touch the body of the water-
craft to avoid scratching or damage.
@
UF0M75.book Page 36 Thursday, May 29, 2003 9:53 AM
Page 83 of 120
4-2
E
1. Put the watercraft on land in a horizontal
position.
2. Open the flushing hose connector
cap1, and then insert the garden hose
adapter 2 into the flushing hose con-
nector 3 and turn it until it is securely
connected.
3. Connect the garden hose adapter to a
water tap using a hose.
4. Start the engine, and then immediately
turn the water supply on until water flows
out continually from the cooling water
pilot outlet.
5. Run the engine at idling speed for about
3 minutes watching the engine condition.
If the engine stops while flushing, turn
the water supply off immediately and
repeat the above steps.
6. Turn the water supply off, and then force
the remaining water out from the cooling
passages by alternately squeezing, and
releasing the throttle lever for 10 to
15 seconds.
7. Stop the engine.
8. Remove the garden hose adapter and
secure the cap.
UF0M75.book Page 2 Thursday, May 29, 2003 9:53 AM