Page 158 of 506

04 SIENNA_U (L/O 0408)
152
2004 SIENNA from Aug. ’04 Prod. (OM45422U)
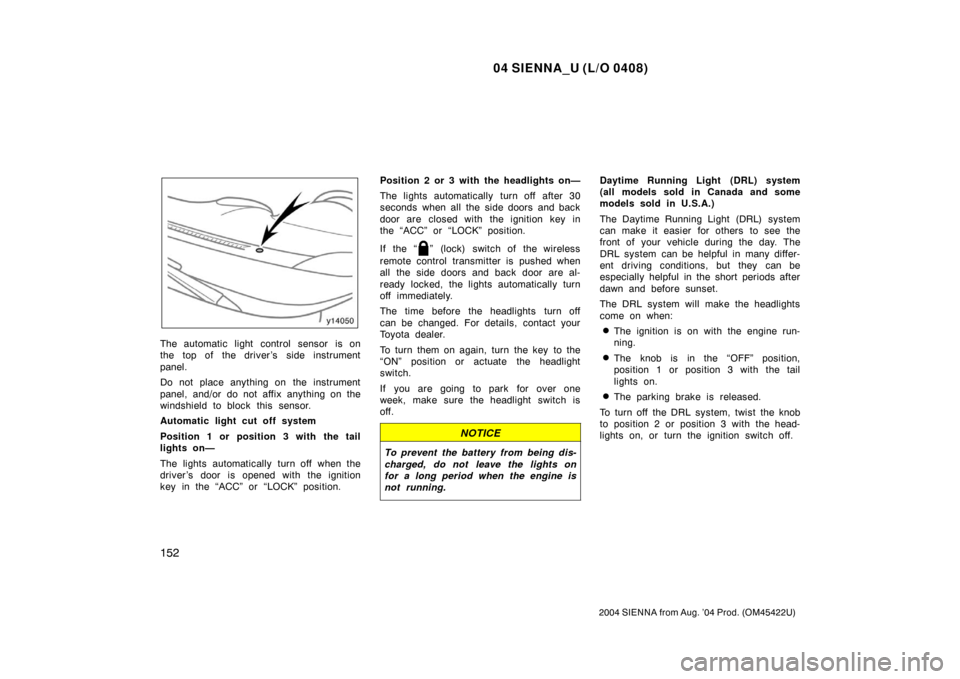
The automatic light control sensor is on
the top of the driver’s side instrument
panel.
Do not place anything on the instrument
panel, and/or do not affix anything on the
windshield to block this sensor.
Automatic light cut off system
Position 1 or position 3 with the tail
lights on—
The lights automatically turn off when the
driver ’s door is opened with the ignition
key in the “ACC” or “LOCK” position.Position 2 or 3 with the headlights on—
The lights automatically turn off after 30
seconds when all the side doors and back
door are closed with the ignition key in
the “ACC” or “LOCK” position.
If the “
” (lock) switch of the wireless
remote control transmitter is pushed when
all the side doors and back door are al-
ready locked, the lights automatically turn
off immediately.
The time before the headlights turn off
can be changed. For details, contact your
Toyota dealer.
To turn them on again, turn the key to the
“ON” position or actuate the headlight
switch.
If you are going to park for over one
week, make sure the headlight switch is
off.
NOTICE
To prevent the battery from being dis-
charged, do not leave the lights on
for a long period when the engine is
not running.
Daytime Running Light (DRL) system
(all models sold in Canada and some
models sold in U.S.A.)
The Daytime Running Light (DRL) system
can make it easier for others to see the
front of your vehicle during the day. The
DRL system can be helpful in many differ-
ent driving conditions, but they can be
especially helpful in the short periods after
dawn and before sunset.
The DRL system will make the headlights
come on when:
�The ignition is on with the engine run-
ning.
�The knob is in the “OFF” position,
position 1 or position 3 with the tail
lights on.
�The parking brake is released.
To turn off the DRL system, twist the knob
to position 2 or position 3 with the head-
lights on, or turn the ignition switch off.
Page 159 of 506

04 SIENNA_U (L/O 0408)
153
2004 SIENNA from Aug. ’04 Prod. (OM45422U)
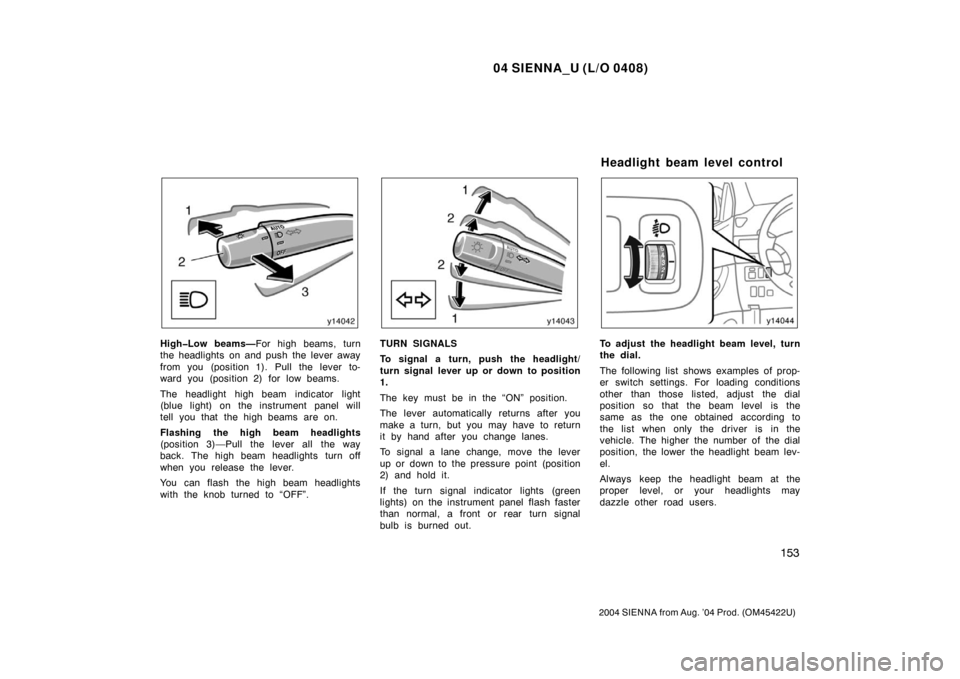
High�Low beams—For high beams, turn
the headlights on and push the lever away
from you (position 1). Pull the lever to-
ward you (position 2) for low beams.
The headlight high beam indicator light
(blue light) on the instrument panel will
tell you that the high beams are on.
Flashing the high beam headlights
(position 3)—Pull the lever all the way
back. The high beam headlights turn off
when you release the lever.
You can flash the high beam headlights
with the knob turned to “OFF”.TURN SIGNALS
To signal a turn, push the headlight/
turn signal lever up or down to position
1.
The key must be in the “ON” position.
The lever automatically returns after you
make a turn, but you may have to return
it by hand after you change lanes.
To signal a lane change, move the lever
up or down to the pressure point (position
2) and hold it.
If the turn signal indicator lights (green
lights) on the instrument panel flash faster
than normal, a front or rear turn signal
bulb is burned out.To adjust the headlight beam level, turn
the dial.
The following list shows examples of prop-
er switch settings. For loading conditions
other than those listed, adjust the dial
position so that the beam level is the
same as the one obtained according to
the list when only the driver is in the
vehicle. The higher the number of the dial
position, the lower the headlight beam lev-
el.
Always keep the headlight beam at the
proper level, or your headlights may
dazzle other road users.
Headlight beam level control
Page 161 of 506
04 SIENNA_U (L/O 0408)
155
2004 SIENNA from Aug. ’04 Prod. (OM45422U)
NOTICE
To prevent the battery from being dis-
charged, do not leave the switch on
longer than necessary when the en-
gine is not running.
To adjust the brightness of the instru-
ment panel lights, turn the knob.To turn on the front fog lights, twist
the band of the headlight and turn sig-
nal switch lever. They will come on
only when the headlights are on low
beam.
Instrument panel light control Front fog lights
Page 450 of 506

04 SIENNA_U (L/O 0408)
444
2004 SIENNA from Aug. ’04 Prod. (OM45422U)
Power steering fluid level
Check the level through the reservoir. The
level should be in the “HOT” or “COLD”
range depending on the fluid temperature.
See page 463 in Section 7−2 for addition-
al information.
Exhaust system
If you notice any change in the sound of
the exhaust or smell exhaust fumes, have
the cause located and corrected immedi-
ately. (See “Engine exhaust cautions” on
page 370 in Section 2.)
INSIDE THE VEHICLE
Items listed below should be checked
regularly, e.g. while performing periodic
services, cleaning the vehicle, etc.
Lights
Make sure the headlights, stop lights, tail
lights, turn signal lights, and other lights
are all working. Check headlight aim.
Service reminder indicators and warning
buzzers
Check that all service reminder indicators
and warning buzzers function properly.
Steering wheel
Be alert for changes in steering condition,
such as hard steering or strange noise. Seats
Check that all seat controls such as seat
adjusters, seatback recliner, etc. operate
smoothly and that all latches lock securely
in any position. Check that the head re-
straints move up and down smoothly and
that the locks hold securely in any latched
position. For folding
−down rear seatbacks
and detachable second seats, check that
the latches lock securely.
Seat belts
Check that the seat belt system such as
buckles, retractors and anchors operate
properly and smoothly. Make sure the belt
webbing is not cut, frayed, worn or dam-
aged.
Accelerator pedal
Check the pedal for smooth operation and
uneven pedal effort or catching.
Brake pedal
Check the pedal for smooth operation and
that the pedal has the proper clearance.
Check the brake booster function.
Brakes
In a safe place, check that the brakes do
not pull to one side when applied. Parking brake
Check that the pedal has the proper travel
and that, on a safe incline, your vehicle
is held securely with only the parking
brake applied.
Automatic transmission “Park” mecha-
nism
On a safe incline, check that your vehicle
is held securely with the selector lever in
“P” position and all brakes released.
OUTSIDE THE VEHICLE
Items listed below should be performed
from time to time, unless otherwise
specified.
Fluid leaks
Check underneath for leaking fuel, oil, wa-
ter or other fluid after the vehicle has
been parked for a while. If you smell fuel
fumes or notice any leak, have the cause
found and corrected immediately.
Doors and engine hood
Check that all the doors including back
door operate smoothly and all latches lock
securely. Make sure the engine hood sec-
ondary latch secures the hood from open-
ing when the primary latch is released.
Page 484 of 506
04 SIENNA_U (L/O 0408)
478
2004 SIENNA from Aug. ’04 Prod. (OM45422U)
GoodBlown
Ty p e A
Good Blown
Ty p e B
Good Blown
Ty p e C
Good Blown
Ty p e D
If the headlights or other electrical
components do not work, check the
fuses. If any of the fuses are blown,
they must be replaced.
See “Fuse locations” on page 449 in Sec-
tion 7 −1 for locations of the fuses.
Turn the ignition switch and inoperative
component off. Pull the suspected fuse
straight out and check it.
Determine which fuse may be causing the
problem. The lid of the fuse box shows
the name of the circuit for each fuse. See
page 492 in Section 8 of this manual for
the functions controlled by each circuit.
Type C and D—When any of the fuses
are blown, contact your Toyota dealer.
Checking and replacing fuses
Page 486 of 506

04 SIENNA_U (L/O 0408)
480
2004 SIENNA from Aug. ’04 Prod. (OM45422U)
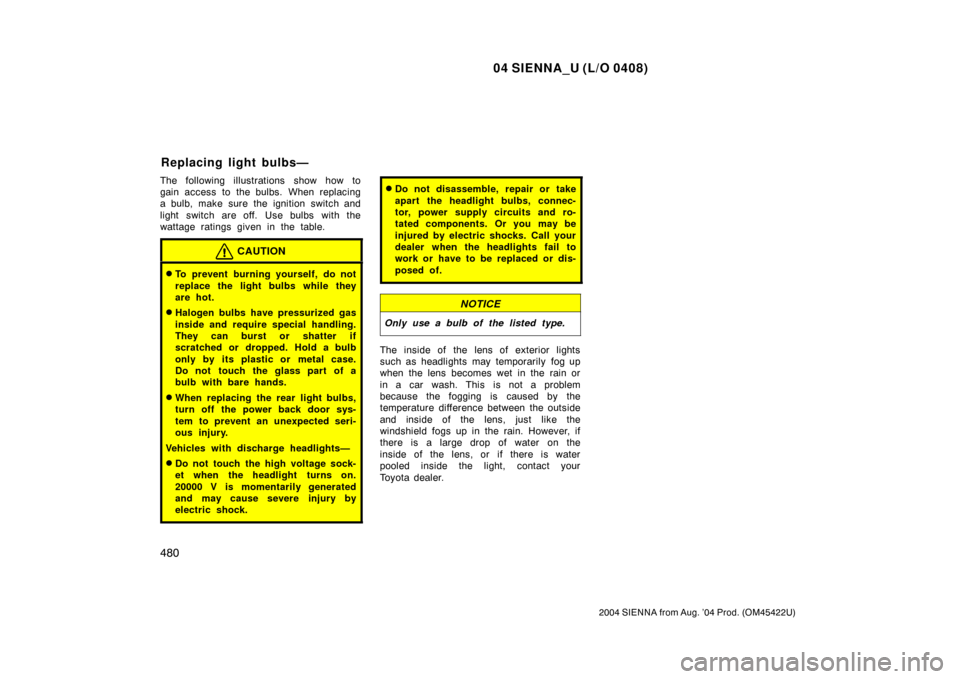
The following illustrations show how to
gain access to the bulbs. When replacing
a bulb, make sure the ignition switch and
light switch are off. Use bulbs with the
wattage ratings given in the table.
CAUTION
�To prevent burning yourself, do not
replace the light bulbs while they
are hot.
�Halogen bulbs have pressurized gas
inside and require special handling.
They can burst or shatter if
scratched or dropped. Hold a bulb
only by its plastic or metal case.
Do not touch the glass part of a
bulb with bare hands.
�When replacing the rear light bulbs,
turn off the power back door sys-
tem to prevent an unexpected seri-
ous injury.
Vehicles with discharge headlights—
�Do not touch the high voltage sock-
et when the headlight turns on.
20000 V is momentarily generated
and may cause severe injury by
electric shock.
�Do not disassemble, repair or take
apart the headlight bulbs, connec-
tor, power supply circuits and ro-
tated components. Or you may be
injured by electric shocks. Call your
dealer when the headlights fail to
work or have to be replaced or dis-
posed of.
NOTICE
Only use a bulb of the listed type.
The inside of the lens of exterior lights
such as headlights may temporarily fog up
when the lens becomes wet in the rain or
in a car wash. This is not a problem
because the fogging is caused by the
temperature difference between the outside
and inside of the lens, just like the
windshield fogs up in the rain. However, if
there is a large drop of water on the
inside of the lens, or if there is water
pooled inside the light, contact your
Toyota dealer.
Replacing light bulbs—
Page 487 of 506
04 SIENNA_U (L/O 0408)
481
2004 SIENNA from Aug. ’04 Prod. (OM45422U)
A: D2R discharge bulbs
B: HB4 halogen bulbs
C: HB3 halogen bulbs
D: H3 halogen bulbs
E: Wedge base bulbs (clear)
F: Wedge base bulbs (amber)
G: Single end bulbs
H: Double end bulbsTy p e
W
Bulb No.
35
51
Light bulbs
Headlights (low beam) With discharge headlights
Without discharge headlights
Headlights (high beam) —
9006 A
B
Front fog lights
Parking and front side marker lights Front turn signal lights
Rear turn signal lights
Stop/tail and rear side marker lights
Back −up lights
License plate lights
Luggage compartment light 60
9005 C
55
—D
5
—E 21
3157A F
21
—G
21/5
—G
18
921 E
5
—E
5
—H
Tail lights 5
—E
Front personal lights 4.9
—G
Rear personal lights 4.9
—G
Vanity lights 3
—H
Door courtesy lights 3.8
—G
Page 488 of 506
04 SIENNA_U (L/O 0408)
482
2004 SIENNA from Aug. ’04 Prod. (OM45422U)
1. Open the hood. Turn the bulb basecounterclockwise to the front of the
vehicle as shown.2. Unplug the connector while depress-ing the lock release.
If the connector is tight, wiggle it.3. Plug in a new bulb into the connec- tor and install it into the mounting
hole.
Aiming is not necessary after replacing
the bulb. When aiming adjustment is nec-
essary, contact your Toyota dealer.
—Headlights