Page 37 of 342

If any of the side door or back door is
unlocked without the key or wireless re-
mote control key and the key is not in the
ignition switch, all the side")
29
2004 L/C100 from Aug ’03 Prod. (OM60A04U)
If any of the side door or back door is
unlocked without the key or wireless re-
mote control key and the key is not in the
ignition switch, all the side doors and
back door will be automatically locked
again.
After one minute, the alarm will automati-
cally stop and the indicator light will starts
flashing again.
Reactivating the alarm
Once set, the system automatically resets
the alarm after the alarm stops.
The alarm will activate again under the
same circumstances described in
“Activating the system”.
Stopping the alarm
The alarm will be stopped by the following
two ways:
�Turn the ignition key from the “LOCK”
to “ON” position.
�Unlock any of the side doors or back
door with the key or wireless remote
control key.
These ways cancel the system at the
same time. TESTING THE SYSTEM
1. Open all the windows.
2. Set the system as described above. The side doors and back door should
be locked with the key or wireless re-
mote control key. Be sure to wait until
the indicator light goes off or starts
flashing.
3. Unlock any side door or back door from the inside. The system should ac-
tivate the alarm.
4. Stopping the alarm as described above.
5. Repeat this operation for the other doors, back door and hood. When test-
ing the hood, also check that the sys-
tem is activated when the battery ter-
minal is disconnected and then
reconnected.
If the system does not work properly,
have it checked by your Toyota dealer.
Fuel tank cap
12C503
This indicates that the fuel filler door
is on the left side of your vehicle.
Page 40 of 342

If the battery terminals is disconnected
or the battery is run down, the moon
roof may not operate automatically and
the jam protection function will not")
32
2004 L/C100 from Aug ’03 Prod. (OM60A04U)
If the battery terminals is disconnected
or the battery is run down, the moon
roof may not operate automatically and
the jam protection function will not operate
correctly after you reconnect, replace or
recharge the battery with the moon roof
slide −opened or tilted up. In any of these
cases, you should return the moon roof to
normal.
To normalize the moon roof, push and
hold the switch until the moon roof is
closed or tilted down completely.
Make sure the moon roof opens and
closes automatically. If the moon roof can-
not be operated properly, have it checked
by your Toyota dealer.CAUTION
To avoid serious personal injury, you
must do the following.
�While the vehicle is moving, al-
ways keep the heads, hands and
other parts of the bodies of all
occupants away from the roof
opening. Otherwise, they could
be seriously injured if the ve-
hicle stops suddenly or if the ve-
hicle is involved in an accident.
�Before you close the moon roof,
always make sure there is no-
body around the moon roof. You
must also make sure nobody
places his or her head, hands
and other parts of the body in
the roof opening. If someone’s
neck, head or hands get caught
in the closing roof, it could re-
sult in a serious injury. When
anyone closes the moon roof,
first make sure it is safe to do
so.
�Be sure to remove the ignition
key when you leave your vehicle.
Page 41 of 342
33
2004 L/C100 from Aug ’03 Prod. (OM60A04U)
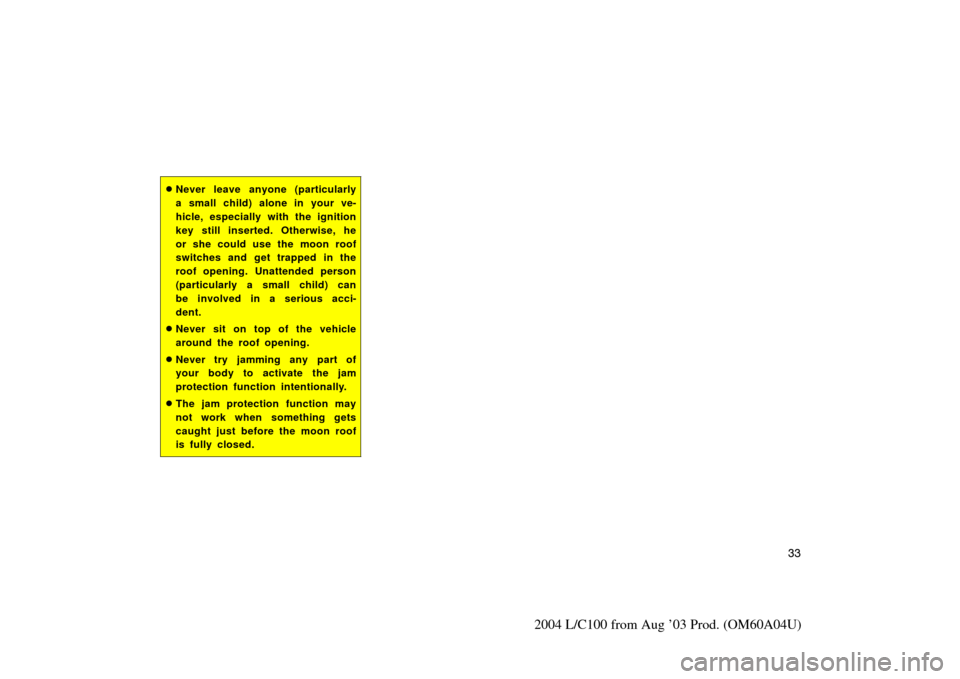
�Never leave anyone (particularly
a small child) alone in your ve-
hicle, especially with the ignition
key still inserted. Otherwise, he
or she could use the moon roof
switches and get trapped in the
roof opening. Unattended person
(particularly a small child) can
be involved in a serious acci-
dent.
�Never sit on top of the vehicle
around the roof opening.
�Never try jamming any part of
your body to activate the jam
protection function intentionally.
�The jam protection function may
not work when something gets
caught just before the moon roof
is fully closed.
Page 57 of 342

For your safety and comfort, adjust the
head restraint before driving.
To raise: Pull it up.
To lower: Push it down while pressing the
lock release butto")
49
2004 L/C100 from Aug ’03 Prod. (OM60A04U)
For your safety and comfort, adjust the
head restraint before driving.
To raise: Pull it up.
To lower: Push it down while pressing the
lock release button.
Front head restraint only—You can also
move the head restraint forward or back-
ward. If such adjustment is desired, pull
or push the head restraint.
Rear center head restraint—When an oc-
cupant sits on the rear center seat, al-
ways pull up the rear center head re-
straint to the lock position.
The head restraint is most effective when
it is close to your head. Therefore, using
a cushion on the seatback is not recom-
mended.
CAUTION
�Adjust the center of the head re-
straint so that it is closest to the
top of your ears.
�After adjusting the head re-
straint, make sure it is locked in
position.
�Do not drive with the head re-
straints removed.
Seat heaters
Left side
front seatRight side
front seat
To turn on the seat heater, push the
switch to “HI” (high heating tempera-
ture) or “LO” (low heating temperature).
To turn off the seat heater, push the
switch lightly on the opposite side.
The key must be in the “ON” position.
CAUTION
Occupants must use caution when op-
erating the seat heater because it
may make them feel too hot or cause
burns at low temperatures (erythema,
varicella). Use extra caution for;
�Babies, small children, elderly
persons, sick persons or handi-
capped persons
�Persons who have delicate skin
�Persons who are exhausted
�Persons who have taken alcohol
or drugs which induce sleep
(sleeping drug, cold remedy, etc.)
To prevent the seat from overheating,
do not use the seat heater with a
blanket, cushion, or other insulating
objects which cover the seat.
Page 68 of 342

This indicator comes on when the igni-
tion key is turned to the “ON” position.
It goes off after about 6 seconds. This
means the seat belt pretensio")
60
2004 L/C100 from Aug ’03 Prod. (OM60A04U)
This indicator comes on when the igni-
tion key is turned to the “ON” position.
It goes off after about 6 seconds. This
means the seat belt pretensioners are
operating properly.
This warning light system monitors the
airbag sensor assembly, front airbag sen-
sors, side and curtain shield airbag sen-
sors, curtain shield airbag sensors, driv-
er ’s seat position sensor, driver ’s seat belt
buckle switch, seat belt pretensioner as-
semblies, inflators, warning light, roll sens-
ing of curtain shield airbags off indicator
light, interconnecting wiring and power
sources. (For details, see “Service remind-
er indicators and warning buzzers” on
page 126.)If any of the following conditions occurs,
this indicates a malfunction of the airbags
or seat belt pretensioners. Contact your
Toyota dealer as soon as possible.
�When the ignition key is turned to the
“ON” position, the light does not come
on, remains on or flashes.
�The light comes on or starts flashing
while driving.
�If any seat belt does not retract or can
not be pulled out due to a malfunction
or activation of the relevant seat belt
pretensioner.
�The seat belt pretensioner assembly or
surrounding area has been damaged.In the following cases, contact your Toyota
dealer as soon as possible:
�The front of the vehicle (shaded in the
illustration) was involved in an accident
that was not severe enough to cause
the seat belt pretensioners to operate.
�Either seat belt pretensioner assembly
or surrounding area is scratched,
cracked, or otherwise damaged.
Page 75 of 342

NOTICE
Do not perform any of the following
changes without consulting your
Toyota dealer. Such changes can
interfere with proper operation of the
SRS fro")
67
2004 L/C100 from Aug ’03 Prod. (OM60A04U)
NOTICE
Do not perform any of the following
changes without consulting your
Toyota dealer. Such changes can
interfere with proper operation of the
SRS front airbag system in some
cases.
�Installation of electronic devices
such as a mobile two�way radio,
cassette tape player or compact
disc player
� Modification of the suspension sys-
tem
� Modification of the front end struc-
ture
� Attachment of a grille guard (bull
bar, kangaroo bar, etc.), snowplow,
winches or any other equipment to
the front end
� Repairs made on or near the front
fenders, front end structure, con-
sole, steering column, steering
wheel or dashboard near the front
passenger airbag
This indicator comes on when the igni-
tion key is turned to the “ON” position.
It goes off after about 6 seconds. This
means the SRS front airbags are oper-
ating properly.
This warning light system monitors the
airbag sensor assembly, front airbag sen-
sors, side and curtain shield airbag sen-
sors, curtain shield airbag sensors, driv-
er ’s seat position sensor, driver ’s seat belt
buckle switch, seat belt pretensioner as-
semblies, inflators, warning light, roll sens-
ing of curtain shield airbags off indicator
light, interconnecting wiring and power
sources. (For details, see “Service remind-
er indicators and warning buzzers” on
page 126.) If either of the following conditions occurs,
this indicates a malfunction of the airbags
or seat belt pretensioners. Contact your
Toyota dealer as soon as possible.
�When the ignition key is turned to the
“ON” position, the light does not come
on, remains on or flashes.
�The light comes on or starts flashing
while driving.
Page 86 of 342

This indicator comes on when the igni-
tion key is turned to the “ON” position.
It goes off after about 6 seconds. This
means the SRS side airbags an")
78
2004 L/C100 from Aug ’03 Prod. (OM60A04U)
This indicator comes on when the igni-
tion key is turned to the “ON” position.
It goes off after about 6 seconds. This
means the SRS side airbags and curtain
shield airbags are operating properly.
This warning light system monitors the
airbag sensor assembly, front airbag sen-
sors, side and curtain shield airbag sen-
sors, curtain shield airbag sensors, driv-
er ’s seat position sensor, driver ’s seat belt
buckle switch, seat belt pretensioner as-
semblies, inflators, warning light, roll sens-
ing of curtain shield airbags off indicator
light, interconnecting wiring and power
sources. (For details, see “Service remind-
er indicators and warning buzzers” on
page 126.)If either of the following conditions occurs,
this indicates a malfunction of the airbags
or seat belt pretensioners. Contact your
Toyota dealer as soon as possible.
�When the ignition key is turned to the
“ON” position, the light does not come
on, remains on or flashes.
�The light comes on or starts flashing
while driving.
Page 110 of 342

ADJUSTMENT OF STEERING WHEEL
TILT
To adjust the tilt of the steering wheel,
push the control switch upward or
downward to set it to the desired posi-
t")
102
2004 L/C100 from Aug ’03 Prod. (OM60A04U)
ADJUSTMENT OF STEERING WHEEL
TILT
To adjust the tilt of the steering wheel,
push the control switch upward or
downward to set it to the desired posi-
tion.
CAUTION
Do not adjust the steering wheel
while the vehicle is moving. Doing so
may cause the driver to mishandle
the vehicle and an accident may oc-
cur resulting in death or serious inju-
ries.
ADJUSTMENT OF TELESCOPIC STEER-
ING COLUMN
To adjust the steering column length,
push the control switch forward or
backward to set the steering wheel to
the desired position.
When the ignition key is removed, the
steering column moves forward away from
the driver and also tilts up for easy exit
and entry.
When the key is inserted into the ignition
switch, the steering column returns to the
previously set position.
This feature can be set inoperative. Ask
your Toyota dealer.
CAUTION
Do not adjust the steering column
while the vehicle is moving. Doing so
may cause the driver to mishandle
the vehicle and an accident may oc-
cur resulting in death or serious inju-
ries.
Power tilt and telescopic steer-
ing wheel