Page 170 of 339

’04 AVALON U (L/O 0408)
162
2004 AVALON from Aug. ’04 Prod. (OM41412U)
SCAN
Radio
You can either scan all the frequencies on
a band or scan only the preset stations
for that band.
To scan the preset stations:
Push and hold “SCAN” until you hear a
beep. The radio will tune in the next pres-
et station up the band, stay there for 5
seconds, and then move to the next pre-
set station. To select a station, push
“SCAN” again.
To scan all the frequencies:
Quickly push and release “SCAN”. The
radio will find the next station up the sta-
tion band, stay there for 5 seconds, and
then scan again to the next preset. To
select a station, push “SCAN” again. If
you hear a beep, the radio will scan the
preset stations.Compact Disc Player
There are two scan features—you can ei-
ther scan the tracks on a specific disc or
scan the first tracks of all the discs in the
magazine.
Scanning the tracks on a disc:
Quickly push and release “SCAN”. “SCAN”
will appear on the display and the player
will scan all the tracks on the disc you
are listening to. If you hear a beep, the
player will scan the first track of all the
discs in the magazine. To select a track,
push “SCAN” again. If the player scanned
all the tracks on the disc, it will stop
scanning.
Scanning the first track of all the discs in
the magazine:
Push “SCAN” until you hear a beep.
“DSCAN” will appear on the display and
the player will scan the first track of the
next disc. To select a disc, push the
“SCAN” again. If the player has scanned
all the discs, it will stop sc
anning.SEEK (Seeking)
Radio
In the seek mode, the radio finds and
plays the next station up or down the
station band.
To seek the next station, quickly push and
release the “
�” or “ �” side of “SEEK”.
Do this again to find the station after that.
If you push and hold the “ �” or “ �” side
of “SEEK”, the radio will continue seeking
up or down for stations and will stop at
the next station that it finds after the but-
ton is released. Press the button again to
resume the search.
Cassette Player
By using this button you can skip up or
down to locate a song or recording.
You can select up to 9 recordings (includ-
ing current one).
A blank space of at least 3 seconds is
considered to be a start of a recording.
When beginning of a tape is reached, the
player automatically resumes play.
When the end of the tape is reached, the
player automatically reverses sides and
resumes normal play.
Page 172 of 339

’04 AVALON U (L/O 0408)
164
2004 AVALON from Aug. ’04 Prod. (OM41412U)
TA P E
Push “TAPE” to switch from radio or com-
pact disc operation to cassette operation.
If the audio system is off, you can turn
on the cassette player by pushing “TAPE”.
In both cases, a cassette must already be
loaded in the player.
TRACK (Track up/down button):
Compact disc player
By using this button, you can skip up or
down to a different track.
Push either side of the track button until
the number of the track you want to listen
to appears on the display. If you want to
return to the beginning of the current
track, quickly push the down side of the
button one time.
TRAF (Traffic)
This feature is available only in RDS
mode.
This button turns the traffic announcement
(TA) feature on and off.By pushing this button, RDS is turned on
if it was off (“RDS” will display), and traf-
fic announcement feature is on. “TRAF”
appears on the display when the radio is
tuned to a traffic station. When the traffic
announcement feature is on, “< >” will be
displayed ().
If the current station is not a traffic sta-
tion, the radio will start a traffic program
search in increasing frequency order. Dur-
ing a traffic program search, “Seek Traffic”
will display. If no traffic programs are
found, “No Traf Info” will display.
If the radio receives a traffic announce-
ment, it will interrupt the cassette player
or compact disc mode (if either one was
on), adjust the volume to Traffic An-
nouncement level, and broadcast the traf-
fic announcement. During a traffic an-
nouncement, “TRAFFIC” will appear on the
display. After traffic announcement, it will
return to the previous mode and volume
level.
TA volume memory function—The volume
level when receiving the traffic announce-
ment is memorized.When “TA” is received next time, the sys-
tem compares the volume before “TA” is
received and the memorized TA volume
and automatically selects the louder vol-
ume. However, the range of volume
memory is limited: if the volume received
previously is less than the minimum, this
volume will be used.
You can adjust the volume independently
from the memorized TA volume range
while receiving a TA station.
Traffic announcement can be canceled by
turning RDS off, or pressing the “TRAF”
button again.
TUNE (Tuning)
Push and release the “
�” or “ �” side of
“TUNE” to step up or down the station
band. Do this again to find another fre-
quency.
If you push and hold the “ �” or “ �” side
of “TUNE”, the radio will continue seeking
up or down for frequencies and will stop
at the next frequency that it finds after the
button is released. Press the button again
to resume the search.
Page 174 of 339

’04 AVALON U (L/O 0408)
166
2004 AVALON from Aug. ’04 Prod. (OM41412U)
CARING FOR YOUR CASSETTE PLAYER
AND TAPES
For the best performance for your cas-
sette player and tapes:
Clean the tape head and other parts regu-
larly.
�A dirty tape head or tape path can
decrease sound quality and tangle your
cassette tapes. The easiest way to
clean them is by using a cleaning tape.
(A wet type is recommended.)
Use high�quality cassettes.
�Low�quality cassette tapes can cause
many problems, including poor sound,
inconsistent playing speed, and
constant auto�reversing. They can also
get stuck or tangled in the cassette
player.
�Do not use a cassette if it has been
damaged or tangled or if its label is
peeling off.
�Do not leave a cassette in the player
if you are not listening to it, especially
if it is hot outside.
�Store cassettes in their cases and out
of direct sunlight.
�Avoid using cassettes with a total play-
ing time longer than 100 minutes (50
minutes per side). The tape used in
these cassettes is thin and could get
stuck or tangled in the cassette player. CARING FOR YOUR COMPACT DISC
PLAYER AND DISCS
�Your compact disc player is intended
for use with 12 cm (4.7 in.) discs only.
�Extremely high temperatures can keep
your compact disc player from working.
On hot days, use the air conditioning
to cool the vehicle interior before you
listen to a disc.
�Bumpy roads or other vibrations may
make your compact disc player skip.
�If moisture gets into your compact disc
player, you may not hear any sound
even though your compact disc player
appears to be working. Remove the
disc from the player and wait until it
dries.
CAUTION
Compact disc players use an invisible
laser beam which could cause hazard-
ous radiation exposure if directed
outside the unit. Be sure to operate
the player correctly.
Page 175 of 339
’04 AVALON U (L/O 0408)
167
2004 AVALON from Aug. ’04 Prod. (OM41412U)
�Use only compact discs marked as
shown above. The following products
may not be playable on your compact
disc player.
Copy�protected CD
CD�R (CD�Recordable)
CD�RW (CD�Re�writable)
CD�ROMSpecial shaped discs
Transparent/translucent discs
Low quality discs
Labeled discs
Page 176 of 339

’04 AVALON U (L/O 0408)
168
2004 AVALON from Aug. ’04 Prod. (OM41412U)
NOTICE
Do not use special shaped, transpar-
ent/translucent, low quality or labeled
discs such as those shown in the il-
lustrations. The use of such discs
may damage the player or changer, or
it may be impossible to eject the
disc.
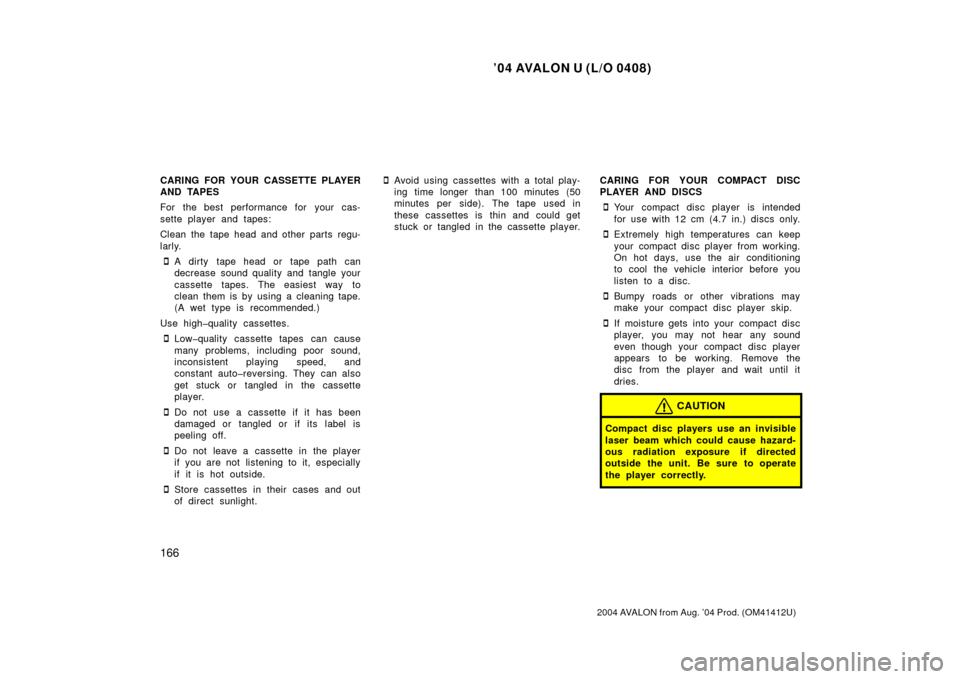
CorrectWrong
�Handle compact discs carefully, espe-
cially when you are inserting them.
Hold them on the edge and do not
bend them. Avoid getting fingerprints
on them, particularly on the shiny side.
�Dirt, scratches, warping, pin holes, or
other disc damage could cause the
player to skip or to repeat a section of
a track. (To see a pin hole, hold the
disc up to the light.)
�Remove discs from the compact disc
player when you are not listening to
them. Store them in their plastic cases
away from moisture, heat, and direct
sunlight.
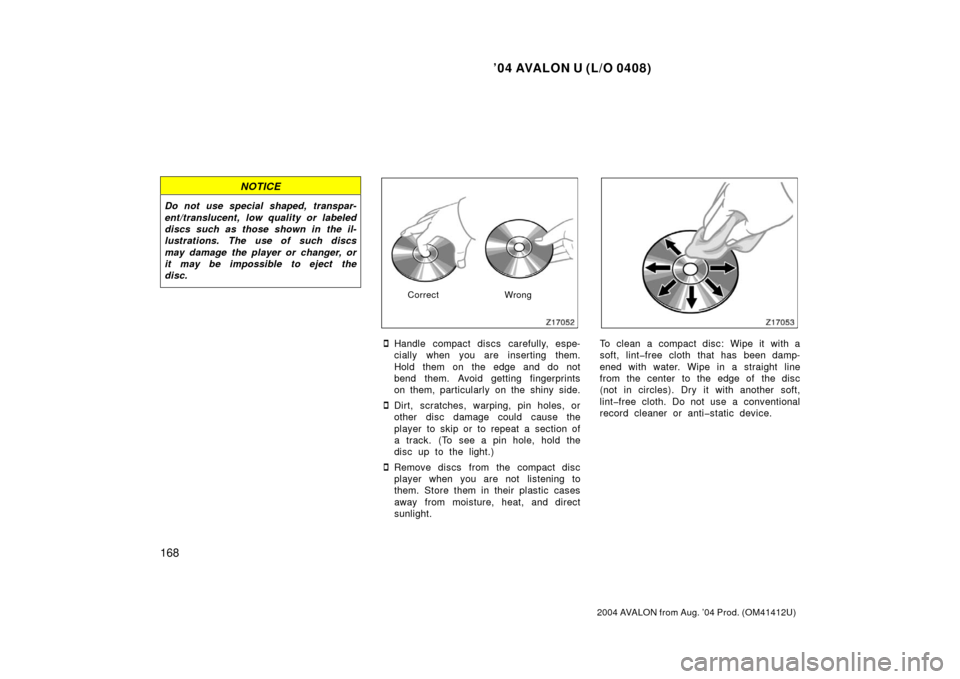
To clean a compact disc: Wipe it with a
soft, lint�free cloth that has been damp-
ened with water. Wipe in a straight line
from the center to the edge of the disc
(not in circles). Dry it with another soft,
lint�free cloth. Do not use a conventional
record cleaner or anti�static device.
Page:
< prev 1-8 9-16 17-24