2004 SUBARU IMPREZA WRX maintenance
[x] Cancel search: maintenancePage 4 of 491

1
–
CONTINUED –
Warranties !Warranties for U.S.A.
All SUBARU vehicles distributed by Subaru of Ameri-
ca, Inc. and sold at retail by an authorized SUBARU
dealer in the United States come with the following
warranties: " SUBARU Limited Warranty
" Emission Control Systems Warranty
" Emissions Performance Warranty
All warranty information, including details of coverage
and exclusions, is in the “Warranty and Maintenance
Booklet”. Please read these warranties carefully. ! Warranties for Canada
All SUBARU vehicles distributed by Subaru Canada,
Inc. and sold at retail by an authorized SUBARU deal-
er in Canada come with the following warranties: " SUBARU Limited Warranty
" Anti-Corrosion Warranty
" Emission Control Warranty
All warranty information, including details of coverage
and exclusions, is in the Warranty and Service Book-
let. Please read these warranties carefully. !
WRX-STi (U.S. model only)
WRX-STi models are equipped with High Intensity
Discharge (HID) headlights that contain mercury.
For that reason, it is necessary to remove HID
headlights before vehicle disposal. Once re-
moved, please reuse, recycle or dispose of the HID
headlights as hazardous waste. !All models except U.S. model WRX-STi
This vehicle does not contain mercury devices or
parts.
Page 5 of 491

2
How to use this owner’s manual !Using your Owner’s manual
Before you operate your vehicle, carefully read this
manual. To protect yourself and extend the service life
of your vehicle, follow the instructions in this manual.
Failure to observe these instructions may result in se-
rious injury and damage to your vehicle.
This manual is composed of fourteen chapters. Each
chapter begins with a brief table of contents, so you
can usually tell at a glance if that chapter contains the
information you want.
Chapter 1: Seat, seatbelt and SRS airbags
This chapter informs you how to use the seat and seat-
belt and contains precautions for the SRS airbags.
Chapter 2: Keys and doors
This chapter informs you how to operate the keys,
locks and windows.
Chapter 3: Instruments and controls
This chapter informs you about the operation of instru-
ment panel indicators and how to use the instruments
and other switches.
Chapter 4: Climate Control
This chapter informs you how to operate the climate
control.
Chapter 5: Audio This chapter informs you how to operate your audio system.
Chapter 6: Interior equipment
This chapter informs you how to operate interior
equipment.
Chapter 7: Starting and operating
This chapter informs you how to start and operate your SUBARU.
Chapter 8: Driving tips
This chapter informs you how to drive your SUBARU
in various conditions and explains some safety tips on
driving.
Chapter 9: In case of emergency
This chapter informs you what to do if you have a prob-
lem while driving, such as a flat tire or engine over-
heating.
Chapter 10: Appearance care
This chapter informs you how to keep your SUBARU
looking good.
Chapter 11: Maintenance and service
This chapter informs you when you need to take your
SUBARU to the dealer for scheduled maintenance
and informs you how to keep your SUBARU running
properly.
Chapter 12: Specifications
This chapter informs you about dimension and capac-
ities of your SUBARU.
Page 16 of 491

14
9
12
8
1
2
3
4
5
6
7
13
10
11
Table of contentsSeat, seatbelt and SRS airbags
Keys and doors
Instruments and controls
Climate controlAudio
Interior equipment
Starting and operating
Driving tips
In case of emergency
Appearance care
Maintenance and service
Specifications
Consumer information and Reporting safety defects
Index
Page 28 of 491

1-1
1
Seat, seatbelt and SRS airbags
Front seats .................................................... 1-2 Fore and aft adjustment ................................... 1-3
Reclining the seatback ..................................... 1-4
Seat cushion height adjustment (driver’s seat) 1-5
Head restraint adjustment (if equipped) ......... 1-5
Active head restraint (if equipped) .................. 1-6
Seat heater (if equipped) .............................. 1-7
Rear seats ..................................................... 1-8 Armrest (if equipped) ........................................ 1-9
Headrest adjustment – Wagon ........................ 1-11
Folding down the rear seat – Wagon .............. 1-12
Seatbelts ....................................................... 1-13 Seatbelt safety tips ........................................... 1-13
Emergency Locking Retractor (ELR) .............. 1-14
Automatic/Emergency Locking Retractor (A/ELR) ............................................................ 1-15
Seatbelt warning light and chime ............... 1-15
Fastening the seatbelt ...................................... 1-15
Seatbelt maintenance ....................................... 1-27
Front seatbelt pretensioners ....................... 1-27 System monitors ............................................... 1-29
System servicing .............................................. 1-29
Precautions against vehicle modification ...... 1-30
Child restraint systems ................................ 1-31 Where to place a child restraint system ......... 1-33
Choosing a child restraint system .................. 1-34
Installing child restraint systems with A/ELR seatbelt ............................................................ 1-35
Installing a booster seat ................................... 1-40
Installation of child restraint systems by use of lower and tether anchorages (LATCH) 1-42 Top tether anchorages ..................................... 1-46
SRS airbag (Supplemental Restraint System airbag) 1-52Vehicle with driver’s and front passenger’s SRS airbags and lap/shoulder restraints ..... 1-52
SRS frontal airbag ............................................ 1-56
SRS side airbag (if equipped) .......................... 1-64
SRS airbag system monitors ........................... 1-72
SRS airbag system servicing .......................... 1-73
Precautions against vehicle modification ...... 1-74
Page 54 of 491

1-27
Seat, seatbelt and SRS airbags
– CONTINUED –
!Seatbelt maintenance
To clean the seatbelts, use a mild soap and lukewarm
water. Never bleach or dye the belts because this
could seriously affect their strength.
Inspect the seatbelts and attachments including the
webbing and all hardware periodically for cracks, cuts,
gashes, tears, damage, loose bolts or worn areas. Re-
place the seatbelts even if only minor damage is
found.
" Keep the belts free of polishes, oils, chemi-
cals and particularly battery acid. " Never attempt to make modifications or
changes that will prevent the seatbelt from op-
erating properly.
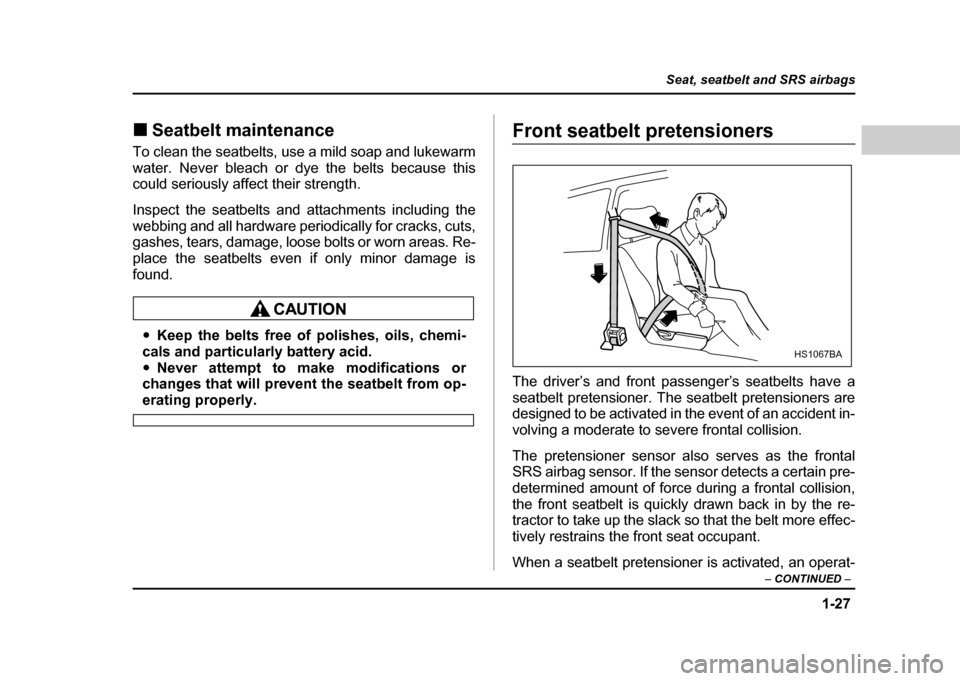
Front seatbelt pretensioners
The driver’s and front passenger’s seatbelts have a
seatbelt pretensioner. The seatbelt pretensioners are
designed to be activated in the event of an accident in-
volving a moderate to severe frontal collision.
The pretensioner sensor also serves as the frontal
SRS airbag sensor. If the sensor detects a certain pre-
determined amount of force during a frontal collision,
the front seatbelt is quickly drawn back in by the re-
tractor to take up the slack so that the belt more effec-
tively restrains the front seat occupant.
When a seatbelt pretensioner is activated, an operat-
HS1067BA
Page 146 of 491

3-9
Instruments and controls
– CONTINUED –
To set the trip meter to zero, select the A trip or B trip
meter by pushing the knob and keep the knob pushed for more than 2 seconds.
To ensure safety, do not attempt to change the
function of the indicator during driving, as an
accident could result.
NOTE
If the connection between the combination meter
and battery is broken for any reason such as vehi-
cle maintenance or fuse replacement, the data re-
corded on the trip meter will be lost. !Tachometer
The tachometer shows the engine speed in thousands
of revolutions per minute.
Do not operate the engine with the pointer of the tachometer in the red zone. In this range, fuel injection will be cut by the engine control
module to protect the engine from overrevving.
The engine will resume running normally after
the engine speed is reduced below the red
zone.
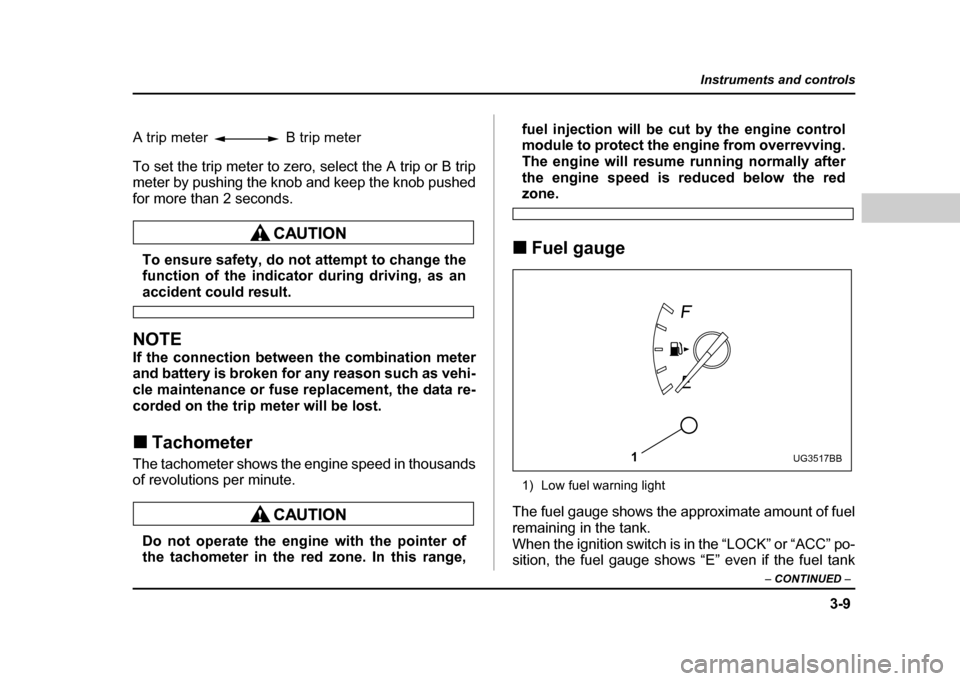
! Fuel gauge
1) Low fuel warning light
The fuel gauge shows the approximate amount of fuel
remaining in the tank.
When the ignition switch is in the “LOCK” or “ACC” po-
sition, the fuel gauge shows “E” even if the fuel tank
A trip meter B trip meter
1UG3517BB
Page 153 of 491

3-16
Instruments and controls
To set the trip meter to zero, select the A trip or B trip
meter by pushing the knob and keep the knob pushed
for more than 2 seconds.
To ensure safety, do not attempt to change the
function of the indicator during driving, as an
accident could result.
NOTE
If the connection between the combination meter
and battery is broken for any reason such as vehi-
cle maintenance or fuse replacement, the data re-
corded on the trip meter will be lost. !
Tachometer
The tachometer shows the engine speed in thousands
of revolutions per minute.
Do not operate the engine with the pointer of
the tachometer in the red zone. In this range, fuel injection will be cut by the engine control
module to protect the engine from overrevving.
The engine will resume running normally after
the engine speed is reduced below the red
zone.
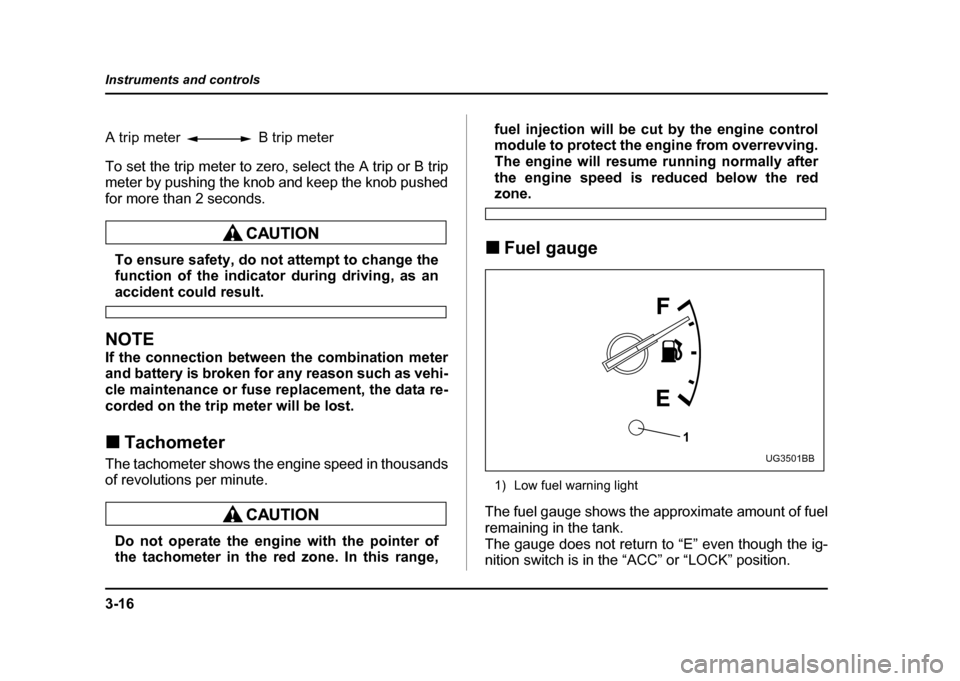
! Fuel gauge
1) Low fuel warning light
The fuel gauge shows the approximate amount of fuel
remaining in the tank.
The gauge does not return to “E” even though the ig-
nition switch is in the “ACC” or “LOCK” position.
A trip meter B trip meter
1
UG3501BB
Page 162 of 491

3-25
Instruments and controls
– CONTINUED –
fore become somewhat harder to control. If the brake system warning light and ABS warning
light illuminate simultaneously, take the following
steps:
1. Stop the vehicle in the nearest safe, flat place.
2. Shut down the engine, then restart it.
3. Release the parking brake. If both warning lights go
out, the EBD system may be faulty. Drive carefully to
the nearest SUBARU dealer and have the system in-
spected.
4. If both warning lights come on again and stay illu-
minated after the engine has been restarted, shut
down the engine again, apply the parking brake, and
check the brake fluid level.
5. If the brake fluid level is not below the “MIN” mark,
the EBD system may be faulty. Drive carefully to the
nearest SUBARU dealer and have the system inspect-
ed.
6. If the brake fluid level is below the “MIN” mark, DO
NOT drive the vehicle. Instead, have the vehicle towed
to the nearest SUBARU dealer for repair. !Door open warning lights
The door open warning light comes on if any door or
the rear gate is not fully closed.
Always make sure this light is out before you start to drive. !
Front-wheel drive warning light
(for AT vehicles – if equipped)
This light comes on when All Wheel Drive is disen-
gaged and the drive mechanism is switched to Front
Wheel Drive for maintenance or similar purposes. ! Intercooler water spray warning
light (WRX-STi)
This light comes on when the water level in the inter-
cooler water spray tank falls to the lower limit (about
0.4 U.S. qt, 0.4 liter, 0.4 Imp qt.).