Page 17 of 491
14
Illustrated index !Exterior
10
12 11 8 7 965
4
3
12UGF054BB
1) Engine hood (page 11-5)
2) Headlight switch (page 3-29)
3) Replacing bulbs (page 11-64)
4) Wiper switch (page 3-37)
5) Moonroof (page 2-31)
6) Door locks (page 2-3)
7) Tire pressure (page 11-45)
8) Flat tires (page 9-5)
9) Tire chains (page 8-16)
10) Front fog light switch (page 3-
35)
11) Tie-down hooks (page 9-17)
12) Towing hooks (page 9-17)
Page 163 of 491

3-26
Instruments and controls
!
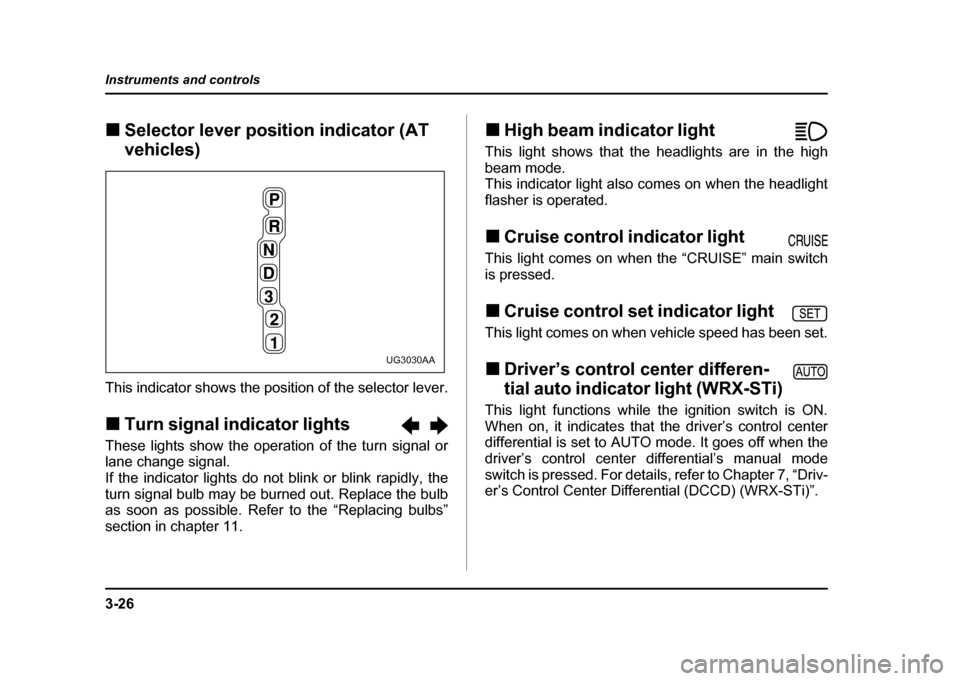
Selector lever position indicator (AT
vehicles)
This indicator shows the position of the selector lever. ! Turn signal indicator lights
These lights show the operation of the turn signal or
lane change signal.
If the indicator lights do not blink or blink rapidly, the
turn signal bulb may be burned out. Replace the bulb
as soon as possible. Refer to the “Replacing bulbs”
section in chapter 11. !
High beam indicator light
This light shows that the headlights are in the high
beam mode.
This indicator light also comes on when the headlight
flasher is operated. ! Cruise control indicator light
This light comes on when the “CRUISE” main switch
is pressed. ! Cruise control set indicator light
This light comes on when vehicle speed has been set.! Driver’s control center differen-
tial auto indicator light (WRX-STi)
This light functions while the ignition switch is ON.
When on, it indicates that the driver’s control center
differential is set to AUTO mode. It goes off when the
driver’s control center differential’s manual modeswitch is pressed. For details, refer to Chapter 7, “Driv-
er’s Control Center Differential (DCCD) (WRX-STi)”.
UG3030AA
Page 387 of 491

11 - 2
Maintenance and service
Types of tires .................................................... 11-44
Tire inspection .................................................. 11-45
Tire pressures and wear .................................. 11-45
Wheel balance ................................................... 11-48
Wear indicators ................................................. 11-49
Tire rotation ....................................................... 11-50
Tire replacement ............................................... 11-50
Wheel replacement ........................................... 11-51
Wheel covers .................................................... 11-52
Aluminum wheels (If equipped) .................. 11-53
Intercooler water spray ................................ 11-53
Windshield washer fluid .............................. 11-54
Replacement of windshield wiper blades .. 11-55
Battery ........................................................... 11-58
Fuses ............................................................. 11-60
Main fuse ....................................................... 11-63
Installation of accessories .......................... 11-63
Replacing bulbs ............................................ 11-64 Headlights (U.S. spec. WRX-STi) .................... 11-66
Headlight (Except U.S. spec. WRX-STi) .......... 11-66
Front turn signal light bulbs ............................ 11-69
Parking light ...................................................... 11-70
Front fog light ................................................... 11-73
Rear combination lights ................................... 11-74
License plate light ............................................ 11-76
Dome light, map light and cargo area light .... 11-77
Trunk light ......................................................... 11-78
High mount stop light ...................................... 11-78
Page 451 of 491

11 - 6 6
Maintenance and service
!
Headlights (U.S. spec. WRX-STi)
High-intensity-discharge (HID) bulbs are used
for the low beams of the headlights on the U.S.
spec. WRX-STi. These HID bulbs use an ex-
tremely high voltage. To avoid the risk of an
electric shock and resulting serious injury, you
should not attempt to replace them. Neither
should you attempt to replace the high-beam
bulbs, remove/refit the headlight assemblies,
or remove any headlight-assembly compo-
nents. For replacement of the headlight bulbs
(low-beam and high-beam), removal and instal-
lation of the headlight assemblies, and removal
of headlight-assembly components, contact
your Subaru dealer.
! Headlight (Except U.S. spec. WRX-STi)
Halogen headlight bulbs become very hot while
in use. If you touch the bulb surface with bare
hands or greasy gloves, finger prints or grease on the bulb surface will develop into hot spots
and cause the bulb to break. If there are finger
prints or grease on the bulb surface, wipe them
away with a soft cloth moistened with alcohol.
NOTE "
If headlight aiming is required, consult your
SUBARU dealer for proper adjustment of the head-
light aim. " It may be difficult to replace the bulbs. Have
your SUBARU dealer replace the bulbs if neces-
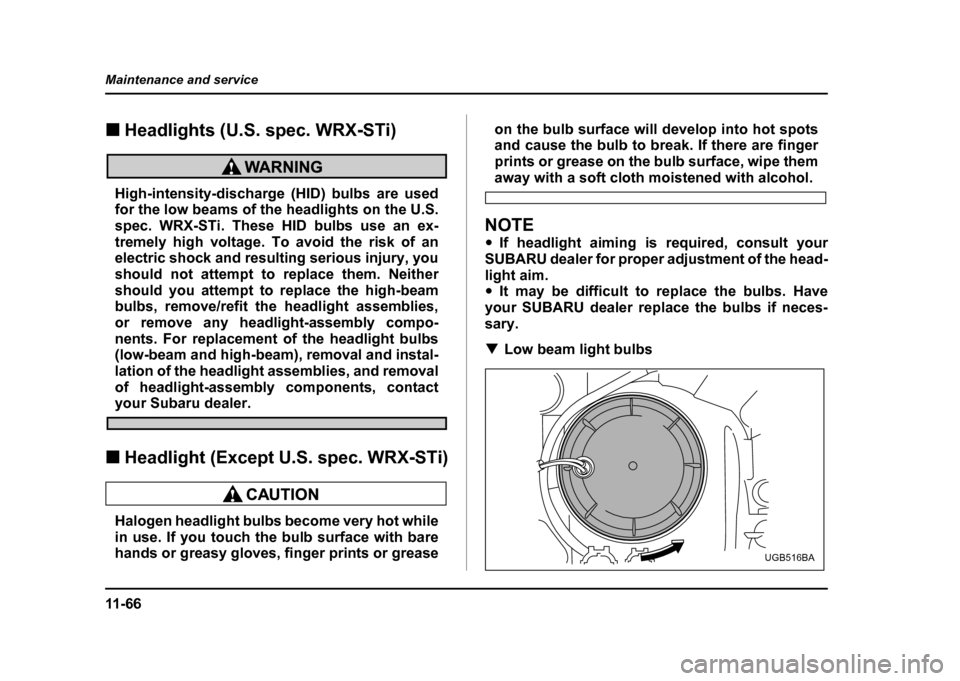
sary. ! Low beam light bulbs
UGB516BA
Page 453 of 491
11 - 6 8
Maintenance and service
!
High beam light bulbs
1. Disconnect the electrical connector from the bulb. 2. Remove the bulb from the headlight assembly by
turning it counterclockwise.
3. Replace the bulb with new one.
4. Reconnect the electrical connector. At this time,
use care not to touch the bulb surface.
5. To install the bulb to the headlight assembly, turn it
clockwise until it clicks.
UGB519BA
UGB520BA
Page 454 of 491
11 -6 9
Maintenance and service
– CONTINUED –
!Front turn signal light bulbs
1. Remove the bulb socket from the headlight assem-
bly by turning it counterclockwise. 2. Pull the bulb out of the socket. Install a new bulb.
3. Set the bulb socket into the headlight assembly and
turn it clockwise until it locks.
4. Install the headlight assembly and the front grille in
the reverse order of removal.
UGB536CA
UGB531BA
Page 455 of 491
11 - 7 0
Maintenance and service
!
Parking light
1) Parking light
The headlight assembly must be removed before the
parking light bulbs can be replaced. When the head-
light assembly has been removed and then rein-
stalled, it may become necessary to make a headlight
aiming adjustment. It may be difficult to replace the
bulbs. Have your SUBARU dealer replace the bulbs if
necessary. !
Before removing the headlight assembly0
1. Loosen four clips at the top of the front bumper.
1
UGB523BBUGB525BA
Page 458 of 491
11 -7 3
Maintenance and service
– CONTINUED –
!Parking light bulbs
1. Remove the bulb socket from the headlight assem-
bly by turning it counterclockwise. 2. Pull the bulb out of the socket. Install a new bulb.
3. Set the bulb socket into the headlight assembly and
turn it clockwise until it locks.
4. Install the headlight assembly and the front grille in
the reverse order of removal. !
Front fog light
It may be difficult to replace the bulbs. Have your SUB-
ARU dealer replace the bulbs if necessary.
UGB535BA
UGB532BA