Page 31 of 71
30RADIO NAVIGATION SYSTEM
AUDIO OPERATION
CD functions (integrated CD player)
Selecting a track
•
To select the next track, press the right-hand
button . To select the previous track, press the left-hand button .
Fast seek tuning (audible)
• To start fast seek tuning, press down and
hold the left-hand button to reverse and the right-hand button to fast forward for as long as necessary.
Scanning all the tracks on a CD (SCAN)
You can scan all the tracks on a CD for 10 sec-
onds each.
• Press SCAN . All of the tracks will be scanned in ascending order. SCAN will ap-
pear in the status line of the display.
• To continue listening to the track being
scanned, press SCAN again.
Playing all the tracks on a CD in random
order
You can also play all the tracks on a CD in ran-
dom order.
• Press MIX . MIX will appear in the status
line of the display.
• Press MIX to end the MIX function. The next track on the CD will begin to play.
Removing a CD
• Press ; the CD will eject. Remove the CD carefully from the CD player.
Ending CD operation
To end CD operation,
• press FM , TMC or AM to select another audio function or eject the CD.
CD changer operation
(extra feature)
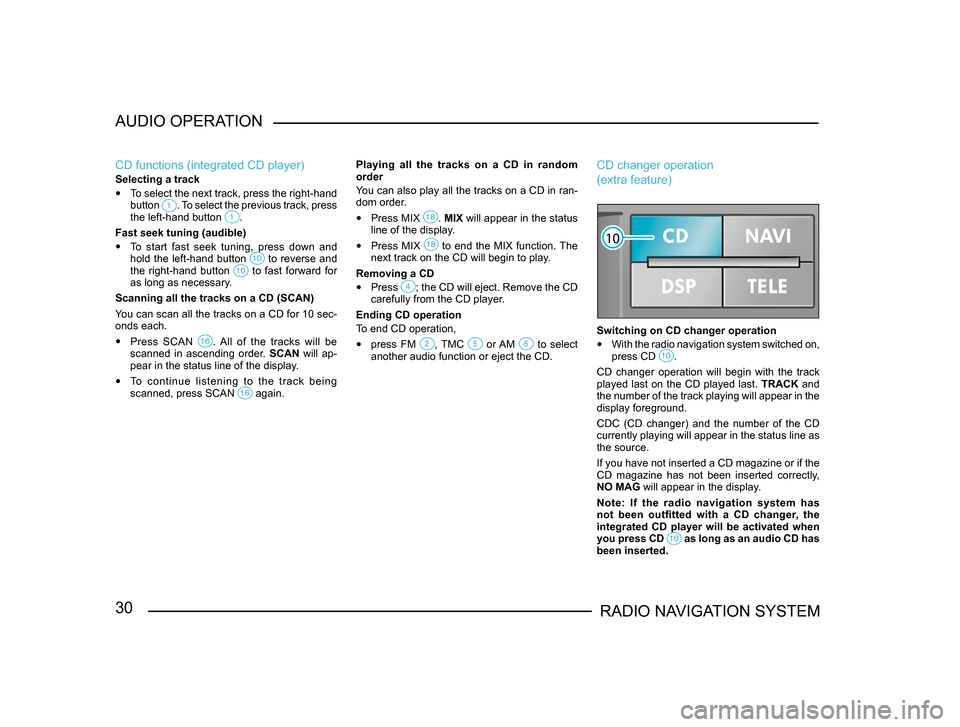
Switching on CD changer operation
• With the radio navigation system switched on,
press CD .
CD changer operation will begin with the track
played last on the CD played last. TRACK and
the number of the track playing will appear in the
display foreground.
CDC (CD changer) and the number of the CD
currently playing will appear in the status line as
the source.
If you have not inserted a CD magazine or if the
CD magazine has not been inserted correctly,
NO MAG will appear in the display.
Note: If the radio navigation system has
not been outfitted with a CD changer, the
integrated CD player will be activated when
you press CD
as long as an audio CD has been inserted.
Page 32 of 71
31RADIO NAVIGATION SYSTEMAUDIO OPERATION
Selecting a CD
•
Press one of the station presets briefly. The numbering of the station presets 1 - 6
corresponds to the number of the CD.
Selecting a track
• Press the right-hand button briefly to se-lect the next track. This track on the currently
selected CD will then begin to play.
• If you want to listen to the previous track,
press the left-hand button twice within 1 second. If you press this button only once,
the current track will start to play again from
the beginning.
Fast seek tuning
• To start fast seek tuning (audible), press down
and hold the left-hand button for reverse or the right-hand button for fast forward for as long as necessary. The CD will play
audibly at a higher speed.
Scanning all the tracks (SCAN)
You can scan all of the tracks for 10 seconds
each.
• To start Scan, press SCAN .
• Press SCAN again to end the function.
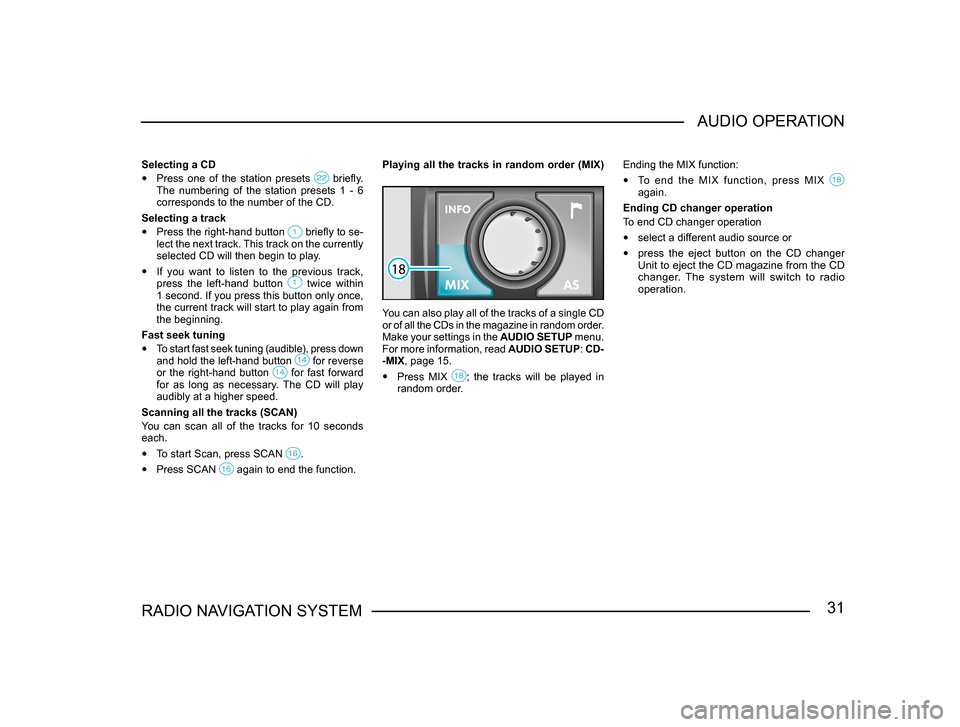
Playing all the tracks in random order (MIX)
You can also play all of the tracks of a single CD
or of all the CDs in the magazine in random order.
Make your settings in the AUDIO SETUP menu.
For more information, read AUDIO SETUP: CD-
-MIX, page 15.
• Press MIX ; the tracks will be played in random order. Ending the MIX function:
•
To end the MIX function, press MIX again.
Ending CD changer operation
To end CD changer operation
• select a different audio source or
• press the eject button on the CD changer Unit to eject the CD magazine from the CD
changer. The system will switch to radio
operation.
Page 33 of 71
32RADIO NAVIGATION SYSTEM
AUDIO OPERATION
Notes on audio CDs
CD label
Make sure that you only play audio CDs that bear
the symbol illustrated here.
Skipping during playback
CDs may skip while you are driving over very
uneven ground.
In this case, switch the CD player off and wait
until the road conditions improve before playing
CDs.
Condensation
Condensation may occur in the CD changer
housing when it is cold or humidity is high, such
as during or after rain showers. This can lead to
skipping or make playback impossible. In this
case, remove the CD or leave the sliding door
of the CD changer open to allow it to dry before
you use it.
Notes on cleaning CDs
Clean CDs with a soft, lint-free cloth. Wipe the
CDs in a straight line from the middle to the
outside edge.
Note: Never use such solvents as alcohol,
petrol, paint thinner or LP cleaner to clean
the CD!
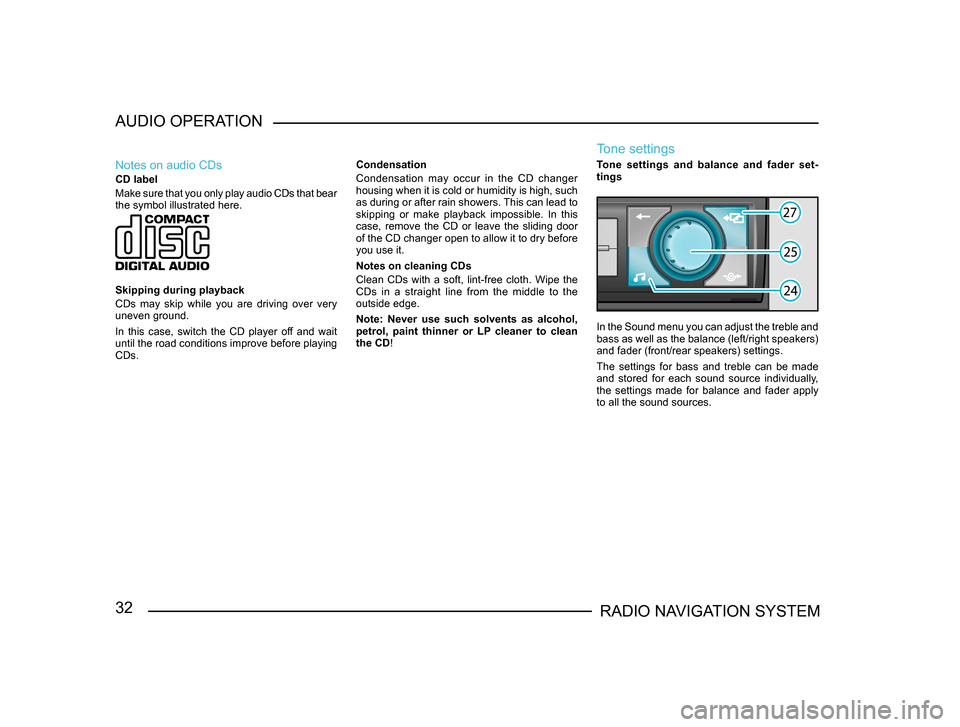
Tone settings
Tone settings and balance and fader set
-
tings
In the Sound menu you can adjust the treble and
bass as well as the balance (left/right speakers)
and fader (front/rear speakers) settings.
The settings for bass and treble can be made
and stored for each sound source individually,
the settings made for balance and fader apply
to all the sound sources.
Page 34 of 71
33RADIO NAVIGATION SYSTEMAUDIO OPERATION
It will not be possible to adjust the fader setting
unless speakers have been installed in the rear
of the vehicle.
•
Press to access the Sound menu.
• Use the menu knob to select the function you want to adjust ( BASS, TREBLE, BAL-
ANCE or FADER).
• Turn the menu knob to alter the setting.
• Press the menu knob to store the new setting. Press to reset the setting to the old value.
• After you have made all your adjustments,
press or one of the audio source buttons for CD, FM, AM or TMC to exit the
Sound menu.
Page 52 of 71
51RADIO NAVIGATION SYSTEMNAVIGATION
If the
DRIVE SYMBOLS: ON option is set in the
navigation setup menu (see page 14), the visual
driving recommendations will appear in the radio
navigation system’s display and in the instrument
cluster. If the DRIVE SYMBOLS: OFF option is
selected, the visual driving recommendations will
only appear in the instrument cluster’s display. In
this case, the radio navigation system’s display
will contain information on your destination. If the
instrument cluster is not equipped with a display
and the DRIVE SYMBOLS: OFF option is set,
route guidance will only provide spoken driving
recommendations.
Displaying the complete destination ad -
dress
Press INFO
to display the current destination along with detailed information. The most recent
spoken driving recommendation will also be re-
peated at this time.
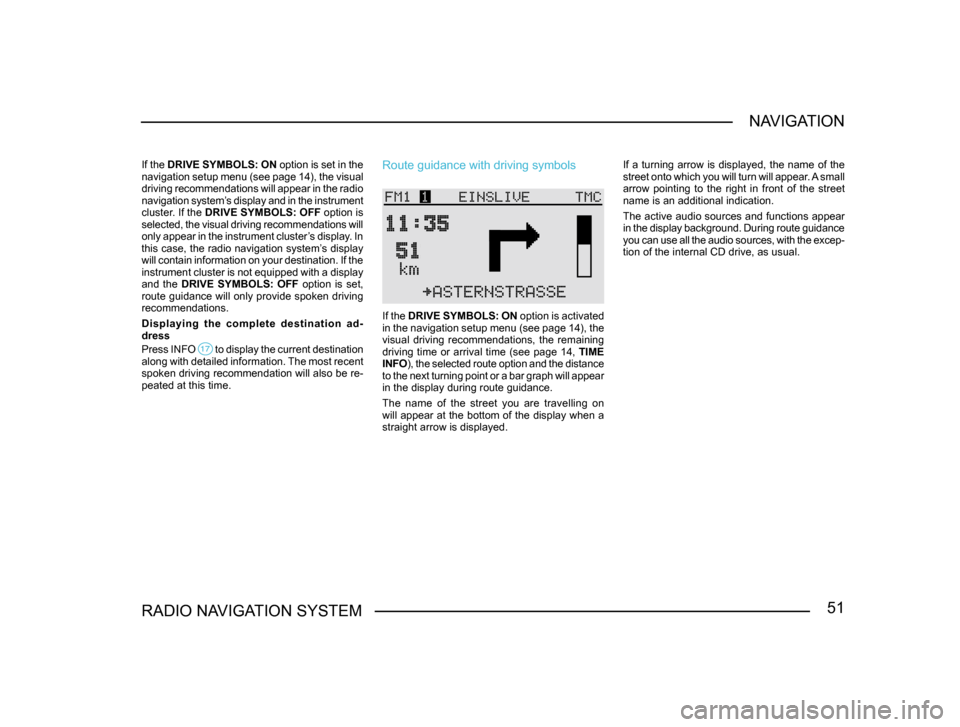
Route guidance with driving symbols
If the DRIVE SYMBOLS: ON option is activated
in the navigation setup menu (see page 14), the
visual driving recommendations, the remaining
driving time or arrival time (see page 14, TIME
INFO ), the selected route option and the distance
to the next turning point or a bar graph will appear
in the display during route guidance.
The name of the street you are travelling on
will appear at the bottom of the display when a
straight arrow is displayed. If a turning arrow is displayed, the name of the
street onto which you will turn will appear. A small
arrow pointing to the right in front of the street
name is an additional indication.
The active audio sources and functions appear
in the display background. During route guidance
you can use all the audio sources, with the excep
-
tion of the internal CD drive, as usual.
Page 53 of 71
52RADIO NAVIGATION SYSTEM
NAVIGATION
Route guidance without driving symbols
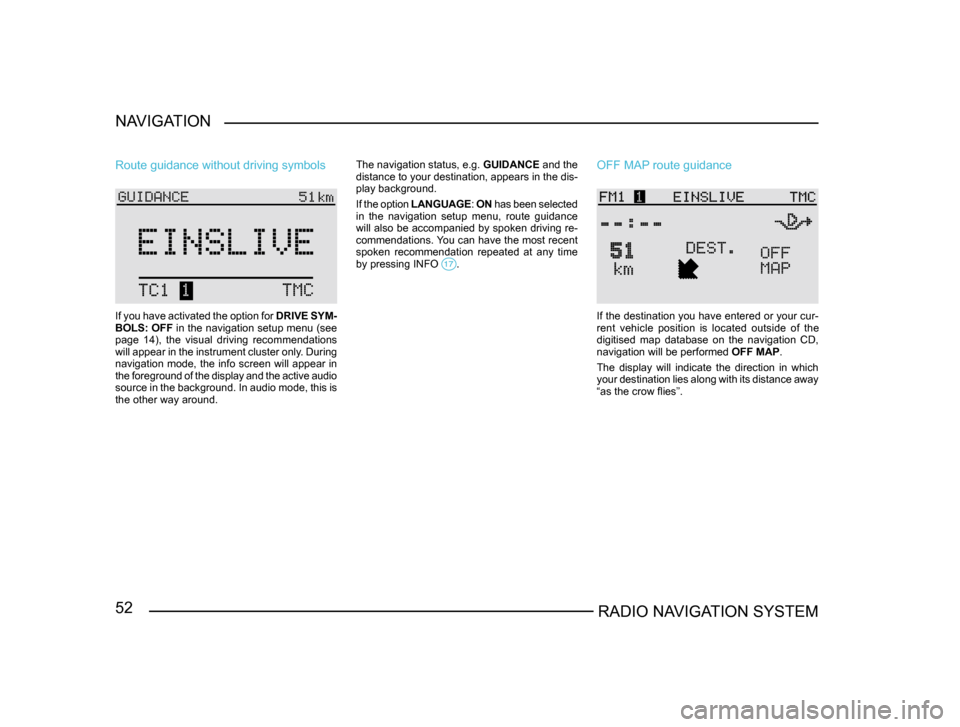
If you have activated the option for
DRIVE SYM-
BOLS: OFF in the navigation setup menu (see
page 14), the visual driving recommendations
will appear in the instrument cluster only. During
navigation mode, the info screen will appear in
the foreground of the display and the active audio
source in the background. In audio mode, this is
the other way around. The navigation status, e.g.
GUIDANCE and the
distance to your destination, appears in the dis-
play background.
If the option LANGUAGE : ON has been selected
in the navigation setup menu, route guidance
will also be accompanied by spoken driving re-
commendations. You can have the most recent
spoken recommendation repeated at any time
by pressing INFO
.
OFF MAP route guidance
If the destination you have entered or your cur-
rent vehicle position is located outside of the
digitised map database on the navigation CD,
navigation will be performed OFF MAP.
The display will indicate the direction in which
your destination lies along with its distance away
“as the crow flies”.
Page:
< prev 1-8 9-16 17-24