2004 PONTIAC GTO bulb
[x] Cancel search: bulbPage 1 of 326

Seats and Restraint Systems........................... 1-1
Front Seats
............................................... 1-2
Safety Belts
.............................................. 1-6
Child Restraints
.......................................1-26
Air Bag Systems
......................................1-46
Restraint System Check
............................1-52
Features and Controls..................................... 2-1
Keys
........................................................ 2-2
Doors and Locks
....................................... 2-6
Windows
.................................................2-10
Theft-Deterrent Systems
............................2-12
Starting and Operating Your Vehicle
...........2-15
Mirrors
....................................................2-29
Storage Areas
.........................................2-30
Vehicle Personalization
.............................2-32
Instrument Panel............................................. 3-1
Instrument Panel Overview
.......................... 3-2
Climate Controls
......................................3-19
Warning Lights, Gages, and Indicators
........3-23
Trip Computer
.........................................3-36
Audio System(s)
.......................................3-42Driving Your Vehicle....................................... 4-1
Your Driving, the Road, and Your Vehicle
..... 4-2
Towing
...................................................4-29
Service and Appearance Care.......................... 5-1
Service
..................................................... 5-3
Fuel
......................................................... 5-5
Checking Things Under the Hood
...............5-10
Bulb Replacement
....................................5-47
Windshield Wiper Blade Replacement
.........5-50
Tires
......................................................5-51
Appearance Care
.....................................5-78
Vehicle Identification
.................................5-86
Electrical System
......................................5-87
Capacities and Specifications
.....................5-92
Maintenance Schedule..................................... 6-1
Maintenance Schedule
................................ 6-2
Customer Assistance and Information.............. 7-1
Customer Assistance and Information
........... 7-2
Reporting Safety Defects
...........................7-10
Index................................................................ 1
2004 Pontiac GTO Owner ManualM
Page 104 of 326

Turn and Lane-Change Signals
To signal a turn, move the lever all the way up to signal
right turn and all the way down to signal a left turn.
When the turn is finished, the lever will return
automatically.
An arrow on the instrument
panel cluster will flash in
the direction of the
turn or lane change.
To signal a lane change, just raise or lower the lever
until the arrow starts to flash. Hold it there until you
complete your lane change. The lever will return by itself
when you release it.
As you signal a turn or a lane change, if the arrows
flash rapidly, a signal bulb may be burned out and other
drivers won’t see your turn signal.
If a bulb is burned out, replace it to help avoid an
accident. If the arrows don’t go on at all when you signal
a turn, check for burned-out bulbs and then check the
fuse. SeeFuses and Circuit Breakers on page 5-87.
Headlamp High/Low-Beam Changer
To change the headlamps from low beam to high beam
with the headlamps on, push the turn signal/multifunction
lever away from you. The headlamps will change from
low beam to high beam.
When the high beams are
on, a light on the
instrument panel cluster
also will be on if the
ignition is on.
If the fog lamps are on when the high-beam headlamps
are activated, the fog lamps will turn off. The fog
lamp indicator in the instrument panel cluster will
turn off.
3-6
Page 130 of 326

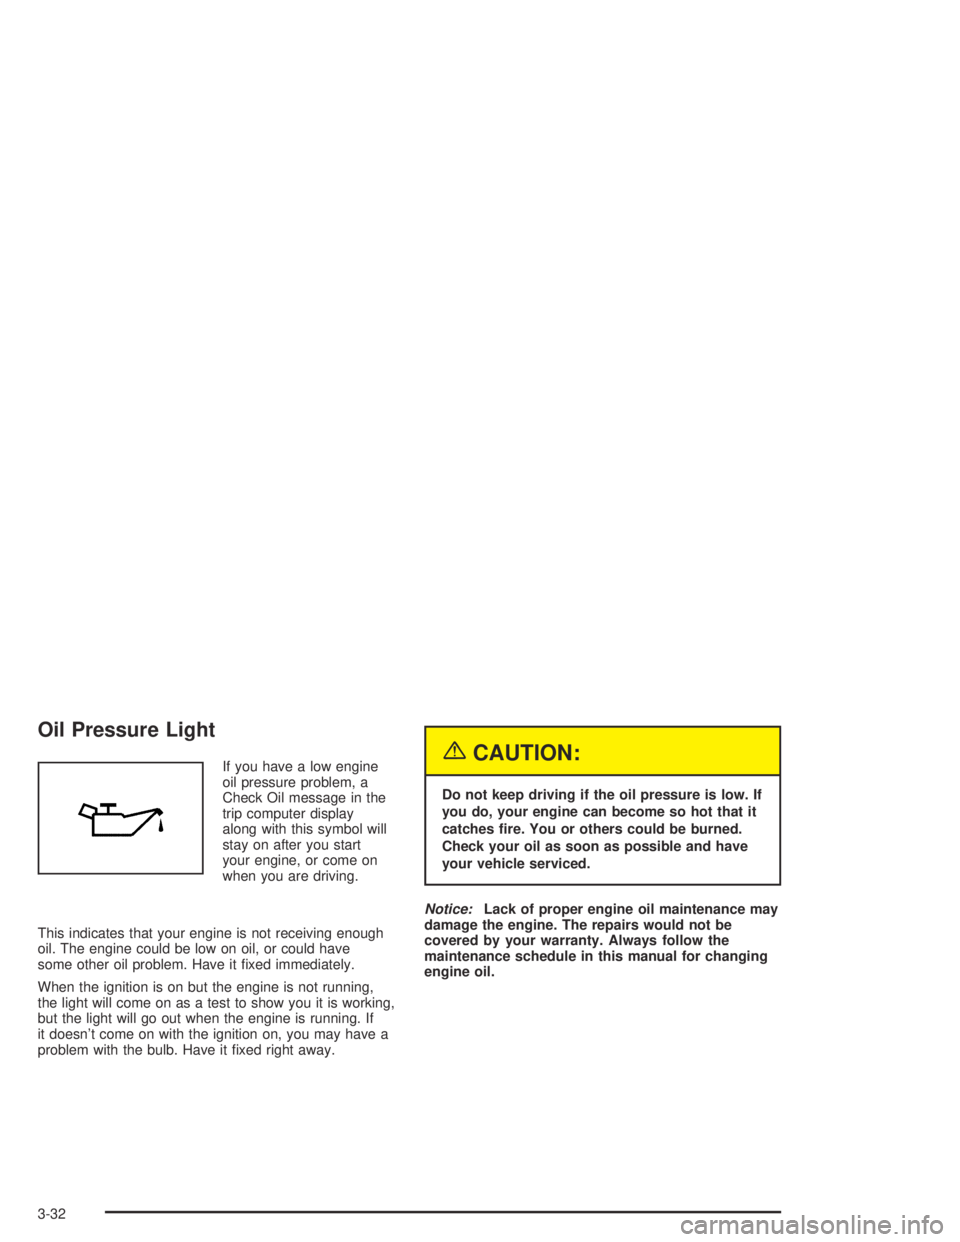
Oil Pressure Light
If you have a low engine
oil pressure problem, a
Check Oil message in the
trip computer display
along with this symbol will
stay on after you start
your engine, or come on
when you are driving.
This indicates that your engine is not receiving enough
oil. The engine could be low on oil, or could have
some other oil problem. Have it fixed immediately.
When the ignition is on but the engine is not running,
the light will come on as a test to show you it is working,
but the light will go out when the engine is running. If
it doesn’t come on with the ignition on, you may have a
problem with the bulb. Have it fixed right away.{CAUTION:
Do not keep driving if the oil pressure is low. If
you do, your engine can become so hot that it
catches �re. You or others could be burned.
Check your oil as soon as possible and have
your vehicle serviced.
Notice:Lack of proper engine oil maintenance may
damage the engine. The repairs would not be
covered by your warranty. Always follow the
maintenance schedule in this manual for changing
engine oil.
3-32
Page 191 of 326

Service............................................................5-3
Doing Your Own Service Work.........................5-4
Adding Equipment to the Outside of
Your Vehicle..............................................5-5
Fuel................................................................5-5
Gasoline Octane............................................5-5
Gasoline Specifications....................................5-5
California Fuel...............................................5-6
Additives.......................................................5-6
Fuels in Foreign Countries...............................5-7
Filling Your Tank............................................5-7
Filling a Portable Fuel Container.......................5-9
Checking Things Under the Hood....................5-10
Hood Release..............................................5-11
Engine Compartment Overview.......................5-12
Engine Oil...................................................5-13
Engine Air Cleaner/Filter................................5-18
Automatic Transmission Fluid.........................5-19
Manual Transmission Fluid.............................5-23
Hydraulic Clutch...........................................5-24
Engine Coolant.............................................5-25
Engine Overheating.......................................5-28
Cooling System............................................5-31
Power Steering Fluid.....................................5-36Windshield Washer Fluid................................5-37
Brakes........................................................5-38
Battery........................................................5-41
Jump Starting...............................................5-42
Bulb Replacement..........................................5-47
Halogen Bulbs..............................................5-47
Headlamps..................................................5-47
Front Turn Signal and Parking Lamps..............5-49
Rear Turn Signal, Stoplamps and
Back-Up Lamps........................................5-49
Replacement Bulbs.......................................5-50
Windshield Wiper Blade Replacement..............5-50
Tires..............................................................5-51
Inflation - Tire Pressure.................................5-58
Tire Inspection and Rotation...........................5-62
When It Is Time for New Tires.......................5-64
Buying New Tires.........................................5-65
Uniform Tire Quality Grading..........................5-66
Wheel Alignment and Tire Balance..................5-67
Wheel Replacement......................................5-68
Tire Chains..................................................5-69
If a Tire Goes Flat........................................5-70
Changing a Flat Tire.....................................5-71
Compact Spare Tire......................................5-77
Section 5 Service and Appearance Care
5-1
Page 237 of 326

Bulb Replacement
For the type of bulbs, seeReplacement Bulbs on
page 5-50. For any bulb changing procedure not listed
in this section, contact your dealer.
Halogen Bulbs
{CAUTION:
Halogen bulbs have pressurized gas inside
and can burst if you drop or scratch the bulb.
You or others could be injured. Be sure to read
and follow the instructions on the bulb
package.
Headlamps
To gain access if replacing a front bulb on the
passenger’s side of the vehicle, do the following:
1. Undo the battery clamp.
2. Remove the battery retaining plate and slide the
battery out of the way toward the rear of the
vehicle.
3. If your vehicle is equipped with a larger battery, the
battery terminals must be disconnected and the
battery completely removed from the vehicle.
After replacing the bulb, remember to replace and
connect the battery.
To gain access if replacing a front bulb on the driver’s
side of the vehicle, do the following:
1. Remove the four screws in the radiator cover.
2. Remove the radiator cover.
A hole is provided in the air intake duct through
which the bulbs can be accessed.
5-47
Page 238 of 326

After replacing the bulbs, remember to reinstall the
radiator cover and the four screws.
1. Open the hood. Access the bulbs by following the
previous instructions.
2. Turn the dust caps
counterclockwise and
remove from the rear of
the headlamp
assembly to gain
access to the bulb.
3. Remove the wiring harness connector by squeezing
the two tabs on the connector and pulling the
connector down.4. Remove the old bulb
by twisting the bulb
counterclockwise.
5. Carefully without touching it, install the new bulb by
reversing Steps 1 through 4.
6. Check the light operation.
5-48
Page 239 of 326

Front Turn Signal and Parking
Lamps
1. Open the hood. To access the bulbs, see
Headlamps on page 5-47.
2. Disconnect the wiring harness connector from the
headlamp assembly.
3. Turn the bulb holder counterclockwise and remove.
4. Lightly press the bulb and twist counterclockwise
out of the holder.
5. Insert the new bulb and install the bulb holder.
The bulb should be colored orange.
6. Connect the wiring harness connector.
7. SeeHeadlamps on page 5-47to replace bulb
assembly.
8. Check light operation.
Rear Turn Signal, Stoplamps and
Back-Up Lamps
1. Open the trunk.
2. Remove the two screws that attach the taillamp
assembly to the vehicle.
3. Pull the assembly sideways out from the panel so
that the locating pegs on the side of the lamp
assembly snap free from the clips.
5-49
Page 240 of 326

4. While holding the assembly, turn the appropriate
bulb holder counterclockwise to release it from the
housing.
5. Remove the bulb from the holder by pushing it in
and turning it counterclockwise. The turn signal
bulb must have amber colored glass.
6. Install the new bulb into the bulb holder by pushing
it into the holder and turning it clockwise.
7. Insert the new bulb into the bulb holder and install
the bulb holder into the lamp housing, ensuring that
the holder locks securely into place.
8. Ensure that the lamp assembly clips are seated
correctly. Fit the housing to the body, ensuring
that the locating pegs snap into the clips and install
and tighten the attaching nuts to the correct
torque.
9. Check the light operation.Replacement Bulbs
Exterior Lamp Bulb Number
Back-up Lamp 1156
Front Sidemarker Lamp 168
Front Turn Signal and
Parking Lamp1157NA
Headlamps
High-Beam
Low-BeamH9
H11
Rear Turn Signal 1156NA
Stop/Taillamp 1157
For any bulb not listed here contact your dealer.
Windshield Wiper Blade
Replacement
Windshield wiper blades should be inspected at least
twice a year for wear or cracking. SeeOwner Checks
and Services on page 6-9for more information.
To replace the wiper blade assembly:
1. Lift the wiper up from the windshield and set into
the vertically-locked position.
2. Press the tab that holds the wiper blade to the arm.
3. Slide the blade down and off the arm.
4. Slide in the new blade and snap into place.
5-50