Page 279 of 432
Parking on Hills
{CAUTION:
You really should not park your vehicle, with a
trailer attached, on a hill. If something goes
wrong, your rig could start to move. People
can be injured, and both your vehicle and the
trailer can be damaged.
But if you ever have to park your rig on a hill,
here's how to do it:
1. Apply your regular brakes, but don't shift into
PARK (P) yet.
2. Have someone place chocks under the trailer
wheels.
3. When the wheel chocks are in place, release the
regular brakes until the chocks absorb the load.
4. Reapply the regular brakes. Then apply your
parking brake, and then shift to PARK (P).
5. Release the regular brakes.
When You Are Ready to Leave After
Parking on a Hill
1. Apply your regular brakes and hold the pedal down
while you:
·start your engine,
·shift into a gear, and
·release the parking brake.
2. Let up on the brake pedal.
3. Drive slowly until the trailer is clear of the chocks.
4. Stop and have someone pick up and store the
chocks.
4-43
Page 280 of 432
Maintenance When Trailer Towing
Your vehicle will need service more often when you're
pulling a trailer. SeePart A: Scheduled Maintenance
Services on page 6-4for more information. Things that
are especially important in trailer operation are automatic
transaxle ¯uid (don't over®ll), engine oil, drive belts,
cooling system and brake system. Each of these is
covered in this manual, and the Index will help you ®nd
them quickly. If you're trailering, it's a good idea to review
this information before you start your trip.
Check periodically to see that all hitch nuts and bolts
are tight.
Engine Cooling When Trailer Towing
Your cooling system may temporarily overheat during
severe operating conditions. SeeEngine Overheating
on page 5-29.
4-44
Page 281 of 432

Service............................................................5-3
Doing Your Own Service Work.........................5-3
Adding Equipment to the Outside
of Your Vehicle...........................................5-4
Fuel................................................................5-4
Gasoline Octane............................................5-4
Gasoline Speci®cations....................................5-5
California Fuel...............................................5-5
Additives.......................................................5-6
Fuels in Foreign Countries...............................5-7
Filling Your Tank............................................5-7
Filling a Portable Fuel Container.....................5-10
Checking Things Under the Hood....................5-10
Hood Release..............................................5-11
Engine Compartment Overview.......................5-12
Engine Oil...................................................5-16
Supercharger Oil..........................................5-21
Engine Air Cleaner/Filter................................5-22
Automatic Transaxle Fluid..............................5-24
Engine Coolant.............................................5-26
Radiator Pressure Cap..................................5-29
Engine Overheating.......................................5-29
Cooling System............................................5-32
Power Steering Fluid.....................................5-42
Windshield Washer Fluid................................5-43Brakes........................................................5-45
Battery........................................................5-48
Jump Starting...............................................5-49
Headlamp Aiming...........................................5-56
Bulb Replacement..........................................5-59
Halogen Bulbs..............................................5-59
Headlamps and Sidemarker Lamps.................5-60
Front Turn Signal, Parking and
Fog Lamps...............................................5-62
Center High-Mounted Stoplamp (CHMSL).........5-64
Taillamps, Turn Signal, and Stoplamps............5-64
Back-Up Lamps............................................5-65
Replacement Bulbs.......................................5-66
Windshield Wiper Blade Replacement..............5-67
Tires..............................................................5-68
In¯ation -- Tire Pressure................................5-69
Tire Pressure Monitor System.........................5-70
Tire Inspection and Rotation...........................5-71
When It Is Time for New Tires.......................5-72
Buying New Tires.........................................5-73
Uniform Tire Quality Grading..........................5-74
Wheel Alignment and Tire Balance..................5-75
Wheel Replacement......................................5-75
Tire Chains..................................................5-77
Section 5 Service and Appearance Care
5-1
Page 290 of 432
Filling a Portable Fuel Container
{CAUTION:
Never ®ll a portable fuel container while it is in
your vehicle. Static electricity discharge from
the container can ignite the gasoline vapor.You
can be badly burned and your vehicle damaged if
this occurs. To help avoid injury to you and others:
·Dispense gasoline only into approved
containers.
·Do not ®ll a container while it is inside a
vehicle, in a vehicle's trunk, pickup bed or on
any surface other than the ground.
·Bring the ®ll nozzle in contact with the inside
of the ®ll opening before operating the nozzle.
Contact should be maintained until the ®lling is
complete.
·Don't smoke while pumping gasoline.
Checking Things Under
the Hood
{CAUTION:
An electric fan under the hood can start up
and injure you even when the engine is not
running. Keep hands, clothing and tools away
from any underhood electric fan.
{CAUTION:
Things that burn can get on hot engine parts
and start a ®re. These include liquids like fuel,
oil, coolant, brake ¯uid, windshield washer and
other ¯uids, and plastic or rubber. You or
others could be burned. Be careful not to drop
or spill things that will burn onto a hot engine.
5-10
Page 291 of 432
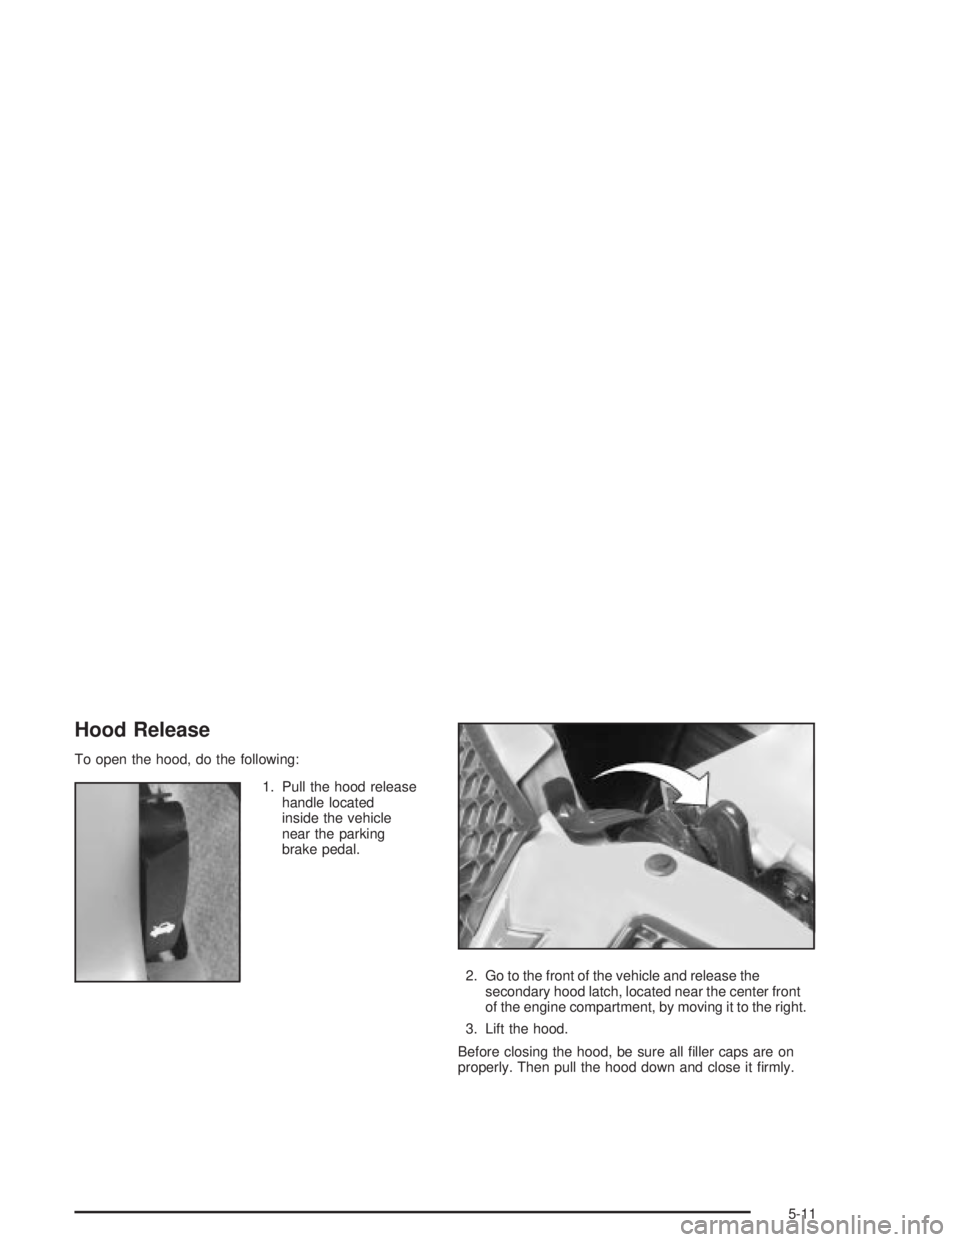
Hood Release
To open the hood, do the following:
1. Pull the hood release
handle located
inside the vehicle
near the parking
brake pedal.
2. Go to the front of the vehicle and release the
secondary hood latch, located near the center front
of the engine compartment, by moving it to the right.
3. Lift the hood.
Before closing the hood, be sure all ®ller caps are on
properly. Then pull the hood down and close it ®rmly.
5-11
Page 293 of 432

A. Windshield Washer Fluid Reservoir. (SeeWindshield
Washer Fluid on page 5-43.)
B. Remote Positive (+) Battery Terminal. (See
Jump
Starting on page 5-49.)
C. Battery. (See
Battery on page 5-48).
D. Underhood Fuse Block. (See
Fuses and Circuit
Breakers on page 5-99.)
E. Radiator Pressure Cap. (See
Cooling System on
page 5-32).
F. Engine Coolant Recovery Tank. (See ªChecking
Coolantº under
Cooling System on page 5-32.)
G. Power Steering Fluid Reservoir (low in engine
compartment). (See
Power Steering Fluid on
page 5-42.)H. Electric Cooling Fan. (See
Cooling System on
page 5-32.)
I. Engine Oil Dipstick. (See
Engine Oil on page 5-16.)
J. Engine Oil Fill Cap. See
Engine Oil on page 5-16.
K. Automatic Transaxle Fluid Dipstick. (See
Automatic
Transaxle Fluid on page 5-24.)
L. Engine Coolant Bleed Valve. (See ªHow to Add
Coolant to the Radiatorº under
Cooling System on
page 5-32.)
M. Brake Master Cylinder. (See ªBrake Fluidº under
Brakes on page 5-45.)
N. Engine Air Cleaner/Filter. (See
Engine Air
Cleaner/Filter on page 5-22.)
5-13
Page 295 of 432

A. Windshield Washer Fluid Reservoir. (SeeWindshield
Washer Fluid on page 5-43.)
B. Remote Positive (+) Battery Terminal. (See
Jump
Starting on page 5-49.)
C. Battery. (See
Battery on page 5-48.)
D. Underhood Fuse Block. (See
Fuses and Circuit
Breakers on page 5-99.)
E. Radiator Pressure Cap. (See
Cooling System on
page 5-32.)
F. Engine Coolant Recovery Tank. (See ªChecking
Coolantº under
Cooling System on page 5-32.)
G. Power Steering Fluid Reservoir (low in engine
compartment). (See
Power Steering Fluid on
page 5-42.)
H. Supercharger Oil Fill Location. (See
Supercharger
Oil on page 5-21.)I. Electric Cooling Fan. (See
Cooling System on
page 5-32.)
J. Engine Oil Dipstick. (See
Engine Oil on page 5-16.)
K. Engine Oil Fill Cap. (See
Engine Oil on page 5-16.)
L. Engine Coolant Bleed Valve. (See ªHow to Add
Coolant to the Radiatorº under
Cooling System on
page 5-32.)
M. Automatic Transaxle Fluid Dipstick. (See
Automatic
Transaxle Fluid on page 5-24.)
N. Brake Master Cylinder. (See ªBrake Fluidº under
Brakes on page 5-45.)
O. Engine Air Cleaner/Filter. (See
Engine Air
Cleaner/Filter on page 5-22.)
5-15
Page 305 of 432
To get the right reading, the ¯uid should be at normal
operating temperature, which is 180ÉF to 200ÉF
(82ÉC to 93ÉC).
Get the vehicle warmed up by driving about 15 miles
(24 km) when outside temperatures are above 50ÉF
(10ÉC). If it's colder than 50ÉF (10ÉC), you may have to
drive longer.
Checking the Fluid Level
Prepare your vehicle as follows:
·Park your vehicle on a level place. Keep the engine
running.
·With the parking brake applied, place the shift lever
in PARK (P).
·With your foot on the brake pedal, move the shift
lever through each gear range, pausing for about
three seconds in each range. Then, position the shift
lever in PARK (P).
·Let the engine run at idle for three to ®ve minutes.Then, without shutting off the engine, follow these steps:
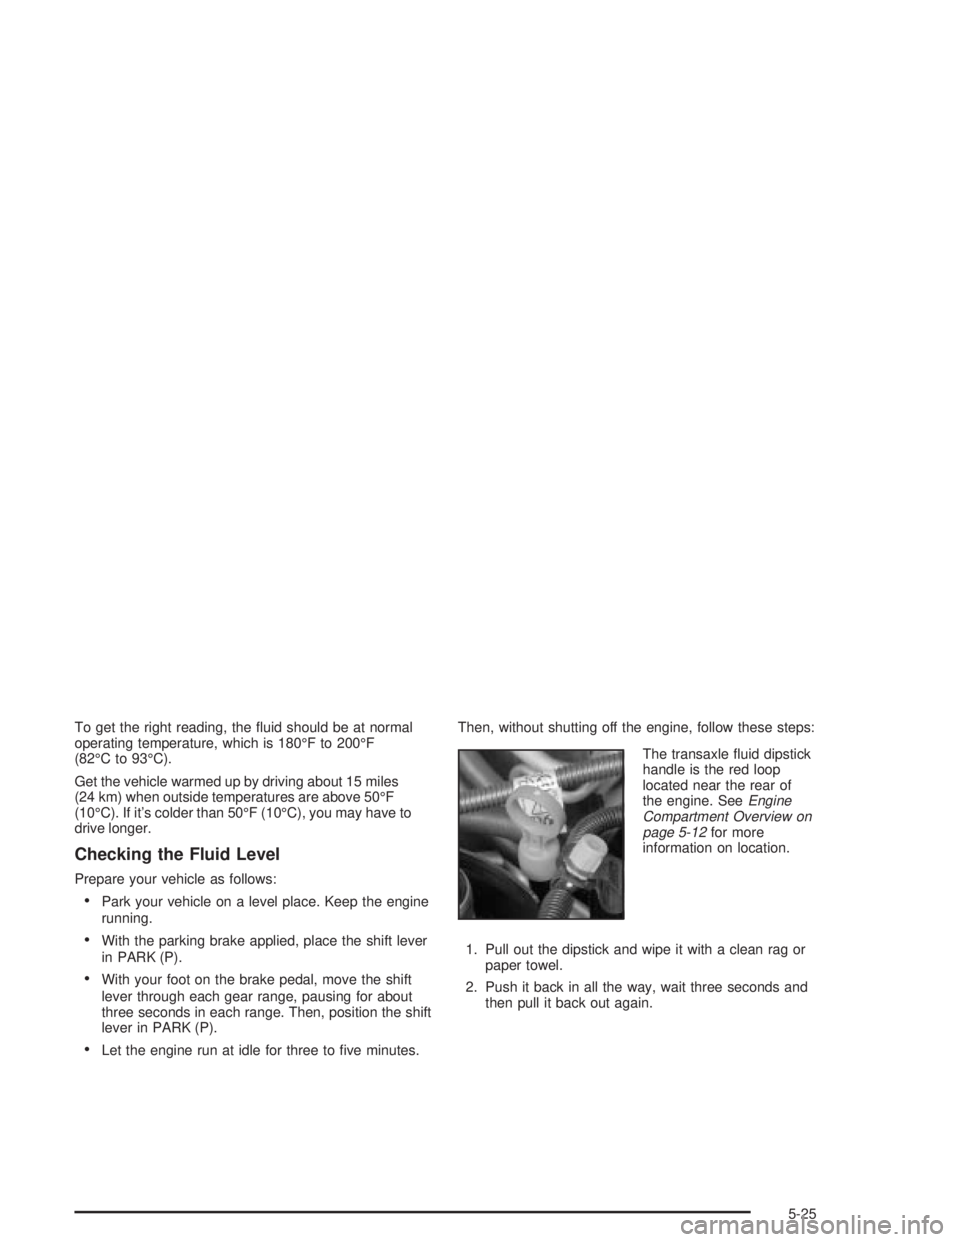
The transaxle ¯uid dipstick
handle is the red loop
located near the rear of
the engine. See
Engine
Compartment Overview on
page 5-12
for more
information on location.
1. Pull out the dipstick and wipe it with a clean rag or
paper towel.
2. Push it back in all the way, wait three seconds and
then pull it back out again.
5-25