Page 201 of 432
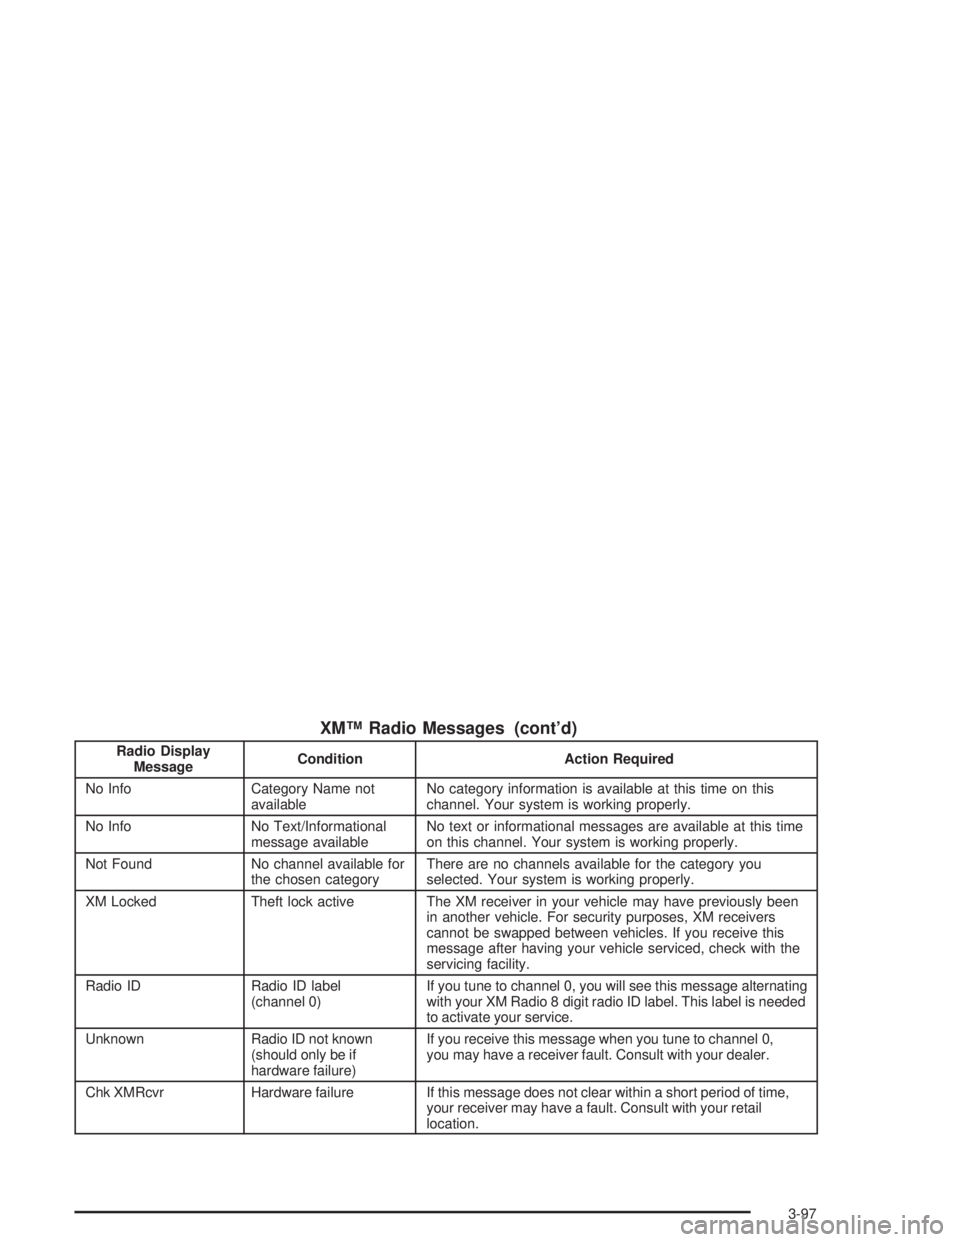
XMŸ Radio Messages (cont'd)
Radio Display
MessageCondition Action Required
No Info Category Name not
availableNo category information is available at this time on this
channel. Your system is working properly.
No Info No Text/Informational
message availableNo text or informational messages are available at this time
on this channel. Your system is working properly.
Not Found No channel available for
the chosen categoryThere are no channels available for the category you
selected. Your system is working properly.
XM Locked Theft lock active The XM receiver in your vehicle may have previously been
in another vehicle. For security purposes, XM receivers
cannot be swapped between vehicles. If you receive this
message after having your vehicle serviced, check with the
servicing facility.
Radio ID Radio ID label
(channel 0)If you tune to channel 0, you will see this message alternating
with your XM Radio 8 digit radio ID label. This label is needed
to activate your service.
Unknown Radio ID not known
(should only be if
hardware failure)If you receive this message when you tune to channel 0,
you may have a receiver fault. Consult with your dealer.
Chk XMRcvr Hardware failure If this message does not clear within a short period of time,
your receiver may have a fault. Consult with your retail
location.
3-97
Page 212 of 432
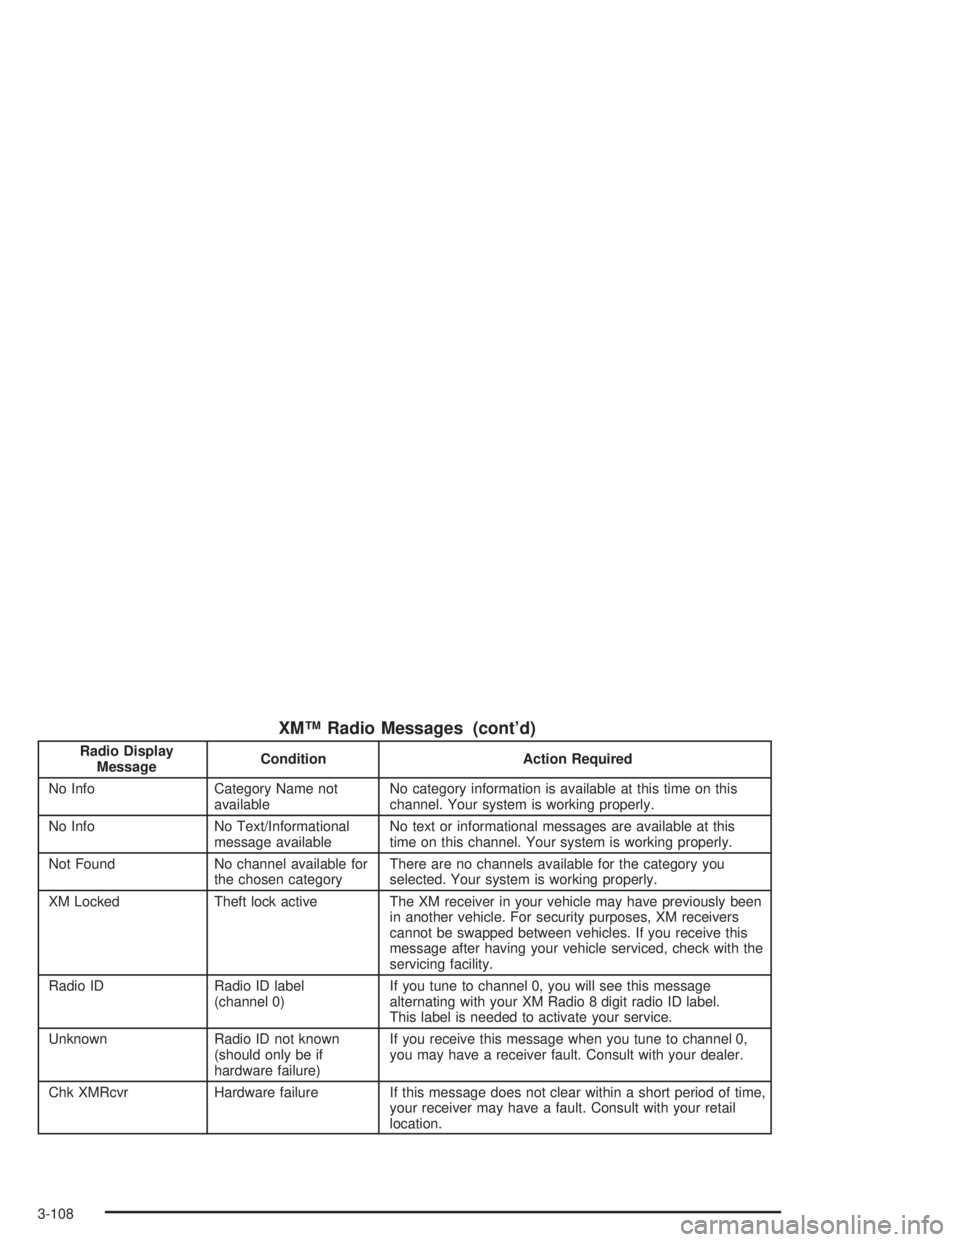
XMŸ Radio Messages (cont'd)
Radio Display
MessageCondition Action Required
No Info Category Name not
availableNo category information is available at this time on this
channel. Your system is working properly.
No Info No Text/Informational
message availableNo text or informational messages are available at this
time on this channel. Your system is working properly.
Not Found No channel available for
the chosen categoryThere are no channels available for the category you
selected. Your system is working properly.
XM Locked Theft lock active The XM receiver in your vehicle may have previously been
in another vehicle. For security purposes, XM receivers
cannot be swapped between vehicles. If you receive this
message after having your vehicle serviced, check with the
servicing facility.
Radio ID Radio ID label
(channel 0)If you tune to channel 0, you will see this message
alternating with your XM Radio 8 digit radio ID label.
This label is needed to activate your service.
Unknown Radio ID not known
(should only be if
hardware failure)If you receive this message when you tune to channel 0,
you may have a receiver fault. Consult with your dealer.
Chk XMRcvr Hardware failure If this message does not clear within a short period of time,
your receiver may have a fault. Consult with your retail
location.
3-108
Page 226 of 432
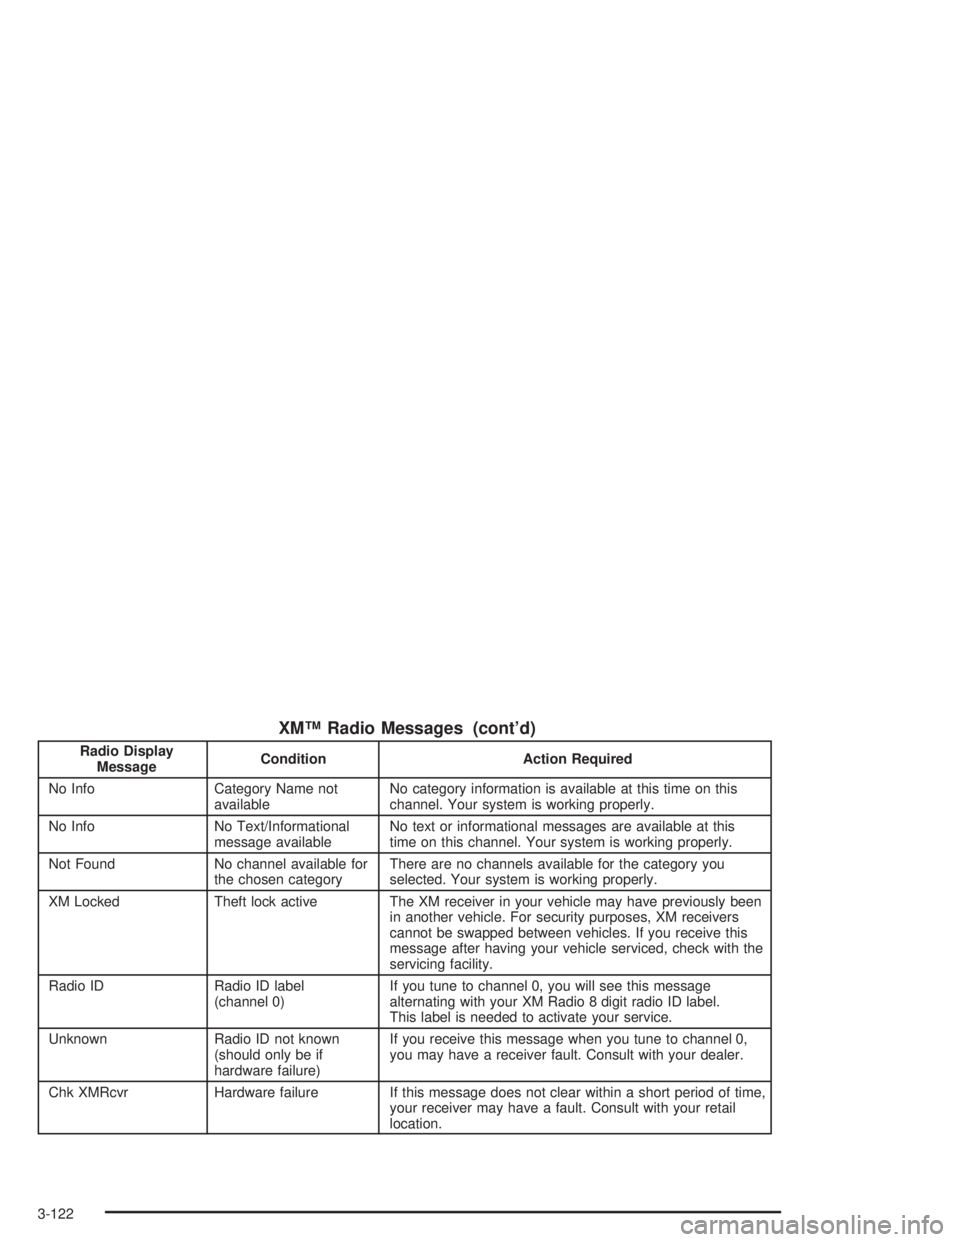
XMŸ Radio Messages (cont'd)
Radio Display
MessageCondition Action Required
No Info Category Name not
availableNo category information is available at this time on this
channel. Your system is working properly.
No Info No Text/Informational
message availableNo text or informational messages are available at this
time on this channel. Your system is working properly.
Not Found No channel available for
the chosen categoryThere are no channels available for the category you
selected. Your system is working properly.
XM Locked Theft lock active The XM receiver in your vehicle may have previously been
in another vehicle. For security purposes, XM receivers
cannot be swapped between vehicles. If you receive this
message after having your vehicle serviced, check with the
servicing facility.
Radio ID Radio ID label
(channel 0)If you tune to channel 0, you will see this message
alternating with your XM Radio 8 digit radio ID label.
This label is needed to activate your service.
Unknown Radio ID not known
(should only be if
hardware failure)If you receive this message when you tune to channel 0,
you may have a receiver fault. Consult with your dealer.
Chk XMRcvr Hardware failure If this message does not clear within a short period of time,
your receiver may have a fault. Consult with your retail
location.
3-122
Page 264 of 432
Winter Driving
Here are some tips for winter driving:
·Have your vehicle in good shape for winter.
·You may want to put winter emergency supplies in
your trunk.Include an ice scraper, a small brush or broom, a
supply of windshield washer ¯uid, a rag, some winter
outer clothing, a small shovel, a ¯ashlight, a red
cloth and a couple of re¯ective warning triangles.
And, if you will be driving under severe conditions,
include a small bag of sand, a piece of old carpet
or a couple of burlap bags to help provide traction.
Be sure you properly secure these items in your
vehicle.
4-28
Page 272 of 432
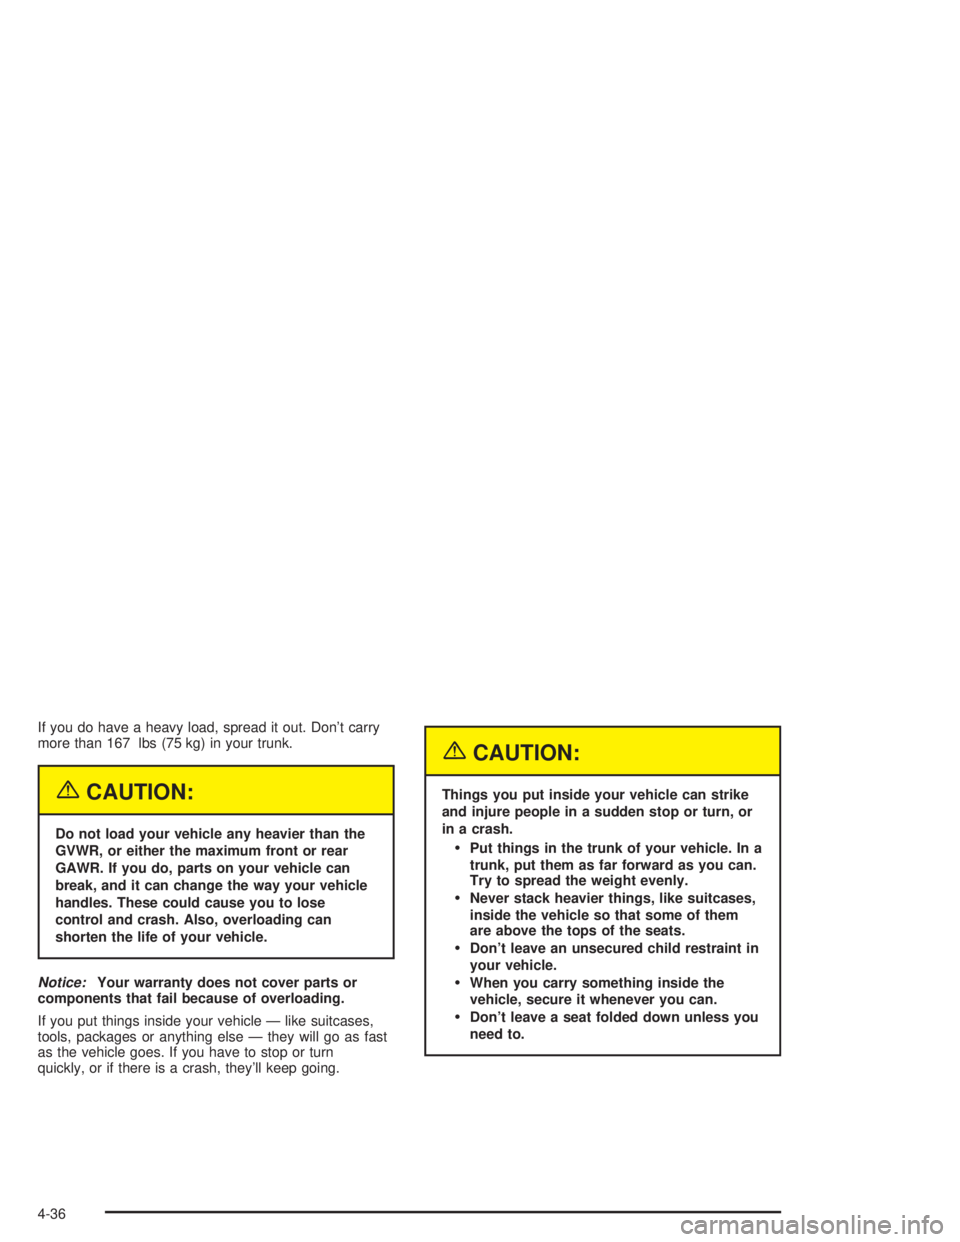
If you do have a heavy load, spread it out. Don't carry
more than 167 lbs (75 kg) in your trunk.
{CAUTION:
Do not load your vehicle any heavier than the
GVWR, or either the maximum front or rear
GAWR. If you do, parts on your vehicle can
break, and it can change the way your vehicle
handles. These could cause you to lose
control and crash. Also, overloading can
shorten the life of your vehicle.
Notice:Your warranty does not cover parts or
components that fail because of overloading.
If you put things inside your vehicle Ð like suitcases,
tools, packages or anything else Ð they will go as fast
as the vehicle goes. If you have to stop or turn
quickly, or if there is a crash, they'll keep going.
{CAUTION:
Things you put inside your vehicle can strike
and injure people in a sudden stop or turn, or
in a crash.
·Put things in the trunk of your vehicle. In a
trunk, put them as far forward as you can.
Try to spread the weight evenly.
·Never stack heavier things, like suitcases,
inside the vehicle so that some of them
are above the tops of the seats.
·Don't leave an unsecured child restraint in
your vehicle.
·When you carry something inside the
vehicle, secure it whenever you can.
·Don't leave a seat folded down unless you
need to.
4-36
Page 277 of 432
Driving with a Trailer
Towing a trailer requires a certain amount of experience.
Before setting out for the open road, you'll want to get
to know your rig. Acquaint yourself with the feel of
handling and braking with the added weight of the trailer.
And always keep in mind that the vehicle you are
driving is now a good deal longer and not nearly as
responsive as your vehicle is by itself.
Before you start, check the trailer hitch and platform
(and attachments), safety chains, electrical connector,
lamps, tires and mirror adjustment. If the trailer has
electric brakes, start your vehicle and trailer moving and
then apply the trailer brake controller by hand to be
sure the brakes are working. This lets you check your
electrical connection at the same time.
During your trip, check occasionally to be sure that the
load is secure, and that the lamps and any trailer
brakes are still working.
Following Distance
Stay at least twice as far behind the vehicle ahead as
you would when driving your vehicle without a trailer.
This can help you avoid situations that require
heavy braking and sudden turns.
Passing
You'll need more passing distance up ahead when
you're towing a trailer. And, because you're a good
deal longer, you'll need to go much farther beyond the
passed vehicle before you can return to your lane.
Backing Up
Hold the bottom of the steering wheel with one hand.
Then, to move the trailer to the left, just move that hand
to the left. To move the trailer to the right, move your
hand to the right. Always back up slowly and, if possible,
have someone guide you.
4-41
Page 341 of 432
3. Pull the headlamp assembly straight out from the
vehicle. Be careful to avoid scratching or chipping
the paint on the vehicle while removing.4. Turn the bulb socket ring one-quarter of a turn
counterclockwise to remove it from the headlamp
assembly. Pull the old bulb from the socket.
5. Place the new bulb into the socket.
6. Turn the bulb socket ring one-quarter turn clockwise
to reinstall it back into the headlamp assembly.
7. Carefully reinstall the headlamp assembly. Be
careful to avoid scratching or chipping the paint
on the vehicle while reinstalling the assembly.
8. Push down on the plastic retaining clip on the
electrical connector, making sure the headlamp
assembly is secure.
5-61
Page 343 of 432
4. Pull the headlamp assembly straight out from the
vehicle.The front turn signal,
parking lamp and
fog lamp bulbs are
located below the
headlamp assembly.
The arrow shows the
turn signal/parking lamp
bulb. The fog lamp bulb
is below it.
5. Turn the bulb socket one-quarter of a turn
counterclockwise to remove it from its assembly.
6. Pull the old bulb from the socket and replace it
with a new one.
7. Turn the bulb socket a quarter turn clockwise to
reinstall it.
8. Carefully reinstall the headlamp assembly.
Be careful to avoid scratching or chipping the
paint on the vehicle.
9. Push down on the plastic retaining clip on the
electrical connector, making sure the headlamp
assembly is secure.
5-63