Page 91 of 432

Parking Brake
The parking brake is
located to the left of the
brake pedal near the
driver's door. To set the
parking brake, hold
the regular brake pedal
down with your right foot.
Push down on the
parking brake pedal,
with your left foot.
To release the parking brake, hold the regular brake
pedal down with your right foot and push the parking
brake pedal with your left foot. When you lift your
left foot, the parking brake pedal will follow it to the
released position.A warning chime will sound if the parking brake is set,
the ignition is on and the shift lever is not in PARK (P)
or NEUTRAL (N).
The brake light will also come on the instrument panel
when the parking brake is set. It will stay on if your
parking brake doesn't release fully.
The BRAKE ON message will also appear in the Driver
Information Center (DIC) when the parking brake is set.
Notice:Driving with the parking brake on can cause
your rear brakes to overheat. You may have to
replace them, and you could also damage other
parts of your vehicle.
If you are towing a trailer and parking on a hill, see
Towing a Trailer on page 4-37. That section shows
what to do ®rst to keep the trailer from moving.
2-27
Page 92 of 432
Shifting Into Park (P)
{CAUTION:
It can be dangerous to get out of your vehicle
if the shift lever is not fully in PARK (P) with
the parking brake ®rmly set. Your vehicle can
roll. If you have left the engine running, the
vehicle can move suddenly. You or others
could be injured. To be sure your vehicle won't
move, even when you're on fairly level ground,
use the steps that follow. If you're pulling a
trailer, see ªTowing a Trailerº in the Index.1. Hold the brake pedal down with your right foot and
set the parking brake.
2. Move the shift lever into PARK (P) like this:
·Press in and hold the
shift lever button,
located on the front
of the shift lever.
·Push the lever all the way toward the front of the
vehicle.
3. Turn the ignition key to OFF.
4. Remove the key and take it with you. If you can
leave your vehicle with the ignition key in your
hand, your vehicle is in PARK (P).
2-28
Page 94 of 432

Shifting Out of Park (P)
Your vehicle has an automatic transaxle shift lock
control system which locks the shift lever in PARK (P)
when the ignition is in the OFF position. In addition,
you have to fully apply your regular brakes before you
can shift from PARK (P) when the ignition is in RUN.
See
Automatic Transaxle Operation on page 2-22.
If you cannot shift out of PARK (P), ease pressure on
the shift lever and push the shift lever all the way up
into PARK (P) as you maintain brake application.
Then move the shift lever into the gear you want.
If you ever hold the brake pedal down but still can't shift
out of PARK (P), try this:
1. Turn the key to ACCESSORY. (There is no shift
interlock in this key position.)
2. Apply and hold the brake until the end of Step 4.
3. Shift the transaxle to NEUTRAL (N).
4. Start the vehicle and then shift to the transaxle gear
you want.
5. Have the system ®xed as soon as you can.
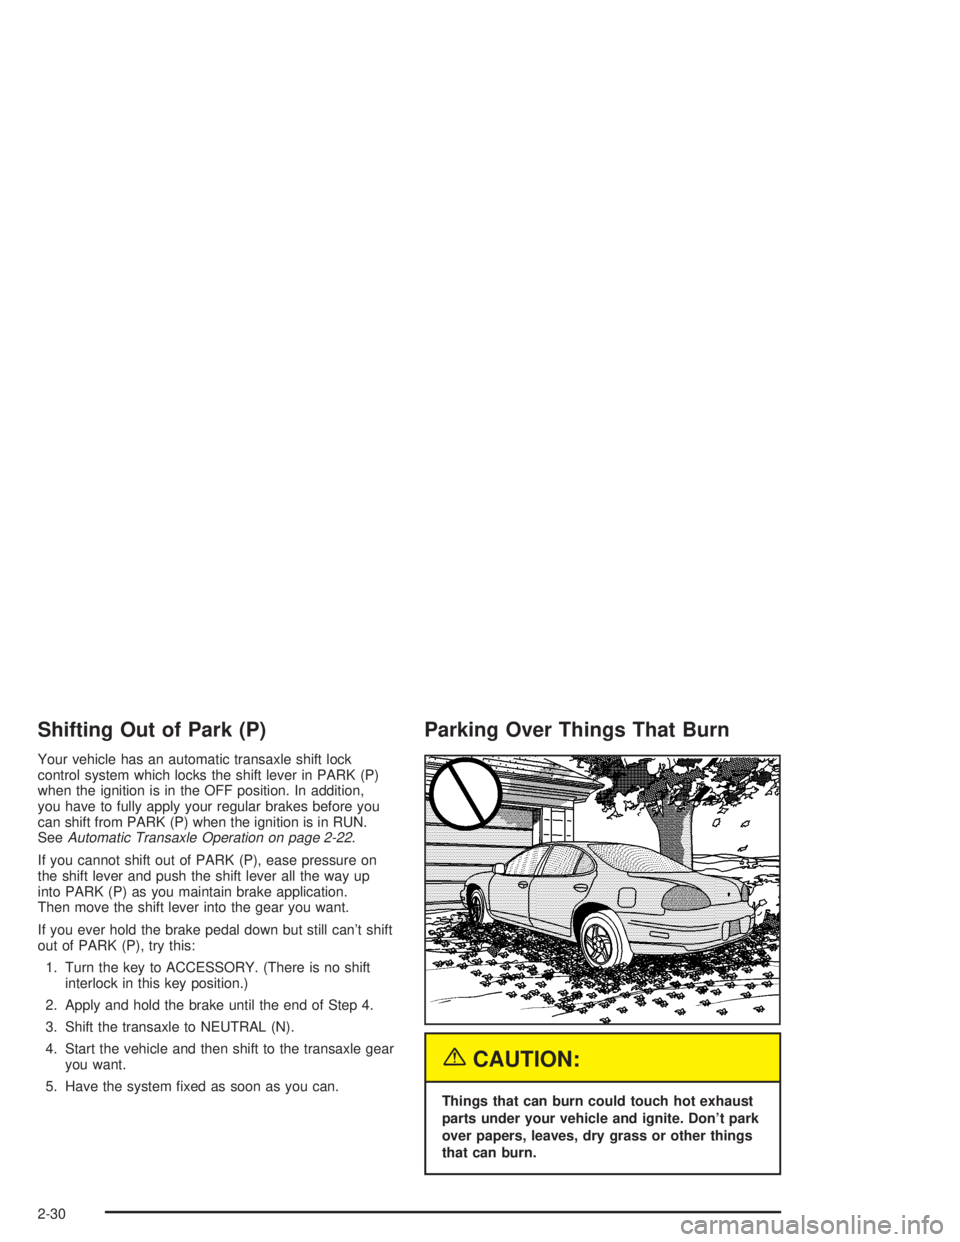
Parking Over Things That Burn
{CAUTION:
Things that can burn could touch hot exhaust
parts under your vehicle and ignite. Don't park
over papers, leaves, dry grass or other things
that can burn.
2-30
Page 103 of 432
SunroofYour vehicle may be equipped with a sunroof. The
sunroof includes a sliding glass panel and a sunshade.
The switch to control the sunroof is located in the
headliner. The switch works only while the ignition is on
or RAP is active. See
Ignition Positions on page 2-18.
Vent:Open the sunshade by hand. Push the rear of
the switch once and the sunroof will open to the
vent position.
Open/Express-Open:Push the rear of the switch a
second time and the sunroof will open the remainder of
the way.
Close:Push and hold the front of the switch until the
sunroof motor stops. The sunshade must be closed
by hand.
Uplevel Version Shown
2-39
Page 107 of 432

The main components of the instrument panel are the following:
A. Side Window Defogger Outlets. (See
Outlet
Adjustment on page 3-29.)
B. Instrument Panel Outlets. (See
Outlet Adjustment
on page 3-29.)
C. Exterior Lamps Control. (See
Exterior Lamps on
page 3-12.)
D. TAP-ShiftŸ Control. (See
Automatic Transaxle
Operation on page 2-22.)
E. Hazard Warning Flashers Button. (See
Hazard
Warning Flashers on page 3-4.)
F. Instrument Panel Cluster. (See
Instrument Panel
Cluster on page 3-32.)
G. Windshield Wiper Lever. (See
Windshield Washer
Lever on page 3-6.)
H. Ignition. (See
Ignition Positions on page 2-18.)
I. DIC (Driver Information Center). (See
Driver
Information Center (DIC) on page 3-45.)J. Audio System. (See
Audio System(s) on page 3-88.)
K. Interior Lamps Brightness Control (Behind Steering
Wheel). (See
Interior Lamps on page 3-16.)
L. Audio Controls. (See
Audio System(s) on page 3-88.)
M. Hood Release. (See
Hood Release on page 5-11.)
N. Tilt Steering Wheel Lever (on Steering Column).
(See
Tilt Wheel on page 3-5.)
O. Cruise Control. (See
Cruise Control Lever on
page 3-8.)
P. Climate Controls. (See
Climate Control System
on page 3-25.)
Q. Storage Area.
R. Glove Box. (See
Glove Box on page 2-36.)
S. Instrument Panel Fuse Block.
(See
Fuses and Circuit Breakers on page 5-99.)
3-3
Page 115 of 432

Reducing Speed While Using Cruise
Control
There are two ways to reduce your speed while using
cruise control:
·Push the lever downward toward the minus
(set/coast/decelerate) position until you reach the
lower speed you want, then release it.
·To slow down in very small amounts, push the lever
downward toward the minus (set/coast/decelerate)
position brie¯y. Each time you do this, the vehicle will
slow down approximately 1 mph (1.6 km/h).
Passing Another Vehicle While Using
Cruise Control
Use the accelerator pedal to increase your speed.
When you take your foot off the pedal, your vehicle will
slow down to the cruise control speed you set earlier.
Using Cruise Control on Hills
How well your cruise control will work on hills depends
upon your speed, load and the steepness of the
hills. When going up steep hills, you may have to
step on the accelerator pedal to maintain your speed.When going downhill, you may have to brake or shift to
a lower gear to keep your speed down. Applying the
brake or shifting into a lower gear will take you out
of cruise control. If you need to apply the brake or shift
to a lower gear due to the grade of the downhill
slope, you may not want to attempt to use your cruise
control feature.
Cancelling Cruise Control
To cancel a cruise control session, pull the cruise
control lever forward, or, step lightly on the brake pedal.
Doing either of these two things will only end the
current cruise control session, but the set speed will be
retained in memory.
You must push the button at the end of the cruise
control lever to turn the system off.
Erasing Speed Memory
When you turn off the cruise control or the ignition,
your cruise control set speed memory is erased.
3-11
Page 117 of 432

Fog Lamps
Fog lamps provide brighter roadway lighting for better
vision in foggy or misty conditions.
-(Fog Lamps):Turn the second band on the exterior
lamps lever to this position to turn the fog lamps on.
The band will return to its original position.
This symbol will appear
on the instrument panel
cluster when the fog lamps
are on.
To turn the fog lamps off, turn the band up to the fog
lamp symbol and release it. The band will return
to its original position. If the high-beam headlamps
are on the fog lamps will turn off. They will turn back
on again when you switch back to the low-beam
headlamps.
The parking lamps must be on for the fog lamps to work.
Headlamp High/Low-Beam Changer
Push forward on the exterior lamps control lever to
change the headlamps from low to high-beam. Pull the
lever back and then release it to change from high
to low-beam.
This symbol on the
instrument panel cluster
will display when the
high-beam lamps are on.
When the high-beam headlamps are on, the fog lamps
will not be on. If your vehicle is equipped with the
Head-Up-Display (HUD) an arrow will appear in the
HUD area to indicate that the high-beams are on.
See
Head-Up Display (HUD) on page 3-19for more
information.
Headlamps On Reminder
A warning chime will sound if the exterior lamp control
is left on in either the headlamp or parking lamp position
and the driver's door is opened with the ignition off.
3-13
Page 119 of 432

Turn Signal On Chime
If the turn signal is left on for approximately 1 mile
(1.61 km), a warning chime will sound and the TURN
SIGNAL ON warning message will appear on the Driver
Information Center (DIC) display. See ªTurn Signal
Onº under
DIC Warnings and Messages on page 3-65for more information.
Daytime Running Lamps
Daytime Running Lamps (DRL) can make it easier for
others to see the front of your vehicle during the
day. DRL can be helpful in many different driving
conditions, but they can be especially helpful in the short
periods after dawn and before sunset. Fully functional
daytime running lamps are required on all vehicles
®rst sold in Canada.
The DRL system will make the turn signal lamps come
on when the following conditions are met:
·It is still daylight and the ignition is in RUN or
START,
·the exterior lamp control is in off or AUTO with the
headlamps off, and
·an automatic transaxle is not in PARK (P) and the
parking brake is released.When DRL are on, only the front turn signal/parking
lamps will be on. No other exterior lamps will be
on when the DRL are being used. Your instrument
panel won't be lit up either.
When the exterior lamp control is in AUTO and it's dark
enough outside, the DRL will turn off and the low-beam
headlamps at full brightness will turn on. When it's
bright enough outside, the front turn signal lamps will
go off, and the DRL will turn back on. If you start
your vehicle in a dark garage, the automatic headlamp
system will come on immediately. Once you leave
the garage, it will take approximately one minute for the
automatic headlamp system to change to DRL if it is
light outside. During that delay, your instrument
panel cluster may not be as bright as usual. Make sure
your instrument panel brightness knob is in the full
bright position. See ªInstrument Panel Brightnessº under
Interior Lamps on page 3-16.
Vehicle's sold in the U.S. can turn the DRL off.
To do this, turn the band on the exterior lamp control
to off. Turn the band to this position again to turn
the DRL on.
As with any vehicle, you should turn on the regular
headlamp system when you need it.
3-15