2004 PONTIAC BONNEVILLE battery replacement
[x] Cancel search: battery replacementPage 73 of 446
Remote Keyless Entry System
If equipped, the keyless entry system operates on a
radio frequency subject to Federal Communications
Commission (FCC) Rules and with Industry Canada.
This device complies with Part 15 of the FCC Rules.
Operation is subject to the following two conditions:
1. This device may not cause interference, and
2. This device must accept any interference received,
including interference that may cause undesired
operation of the device.
This device complies with RSS-210 of Industry Canada.
Operation is subject to the following two conditions:
1. This device may not cause interference, and
2. This device must accept any interference received,
including interference that may cause undesired
operation of the device.
Changes or modi�cations to this system by other than
an authorized service facility could void authorization to
use this equipment.At times you may notice a decrease in range. This is
normal for any remote keyless entry system. If the
transmitter does not work or if you have to stand closer
to your vehicle for the transmitter to work, try this:
Check the distance. You may be too far from your
vehicle. You may need to stand closer during
rainy or snowy weather.
Check the location. Other vehicles or objects may
be blocking the signal. Take a few steps to the
left or right, hold the transmitter higher, and
try again.
Check to determine if battery replacement is
necessary. See “Battery Replacement” under
Remote Keyless Entry System Operation on
page 2-6.
If you are still having trouble, see your dealer or a
quali�ed technician for service.
2-5
Page 77 of 446
Battery Replacement
Under normal use, the battery in your remote keyless
entry transmitter should last about four years.
You can tell the battery is weak if the transmitter will not
work at the normal range in any location. If you have
to get close to your vehicle before the transmitter works,
it is probably time to change the battery.
Notice:When replacing the battery, use care not to
touch any of the circuitry. Static from your body
transferred to these surfaces may damage the
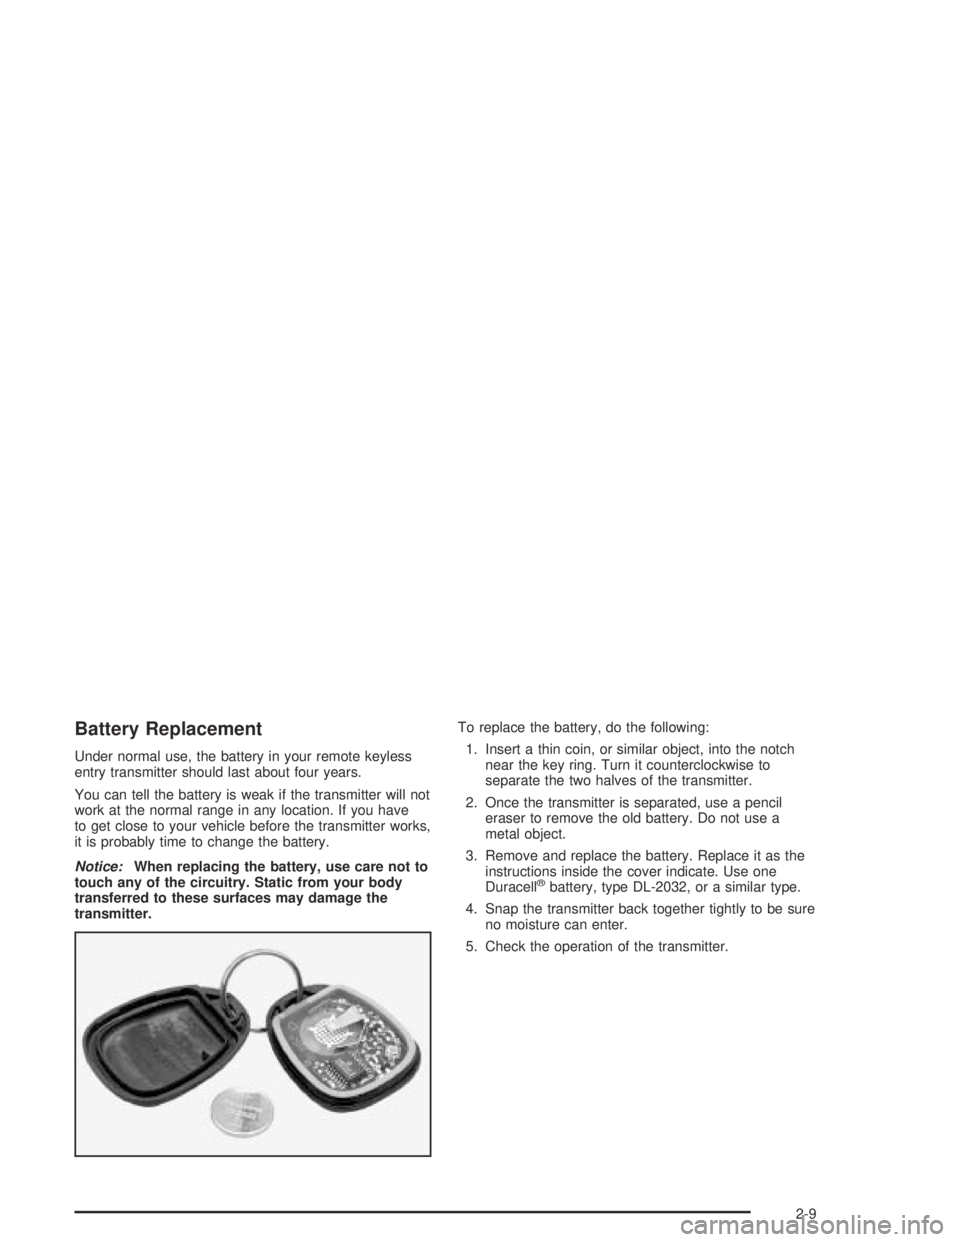
transmitter.To replace the battery, do the following:
1. Insert a thin coin, or similar object, into the notch
near the key ring. Turn it counterclockwise to
separate the two halves of the transmitter.
2. Once the transmitter is separated, use a pencil
eraser to remove the old battery. Do not use a
metal object.
3. Remove and replace the battery. Replace it as the
instructions inside the cover indicate. Use one
Duracell
®battery, type DL-2032, or a similar type.
4. Snap the transmitter back together tightly to be sure
no moisture can enter.
5. Check the operation of the transmitter.
2-9
Page 277 of 446
Service............................................................5-3
Doing Your Own Service Work.........................5-4
Adding Equipment to the Outside of Your
Vehicle......................................................5-4
Fuel................................................................5-5
Gasoline Octane............................................5-5
Gasoline Speci�cations....................................5-5
California Fuel...............................................5-6
Additives.......................................................5-6
Fuels in Foreign Countries...............................5-7
Filling Your Tank............................................5-8
Filling a Portable Fuel Container.....................5-11
Checking Things Under the Hood....................5-12
Hood Release..............................................5-13
Engine Compartment Overview.......................5-14
Engine Oil...................................................5-16
Engine Air Cleaner/Filter................................5-21
Automatic Transaxle Fluid..............................5-23
Engine Coolant.............................................5-26
Radiator Pressure Cap..................................5-28
Engine Overheating.......................................5-29
Cooling System............................................5-31
Power Steering Fluid.....................................5-39
Windshield Washer Fluid................................5-40
Brakes........................................................5-42Battery........................................................5-45
Jump Starting...............................................5-47
Bulb Replacement..........................................5-52
Halogen Bulbs..............................................5-52
Headlamps..................................................5-53
Front Turn Signal and Parking Lamps..............5-54
Taillamps, Turn Signal, Stoplamps and
Back-up Lamps.........................................5-56
Replacement Bulbs.......................................5-57
Windshield Wiper Blade Replacement..............5-57
Tires..............................................................5-58
In�ation - Tire Pressure.................................5-67
Check Tire Pressure System..........................5-68
Tire Inspection and Rotation...........................5-70
When It Is Time for New Tires.......................5-72
Buying New Tires.........................................5-72
Uniform Tire Quality Grading..........................5-74
Wheel Alignment and Tire Balance..................5-75
Wheel Replacement......................................5-75
Tire Chains..................................................5-77
Accessory In�ator.........................................5-78
If a Tire Goes Flat........................................5-79
Changing a Flat Tire.....................................5-80
Compact Spare Tire......................................5-90
Section 5 Service and Appearance Care
5-1
Page 321 of 446
Replacing Brake System Parts
The braking system on a vehicle is complex. Its many
parts have to be of top quality and work well together if
the vehicle is to have really good braking. Your
vehicle was designed and tested with top-quality GM
brake parts. When you replace parts of your braking
system — for example, when your brake linings
wear down and you need new ones put in — be sure
you get new approved GM replacement parts. If you do
not, your brakes may no longer work properly. For
example, if someone puts in brake linings that are wrong
for your vehicle, the balance between your front and
rear brakes can change — for the worse. The braking
performance you have come to expect can change
in many other ways if someone puts in the wrong
replacement brake parts.
Battery
Your new vehicle comes with a maintenance free
ACDelco®battery. When it is time for a new battery, get
one that has the replacement number shown on the
original battery’s label. We recommend an
ACDelco
®battery.Warning:Battery posts, terminals and related
accessories contain lead and lead compounds,
chemicals known to the State of California to cause
cancer and reproductive harm. Wash hands after
handling.
The battery is located under the rear seat cushion.
To access the battery, seeRemoving the Rear Seat
Cushion on page 5-104. You do not need to access the
battery to jump start your vehicle. SeeJump Starting
on page 5-47.
{CAUTION:
A battery that is not properly vented can let
sulfuric acid fumes into the area under the rear
seat cushion. These fumes can damage your
rear seat safety belt systems. You may not be
able to see this damage, and the safety belts
might not provide the protection needed in a
crash. If a replacement battery is ever needed,
it must be vented in the same manner as the
original battery. Always make sure that the
vent hose is properly reattached before
reinstalling the seat cushion.
5-45
Page 328 of 446
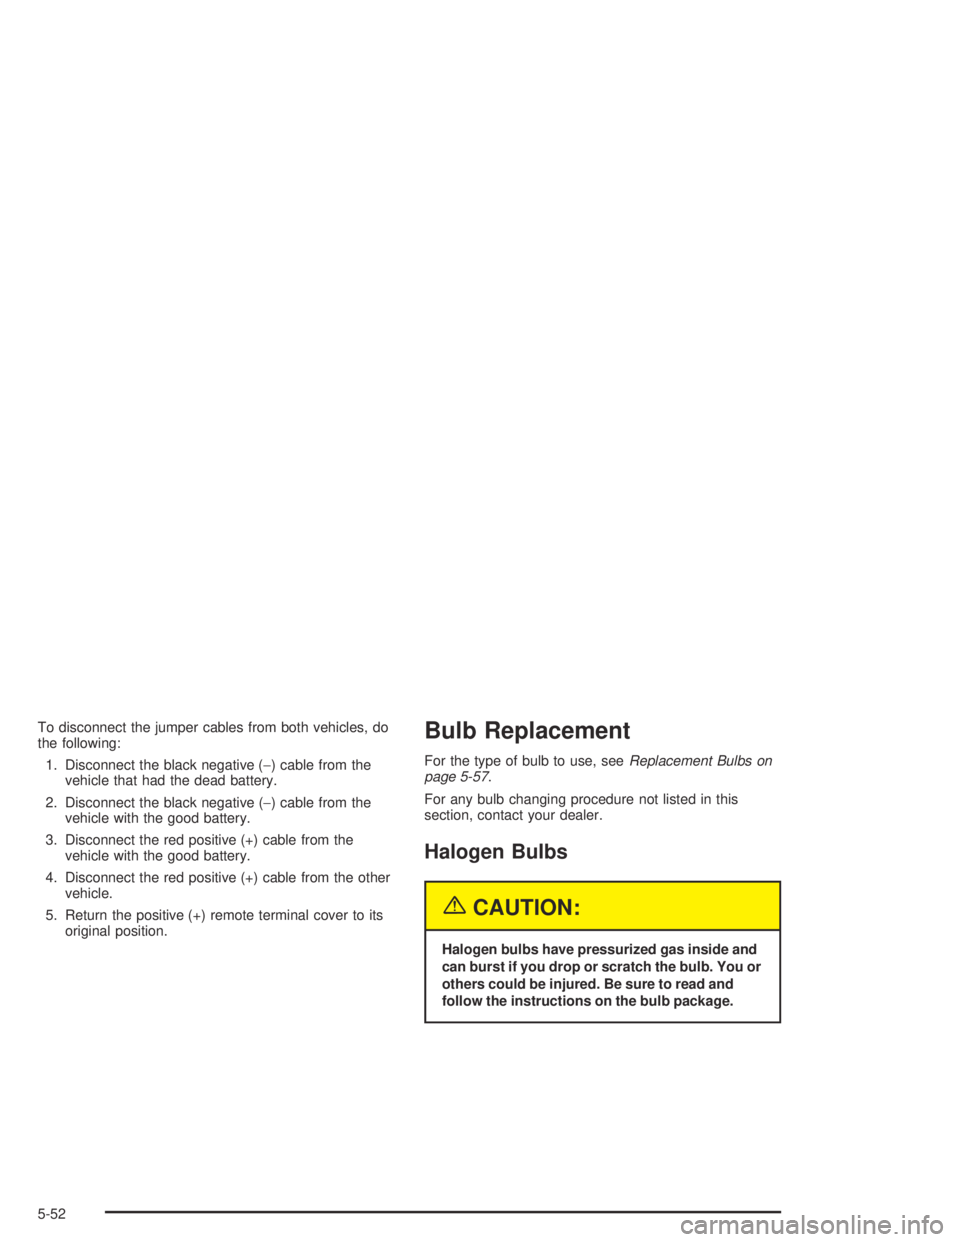
To disconnect the jumper cables from both vehicles, do
the following:
1. Disconnect the black negative (−) cable from the
vehicle that had the dead battery.
2. Disconnect the black negative (−) cable from the
vehicle with the good battery.
3. Disconnect the red positive (+) cable from the
vehicle with the good battery.
4. Disconnect the red positive (+) cable from the other
vehicle.
5. Return the positive (+) remote terminal cover to its
original position.Bulb Replacement
For the type of bulb to use, seeReplacement Bulbs on
page 5-57.
For any bulb changing procedure not listed in this
section, contact your dealer.
Halogen Bulbs
{CAUTION:
Halogen bulbs have pressurized gas inside and
can burst if you drop or scratch the bulb. You or
others could be injured. Be sure to read and
follow the instructions on the bulb package.
5-52
Page 422 of 446
Roadside Assistance Program
Security While You Travel
1-800-ROADSIDE (762-3743)
As the proud owner of a new Pontiac vehicle, you are
automatically enrolled in the Pontiac Roadside
Assistance program. This value-added service is
intended to provide you with peace of mind as you drive
in the city or travel the open road. Pontiac’s Roadside
Assistance toll-free number is staffed by courteous
and capable Roadside Assistance Representatives who
are available 24 hours a day, 365 days a year.
We will provide the following services during the
Bumper-to-Bumper warranty period, at no expense
to you:
Fuel Delivery:Delivery of enough fuel
($5 maximum) for the customer to get to the
nearest service station.
Lock-out Service (identi�cation required):
Replacement keys or locksmith service will
be covered at no charge if you are unable to gain
entry into your vehicle. Delivery of the replacement
key will be covered within 10 miles.
Emergency Tow:Tow to the nearest dealership
for warranty service or in the event of a
vehicle-disabling accident. Assistance when the
vehicle is mired in sand, mud or snow.
Flat Tire Change:Installation of a spare tire will be
covered at no charge. (The customer is responsible
for the repair or replacement of the tire if not
covered by a warrantable failure.)
Jump Start:No-start occurrences which require a
battery jump start will be covered at no charge.
Dealer Locator Service
In many instances, mechanical failures are covered
under Pontiac’s Bumper-to-Bumper warranty. However,
when other services are utilized, our Roadside
Assistance Representatives will explain any payment
obligations you might incur.
7-6
Page 432 of 446
Automatic Transaxle
Fluid..........................................................5-23
Operation...................................................2-29
Automatic Transaxle Check..............................6-20
Automatic Transaxle Shift Lock Control System
Check........................................................6-21
B
Backing Up....................................................4-43
Battery..........................................................5-45
Battery Load Management...............................3-22
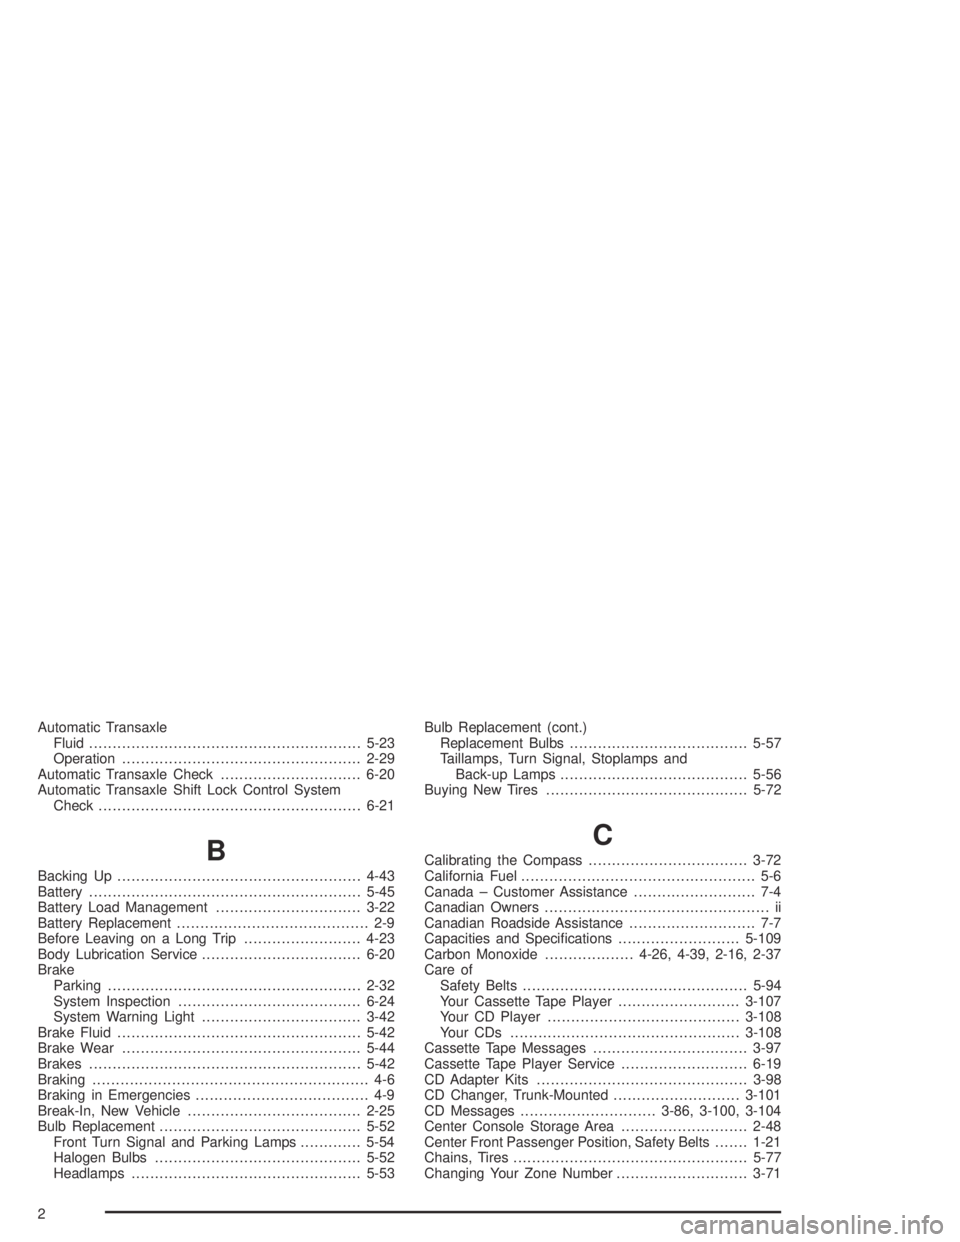
Battery Replacement......................................... 2-9
Before Leaving on a Long Trip.........................4-23
Body Lubrication Service..................................6-20
Brake
Parking......................................................2-32
System Inspection.......................................6-24
System Warning Light..................................3-42
Brake Fluid....................................................5-42
Brake Wear...................................................5-44
Brakes..........................................................5-42
Braking........................................................... 4-6
Braking in Emergencies..................................... 4-9
Break-In, New Vehicle.....................................2-25
Bulb Replacement...........................................5-52
Front Turn Signal and Parking Lamps.............5-54
Halogen Bulbs............................................5-52
Headlamps.................................................5-53Bulb Replacement (cont.)
Replacement Bulbs......................................5-57
Taillamps, Turn Signal, Stoplamps and
Back-up Lamps........................................5-56
Buying New Tires...........................................5-72
C
Calibrating the Compass..................................3-72
California Fuel.................................................. 5-6
Canada – Customer Assistance.......................... 7-4
Canadian Owners................................................ ii
Canadian Roadside Assistance........................... 7-7
Capacities and Speci�cations..........................5-109
Carbon Monoxide...................4-26, 4-39, 2-16, 2-37
Care of
Safety Belts................................................5-94
Your Cassette Tape Player..........................3-107
Your CD Player.........................................3-108
Your CDs .................................................3-108
Cassette Tape Messages.................................3-97
Cassette Tape Player Service...........................6-19
CD Adapter Kits.............................................3-98
CD Changer, Trunk-Mounted...........................3-101
CD Messages.............................3-86, 3-100, 3-104
Center Console Storage Area...........................2-48
Center Front Passenger Position, Safety Belts.......1-21
Chains, Tires..................................................5-77
Changing Your Zone Number............................3-71
2