Page 110 of 446

OnStar®System
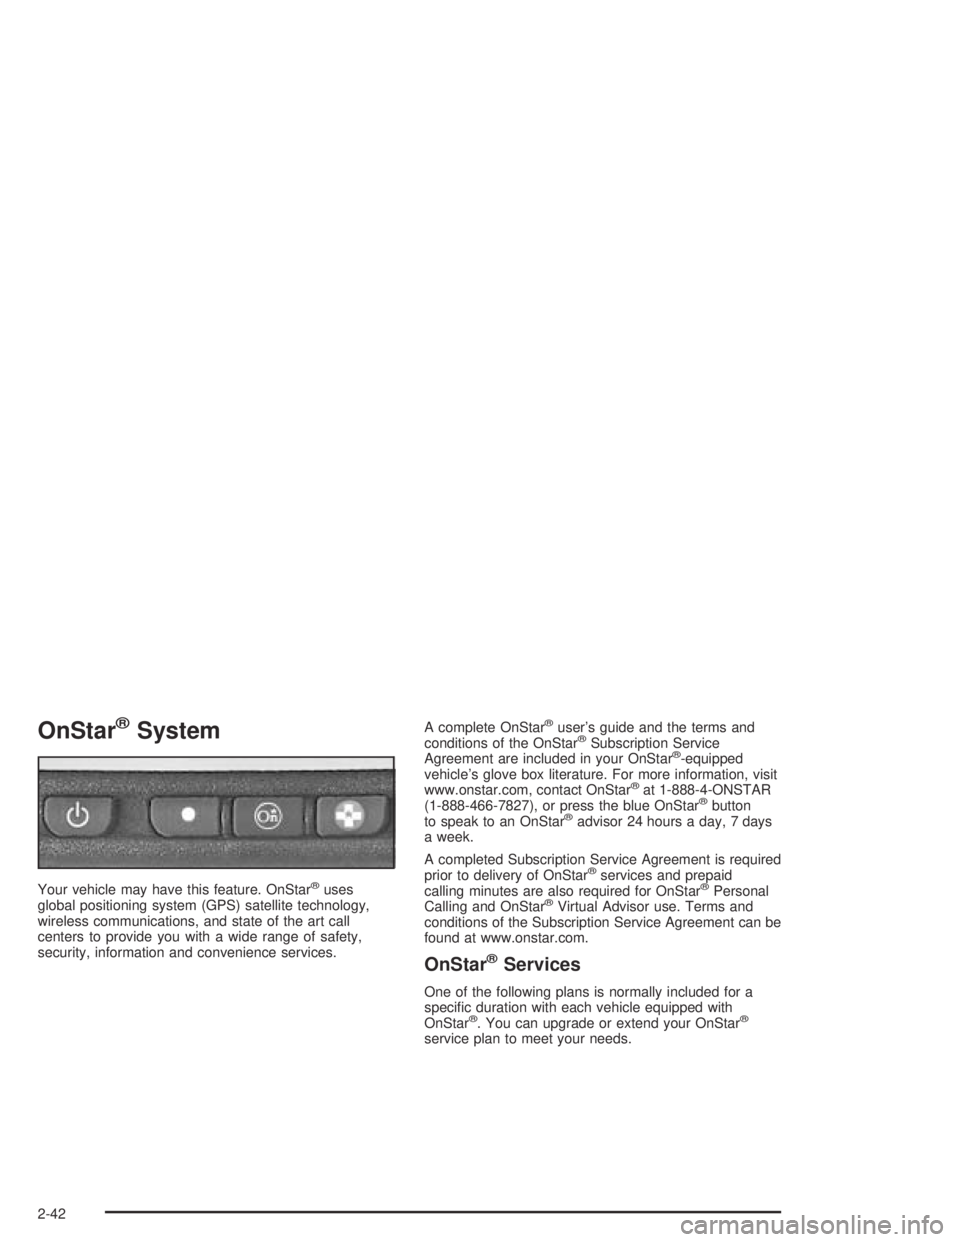
Your vehicle may have this feature. OnStar®uses
global positioning system (GPS) satellite technology,
wireless communications, and state of the art call
centers to provide you with a wide range of safety,
security, information and convenience services.A complete OnStar
®user’s guide and the terms and
conditions of the OnStar®Subscription Service
Agreement are included in your OnStar®-equipped
vehicle’s glove box literature. For more information, visit
www.onstar.com, contact OnStar
®at 1-888-4-ONSTAR
(1-888-466-7827), or press the blue OnStar®button
to speak to an OnStar®advisor 24 hours a day, 7 days
a week.
A completed Subscription Service Agreement is required
prior to delivery of OnStar
®services and prepaid
calling minutes are also required for OnStar®Personal
Calling and OnStar®Virtual Advisor use. Terms and
conditions of the Subscription Service Agreement can be
found at www.onstar.com.
OnStar®Services
One of the following plans is normally included for a
speci�c duration with each vehicle equipped with
OnStar
®. You can upgrade or extend your OnStar®
service plan to meet your needs.
2-42
Page 150 of 446

Automatic Operation
AUTO (Automatic):Press the AUTO button for
automatic control of the inside temperature, the air
delivery mode and the fan speed.
1. Press the AUTO button. Whenever this button is
pressed, the display will show the current settings
for �ve seconds before returning the display to
the exterior temperature.
2. Adjust the temperature to 75°F (24°C).
Choosing the coldest or warmest temperature
setting will not cause the system to cool or heat any
faster. If you set the system at the coldest or
warmest temperature setting, the system will remain
at the maximum cold or hot setting and fan speed.
In cold weather, the system will start at reduced fan
speeds to avoid blowing cold air into your vehicle
until warmer air is available. The system will
start out blowing air at the �oor but may change
modes automatically as the vehicle warms up
to maintain the chosen temperature setting. The
length of time needed for warm up will depend on
the outside temperature and the length of time
that has elapsed since your vehicle was last driven.3. Wait for the system to regulate. This may take from
10 to 30 minutes. Then adjust the temperature, if
necessary.
Do not cover the solar sensor located in the center of
the instrument panel, near the windshield. For more
information on the solar sensor, see “Sensors” later in
this section.
Manual Operation
DRIVER (Driver’s Side Temperature):The knob on
the left is used to change the temperature of the
air coming through the system on the driver’s side of
the vehicle. Push this knob to turn the system on and off.
Turn the knob toward the blue area to decrease the
set temperature, and toward the red area to increase the
set temperature. When this knob is adjusted, the word
DRIVER will be displayed under the set temperature.
When the passenger’s set temperature is not active, this
knob controls both the driver’s and passenger’s side,
and both DRIVER and PASS will be displayed under the
set temperature.
3-30
Page 151 of 446

PASS (Passenger’s Side Temperature):The knob on
the right is used to change the temperature of the air
coming through the system on the passenger’s side of
the vehicle. Push this knob to turn the system on
and off. Turn the knob toward the blue area to decrease
the set temperature, and toward the red area to
increase the set temperature. When this knob is
adjusted, only the word PASS will be displayed under
the set temperature.
9(Fan):Press the Fan button to display and hold the
current fan speed while in manual mode. Press the
HIGH side to increase fan speed and the LOW side to
decrease the fan speed.
MODE:Press this button repeatedly to cycle through
and choose the mode of air delivery into the vehicle. The
system will stay in the selected mode until MODE is
pressed again or until the AUTO button is pressed.
FLOOR:This mode directs most of the air�ow to the
�oor outlets with some directed to the outboard
outlets (for the side windows) and the windshield.
BI-LEVEL:This mode directs air�ow through the
instrument panel outlets and slightly warmer air through
the �oor outlets.PANEL:This mode directs air�ow through the
instrument panel outlets.
Whenever MODE is pressed, the display will show the
current system settings for �ve seconds before
returning the display to the exterior temperature.
The mode button can also be used to select the DEFOG
mode. Information on defogging and defrosting can
be found later in this section.:OUTSIDE AIR:Press this button to turn the
OUTSIDE AIR mode on or off. When this mode is on,
outside air will circulate through your vehicle. When the
button is pressed, an indicator light in the button will
come on to let you know that it is activated. The
OUTSIDE AIR mode can be used with all modes except
the recirculation mode.
If you are in city traffic, and your vehicle is stopped and
idling, or the weather is hot, the system may switch
from the OUTSIDE AIR mode to the recirculation mode.
To prevent the air inside of your vehicle from becoming
too stale, be sure to return to the outside air mode
periodically.
3-31